Some quilters use bias binding all the time, for everything. I understand it is a cleaner finish, molds to the edge of the quilt, and provides more fibers on the edge of the binding. For all of these attributes, I must admit, I don’t use it all that often.
Bias binding, for me, is something I consider when I want to use a bias stripe or if I’m binding a quilt with unusual edges. Since those two things don’t occur all that often for me, I usually need a refresher on bias binding before I begin cutting.
I liken it to the first two steps in paper piecing, when I haven’t done paper piecing in a while. Mastering those first two pieces can take me the LONGEST time. Once my brain grasps it, I’m good to go – but it takes me some time.
Since I AM from the Show-Me state, I do like a good tutorial. It doesn’t have to be a video, but I usually like pictures. How about you?
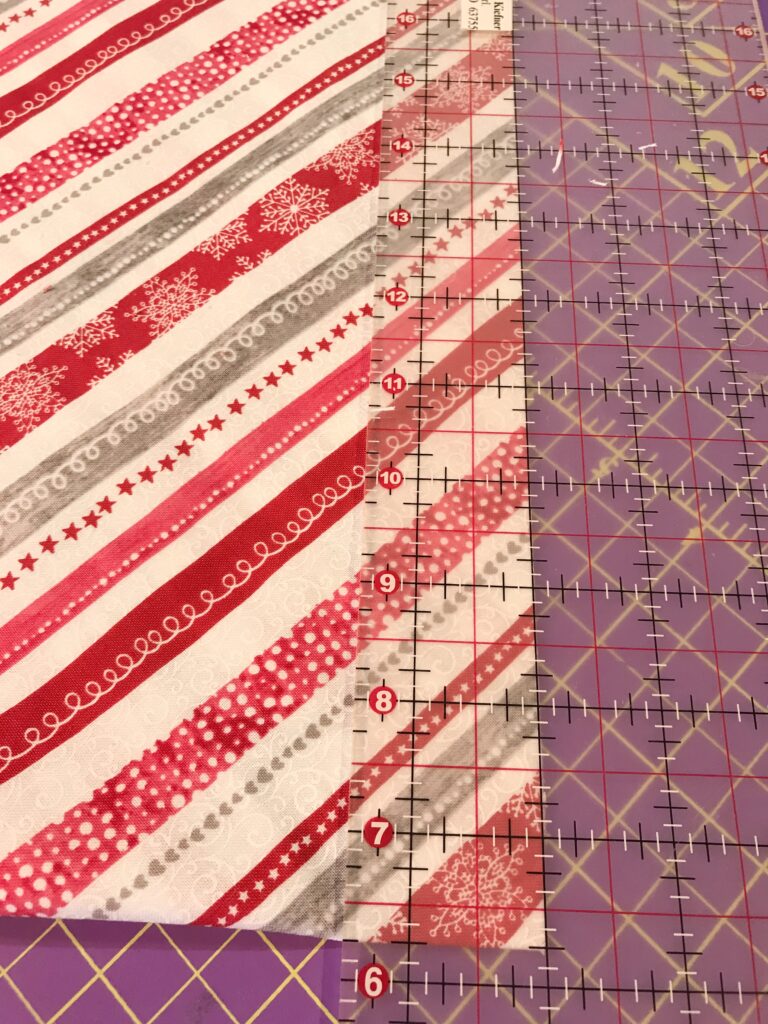
So if you are need of a refresher in cutting and using the bias binding, here is what you’ll learn:
- How to cut bias strips
- How to cut one continuous bias strip
- The difference between single and double bias
Check out these tutorials about bias binding on Pinterest:
Need a fast straight binding solution for your quilt? Check out Lickety-Split Binding HERE!
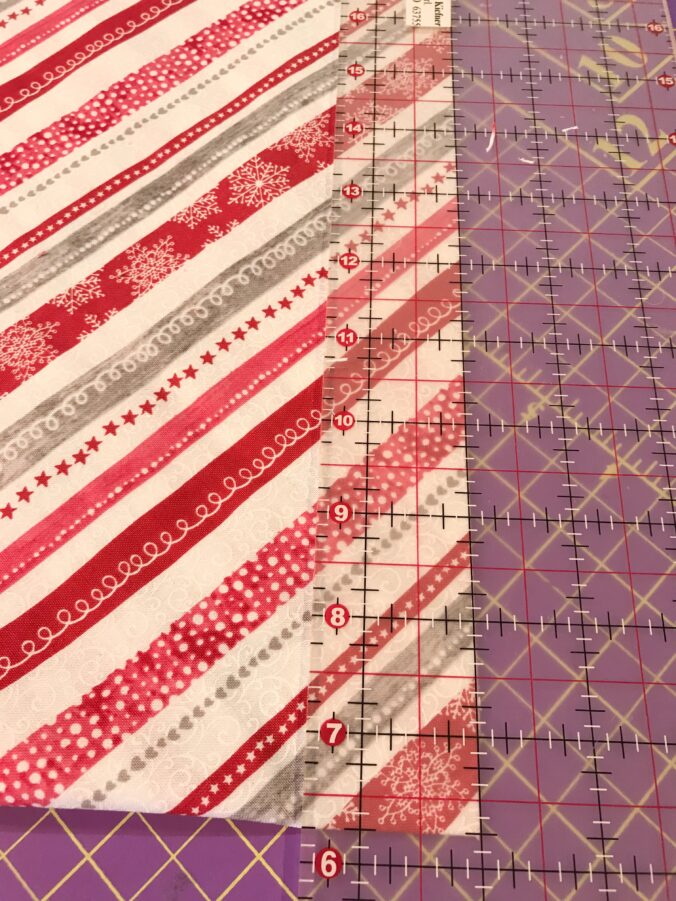
How about using bias of a stripe for a flange?
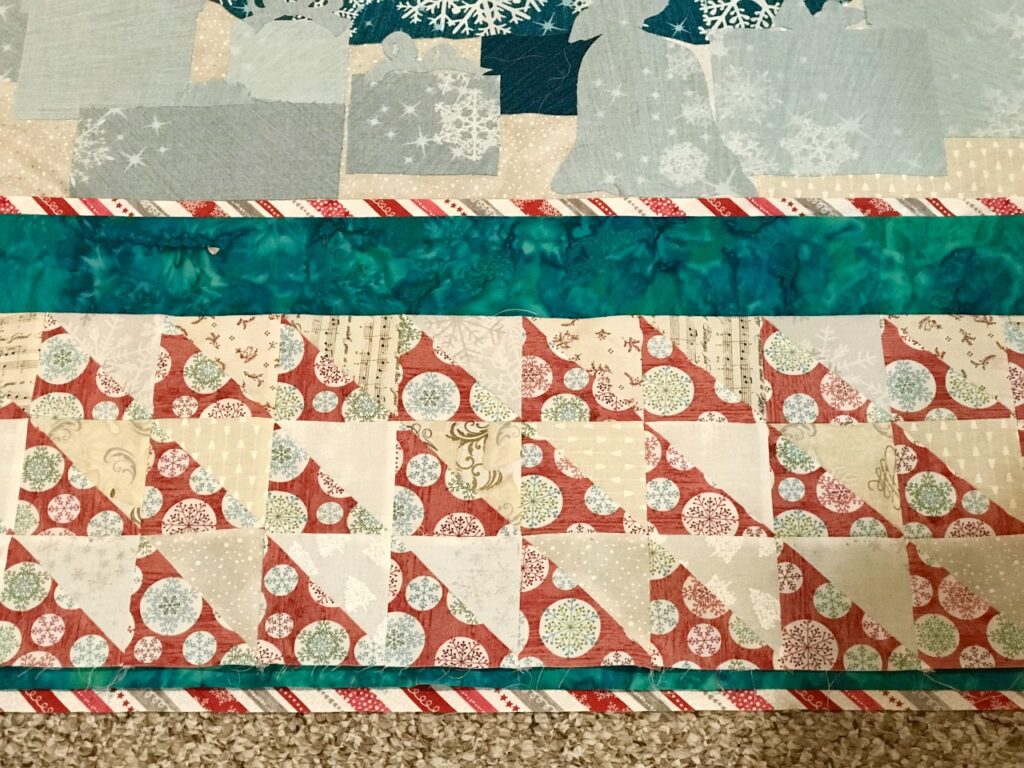
Here’s a glimpse of a new pattern made from an old pattern coming soon! Here I have laid out the pieced top and auditioned an outer flange and bias binding. The bias flange is accenting the center of the quilt.
