Estimated reading time: 3 minutes
Table of contents
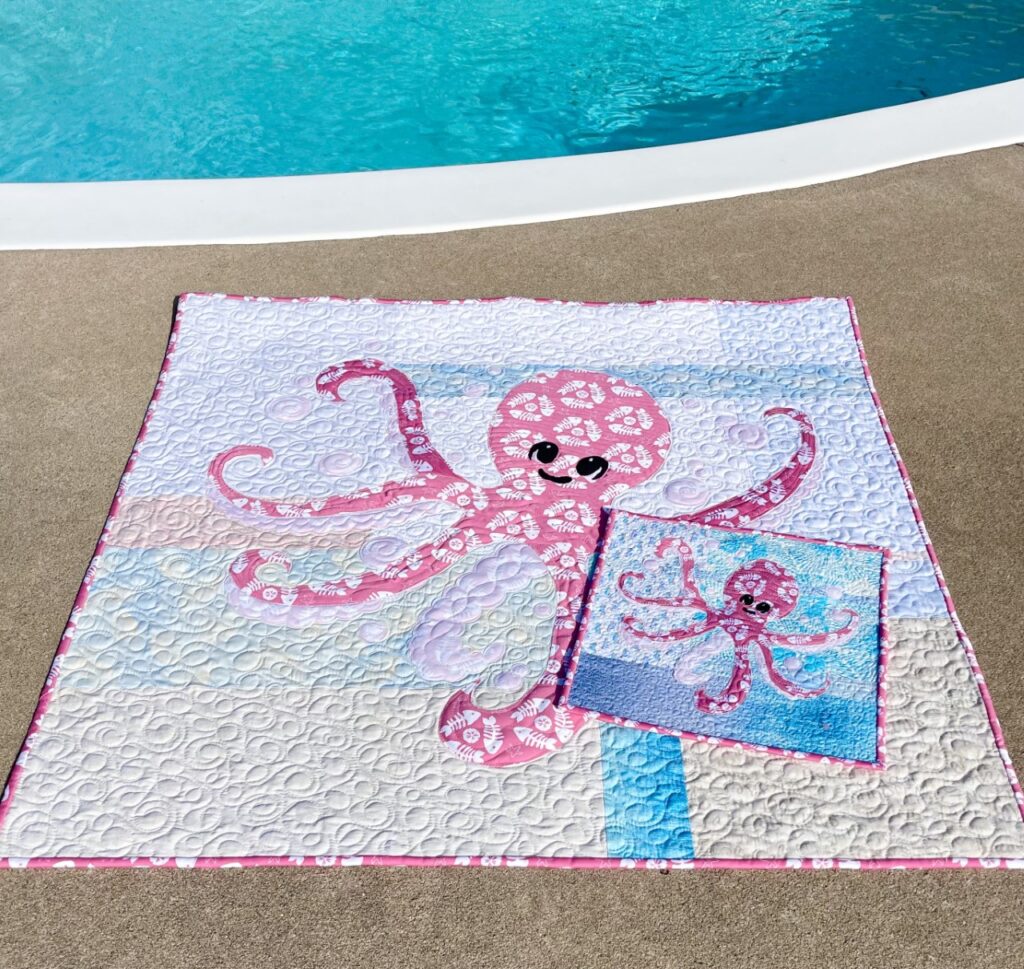
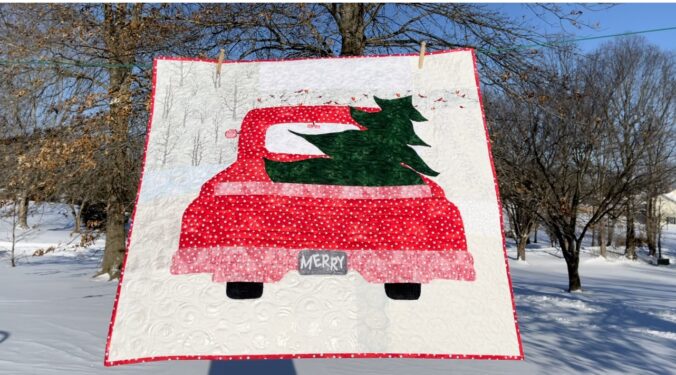
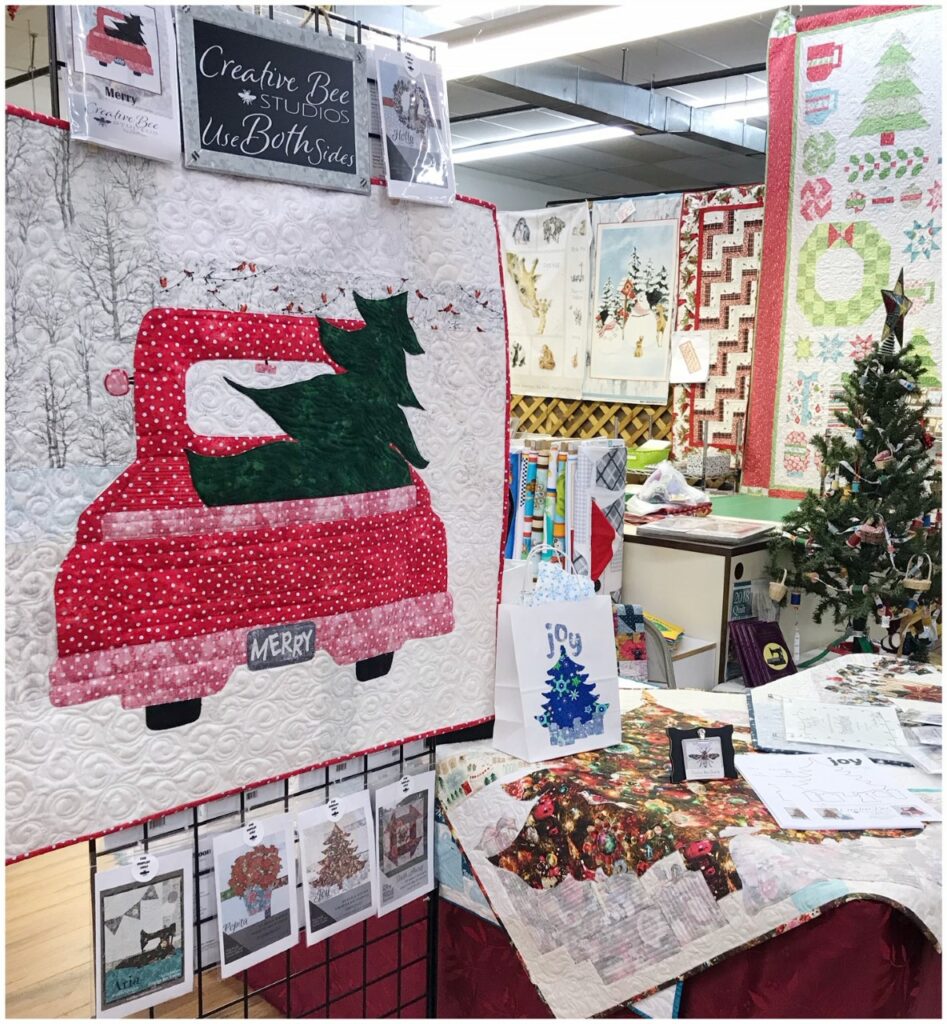
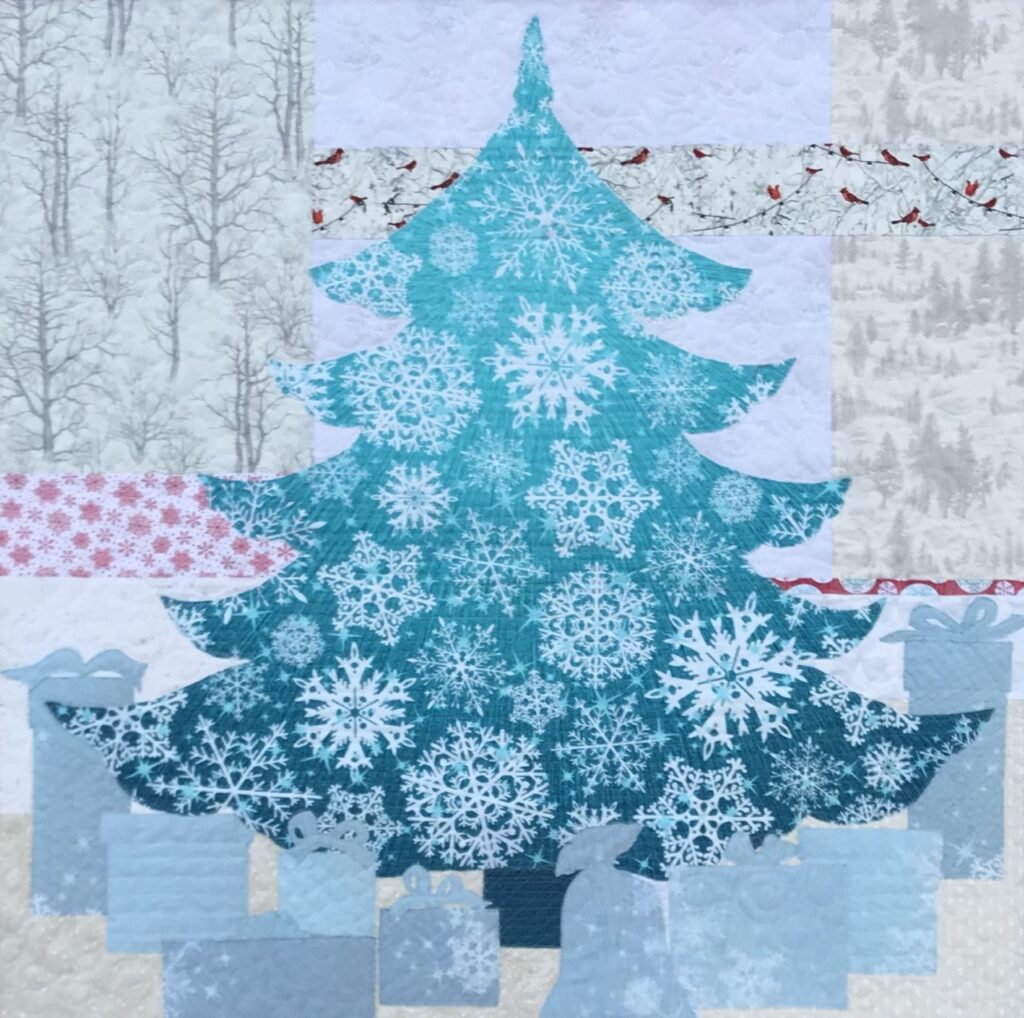
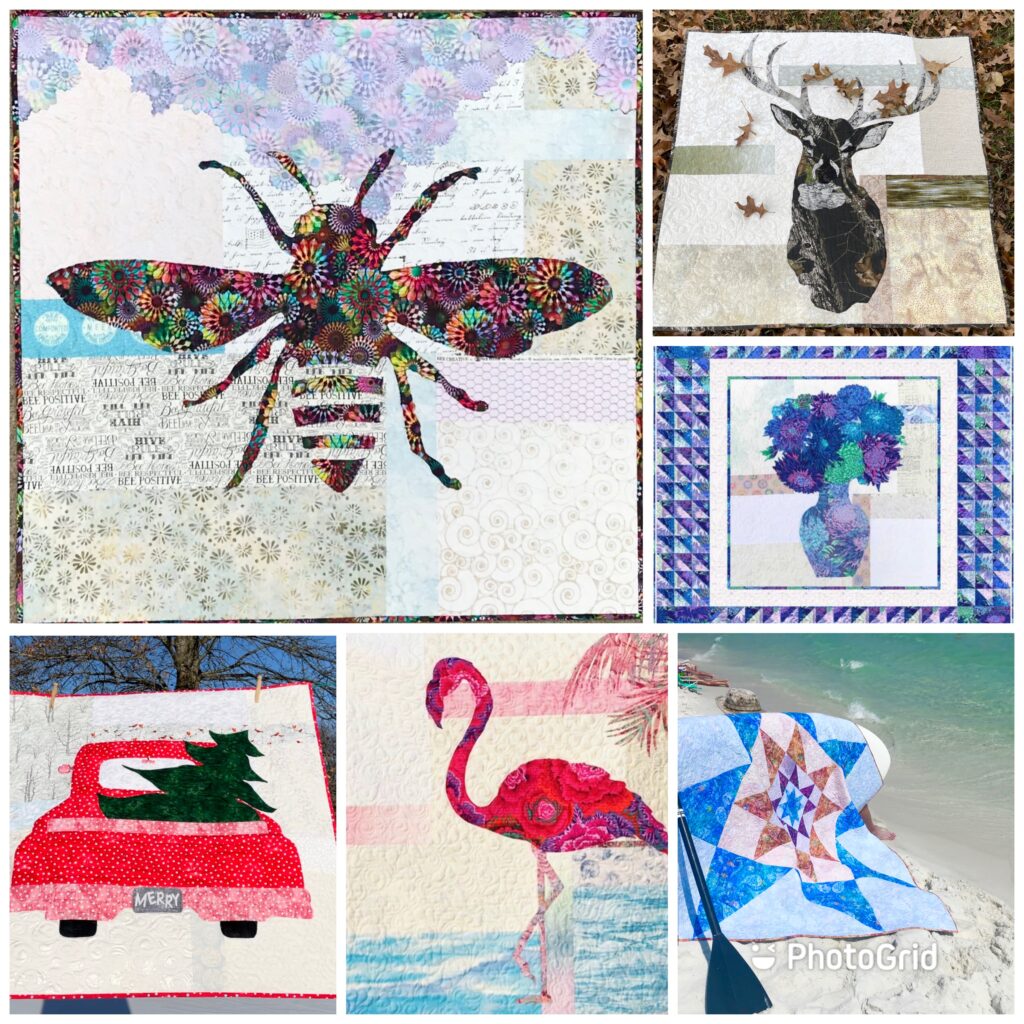
This Christmas tree applique quilt pattern is cute, fast and easy! It’s the perfect DIY holiday project!
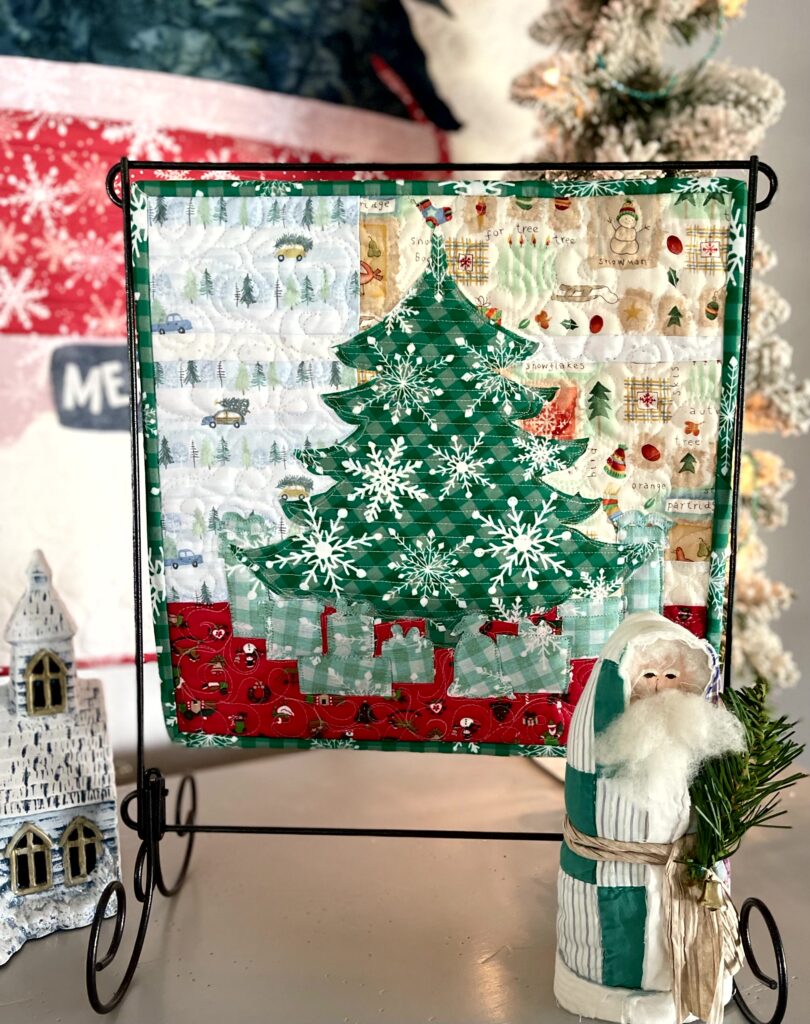
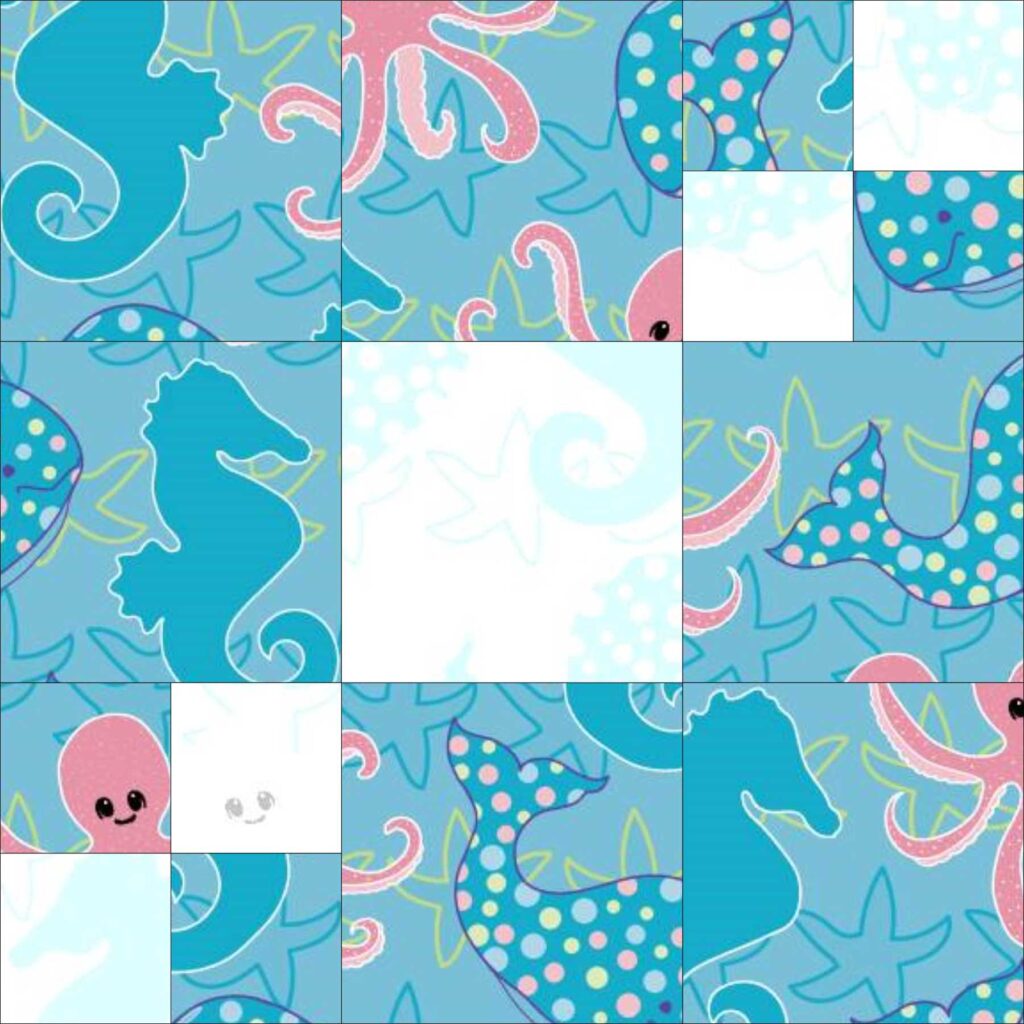
In addition to the time-busting fusible applique technique, the mini tree quilt is also made with both beautiful sides of one focus fabric! The RIGHT side of the fabric makes the tree, the tree topper and trunk, and the binding. Use the REVERSE side to make the gifts, ribbons and bows beneath the tree.
Use BOTH beautiful sides of one focus fabric for this Christmas Tree Applique Quilt.
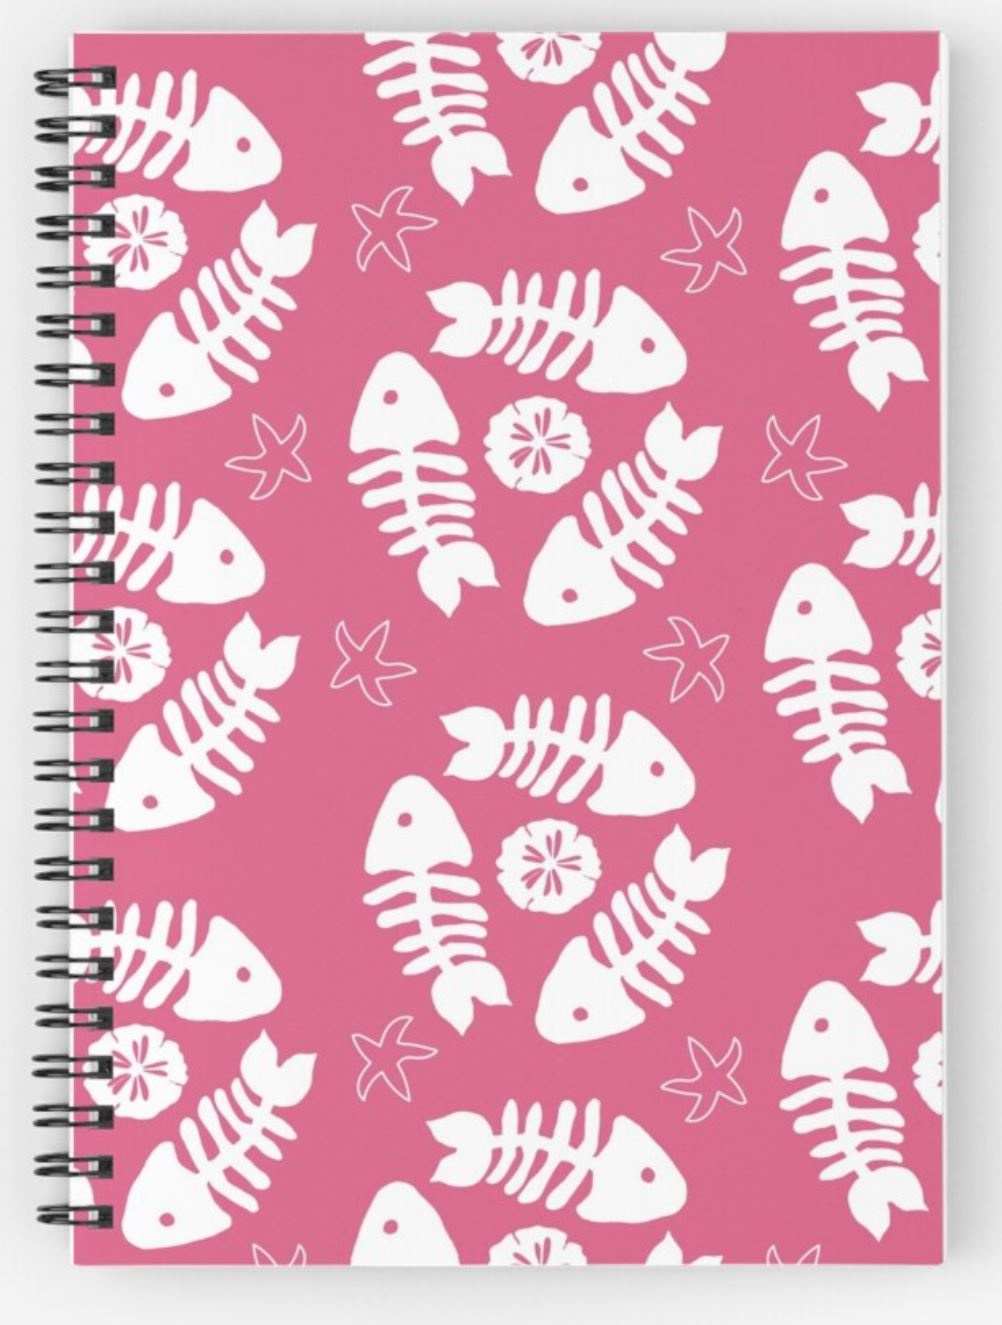
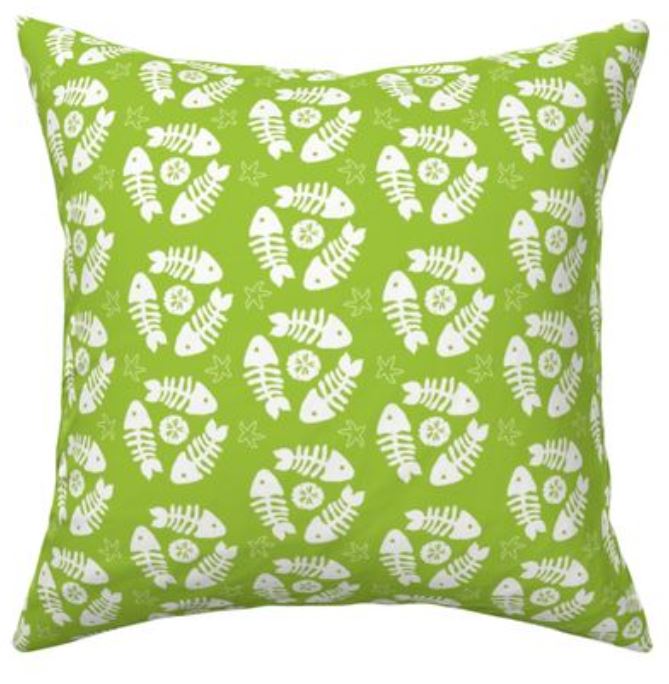
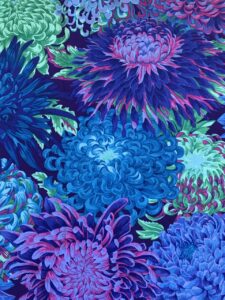
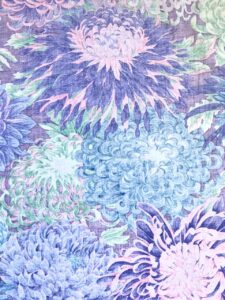
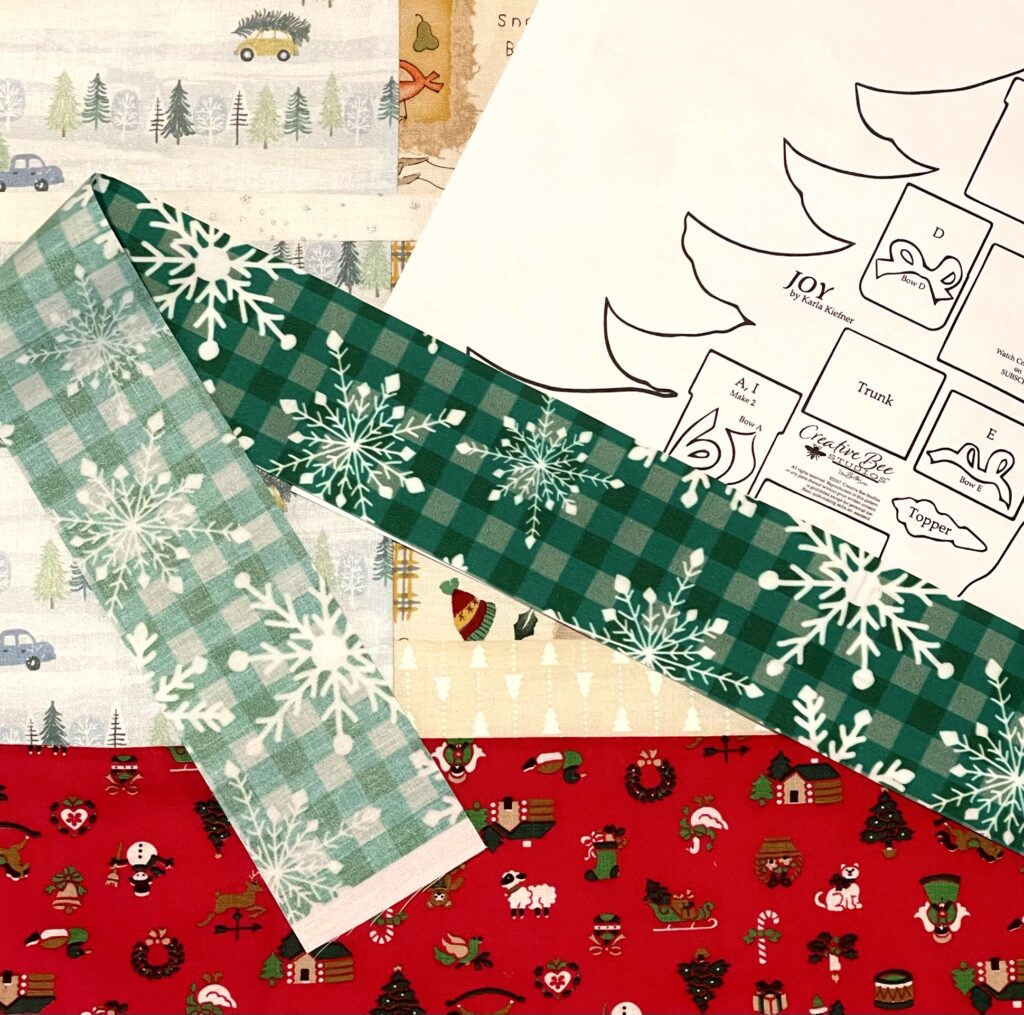
For instance, the focus fabric used for this Christmas tree applique quilt is called “Mini Plaid with Snowflakes – Blue Spruce”, from my Be Merry Collection at Spoonflower. You can choose from lots of Christmas or winter motifs. Your tree can be whimsical, snowy, or filled with ornaments and can be any color you choose! Chances are you have a fat quarter of Christmas fabric just waiting to be made into a beautiful, little tree!
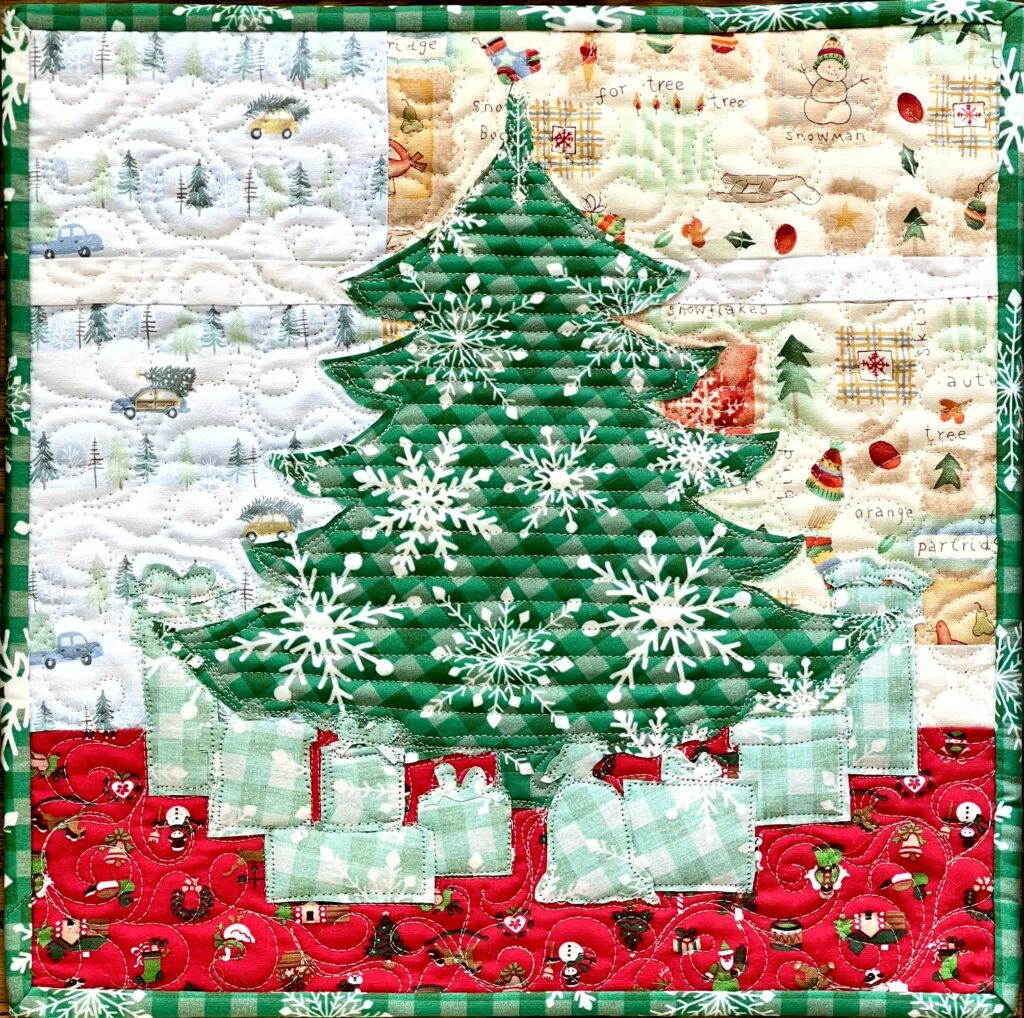
It’s all about value.
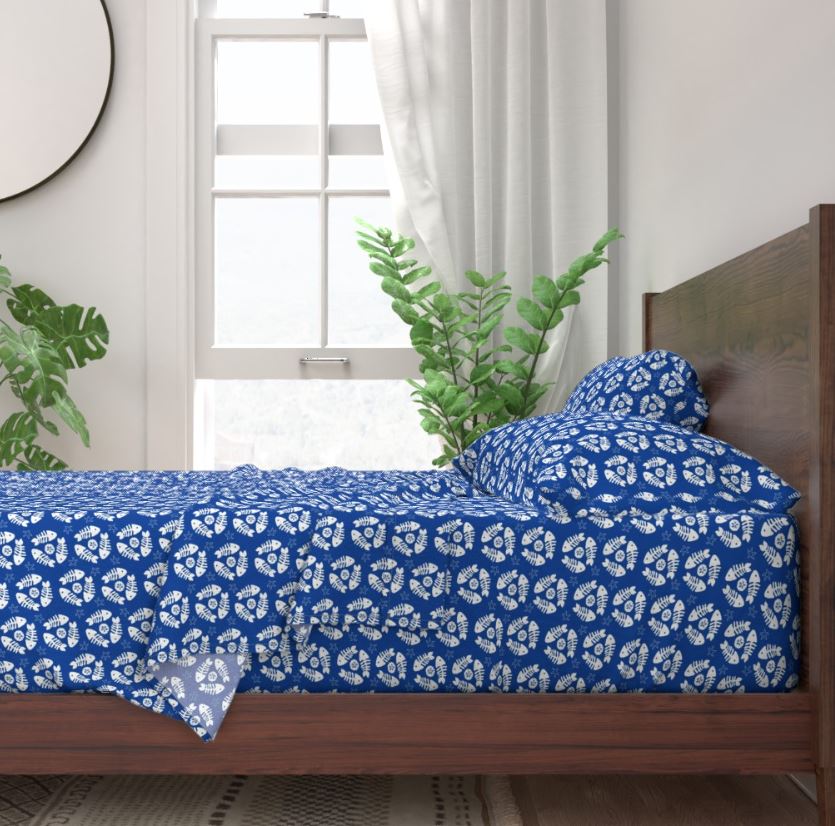
In addition to the convenience of using only one fabric for focal points of the quilt, the subtle change in value between the RIGHT and REVERSE sides adds interest to the quilt. While the tree is the main focus of the quilt, your secondary focus is shown with the similar, but slightly different value of the reverse.
Learn more about The Tricky Traits of Value!
Background Fabrics for A Little JOY.
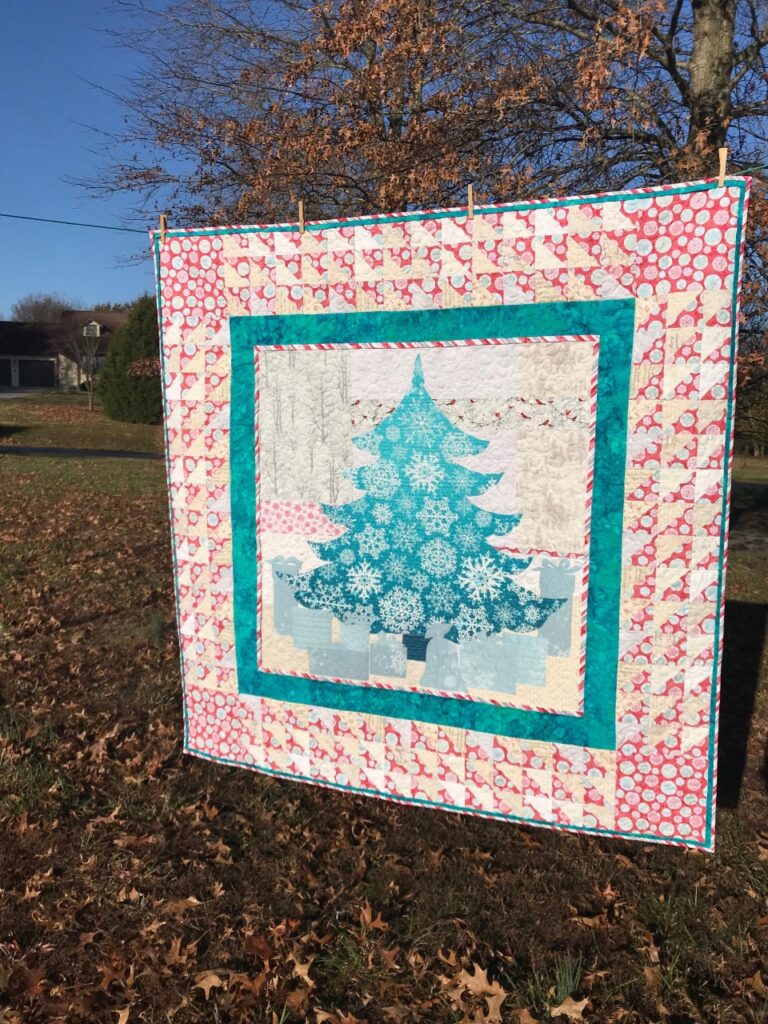
Furthermore, you’ll only need five small pieces of fabric with winter or Christmas themed motifs for the mini Christmas tree applique background. These small pieces can be easily chosen from stash or a variety of fat quarters, if needed. I like to use a variety of motifs or styles of fabrics. In this quilt, you’ll find a deep red with miniature Christmas motifs, a strip of my dear mother-in-law’s “white on beige” Christmas trees motif, a light blue and green fabric with vintage cars and trucks hauling trees, and a colorful blast of whimsical Christmas symbols. Lastly, a strip of silver on white snowflakes runs across the quilt top.
As well as using a variety of fabrics in the background, notice that I used miniature fabrics with miniature motifs. However, my focus fabric is not miniature. Consider having a contrast in the motif sizes you use. You’ll know when you have the right mix when you audition your fabrics, as explained in the pattern instructions.
You’ll find A Little JOY pattern in my Etsy Shop. When available, I offer the Pattern and Focus Fabric Set shown above.
Moreover, this pattern is available as a digital pattern. With this instant download, you can print it out and go through your stash today!