See how to make a baby quilt using a phone app and cutting machine!
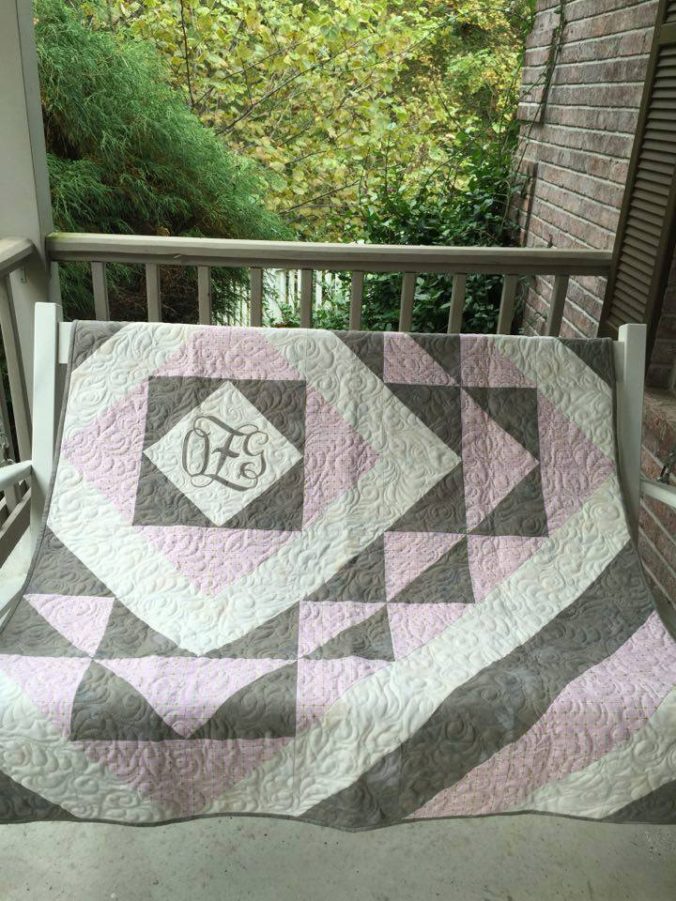
This is a baby quilt for a classy baby’s room! It’s a personalized one, made for a friend’s grandbaby.
Firstly, I got a text from a friend to see if I would make a quilt for her grandbaby. She sent me pictures of the most beautiful baby’s room I’d ever seen!
A personalized baby quilt.
Next, when she commissioned me to make a baby quilt, she sent photos of the baby’s room.
However, the grandmother had no specific ideas in mind for the quilt, other than to go with the theme of a somewhat “grown-up” room.
Let the fabric do the talking.
The grandbaby girl’s room is painted a very pretty taupe and pearl in large, horizontal stripes. There are some accents in soft pink and a large gold monogram on the wall.
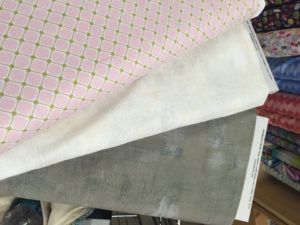
While milling around Hancocks, I found their collection of Moda Fabrics‘ Grunge–which I LOVE! They read as a solid, but are anything but boring and feel, oh, so good! It wasn’t long before I had the pearl and taupe picked out and down the aisle a little further, I found this soft pink with a little touch of gold. I sent a pic to my friend and the project began.
A design wall is helpful!
When I got home I looked at many baby quilt designs and decided on using large half-squares because I wanted to try to keep the cost down as much as possible. After viewing many variations, I started making half-square triangle blocks and just placing them on the design wall, moving them around to see different patterns emerge. I eventually came up with a pattern I liked and filled-out the quilt with blocks as needed.
Add a monogram to the baby quilt with a phone app!
Now I had planned to use a monogram similar to the one in the baby’s room as a focal point for the quilt, but not being terribly experienced at using my ScanNCut2, I was also a little apprehensive. I was super excited to find the exact monogram on my phone’s Monogram It app!
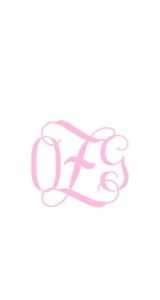
Turns out, it was so easy to send this design from my phone to my computer and then to my ScanNCut2, I could hardly contain myself!
I cut the fabric, fused with HeatNBond Ultrahold and pressed it to the quilt. (Normally you aren’t supposed to sew through the Ultra, but I quilted around the edges of it to make sure it stood up to washings. I choose the Ultra instead of HeatNBond Lite because I wanted to be certain the fabric wouldn’t fray.)
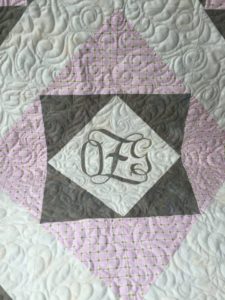
I added an embroider label, quilted and bound the quilt as usual. I included a Shout Color Catcher with washing instructions for the momma.
This quilt was fun to make and I am really excited about the world of possibilities of using the ScanNCut2 in my future quilting and design work!
Let me say here that I am fortunate because from the start of this project, my friend said she totally trusted my judgement and
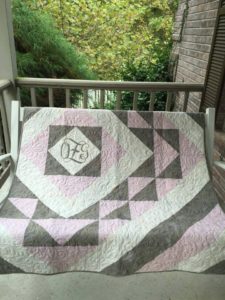
whatever I wanted to make would be great–not all projects allow you that freedom to let the design come together.
0 Comments
3 Pingbacks