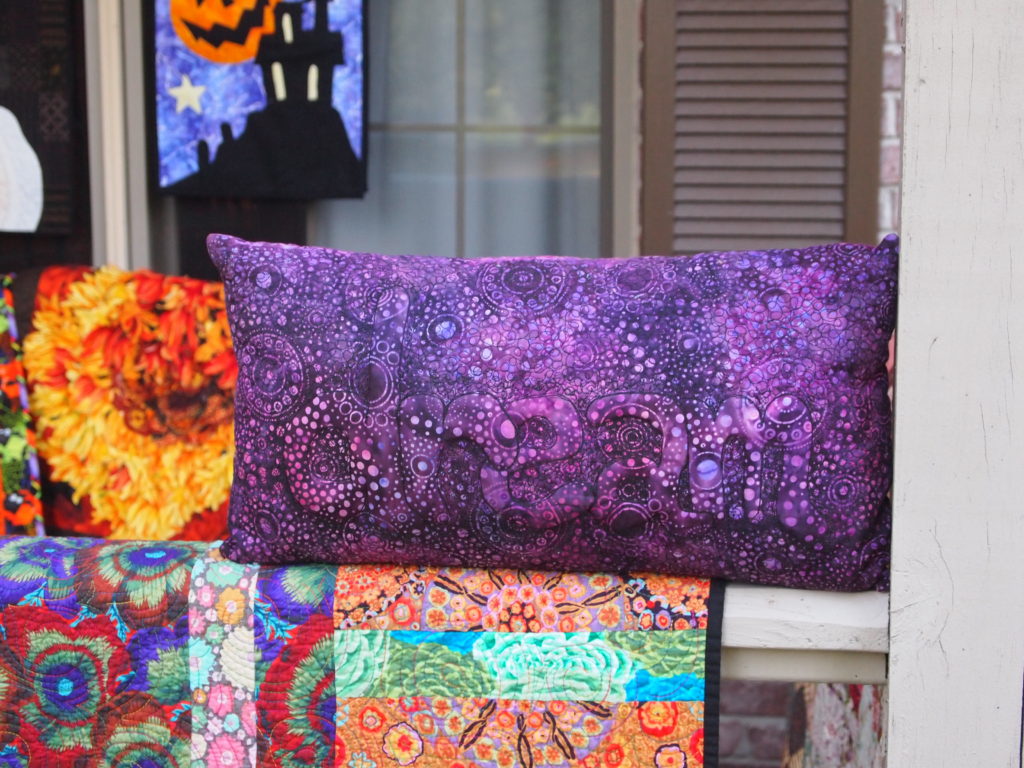
Discover a quick quilt hanging method to display your quilts!
Let’s face it…quilts take time. We really should cherish each step of the process. But, if you’re like me, it’s those last few steps that sometimes really test your patience:
Firstly, the binding…
Then the label…
Last, the SLEEVE…ugh!
Now, here is a fast, easy way to attach a hanging sleeve, with just a few quick points – Prairie Points!
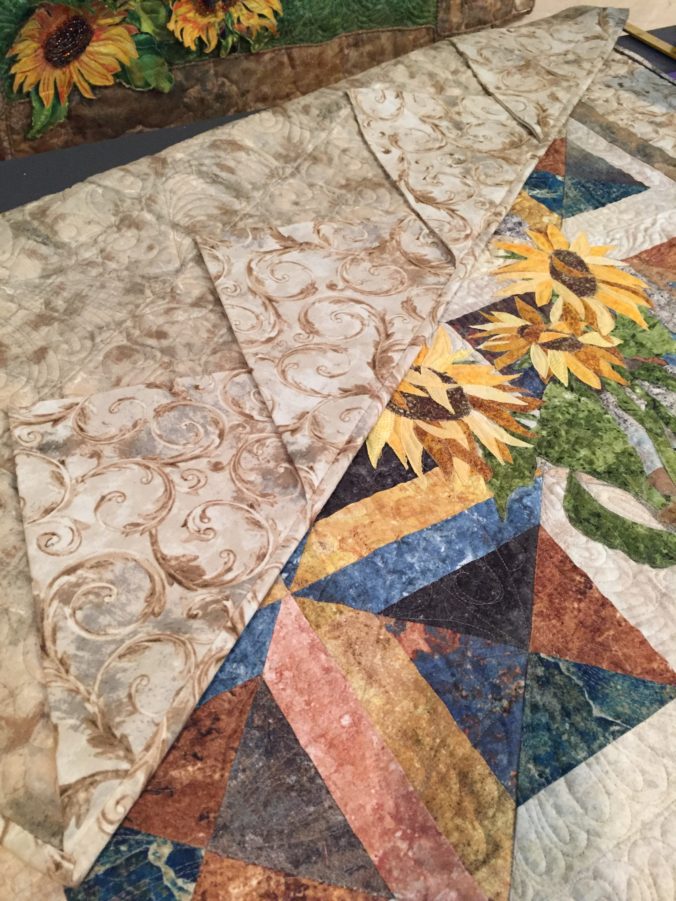
Start with a few squares of fabric, fold them diagonally twice and lay them on your quilt. Next, baste with your machine, using a seam width that is smaller than your binding seam. Lastly, stitch the points by hand with just a few stitches! That’s it! It’s that easy.
Now let’s break it down:
For instance, if you have a small wall hanging, 5 inch squares will do. But if you have a large quilted wall hanging, 12 – 16 inch squares will work. The number you need depends on how large you make them and the size of your quilt. You’ll see, as soon as you fold one and hold it up to your quilt, how many you’ll need. This method is so much faster and easier that the traditional “sleeve”, you’ll be looking forward to using this method on your quilts!
So, for this tiny wall hanging (11 inches wide), I am using two five-inch squares.
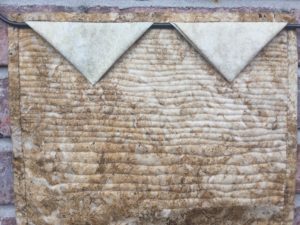
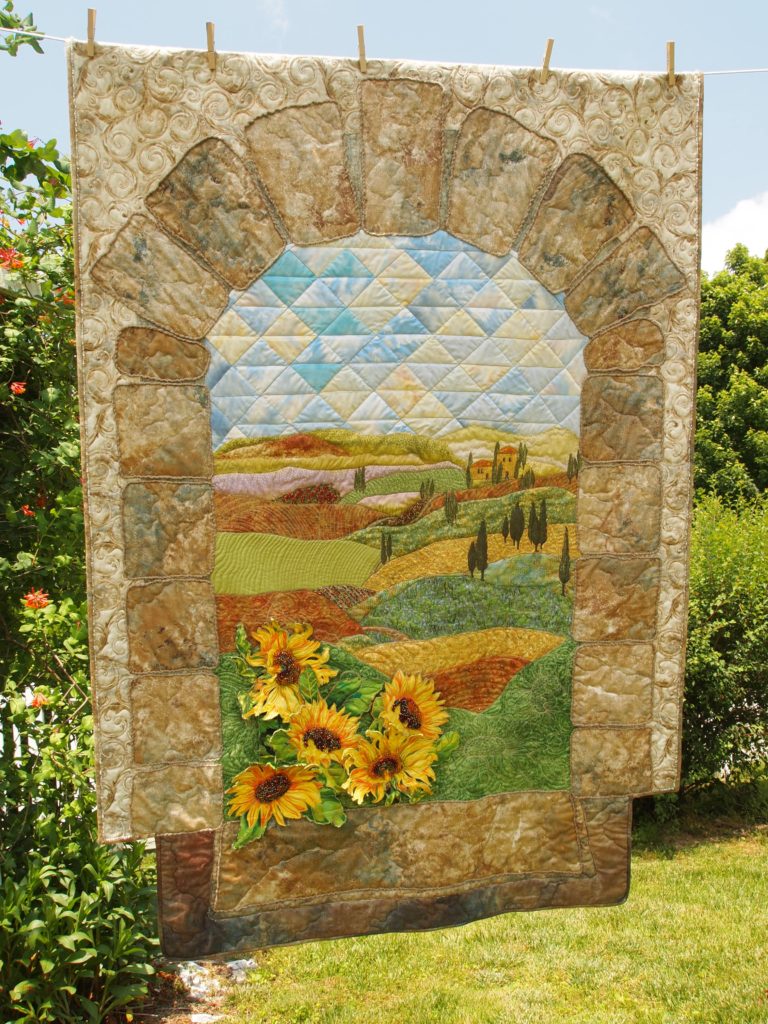
For small pieces, I like to use an even number of triangles so that the center is open for hanging it on one hook or nail. Of course, larger pieces need to be hung by two points, so the number of triangles attached to the quilt depend only on how many you want to add. For example, my 90 -inch wide quilt has 7 triangles which started with 12 1/2 inch squares.
Also great about this method, if you have a particularly heavy quilt to hang, you can add additional rod support in the center of your quilt in between two triangles.
To begin, fold a square diagonally once, press. Fold that triangle
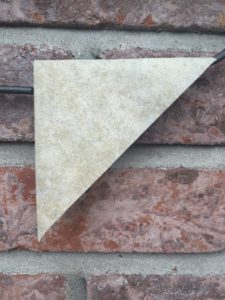
diagonally again, press. Do this for all of the squares. Secondly, lay them at the top of your quilt, cut edge, lining up with the top edge of your quilt sandwich. Pin in place. Next, machine baste within the seam of your binding (whether the binding is on yet or not). Lastly, use a needle and thread (I like to use doubled thread for this) to stitch down each point, securing with several stitches.
Finally, attach and turn binding as usual and your quilt is ready to hang!
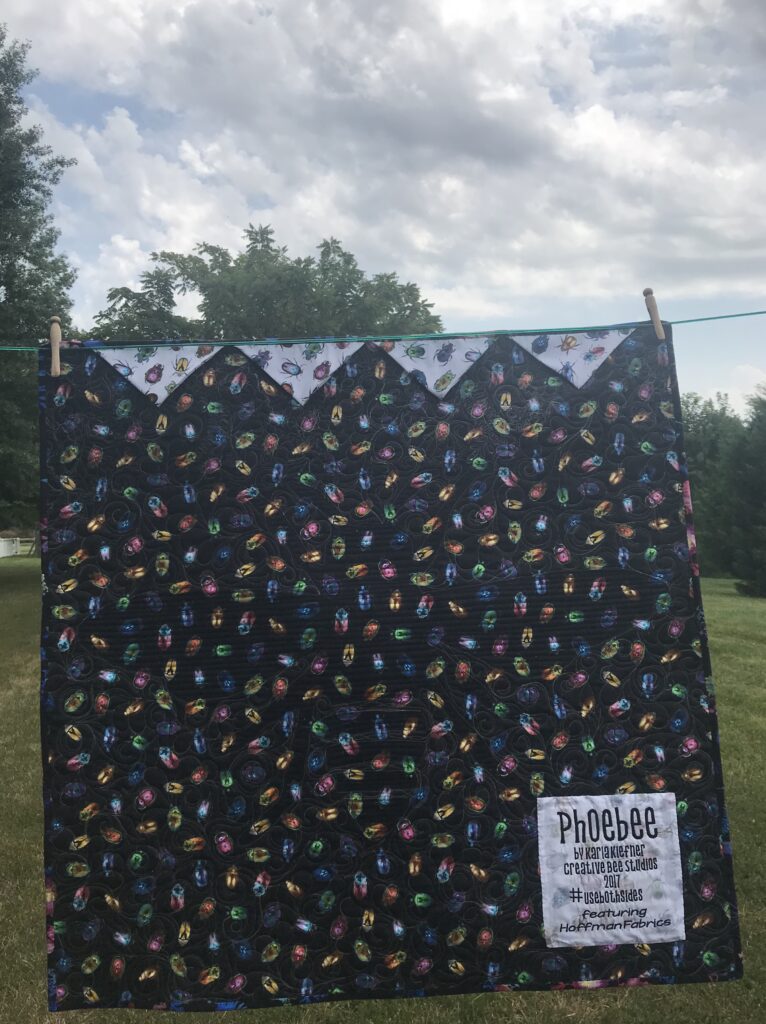
All Creative Bee Studios patterns provide Prairie Point Hanging Method instructions. Shop Patterns HERE.
Learn more about Creative Bee Studios #usebothsides patterns here.
Learn about NEW textiles, merchandise and MORE at Uncork the BUBBLES!
JOIN The BUZZ and follow Creative Bee Studios on Facebook, Instagram, and Pinterest!
