You know you’re a quilt enthusiast when your home decorating is based on the quilts you’ve made…or plan to make.
Write your blog post…write your blog post…write your–wait, I should get my fall quilts out for the front porch–no, write your blog post…well, I need to run downstairs to look up a password anyway, so I might as well just grab that one panel quilt for the swing…THEN I’ll write my blog post…hmmm, that old Thimbleberries baskets quilt would look nice here…I don’t use it in the house anyway and I’ll wash it at end of the season…oh, maybe the pumpkins one could go here…I really need to work on that blog post…its crazy how many quilts I have all over my house…hey, maybe I’m not alone…
So today’s blog post is about decorating with quilts! Do you? Decorate with quilts? And I’m not talking about hanging one quilt on the wall… do you immerse your house with your quilts? Maybe it is just me. It does seem kinda eccentric. Well, for better or worse, here it is–this is how my mind works when it comes to quilts and decorating:
A few years ago, I had a vision, if you will, of an Italian landscape quilt and so…I repainted my kitchen (complete with break-away brick) in preparation for the quilt I was making. (Yeah, kinda backwards, I know.) Click here to see Bella Vista. Turns out Bella Vista inspired a whole line of quilts, wool applique, and punch needle for an Tuscan-themed book proposal. Two of those projects hang from tables right now:
Bella Tablescape features an arched window on either end of the table runner with a landscape scenery.
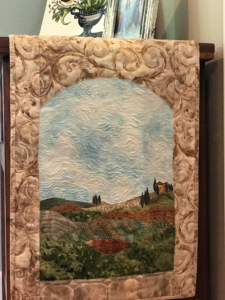
Bella Tablescape
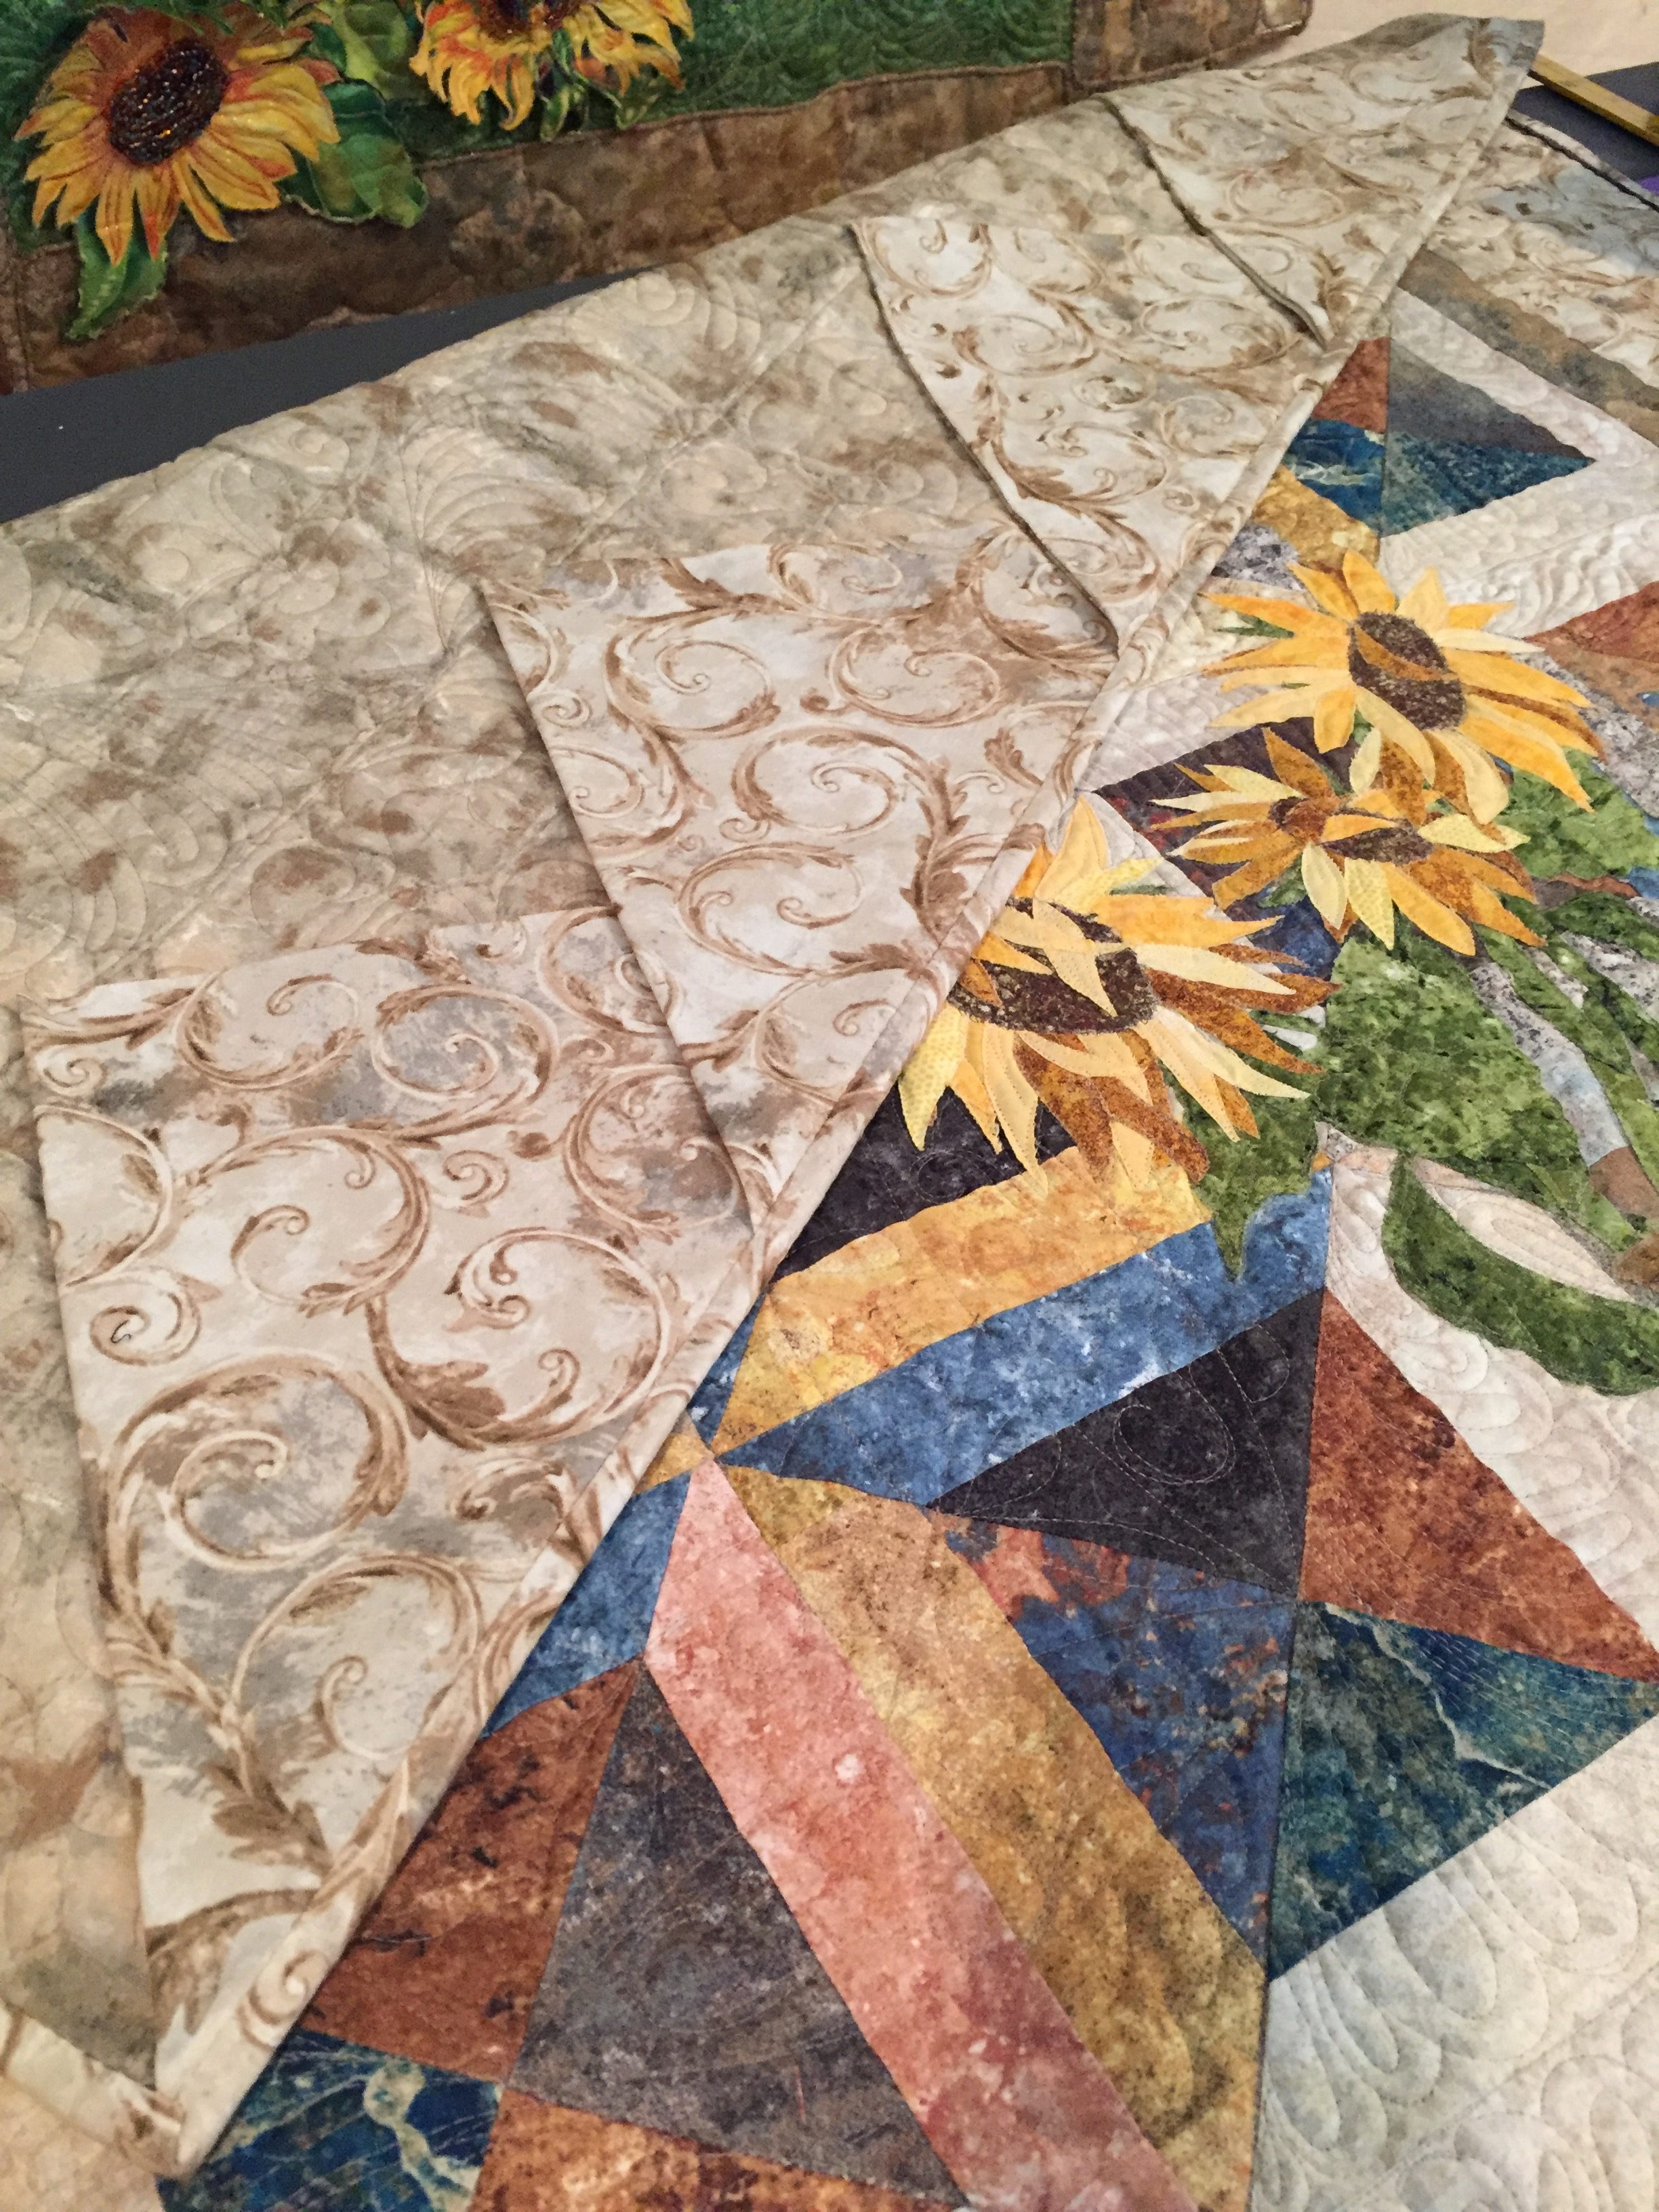
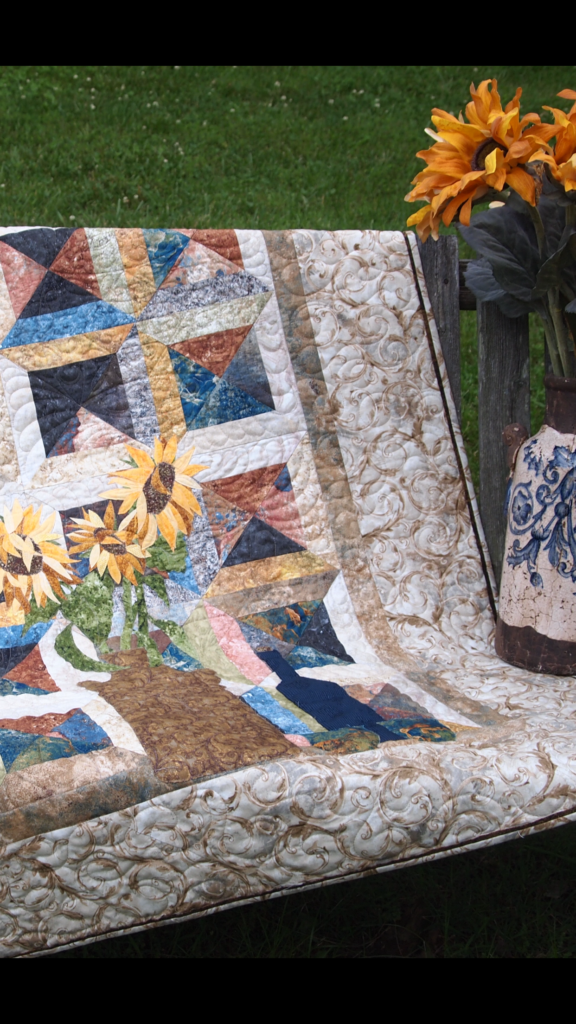
Bella Piastrella (beautiful tile) is a pieced tile pattern with fused applique. Click here to see the whole quilt in this post about using flange.

Bella Piastrella means “beautiful tile” in Italian.
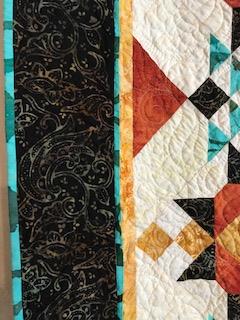
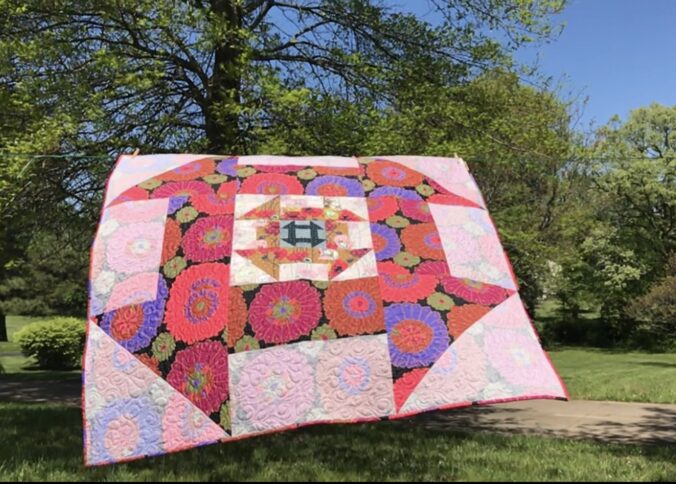
Now a Bonnie Hunter mystery quilt hangs in my kitchen (I adapted the colors and borders).
In my dining room hangs Italian Proverb, which was a row-by-row pattern I designed for promoting said book proposal. I felt quite accomplished cutting the letters for the proverb with my Scan N Cut.
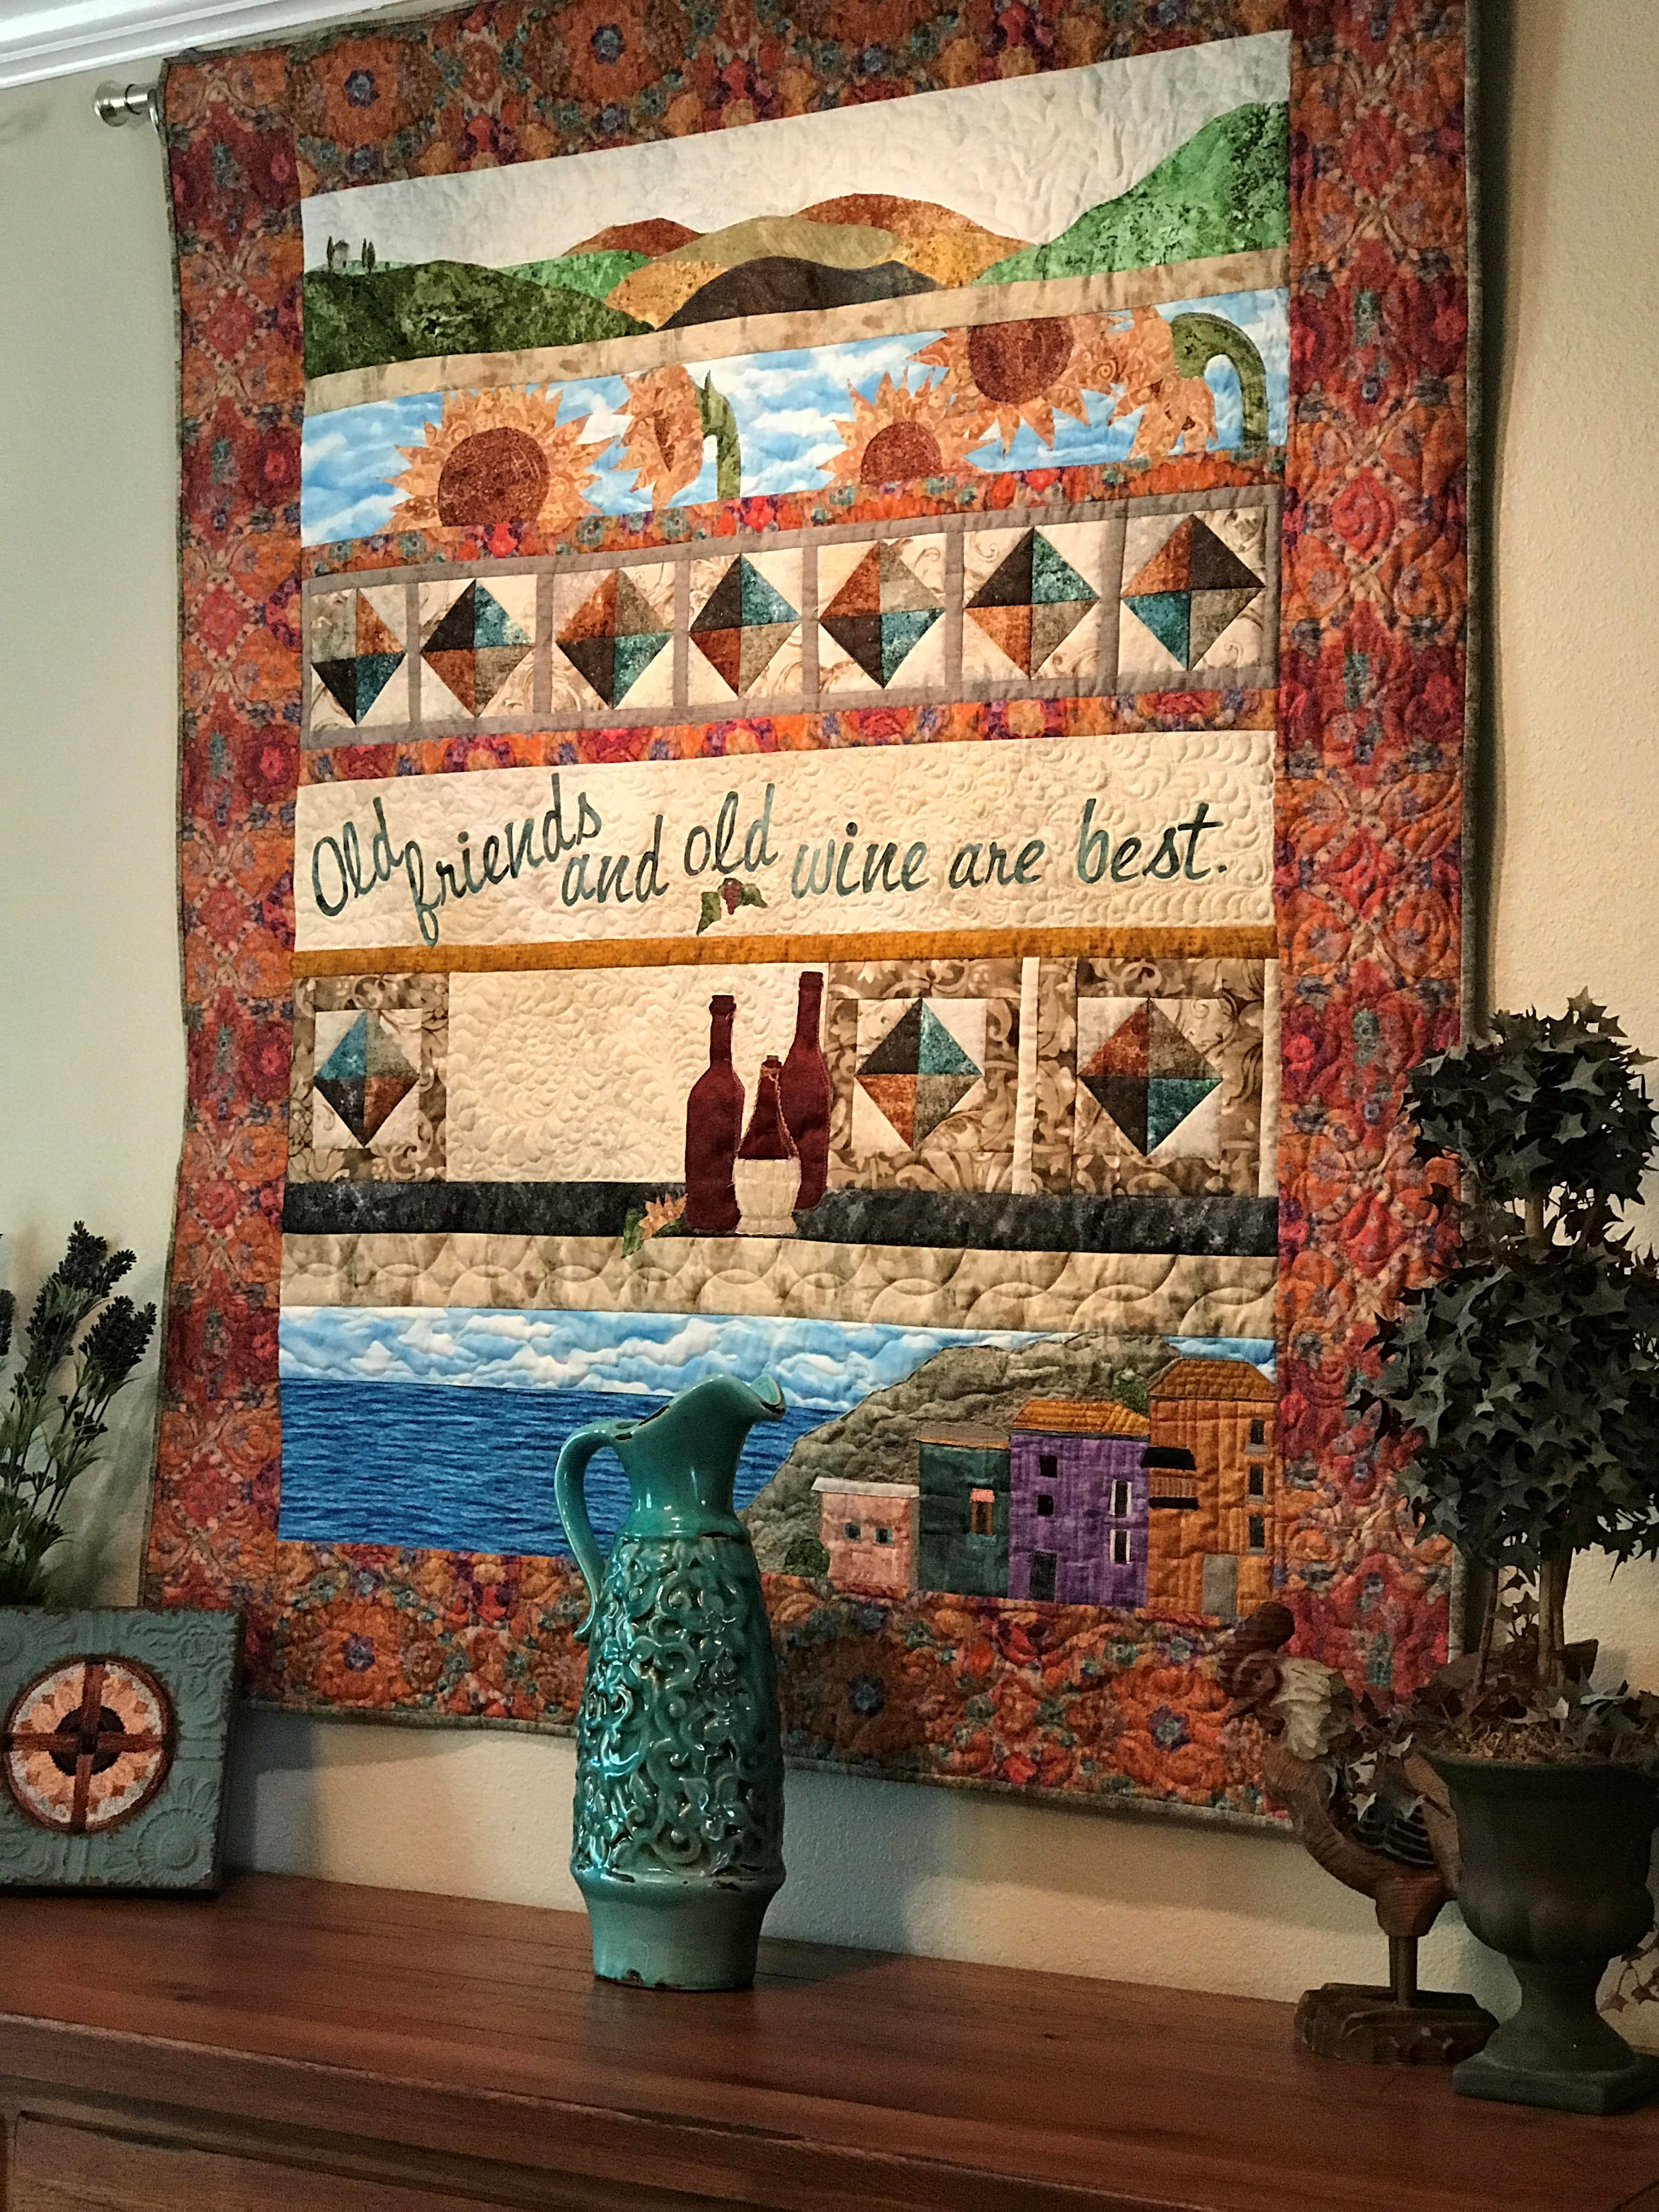
Italian Proverb Row by Row
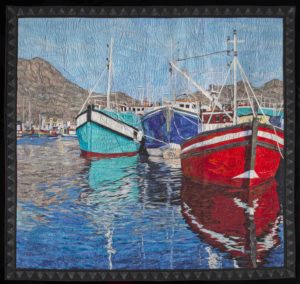
In our coastal-themed living room there are currently five quilts. Tropical Fun toured the AQS circuit a few years back in an Accuquilt display.
Tropical Fun made the AQS Accuquilt tour a few years ago.
Click here to see the others in my post, Summer Quilting.
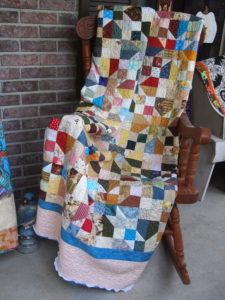
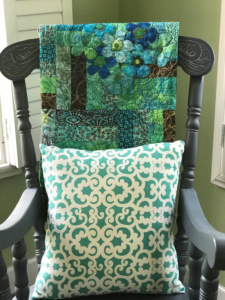
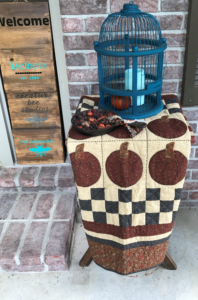
Now for that one quilt I had on my mind, the one for my porch swing. A panel. Simple but great for a swing quilt because it wasn’t too involved or expensive (in case it blows away). Then there are the old greats from Thimbleberries club.
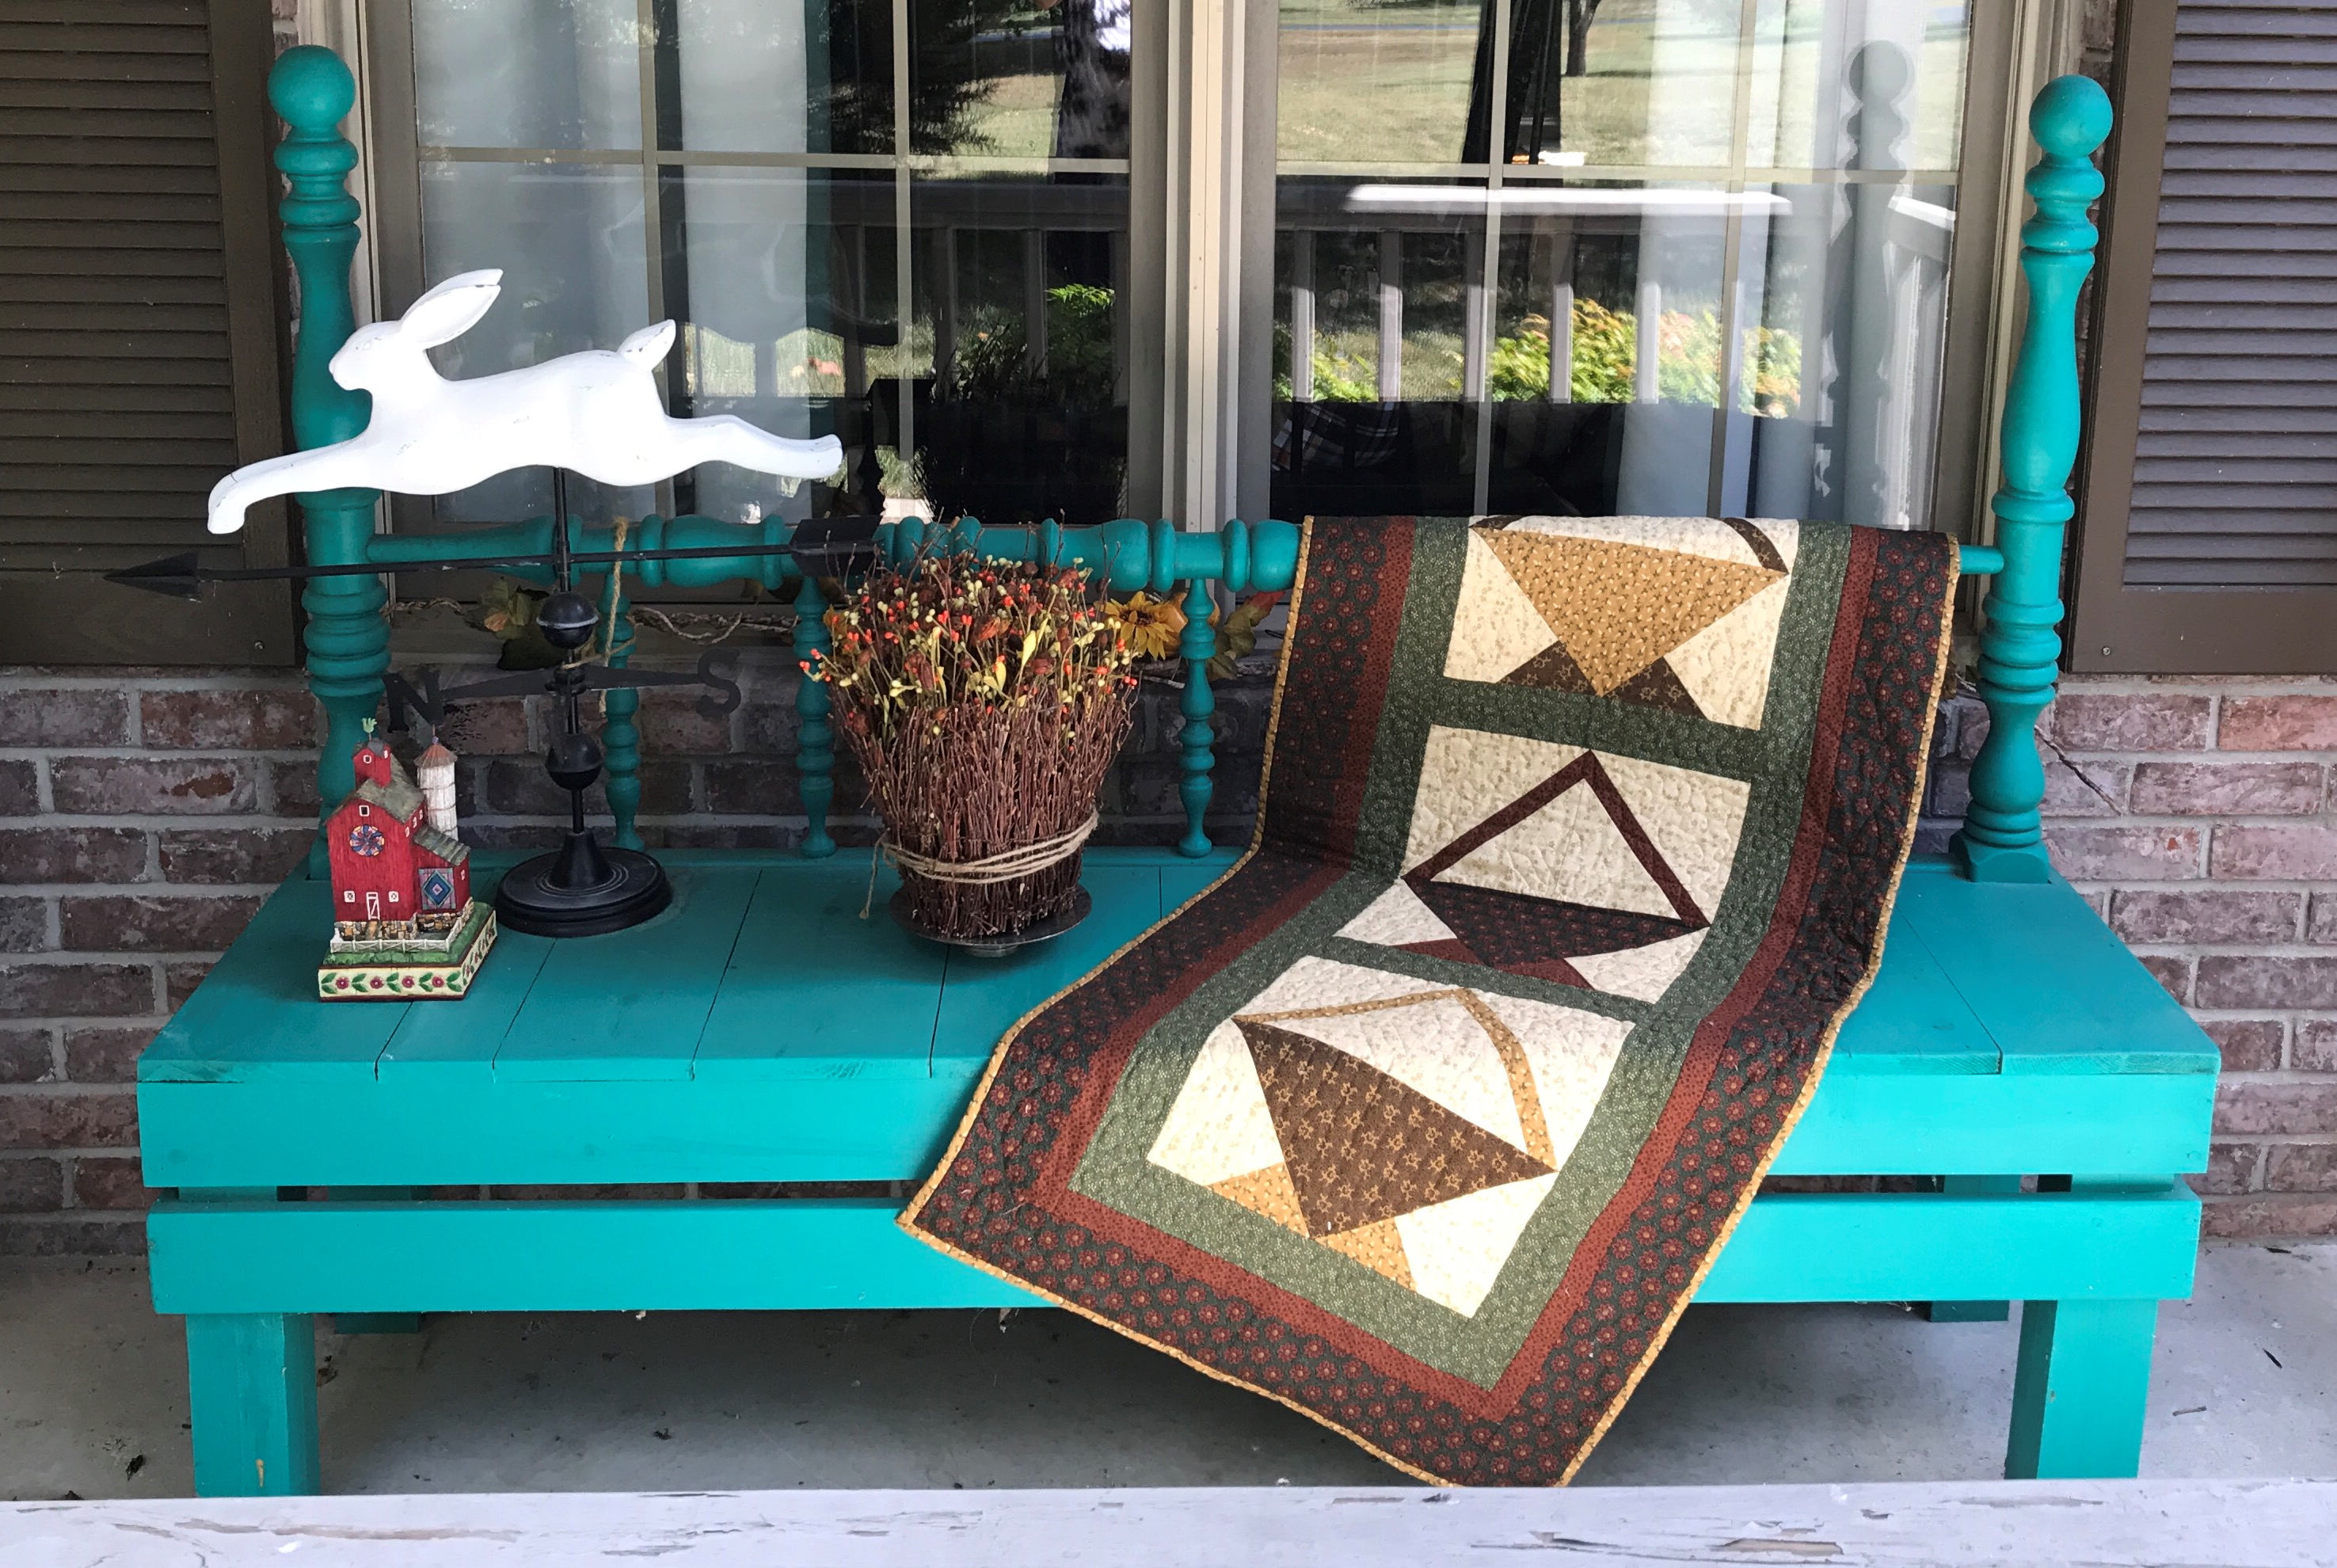
So, please tell me below that I’m not that weird and that you decorate with quilts, too! Or you can say whatever you want, but please comment!
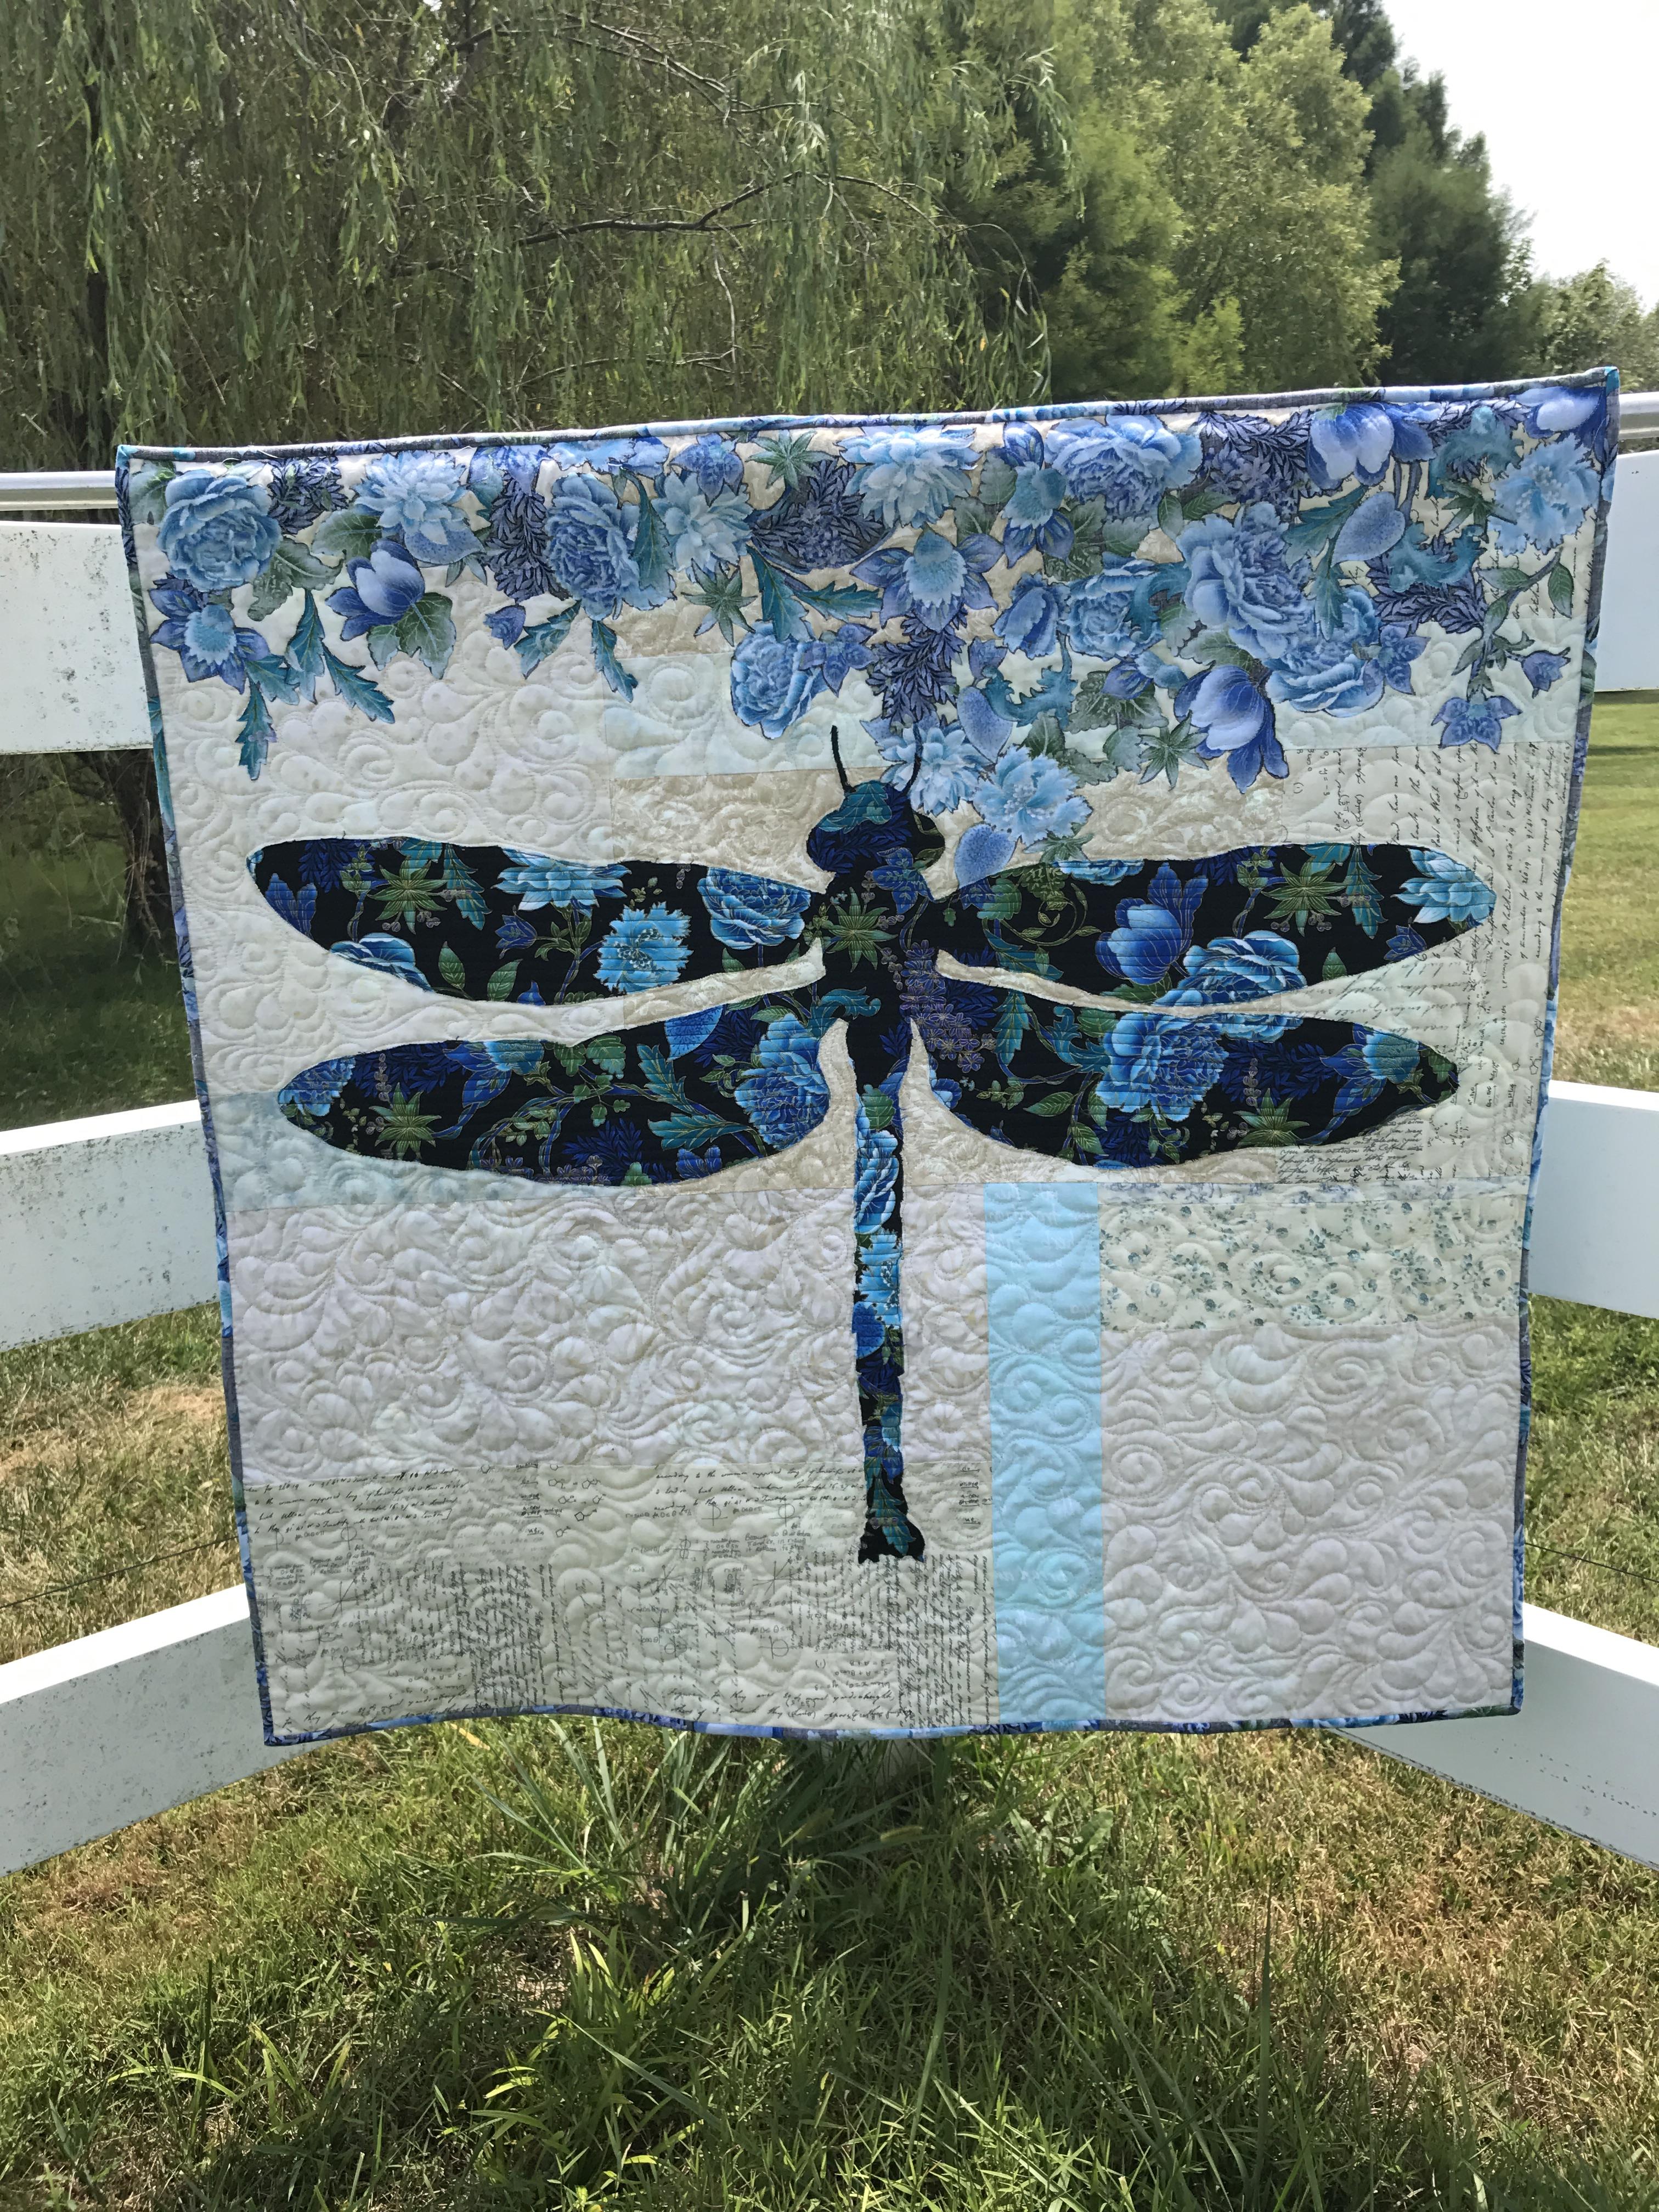
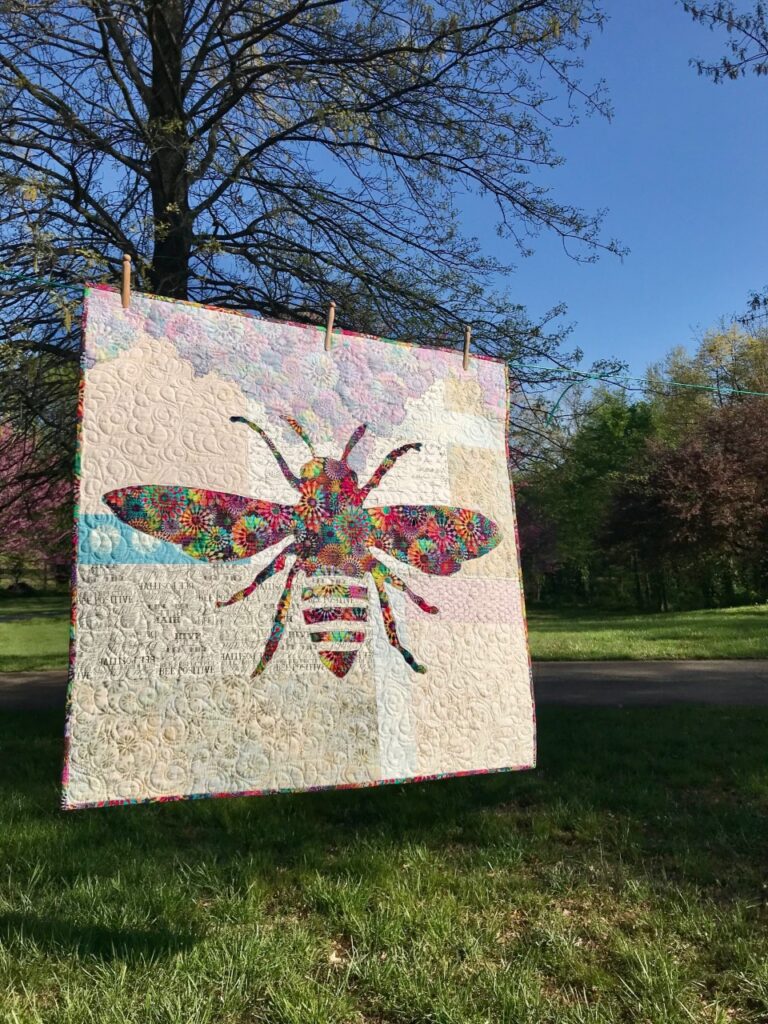
In upcoming posts, I’ll show the rest of my Italian designs and introduce some NEW patterns using both sides of one focus fabric (it’s not just for winged-girls anymore!).
Sign up below to receive my posts (about one a week). Please share on Facebook and Pin on Pinterest! Thanks for checking in today.
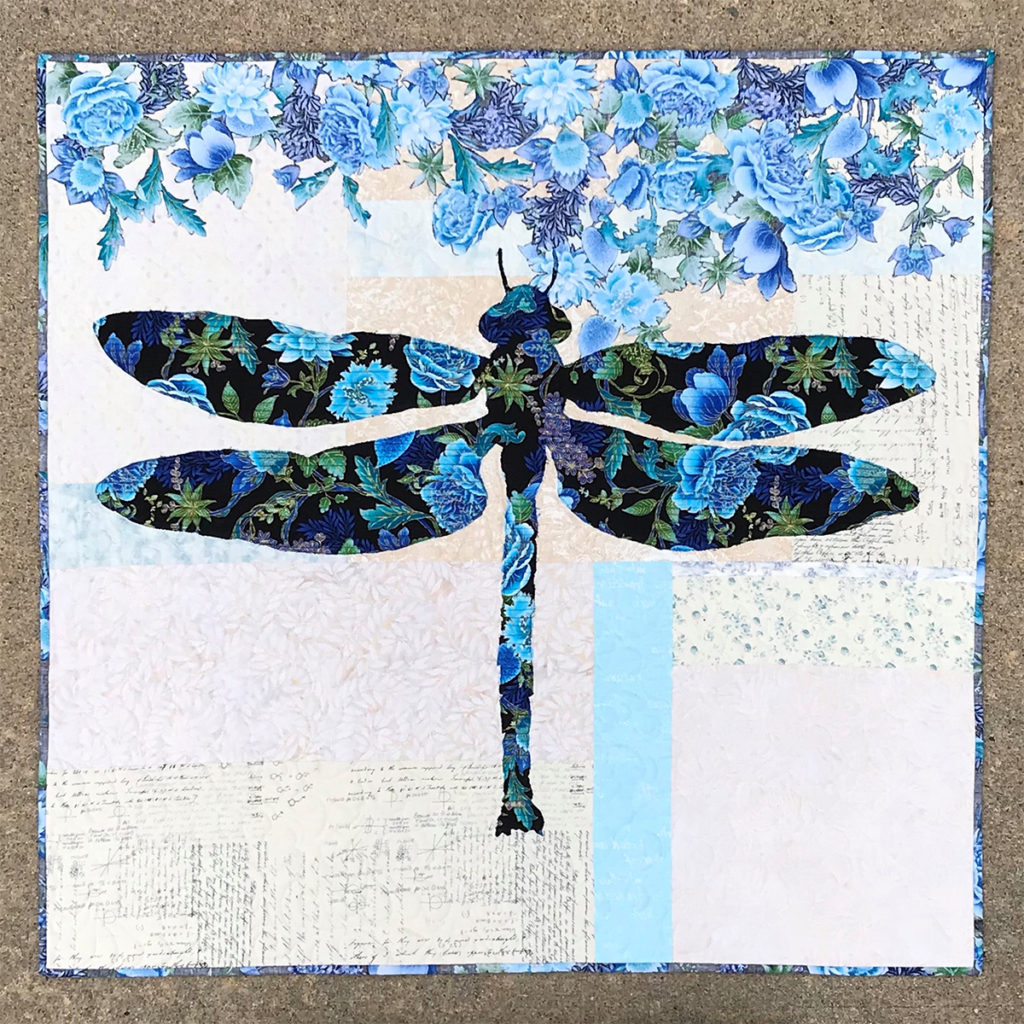

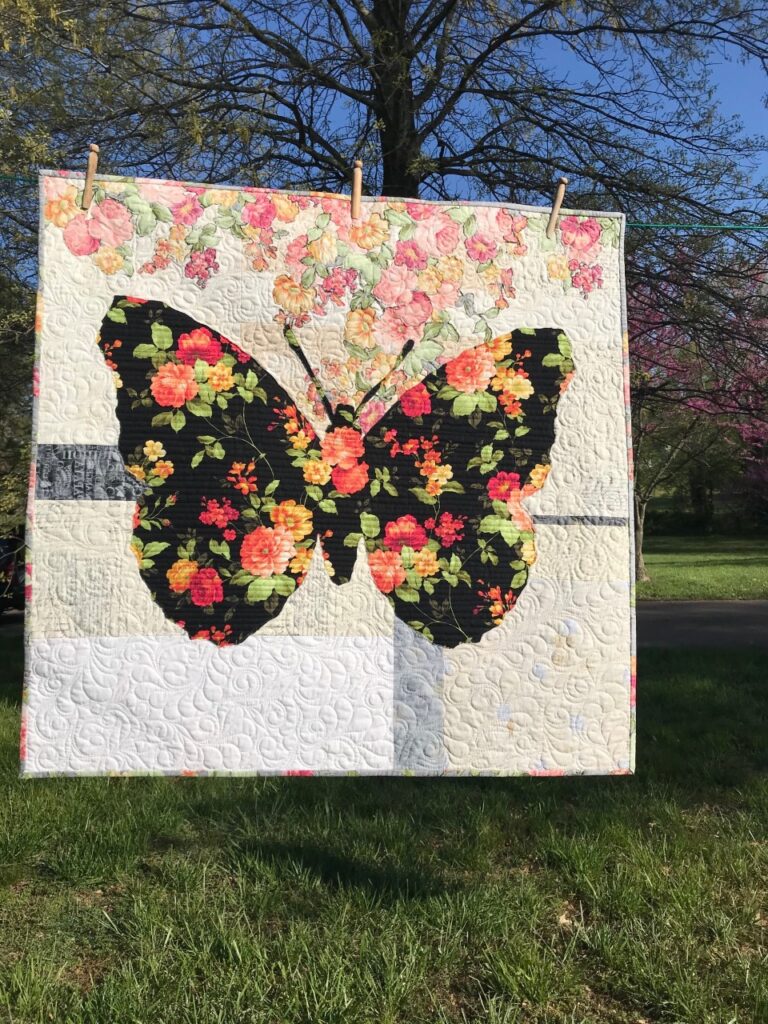
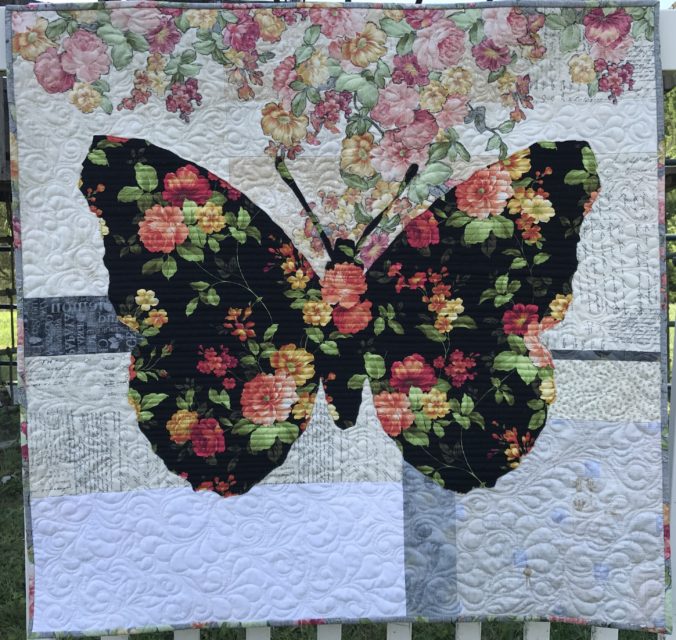
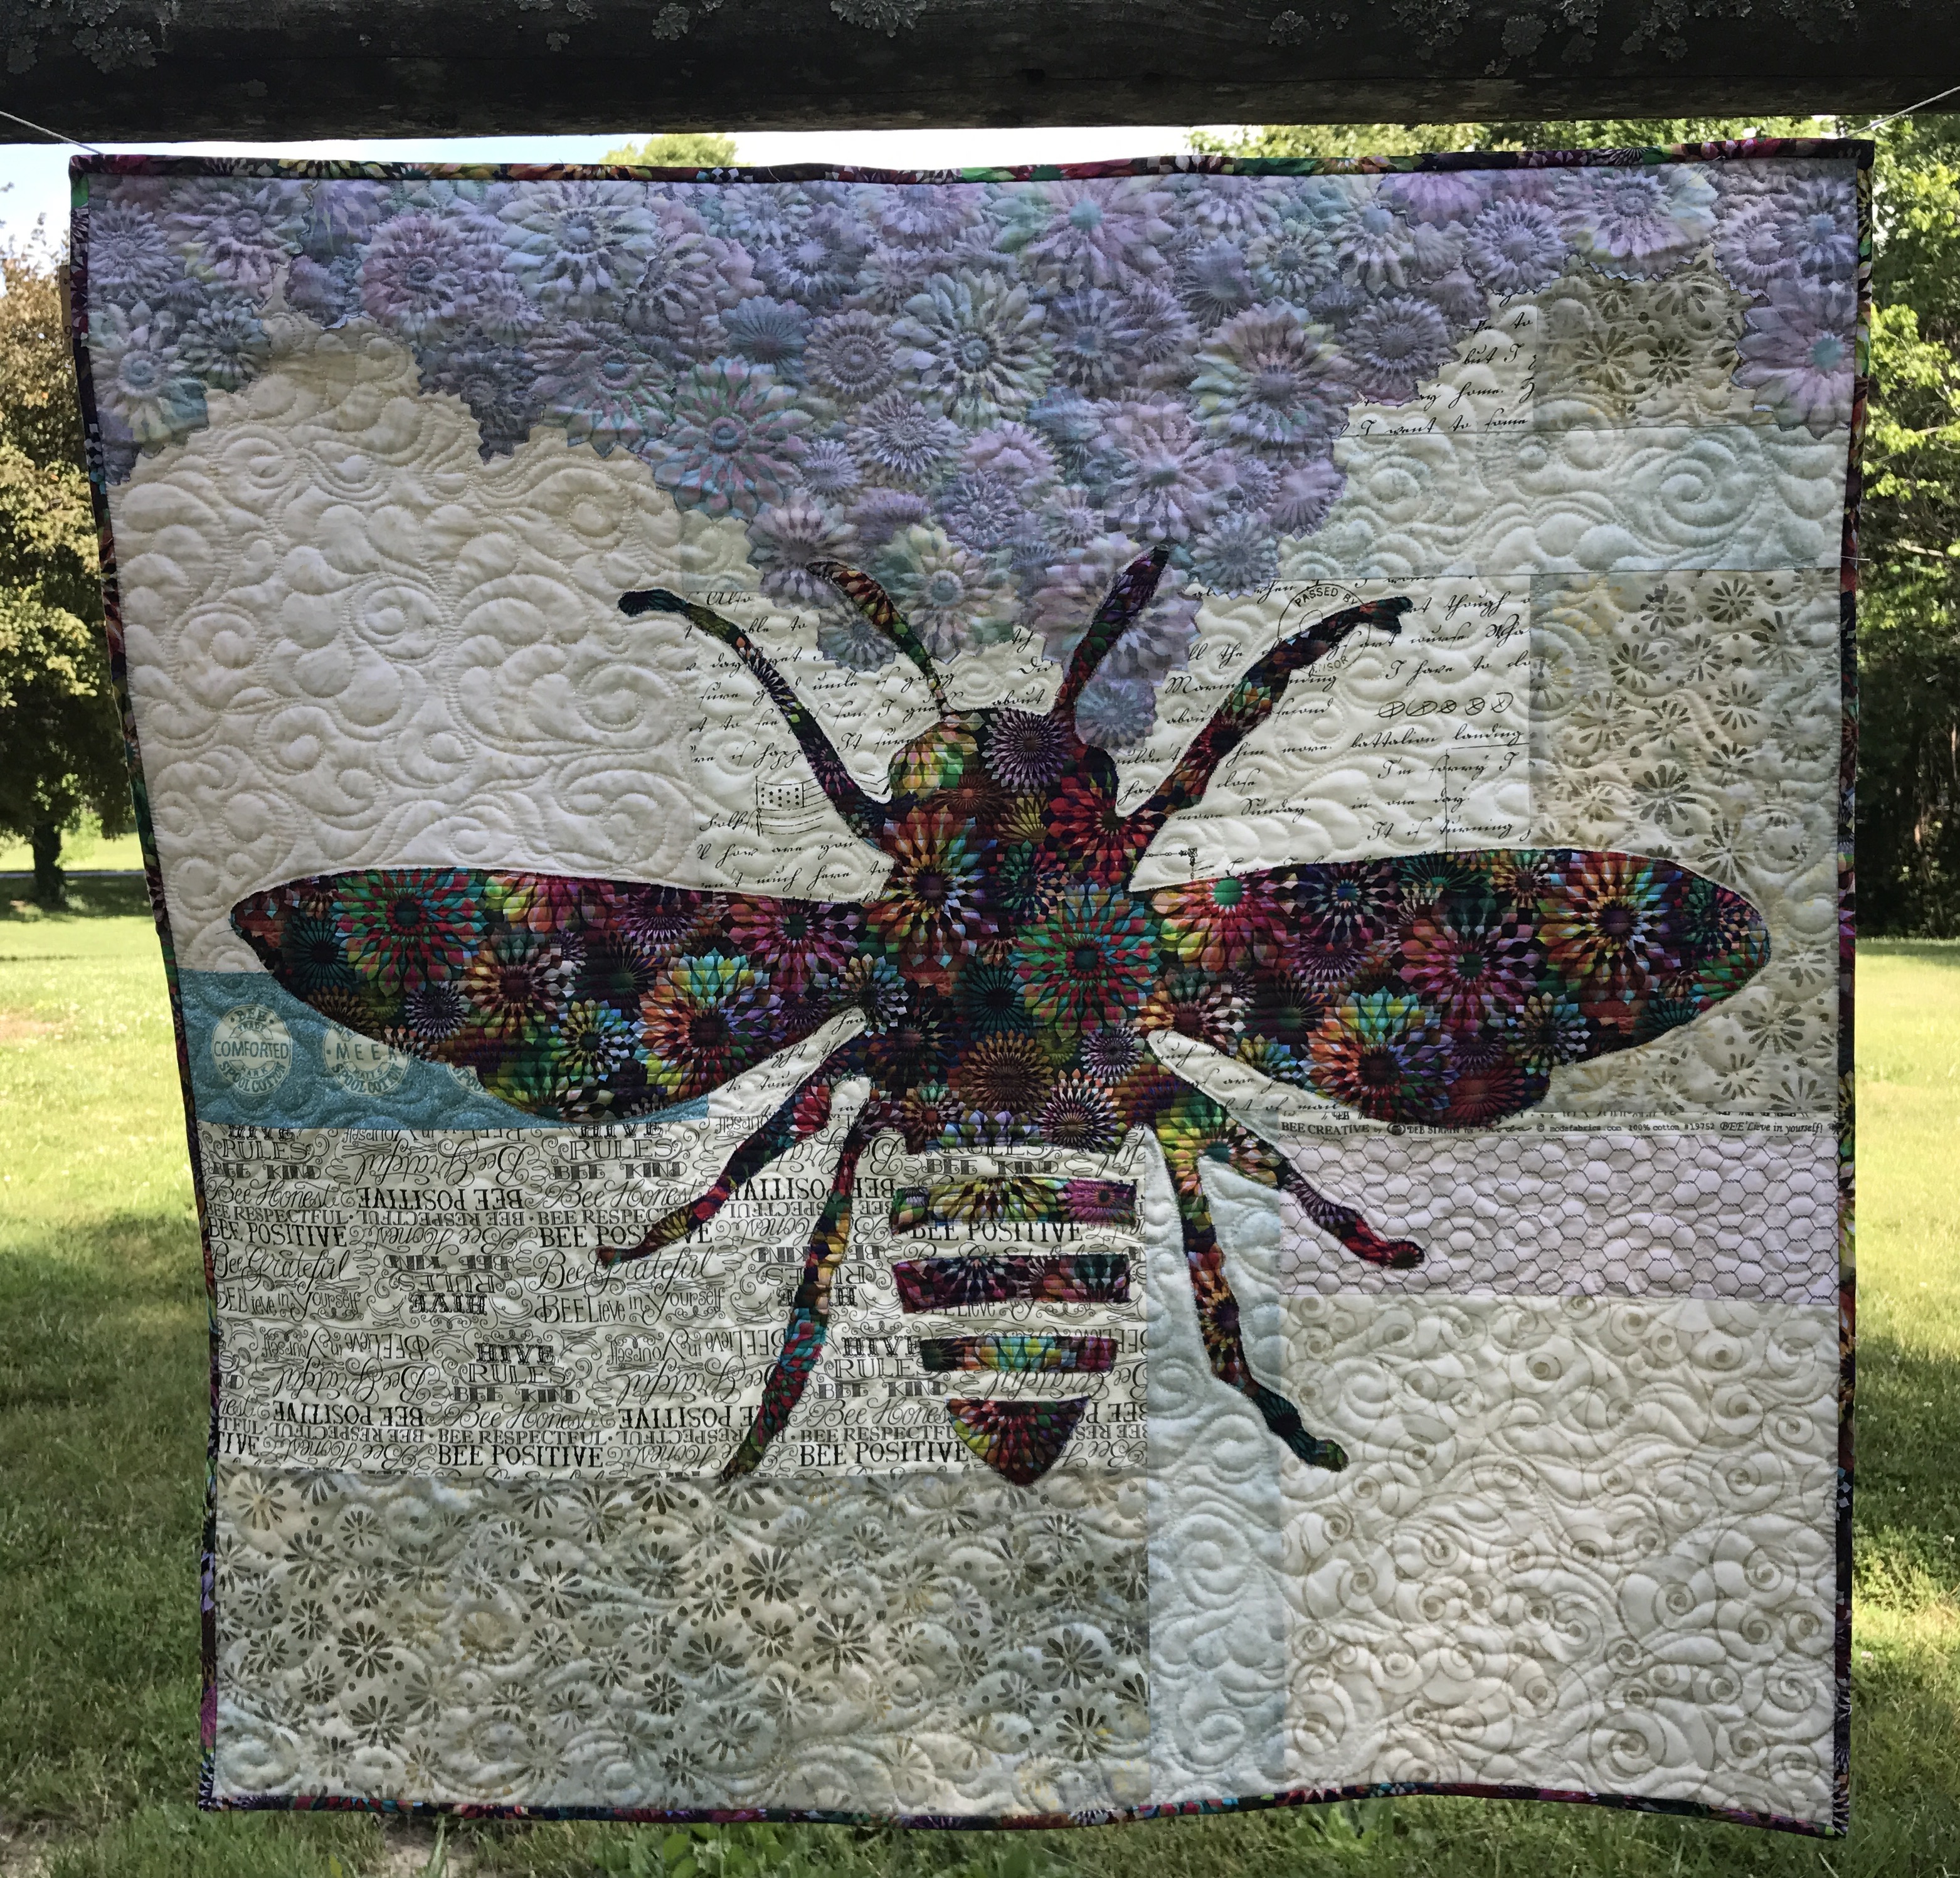
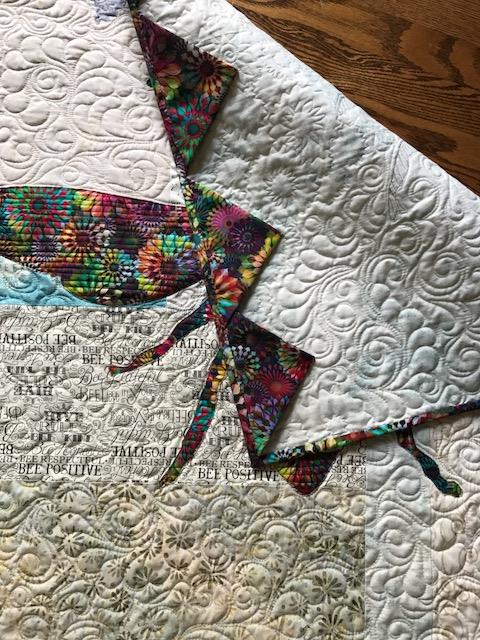
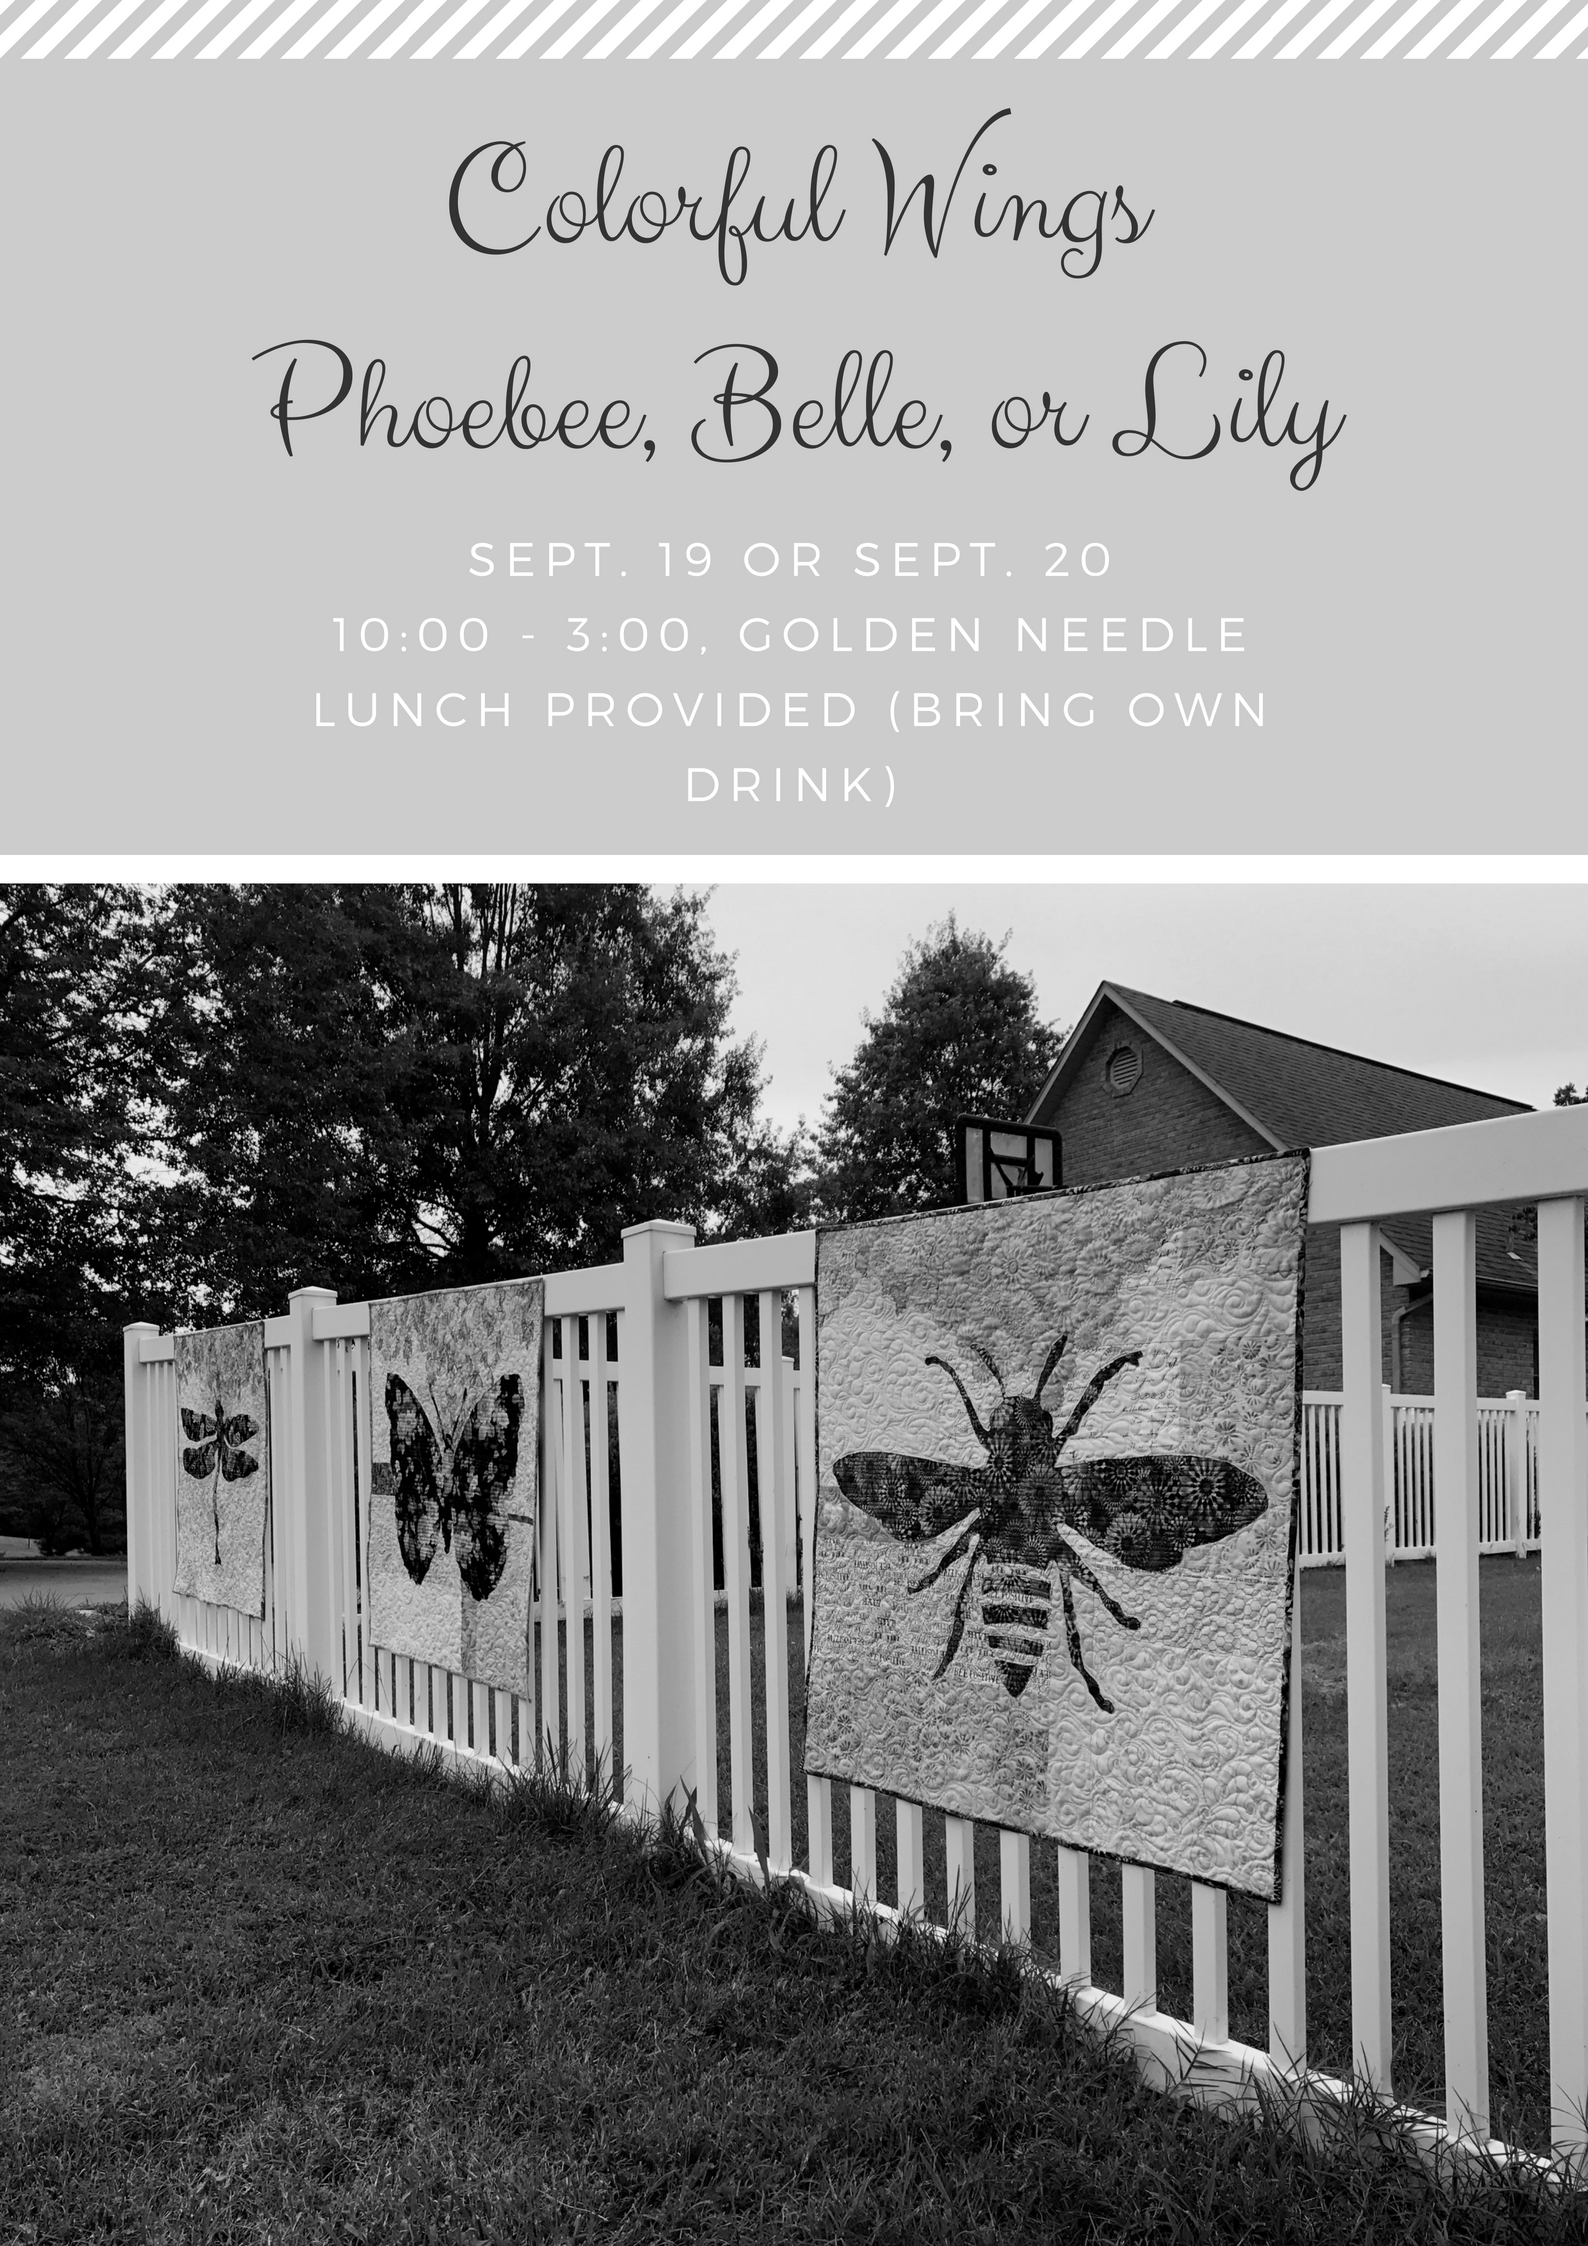 Next came Belle. She’s a French butterfly. Belle means “beautiful” (I NEVER got that about Beauty and the Beast – blush).