Are UFOs, PIGS, or WIPs a part of your New Years Quilting Resolutions?
UnFinished Objects, Projects in Grocery Sacks, and Works in Progress can weigh a quilter down if she or he isn’t careful!
Maybe you could use this easy binding technique to get some of your projects out of the way and off your mind. The Lickety-Split Quilt Binding makes that last big step go quickly and looks smart!
When I have “git-er-done” quilts on my quilting resolutions list, this is my go-to technique. This technique provides a 2 1/4″ or a 2″ binding (for mini quilts) options for those quilts that don’t require a hand-turned binding. See this original binding method here – it finishes a larger than 2 1/2 inch size binding.
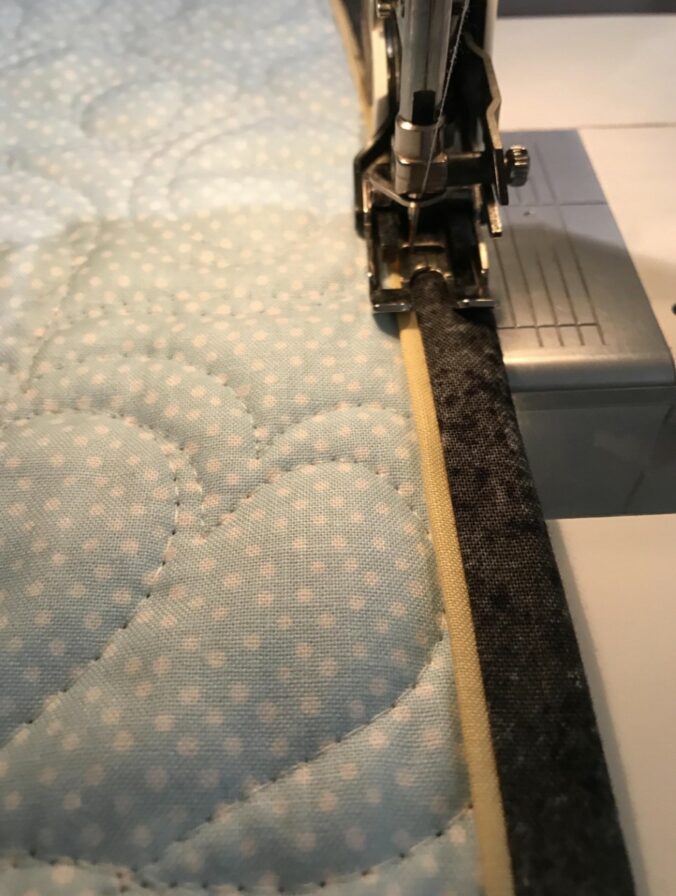
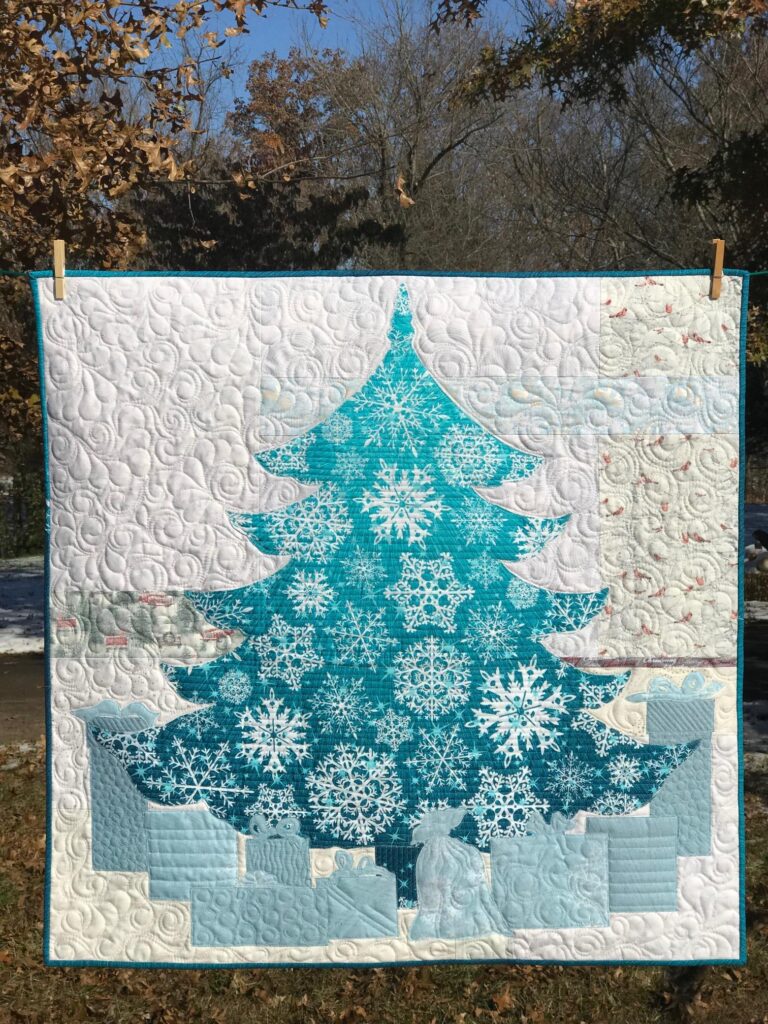
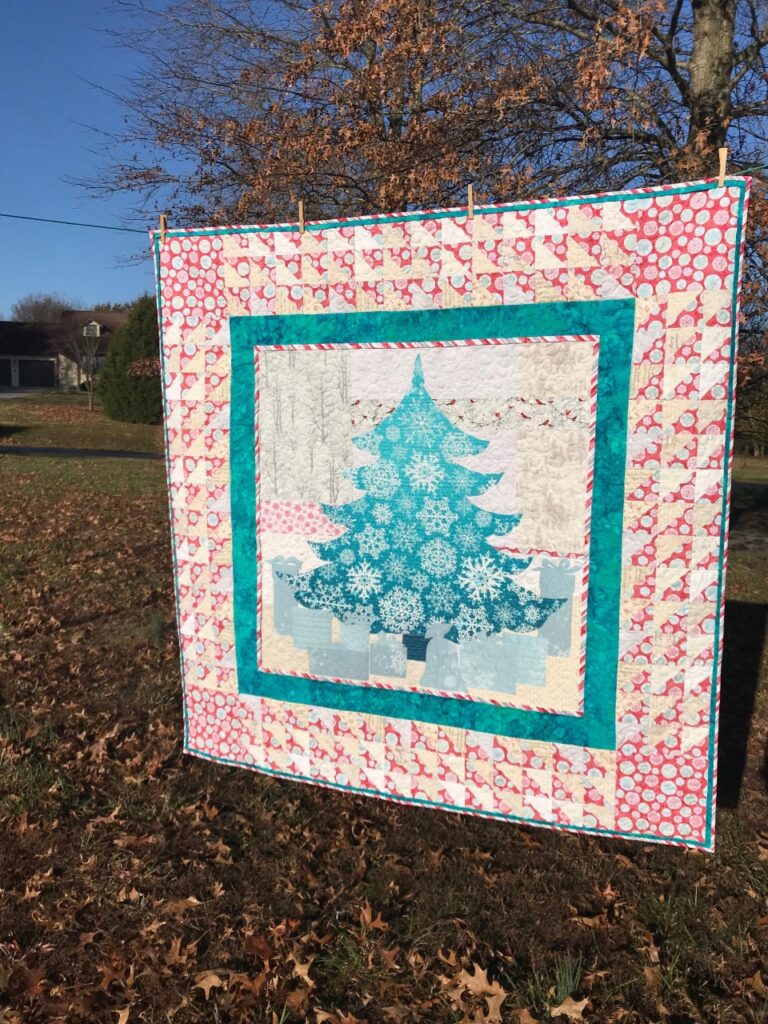
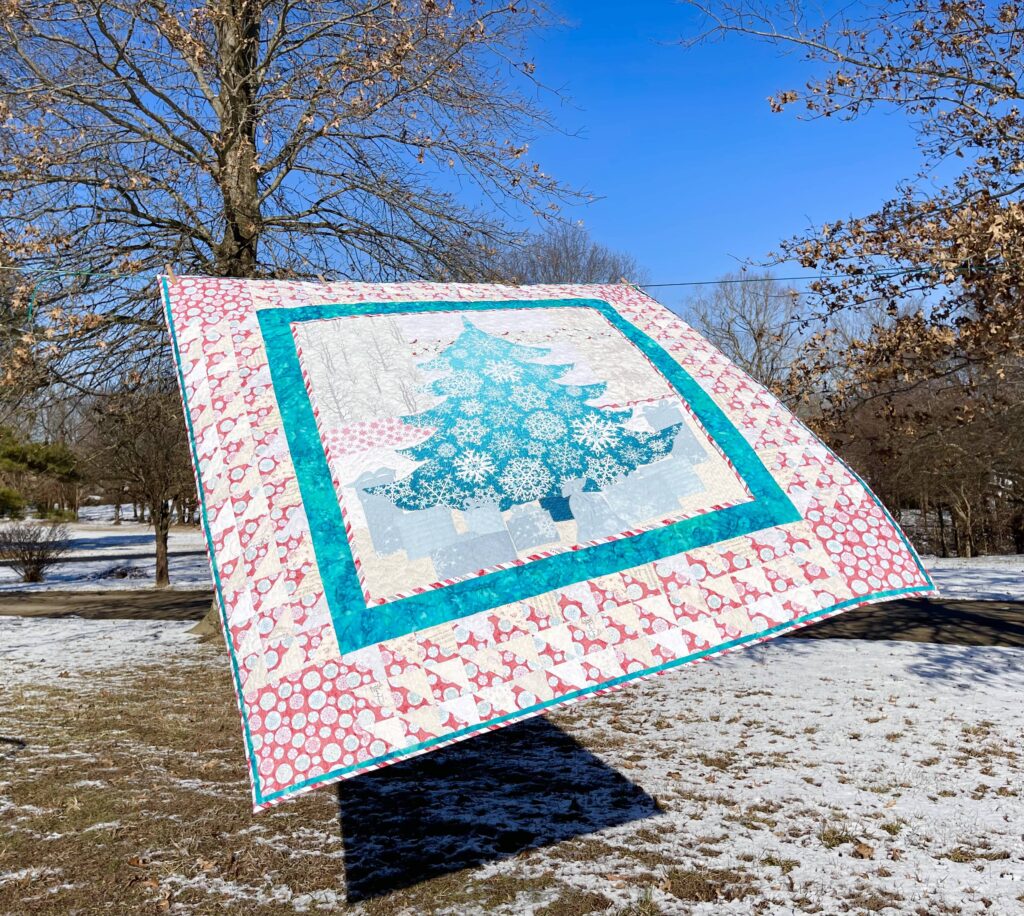
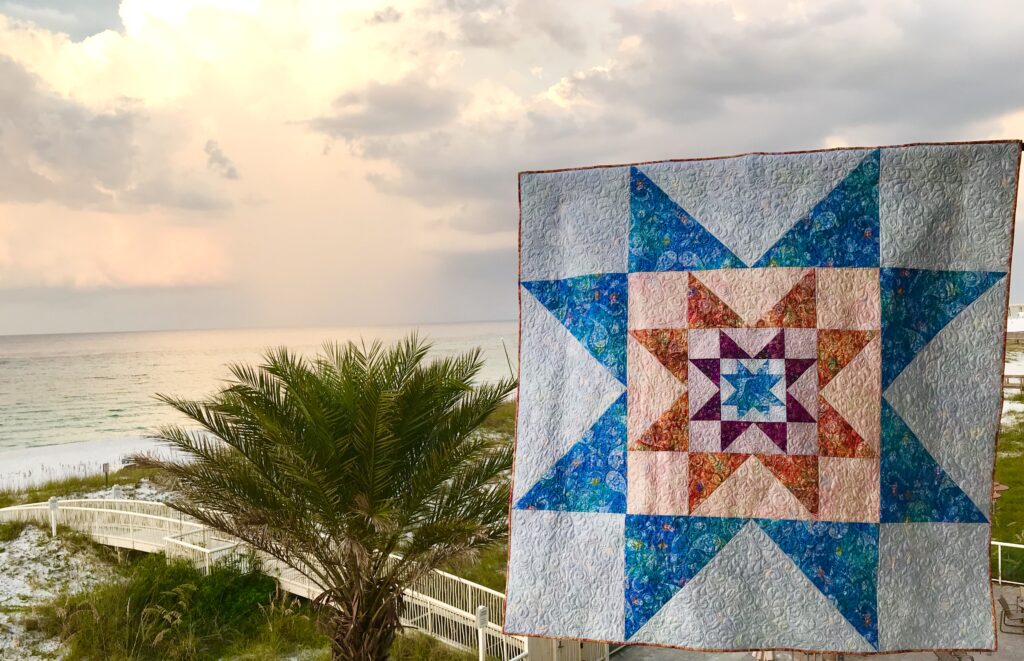
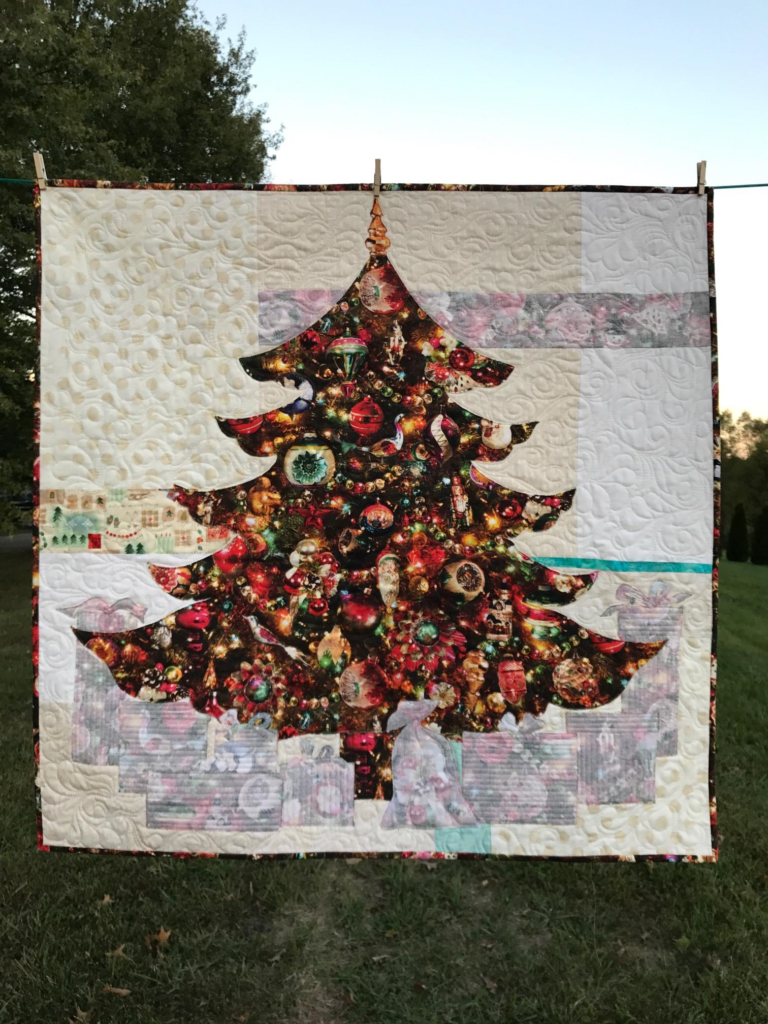
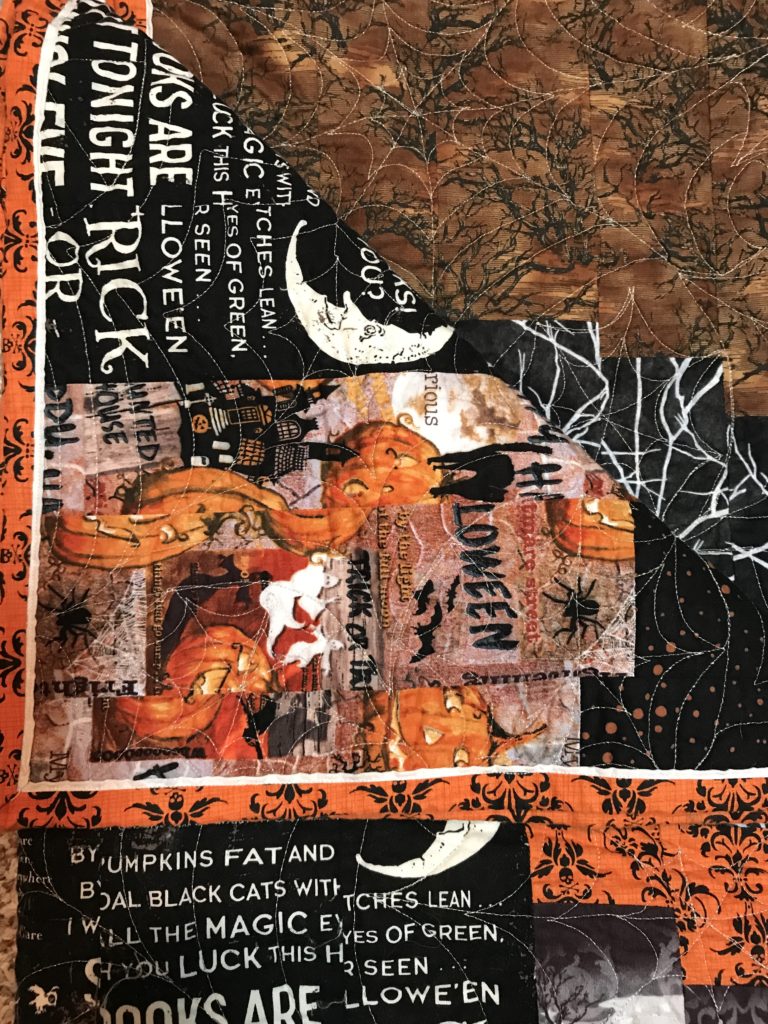
What’s nice about this machine stitched binding is that it gives your quilt a tiny burst of contrasting color between the quilt and the binding, appearing to be piping or a “micro-flange”. This also gives your needle a perfect nesting line for stitching on.
How to:
2 1/4 ” binding: Cut main binding strips 1 1/4″ width and cut the accent strips (piping look) slightly larger at 1 1/2″ width.
2″ binding: Cut main binding strips 1 1/8″ width and cut the accent strips (piping look) slightly larger at 1 3/8″.
Simply cut your strips, sew them end to end and press like normal binding. Do this for both sets of strips. Then, with right sides together, sew your long strips, press the seam to the binding color.
With the seam facing down, align the edge of the binding along the edge of your quilt and stitch a scant 1/4 inch seam (or smaller than your final stitch seam. Lastly, using bobbin thread that matches your backing and upper thread to match the accent, turn your binding to the front of your quilt and stitch in the ditch between the two fabrics. You might use a seam guide and adjust your needle position to a comfortable spot.

