Tag: quilting (Page 8 of 10)

Spooky Quilts A-Brewing

Estimated reading time: 3 minutes

Creativity abounds in these Halloween quilts made by workshops and by pattern customers!

View the variety of background and focus fabrics used in these Halloween quilts.

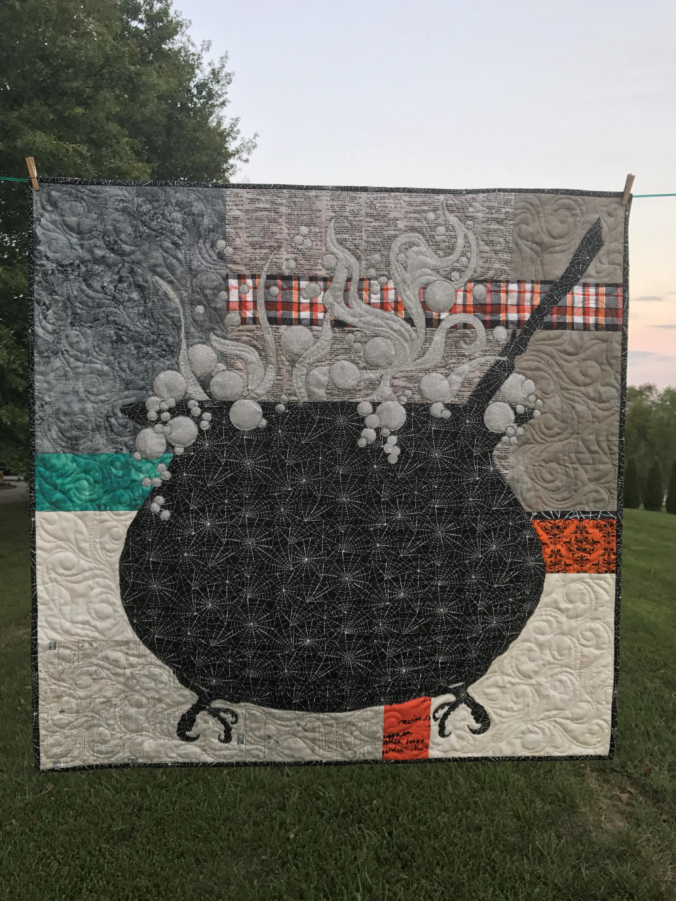
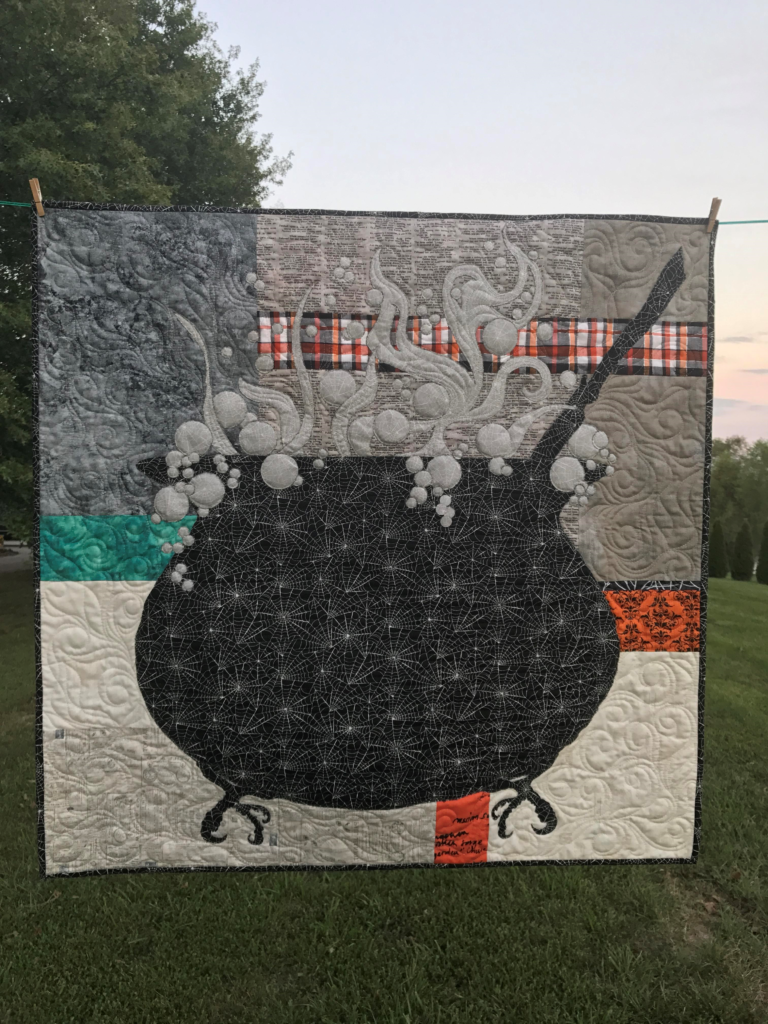
Creative Cauldrons

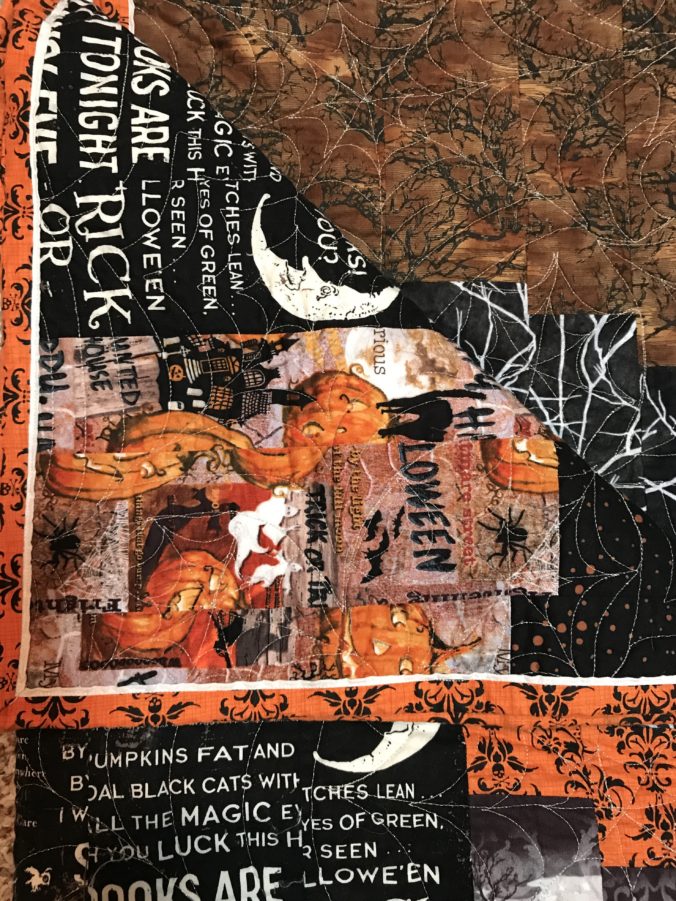
First, each quilter chose a focus fabric for their individual cauldrons, auditioning BOTH sides of the fabric.

There are lots of fun Halloween fabrics on the market every year. When choosing one for your cauldron, be sure to audition BOTH sides! You learn how in the Something’s Brewing quilt pattern.

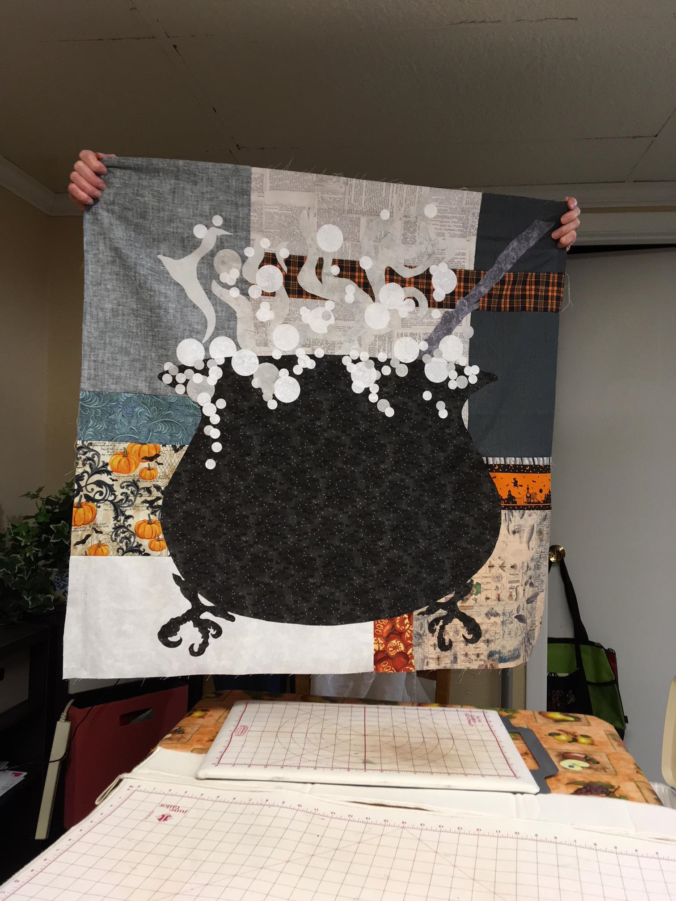
Image of Cauldron QuiltsImage of Cauldron Quilt

These quilters use BOTH spooky sides to stir up trouble!

While the focus fabric is key, background fabrics play a key role in providing interest and sparkle to the quilts. Secondly, these cauldron creators auditioned their possible background fabrics. Variety of fabric genre adds interest to the background. The accent strips are used to pull your eye through the quilt.

If the value is right, use it in your Halloween quilts!

I encourage students to check their values when auditioning fabrics, but be bold with their choices!

If you like a fabric and the value is right, use it! Don’t worry if it’s a little wild or out of your norm.

Karla
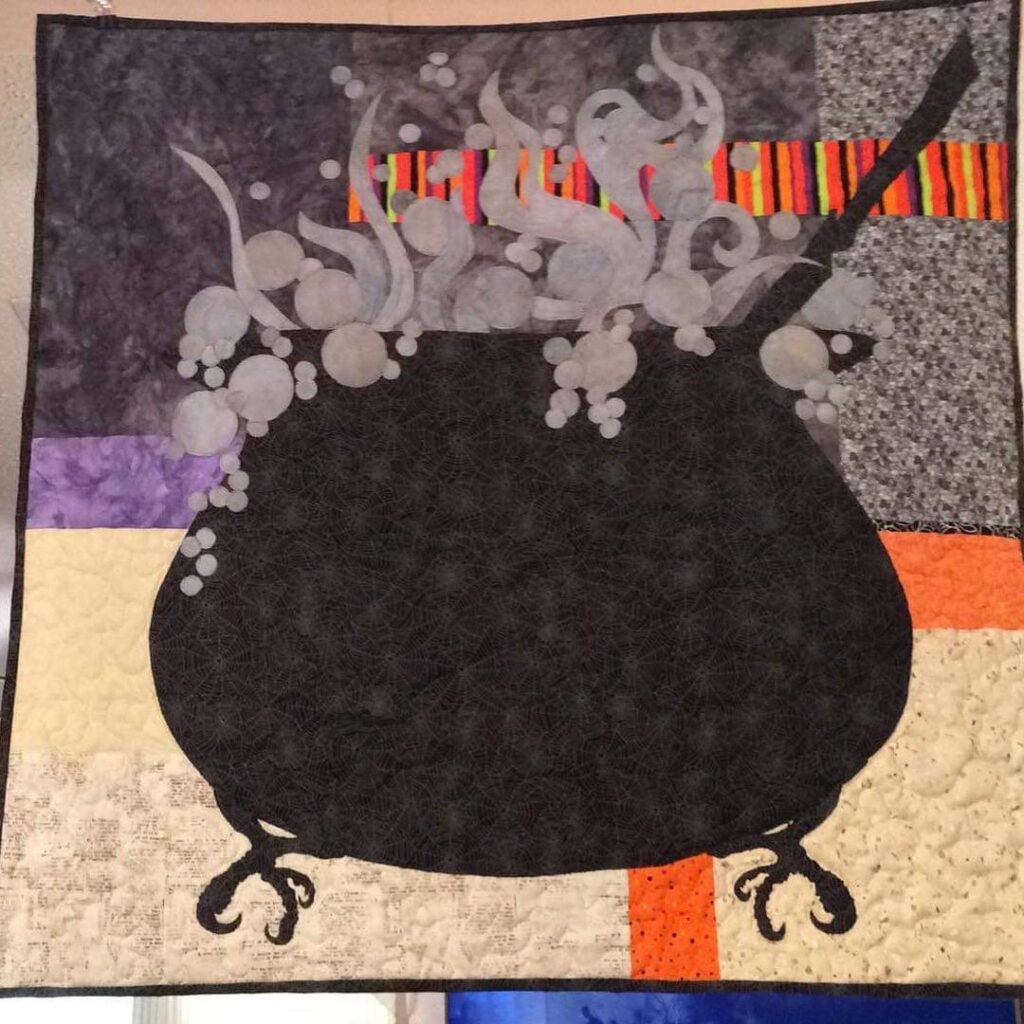
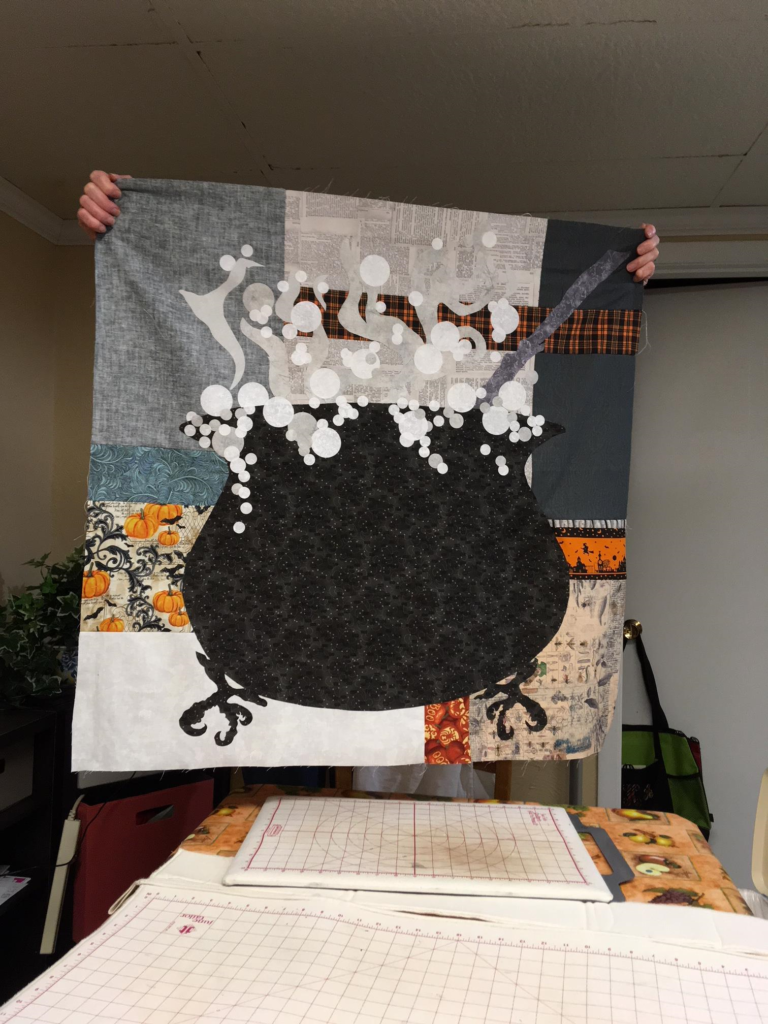
Image of Halloween Quilt

As well as checking the values of the backgrounds fabrics, students watch how those fabrics work with their focus fabric. Notice that the lower half is a lighter value and the cauldron really stand out.
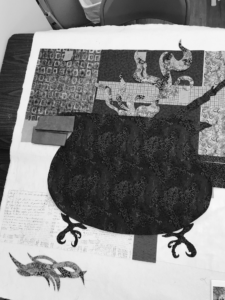
Black and White Image of Cauldron

Quilt-makers of these Halloween quilts evaluate the value of their background fabrics as they relate to the front AND back of their focus fabrics using black and white pictures.
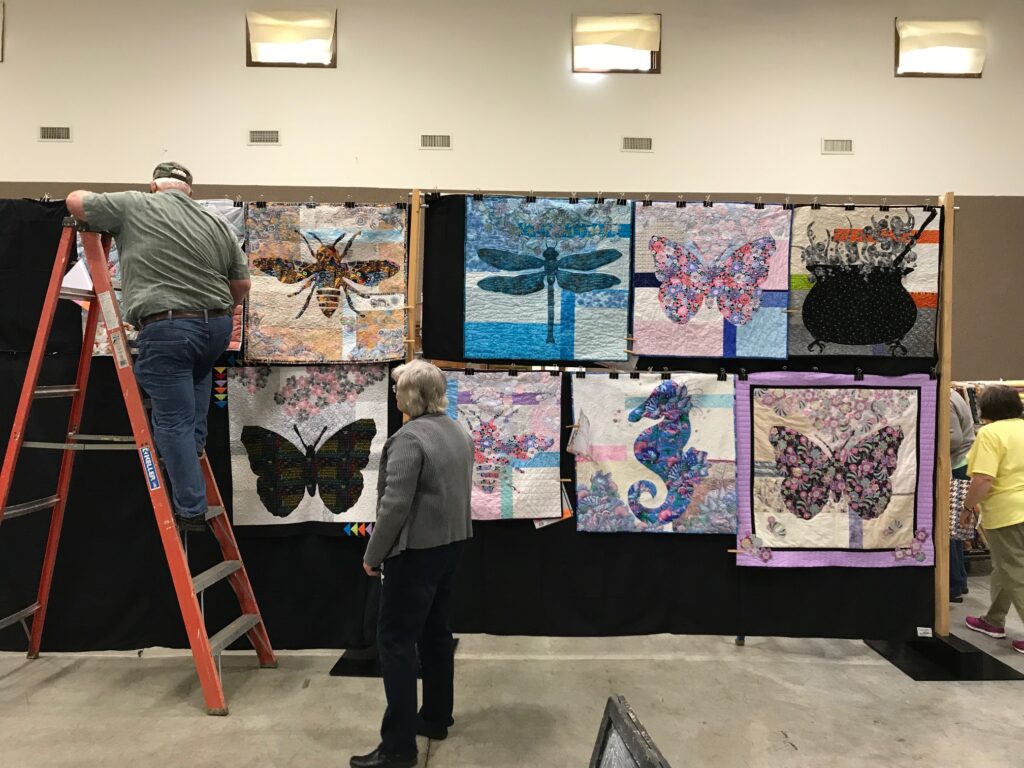
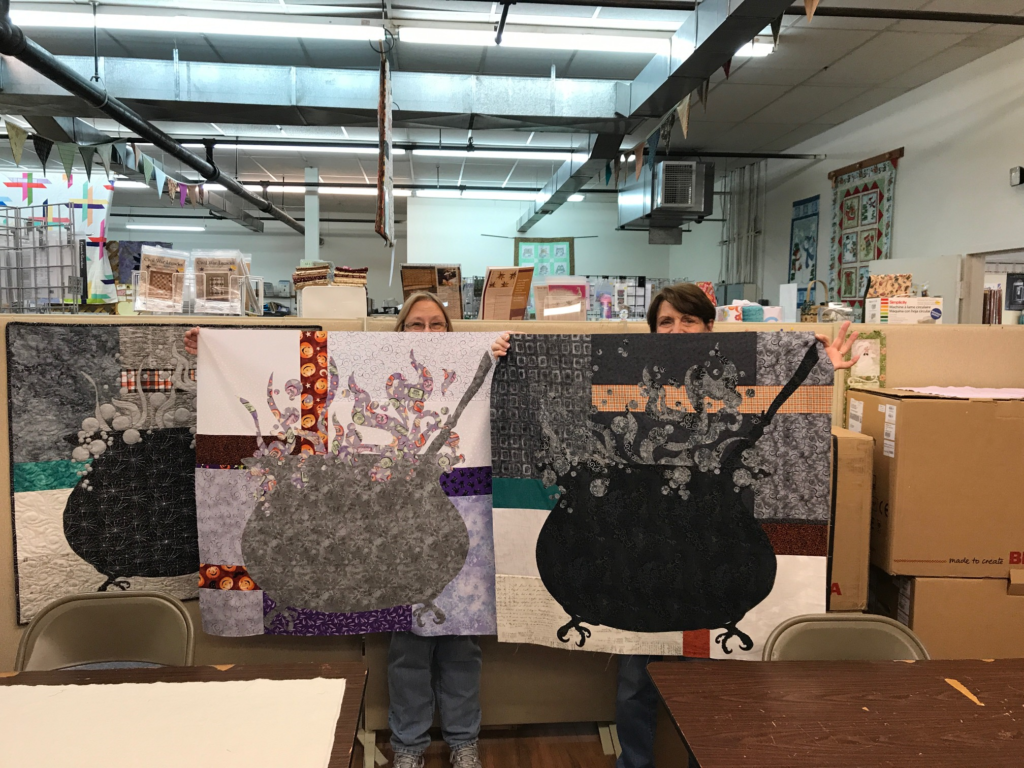
image of show quilts
Something’s Brewing from Memory Makers class in their quilt show.

SHOP Something’s Brewing  Quilt Pattern.

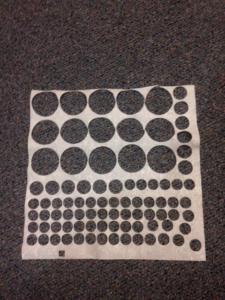
Bubble-making is easy when you use Accuquilt or Scan N Cut to make them! Here is the sheet from bubbles made in record time – less than 7 minutes–on the Scan N Cut!

Image of Cut Fabric

Learn more about the Something’s Brewing Wall Hanging.

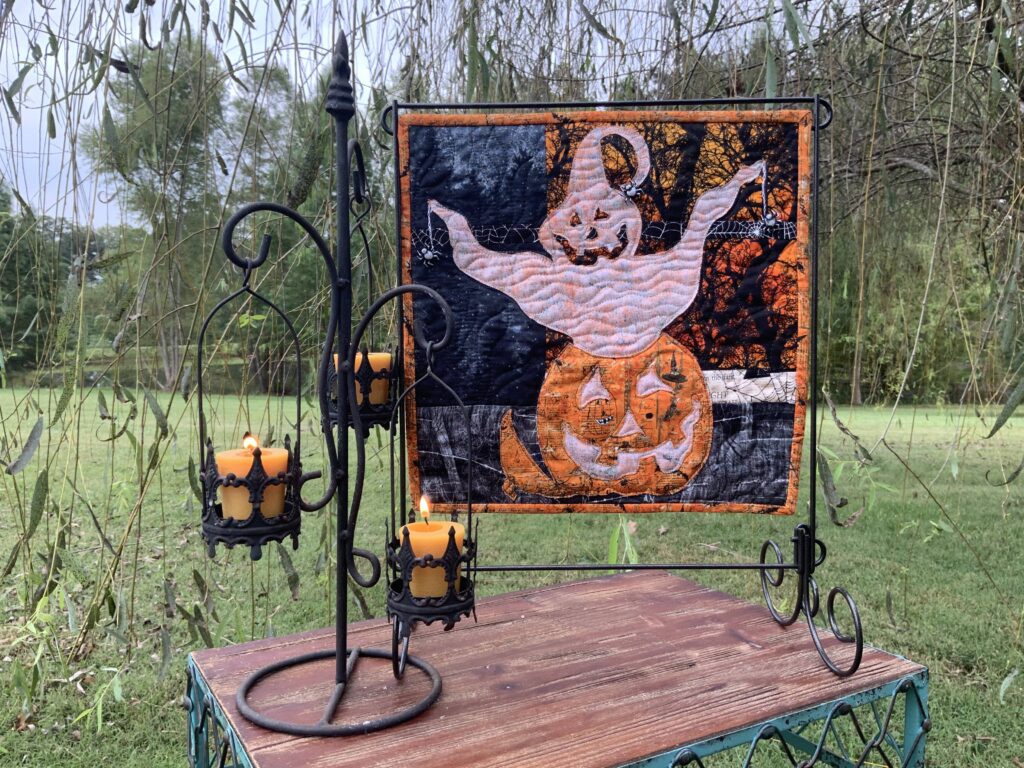
See Sweet Pumpkin Applique Pillow for another fun fall project!

Need a yummy meal for busy crafting days? See A Delicious Quilting-Day Soup for You!
New Quilt Pattern Using Both Sides

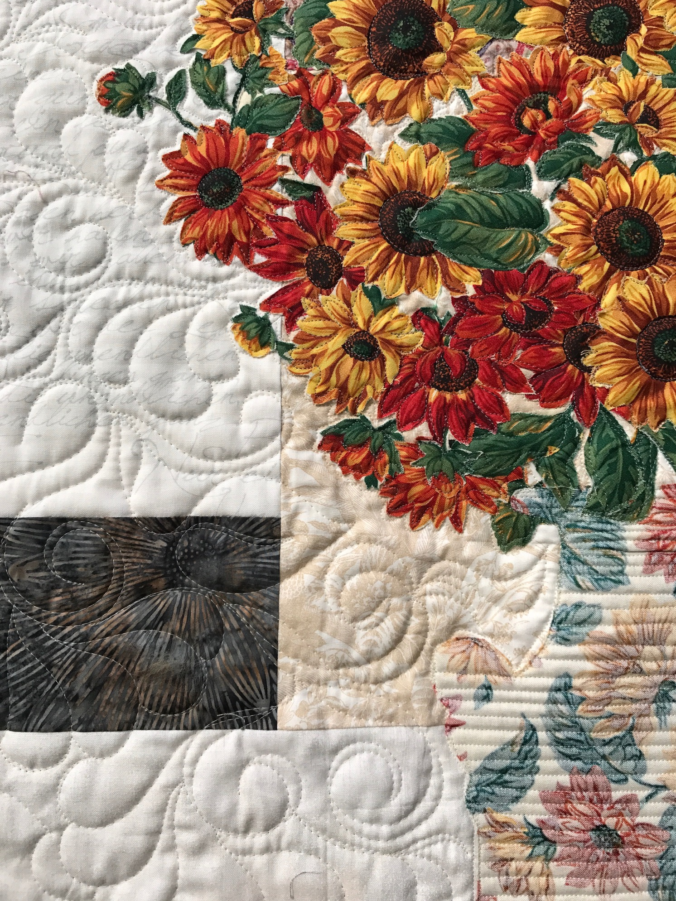
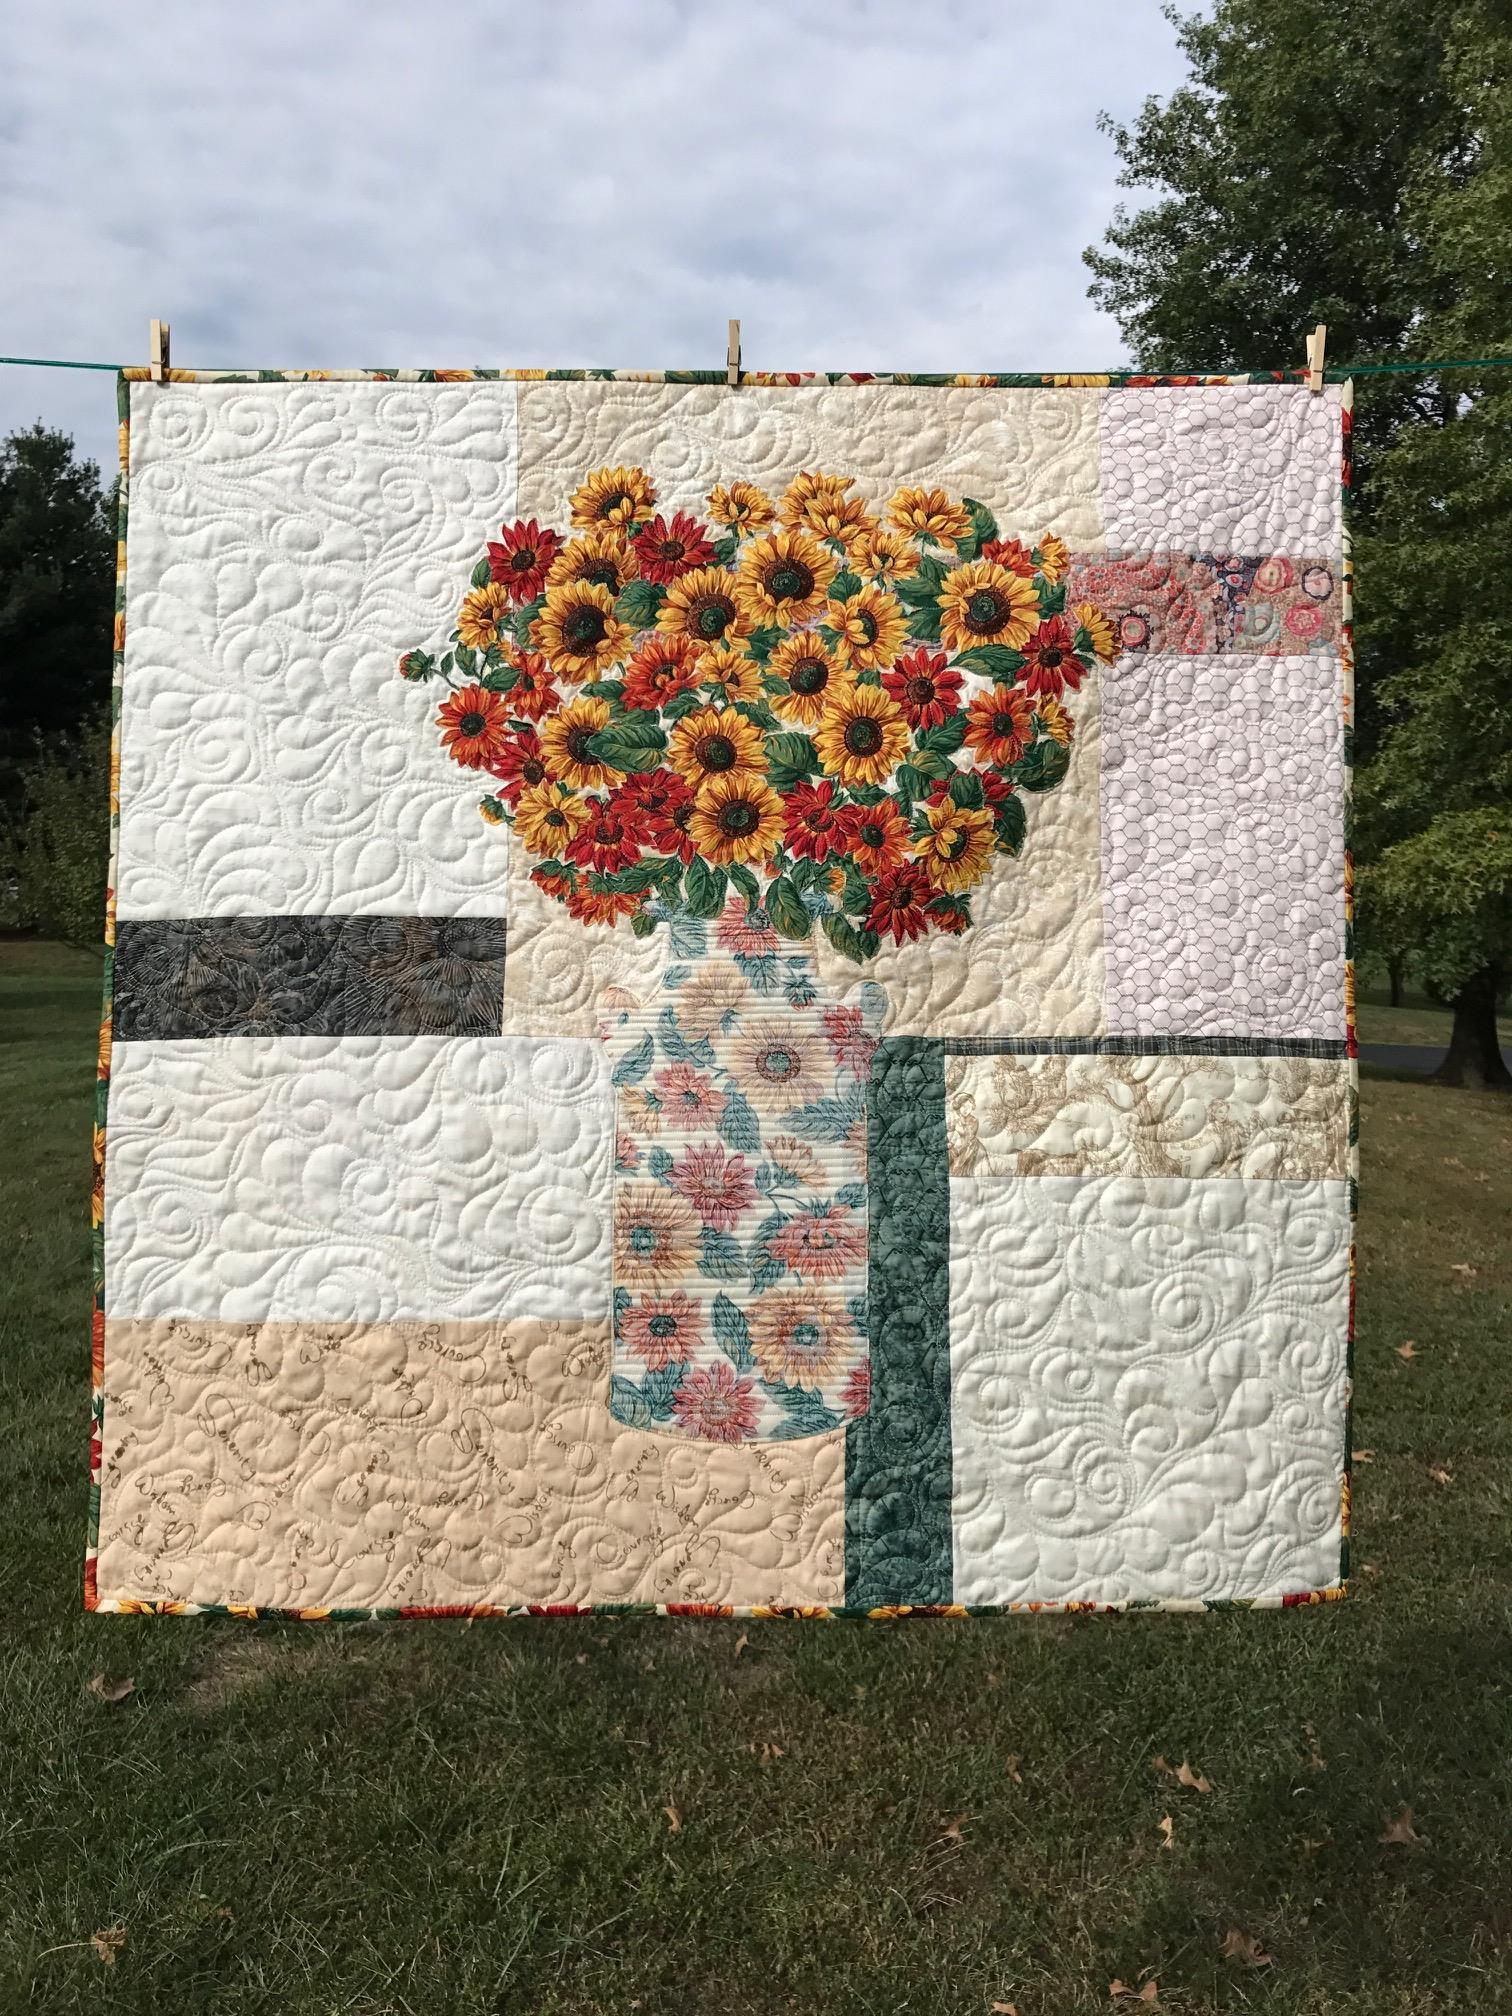
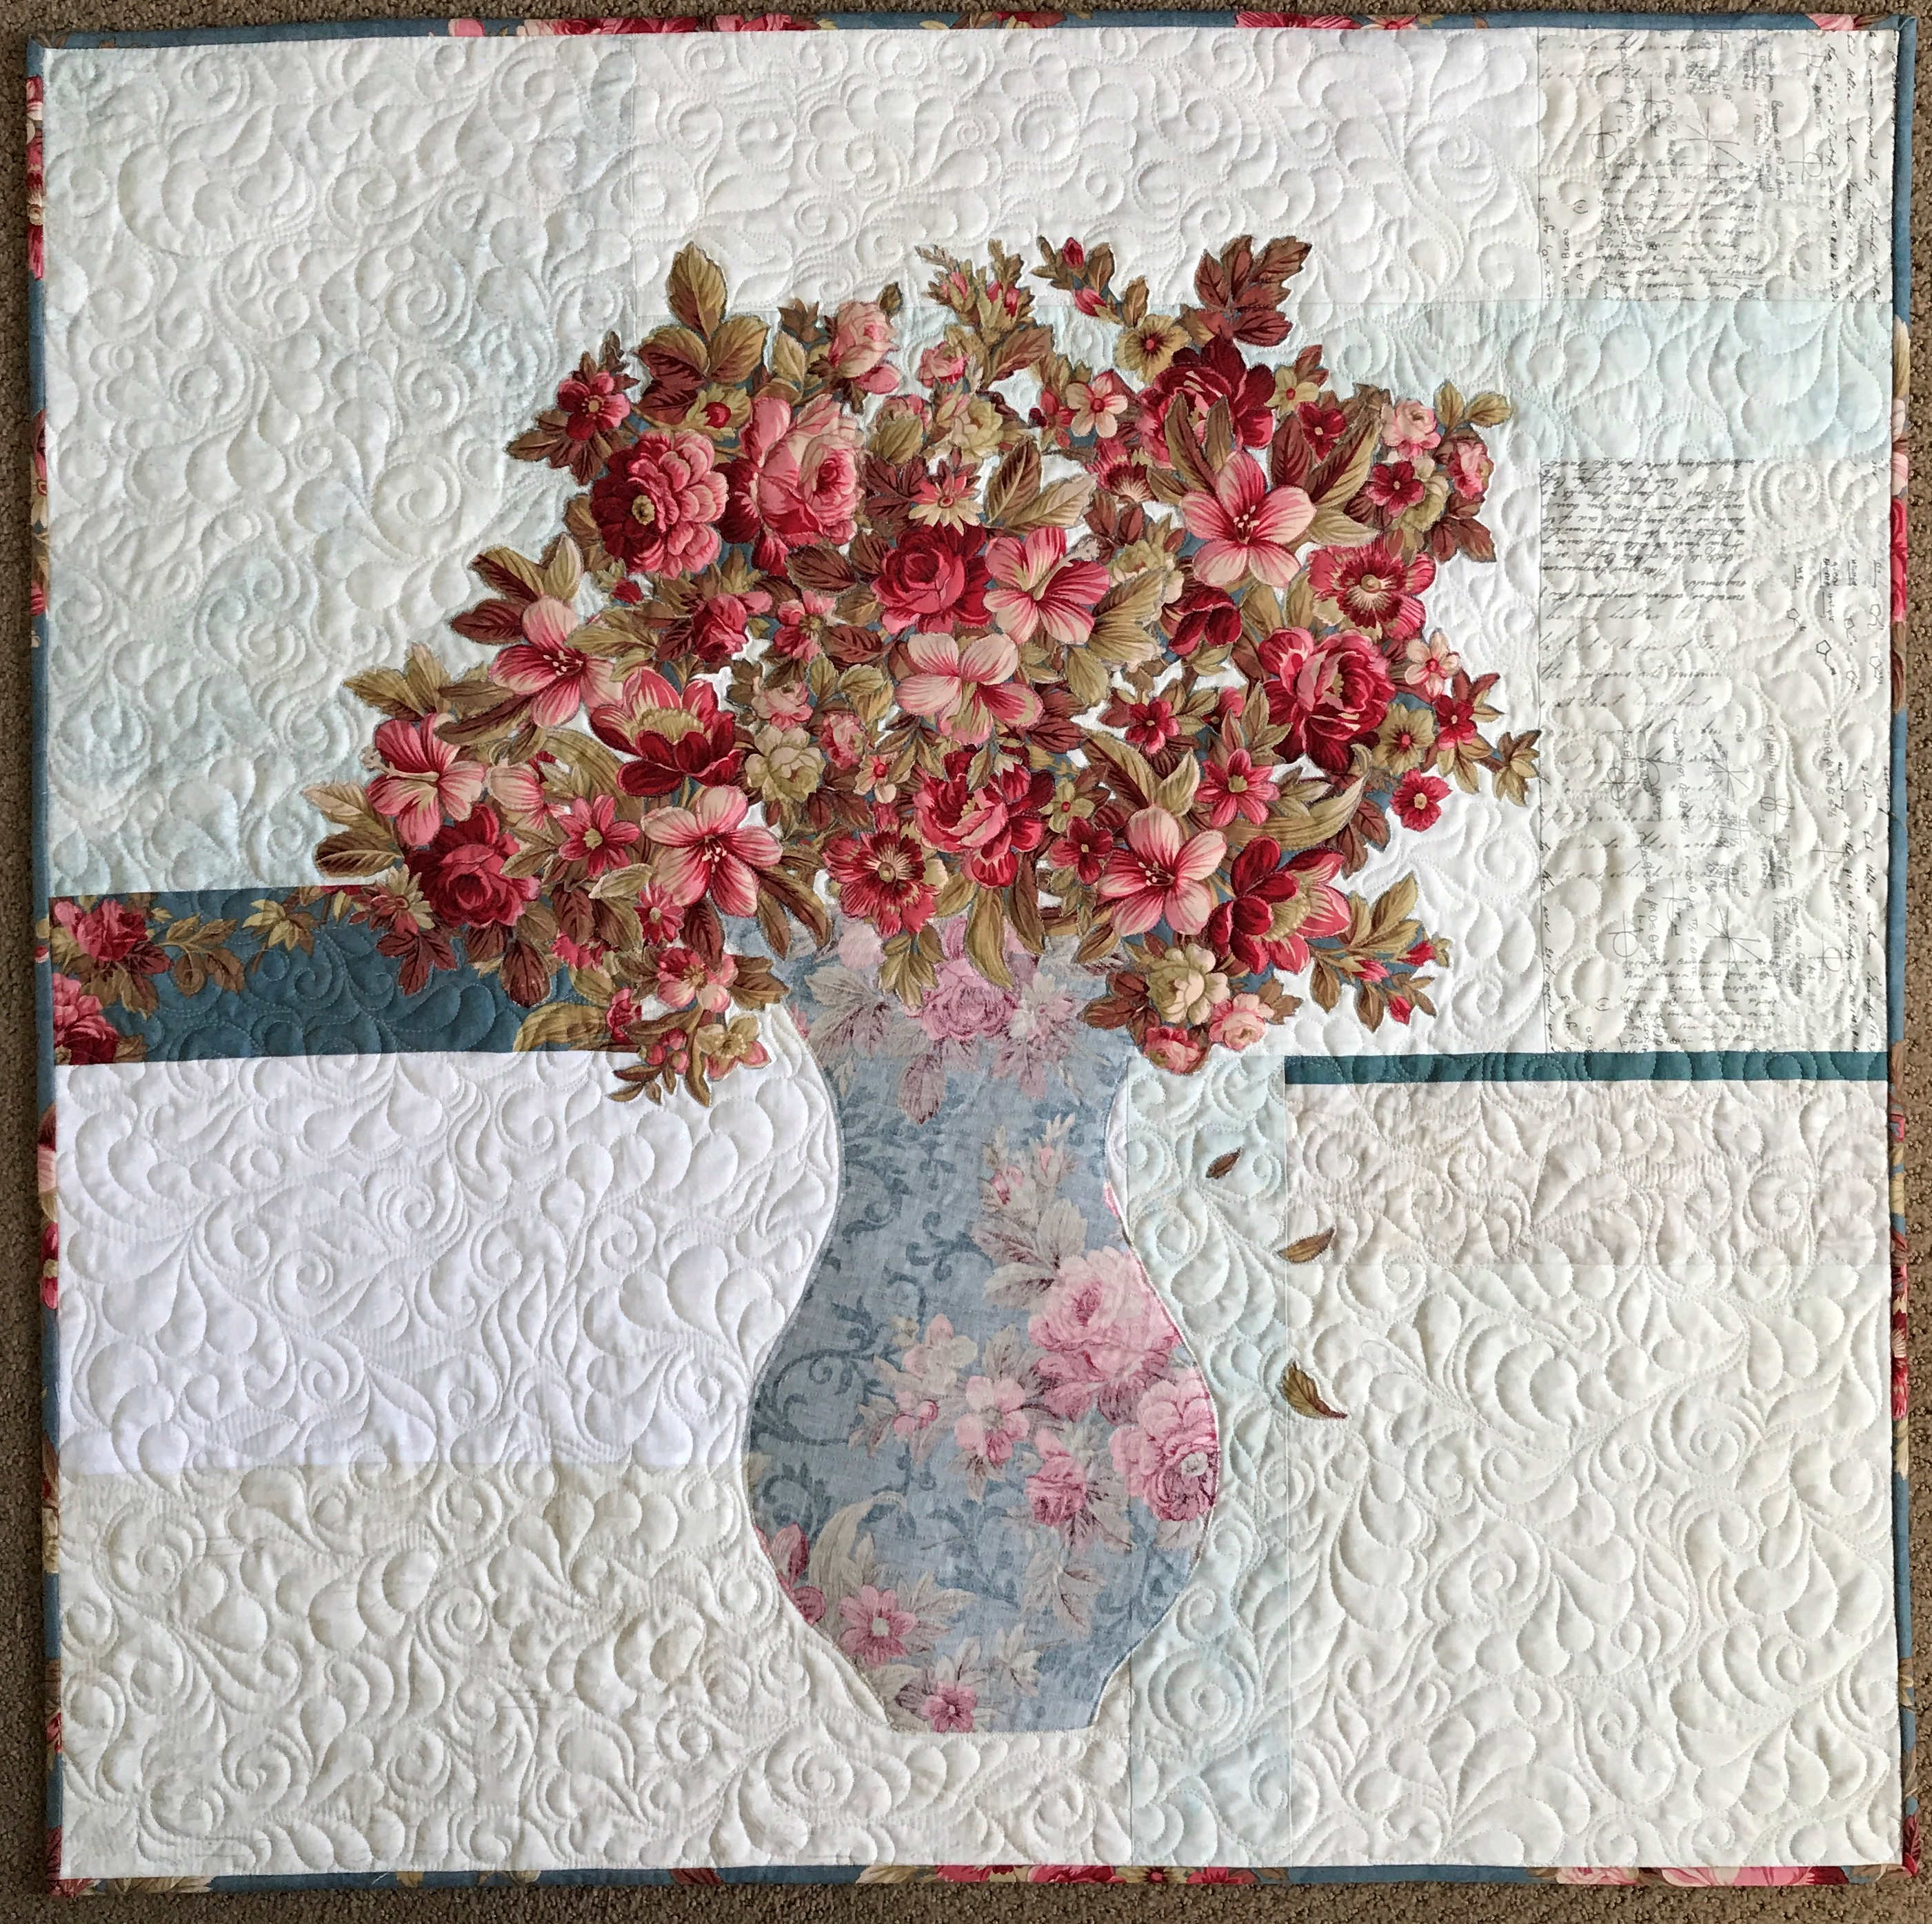
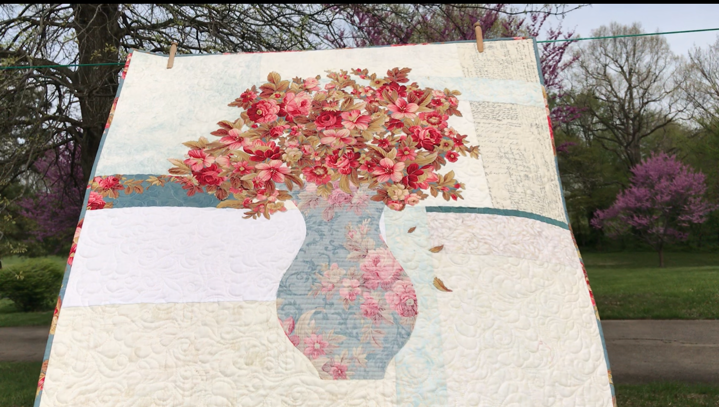
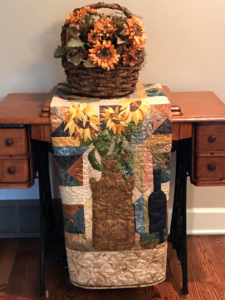
Meet sweet Emily. She is the second pattern in the series called Colorful Petals. Emily is made both beautiful sides of one focus fabric.

This lively sunflower fabric makes a great autumn art quilt.

Like Rose (click here), Emily’s “primitive pottery” vase is made from the reverse side of the floral focus fabric.

Choosing one focus fabric for the vase, bouquet and binding and stitching a scrappy background is a fun way to use up stash while making a fast, easy quilt for decorating or gifting.

It warms my heart to see some of my mother-in-law’s chicken wire fabric  (circa 90s) in this quilt.

The four colorful accent strips used in the #usebothsides line of patterns make it a great way to use some bold, maybe even eccentric, fabrics from your stash that might otherwise might be too wild for a calm quilt like this.

Colorful Petals – Rose, Emily, and Kate (more on her next week) –  will be taught at The Golden Needle (click here) on November 15th in Cape Girardeau, MO.

Image of Sunflower Bouquet Wall Quilt
Emily uses both sides of one focus fabric i this sunflower bouquet.

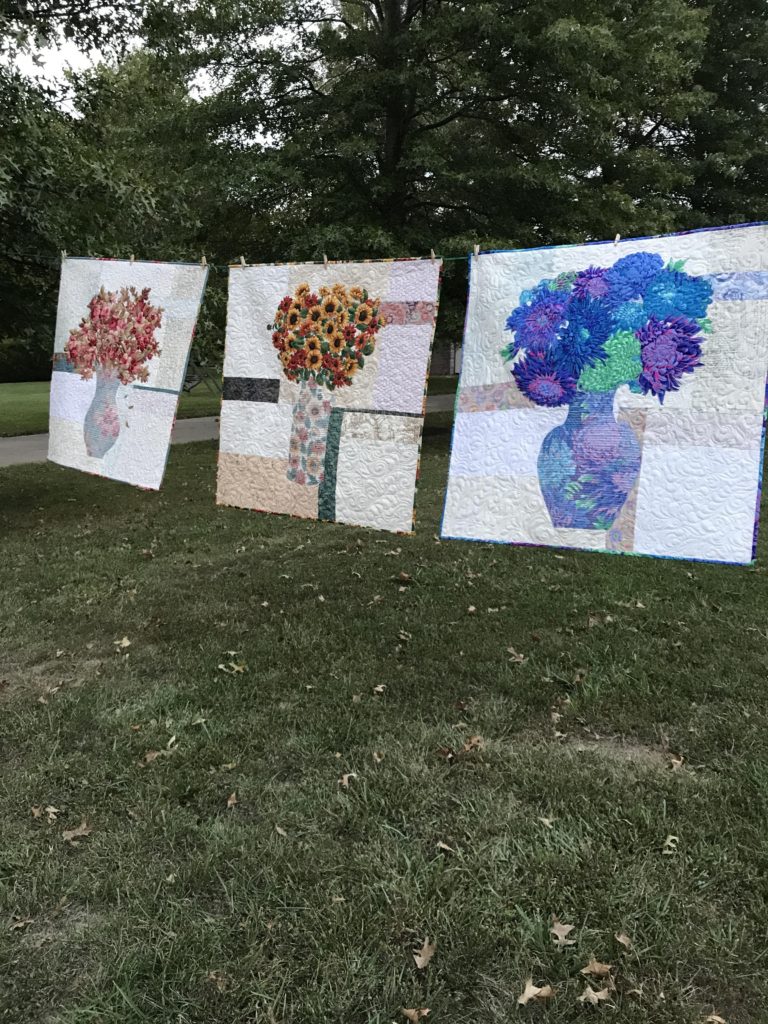
These quilt patterns are a lesson in VALUE as you learn to audition your focus fabric (front and back) with a variety of background fabrics and accent strips — and their reverse sides.

Image of Three Quilts
Colorful Petals Quilt Patterns
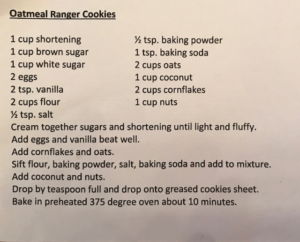
Image of Cookie Recipe

Shout out to my Colorful Wings class – here is the cookie recipe I promised you, compliments of Nancy Kester:

Shop the whole line of patterns at my Etsy Shop (click here).

Sign up below so you never miss a post!

Do you use both sides? Tell me how in the comments below!

Something’s Brewing Wall Hanging

Estimated reading time: 3 minutes

Something’s Brewing, all right, with this Halloween wall hanging!

This Halloween wall hanging is spooky fun to make.

What is this Halloween wall hanging quilt?

First, Something’s Brewing features a bubbling cauldron. The cauldron stands on two honey-buzzard claw feet. There’s even a broomstick to stir the pot! Bubbles and steam boil over the top and edges onto the fun background fabrics!

How is Something’s Brewing made?

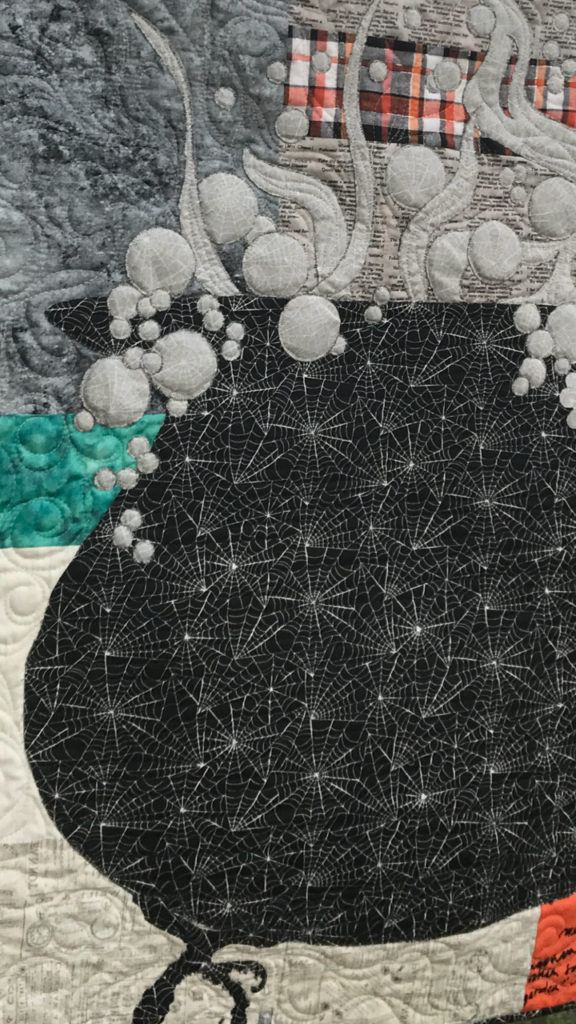
Most importantly, this quilted Halloween wall hanging is made using both SPOOKY sides of one focus fabric. The cauldron is shown made from the RIGHT sides of a black fabric with white spider webs. However, the bubbles and steam are made from the REVERSE of the same focus fabric. Make the binding with the same fabric, as well.

The pattern comes complete with a full-size paper template.

Secondly, make the quilt using easy and fast fusible applique techniques.

Value is the key to unlock the magic of this Halloween wall hanging.

Discover the nuances of value as you learn how to audition BOTH spooky sides of fabric! Begin with the focus fabric. Once you’ve chosen that, start auditioning both sides of possible background fabric options.

The scrappy background fabrics.

Make your quilt sparkle by choosing a variety of background fabrics. Something’s Brewing is shown here with an eclectic mix:

  • My favorite fabric in this quilt: text from MacBeth!
  • Beige newsprint
  • Vanilla Grunge
  • Mottled Aqua
  • Stone Gray
  • Stonehenge (REVERSE)
  • Several Halloween motif fabrics
  • Plaid with glitz

Other Halloween Quilt Patterns

Read how Jacq O’ Lantern Makes a Happy BOO!

See all the Halloween patterns and shop more than 50 designs that use BOTH beautiful sides of fabric HERE!

Finally, I have to share how fun it was to design and make this quilt, especially the honey buzzard claw feet and broomstick. Also, I love to see the creative cauldrons that customers and students make! There are LOTS of fun Halloween fabrics out there (and maybe in your stash) that would make a great cauldron.

Hope you’ll be stirring up something spooky soon!

Enjoy YOUR quilting journey!

A Colorful Quilt Class

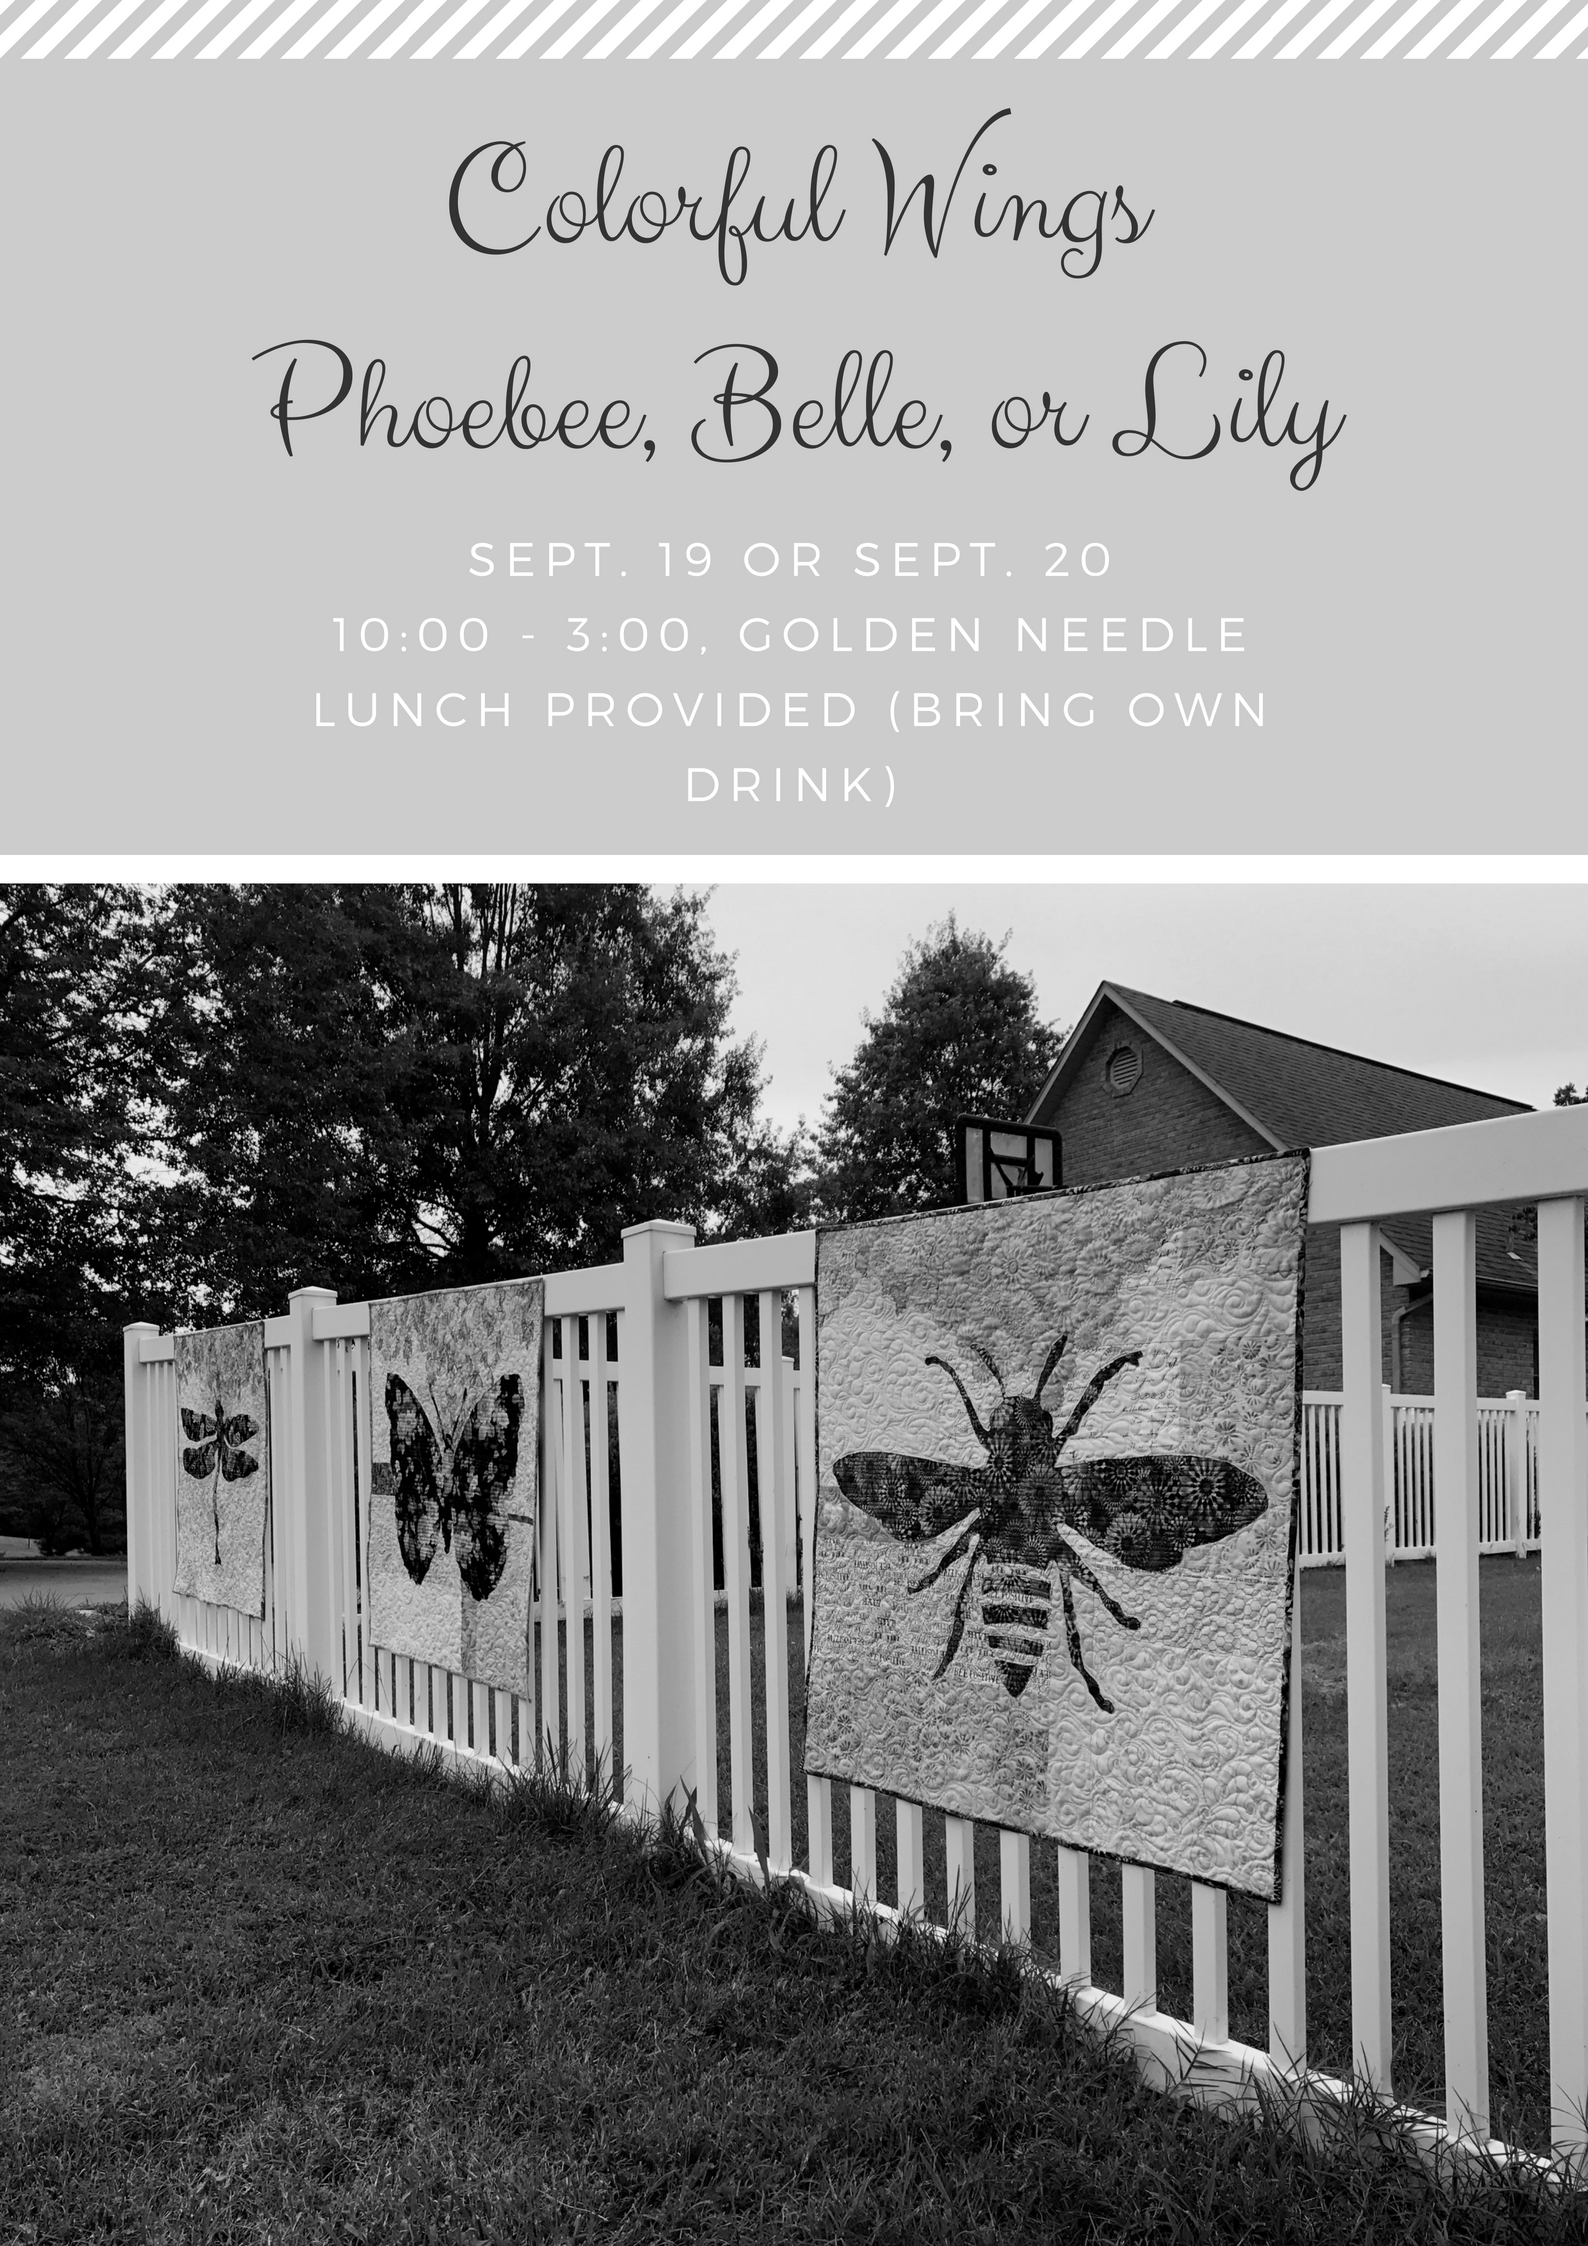
There’s something really fun about watching eleven ladies take one pattern (Phoebee, Belle, or Lily) and make it their own. The trick to these patterns is auditioning the fabrics – which can actually take more time than putting the top together! They did a fantastic and creative job of fabric selection and color/value placement of all the elements (background pieces, accent strips, and both sides of the focus fabric).

In addition to making these beauties, we had tips, door prizes, a mini-trunk show and lunch.

To not reveal their quilts before completion, I’m just going to give you an “in-progress” peek at the variation in these winged-girl quilts:Image of Phoebee Quilt in Progress

Image of Belle Pattern in ProgressImage of Lily Pattern in ProgressImage of Belle Pattern in Progress Image of Lisa's Belle Pattern in Progress Image of Lynnore's Belle Pattern in Progress

Image of Marla's Belle Pattern in Progress Image of Nancy's Phoebee Pattern in Progress Image of Paige's Phoebee Pattern in ProgressImage of Mary's Belle Pattern in ProgressImage of Merle's Belle Pattern in ProgressGreat job, friends!

Now let’s get looking to #usebothsides of your focus fabric to make some beautiful bouquets!

Rose uses the reverse of her focus fabric for the vase and the front for the bouquet and binding.

Image of Flower Bouquet Quilt

Rose quilt pattern is available at etsy.com/shop/CreativeBeeStudios

Check your stash-do you have any beautiful “wrong-sides” to use?

Sign up below to learn more about upcoming patterns and get quilting tips, musings and more right in your mailbox (about once a week).

Using a Design Wall as a Palette

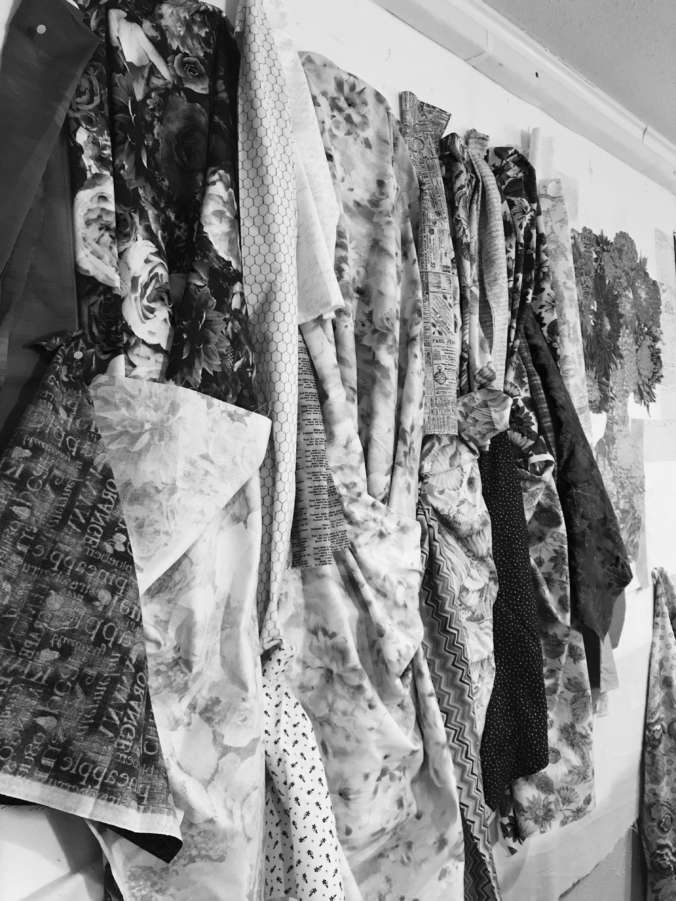
When you pin fabrics to your design wall, you can step back, get perspective, see how a fabric reads at a distance, and most importantly observe the values.

Granted most quilters don’t audition fabrics for four quilts all at the same time, but in this case, having four new designs waiting to be created made me realize how much more I like auditioning fabric on the wall rather than on the table or floor.

Plus, it’s much easier to take that black and white picture for observing value when the fabrics are in front of you! See The Tricky Traits of Value.

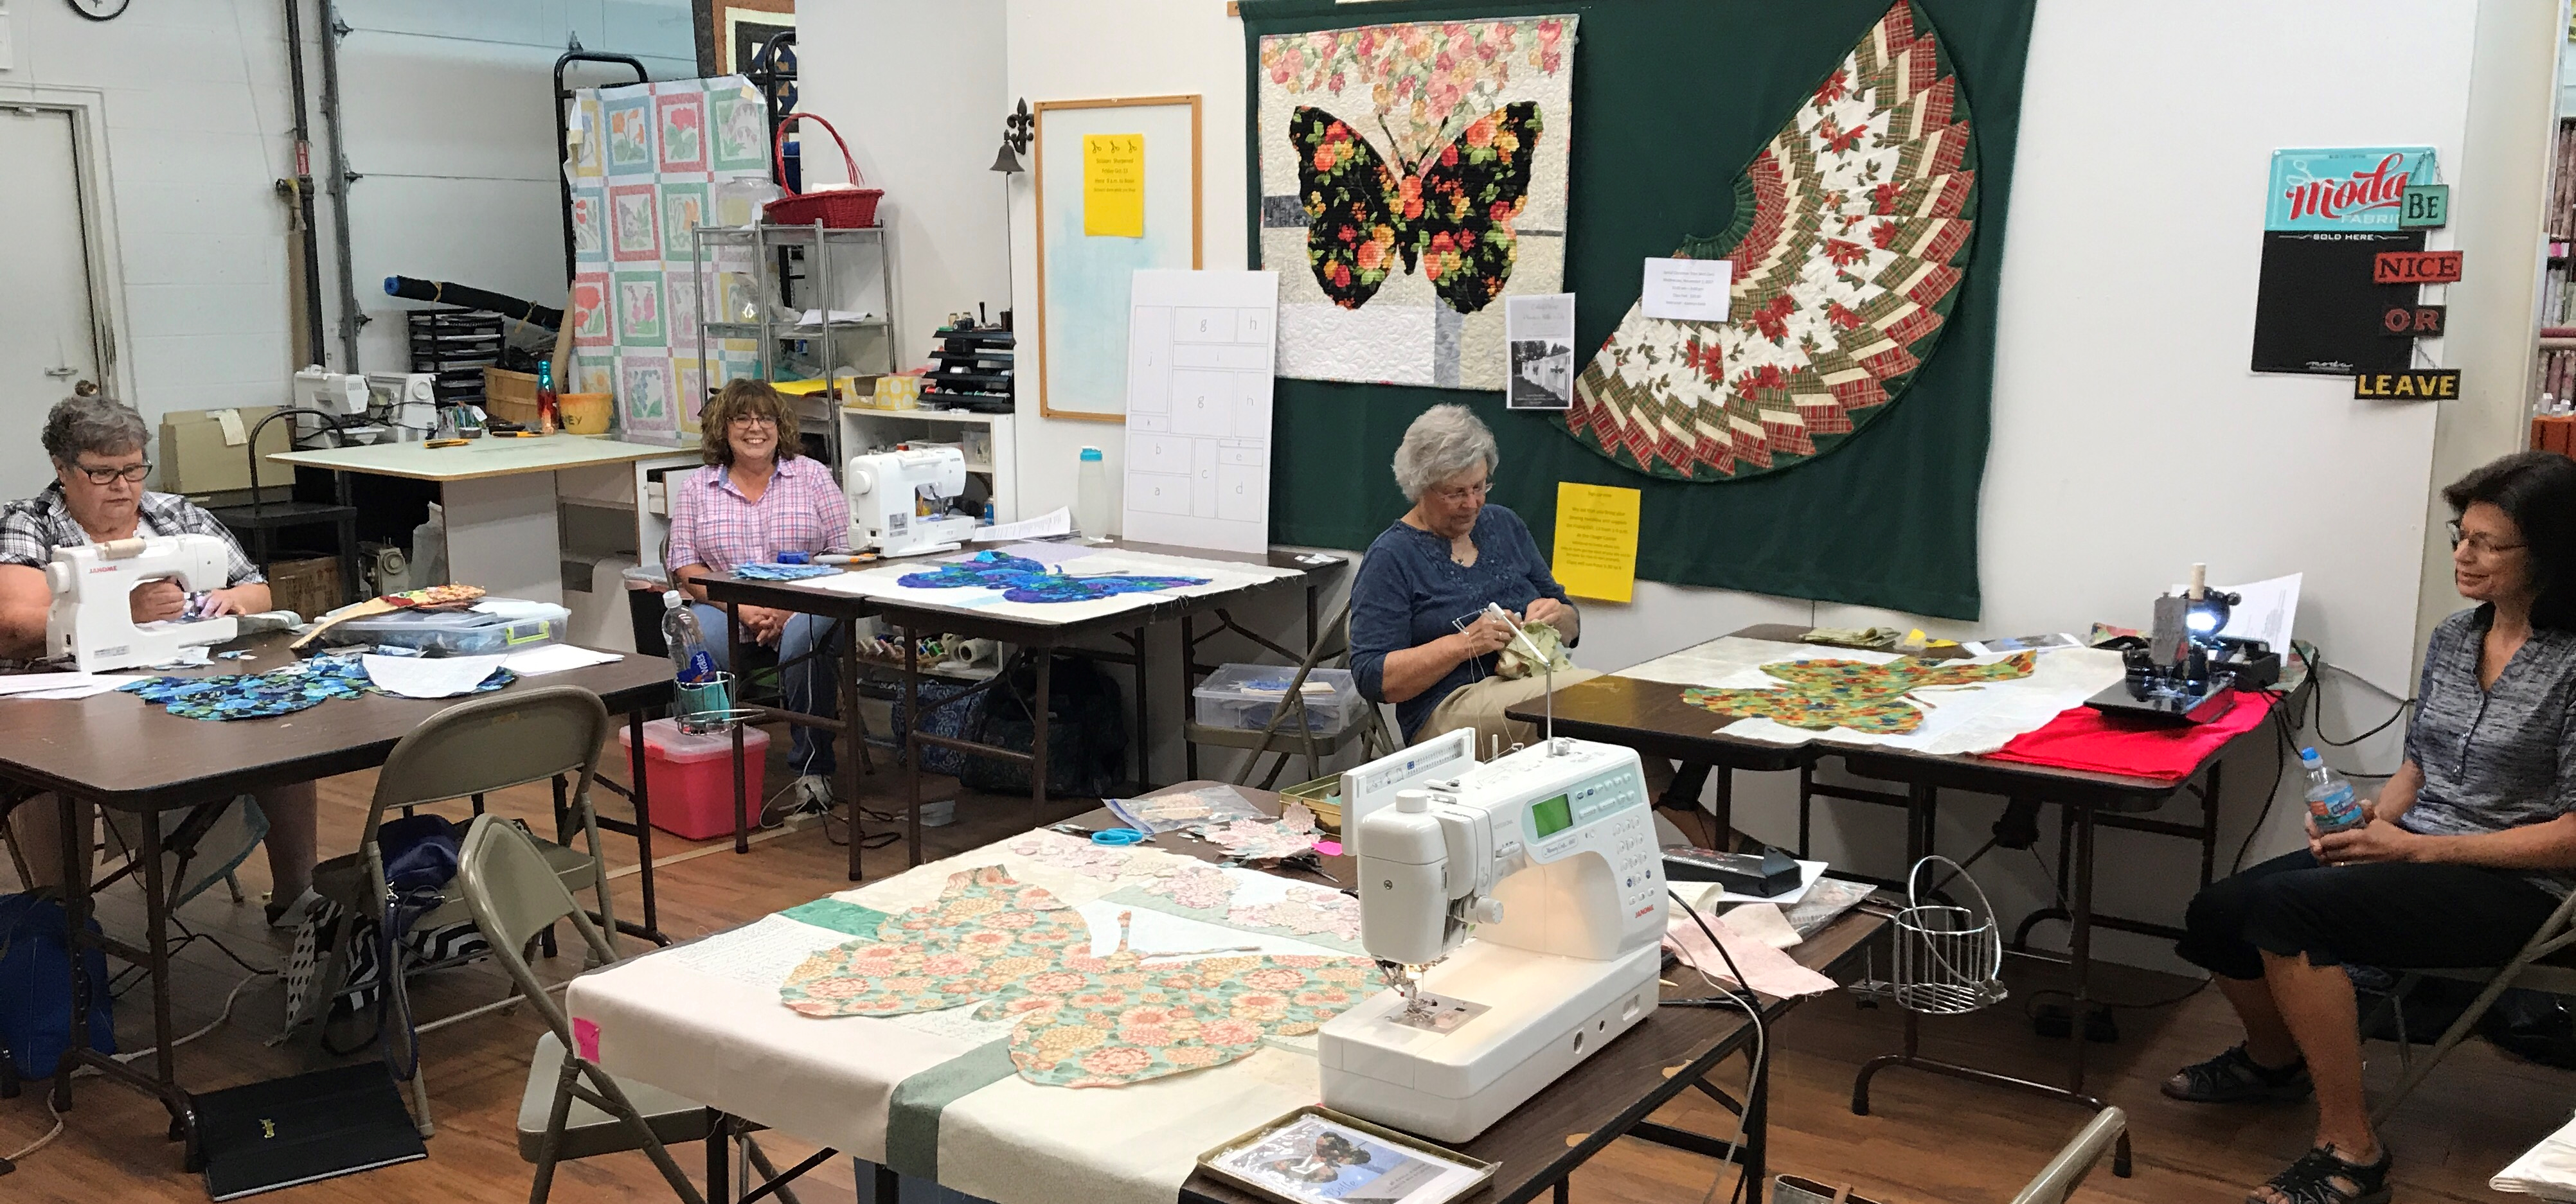
This past week was the kickoff of classes for Colorful Wings (click here for patterns) and I can’t wait to see the eleven finished quilts. In the meantime, my next post will give you sneak peek on how completely unique each of these winged-girls (and boy – yes, we had one boy) are! Image of Classroom

A big thanks to all of the eleven students who took the challenge to #usebothsides!

Shout out to The Golden Needle for hosting Colorful Wings.

Shop for Phoebee, Belle, and Lily from the Colorful Wings pattern series and Rose from the Colorful Petals series at www.etsy.com/shop/CreativeBeeStudios.

How do you audition your fabrics? Do you use a design wall? Please comment below.

Sign up below to get posts sent to you!

Meet Rose…a Quilted Beauty

Estimated reading time: 3 minutes

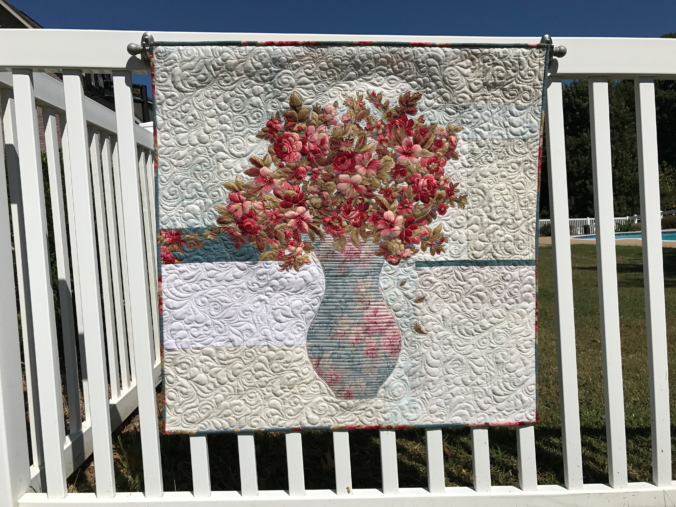
The rose bouquet quilt shown here is appropriately named Rose.

This Rose bouquet quilt was the first made in a series of bouquet quilts. Each quilt was as different and distinct as the focus fabric from which it was made!

Rose is made with both beautiful sides of one focus fabric!

First, the focus fabric for this Rose bouquet quilt is Bed of Roses by Geri Robinson by Red Rooster Fabrics. It is used for the vase (REVERSE), the bouquet, and binding. Unlike other similar quilts, one accent strip in the background is featured in this quilt to demonstrate the contrast between the right and reverse sides.

The scroll work on the focus fabric for the Rose bouquet quilt doesn’t appear on the right side, but it makes a beautiful design on the vase when you use the reverse!

The key to making a Rose bouquet quilt is learning how to audition both sides of fabric. Value is the key! First, you will discover the nuances of value as you learn to audition both sides of focus fabrics. Likewise, once you choose your focus fabric, you’ll apply the same principles (tips) to audition background fabrics. It’s easy to audition fabrics when you know what to look for.

Additionally, see The Tricky Traits of Value.

Easy Techniques

Basically, the Rose bouquet quilt is made using fusible applique and broderie perse techniques. Simply put, you’ll trace and cut the vase from a full-size paper template. Next, you’ll cut flowers and leaves from the motifs on the fabric. It’s as simple as fusing them onto the background fabrics. Finally, the applique can be secured during the quilting process, making this a truly fast project to make.

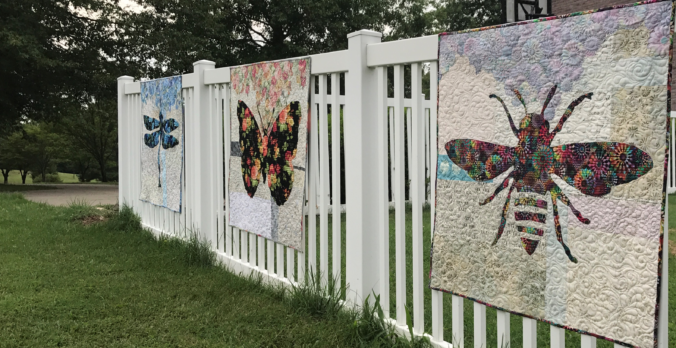
Image of Three Quilts on Fence
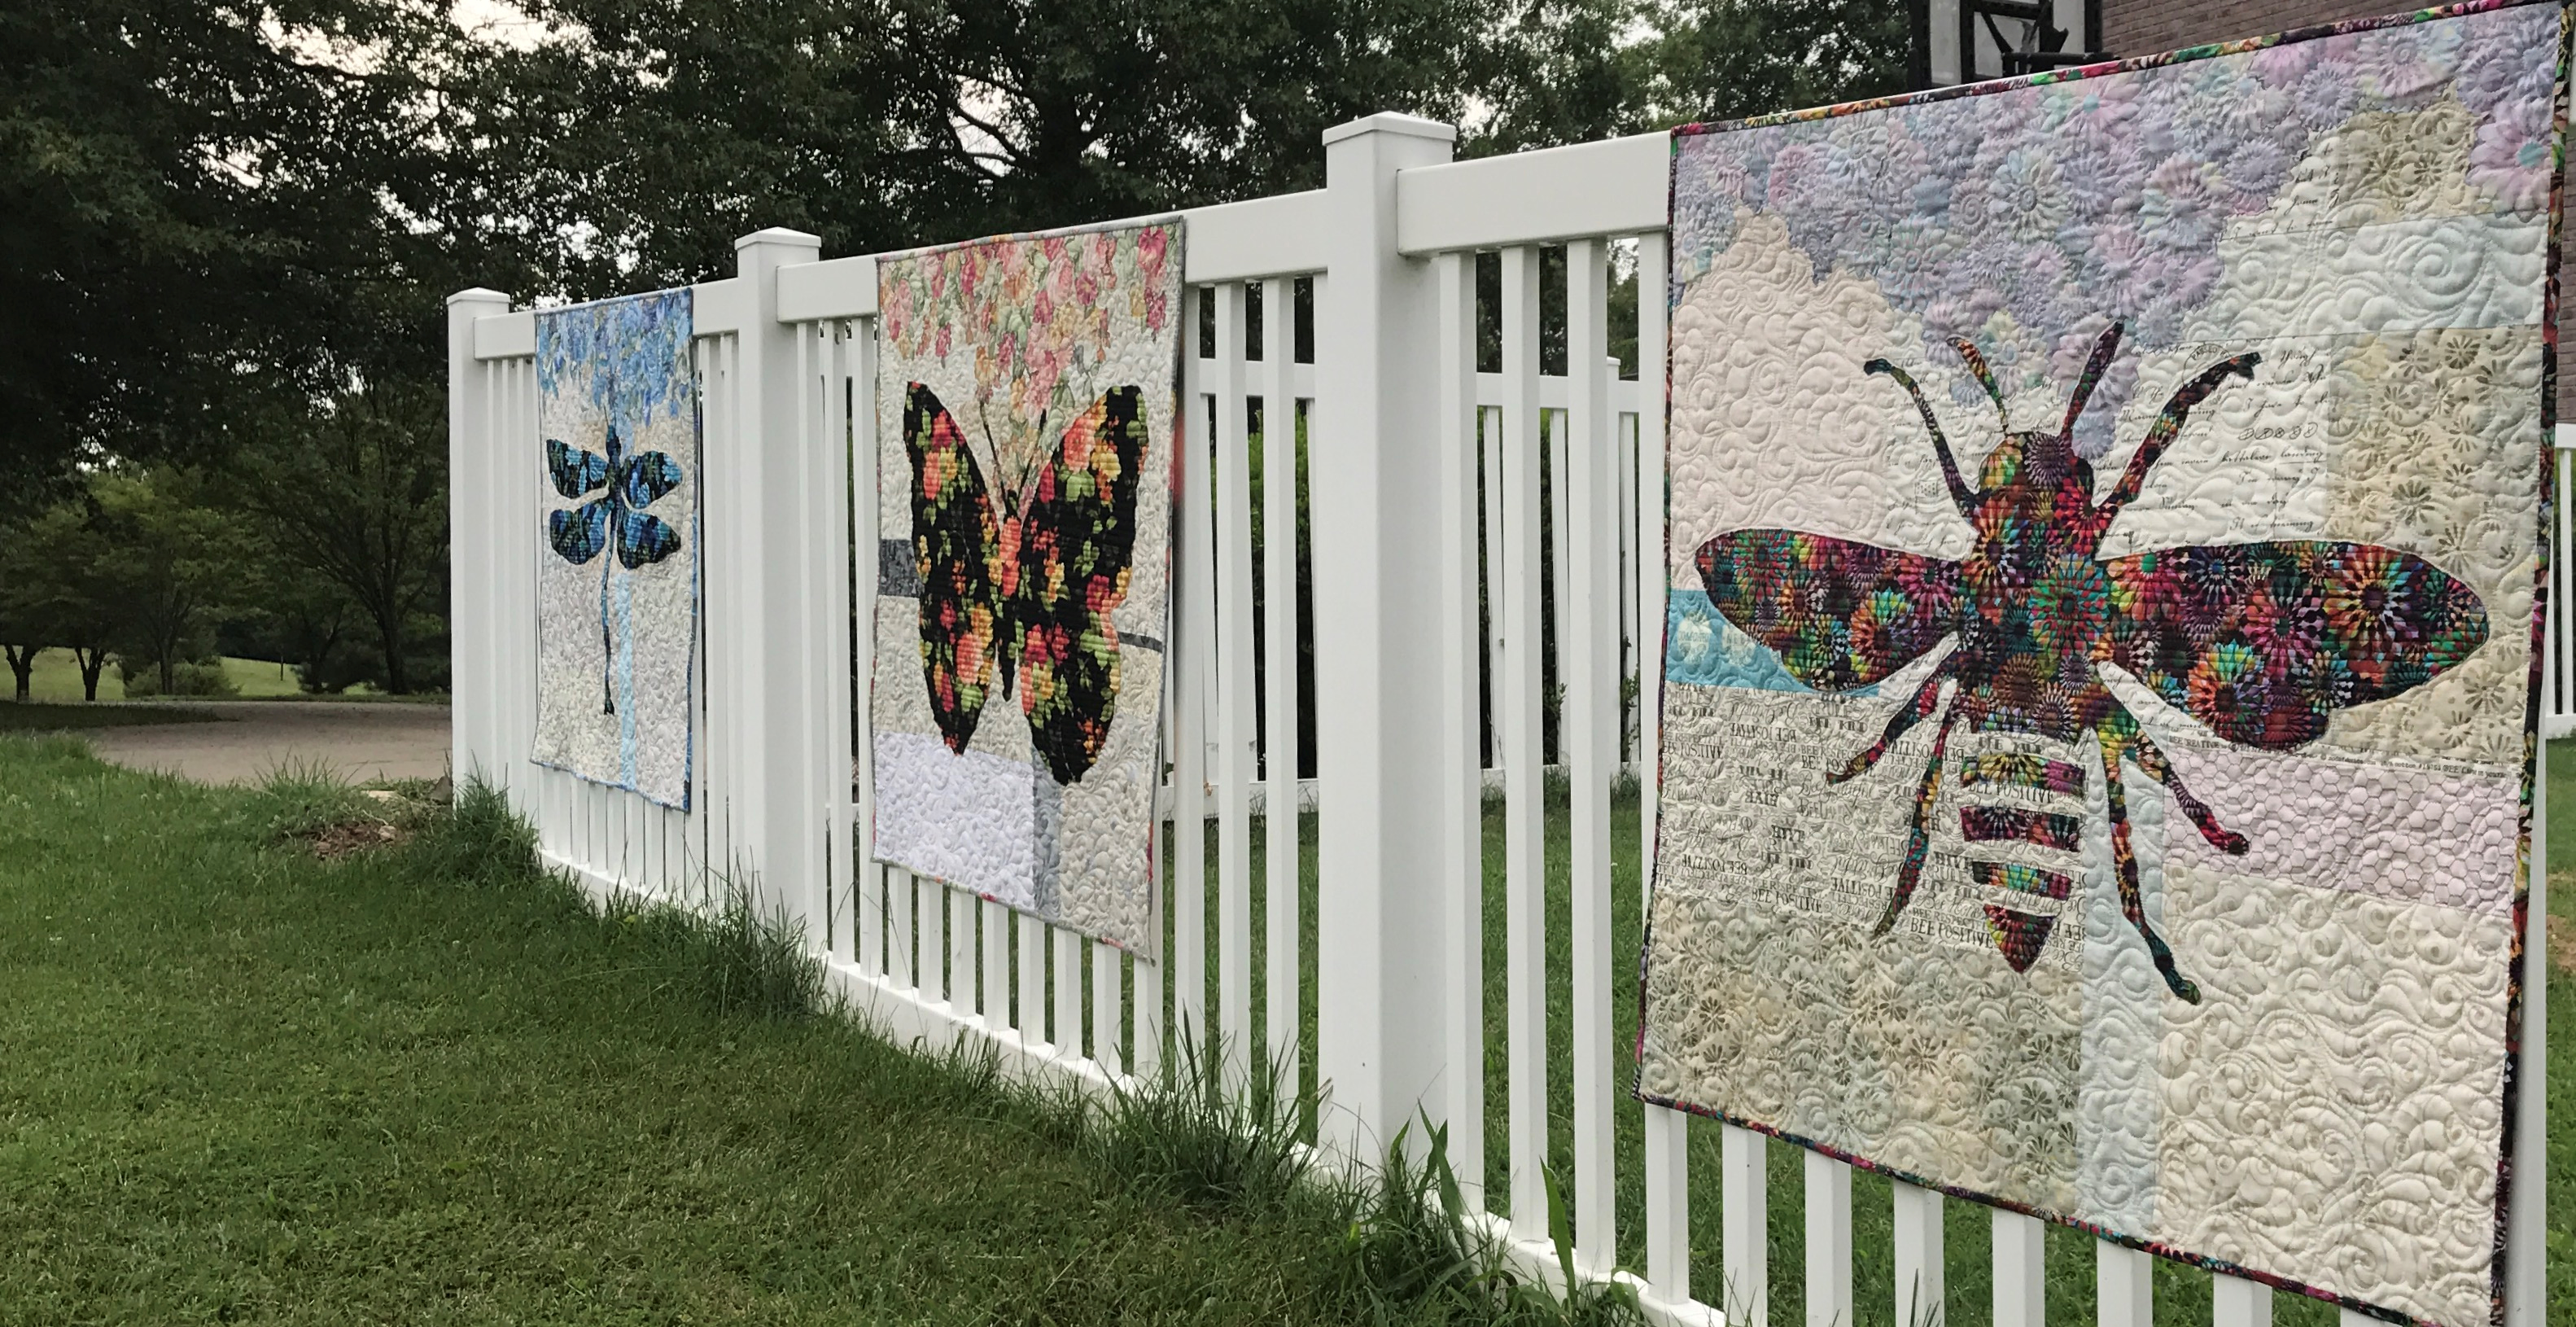
Phoebee, Belle & Lily

In conclusion, just like the quilts shown above, Rose is a fast, fun wall hanging which makes it a great gift or decoration for your home.

SHOP for more than 50 quilt patterns that use BOTH beautiful sides of fabric!

Watch Creative Bee Studios on YouTube! Subscribe today!

Eight Ways to Decorate with Quilts

You know you’re a quilt enthusiast when your home decorating is based on the quilts you’ve made…or plan to make.

Write your blog post…write your blog post…write your–wait, I should get my fall quilts out for the front porch–no, write your blog post…well, I need to run downstairs to look up a password anyway, so I might as well just grab that one panel quilt for the swing…THEN I’ll write my blog post…hmmm, that old Thimbleberries baskets quilt would look nice here…I don’t use it in the house anyway and I’ll wash it at end of the season…oh, maybe the pumpkins one could go here…I really need to work on that blog post…its crazy how many quilts I have all over my house…hey, maybe I’m not alone…

So today’s blog post is about decorating with quilts! Do you? Decorate with quilts? And I’m not talking about hanging one quilt on the wall… do you immerse your house with your quilts? Maybe it is just me. It does seem kinda eccentric. Well, for better or worse, here it is–this is how my mind works when it comes to quilts and decorating:

A few years ago, I had a vision, if you will, of an Italian landscape quilt and so…I repainted my kitchen (complete with break-away brick) in preparation for the quilt I was making. (Yeah, kinda backwards, I know.) Click here to see Bella Vista. Turns out Bella Vista inspired a whole line of quilts, wool applique, and punch needle for an Tuscan-themed book proposal. Two of those projects hang from tables right now:

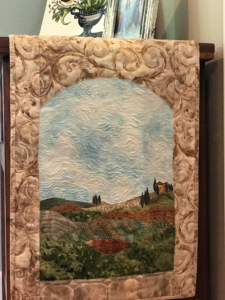
Bella Tablescape features an arched window on either end of the table runner with a landscape scenery.

Image of Table Runner

Bella Tablescape

Bella Piastrella (beautiful tile) is a pieced tile pattern with fused applique. Click here to see the whole quilt in this post about using flange.

Image of quilt.

Bella Piastrella means “beautiful tile” in Italian.

Now a Bonnie Hunter mystery quilt hangs in my kitchen (I adapted the colors and borders).

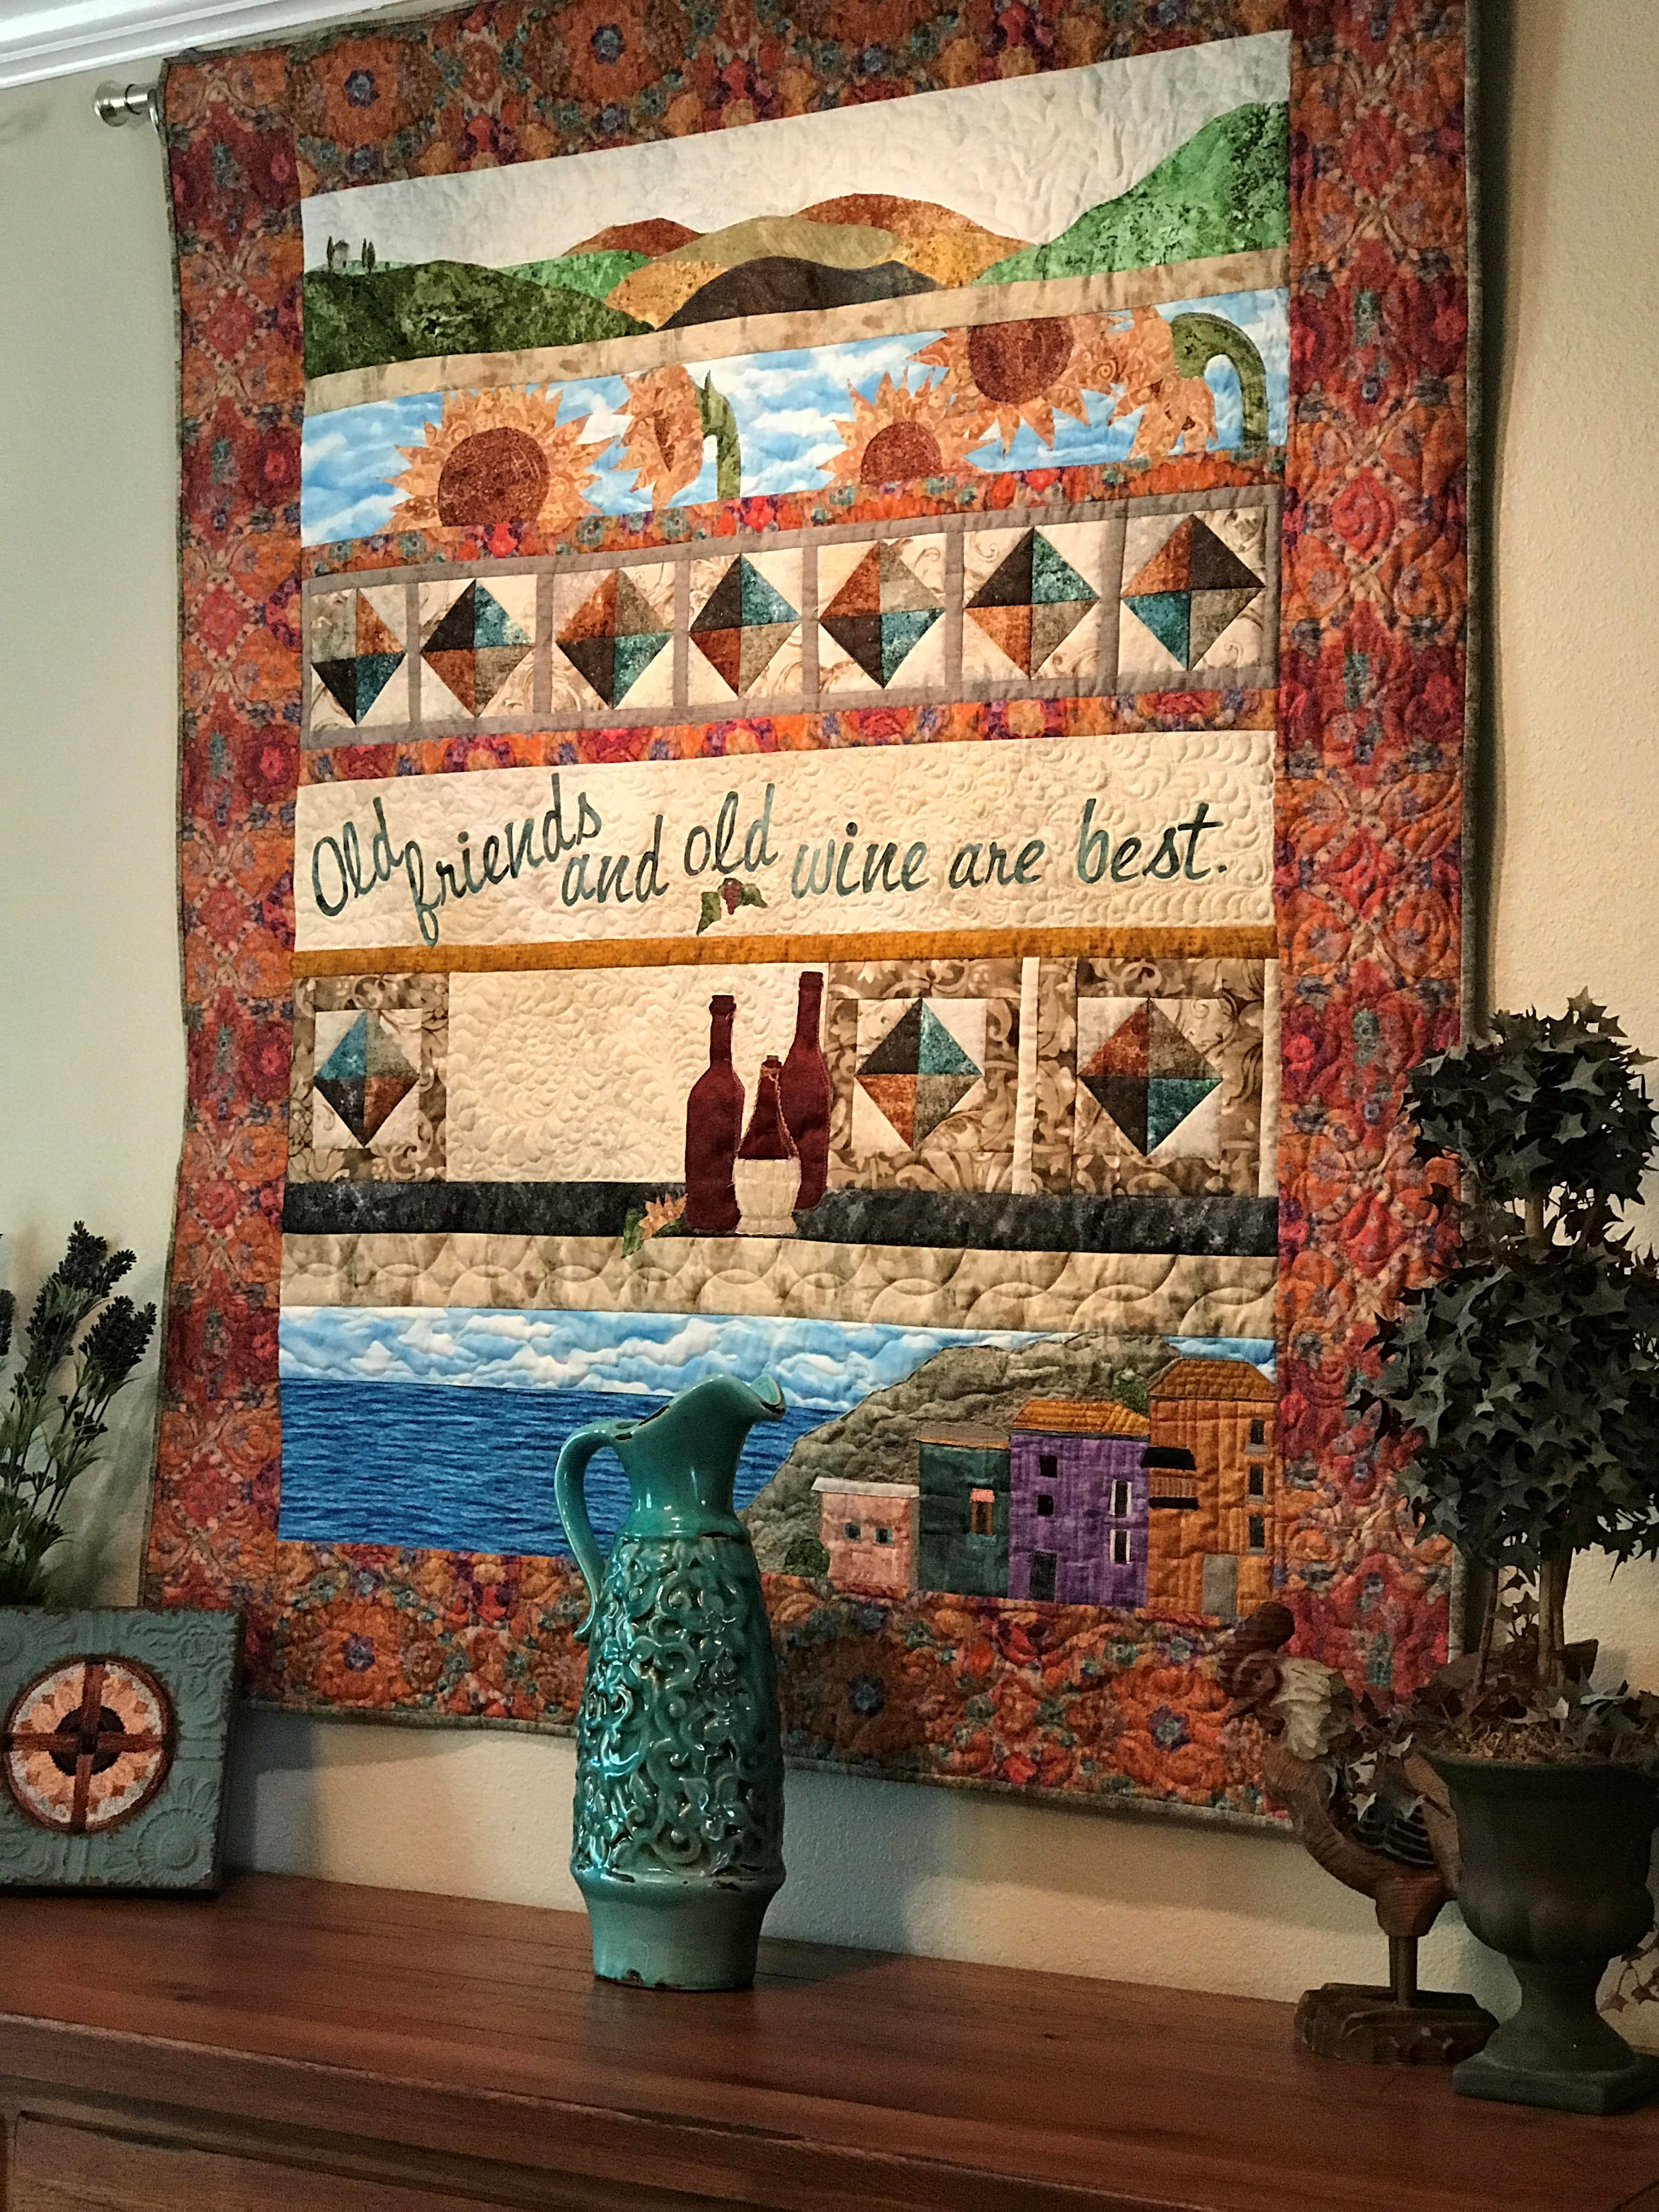
In my dining room hangs Italian Proverb, which was a row-by-row pattern I designed for promoting said book proposal. I felt quite accomplished cutting the letters for the proverb with my Scan N Cut.

Image of quilt.

Italian Proverb Row by Row

In our coastal-themed living room there are currently five quilts. Tropical Fun toured the AQS circuit a few years back in an Accuquilt display.

Image of Quilt

Tropical Fun made the AQS Accuquilt tour a few years ago.

Click here to see the others in my post, Summer Quilting.

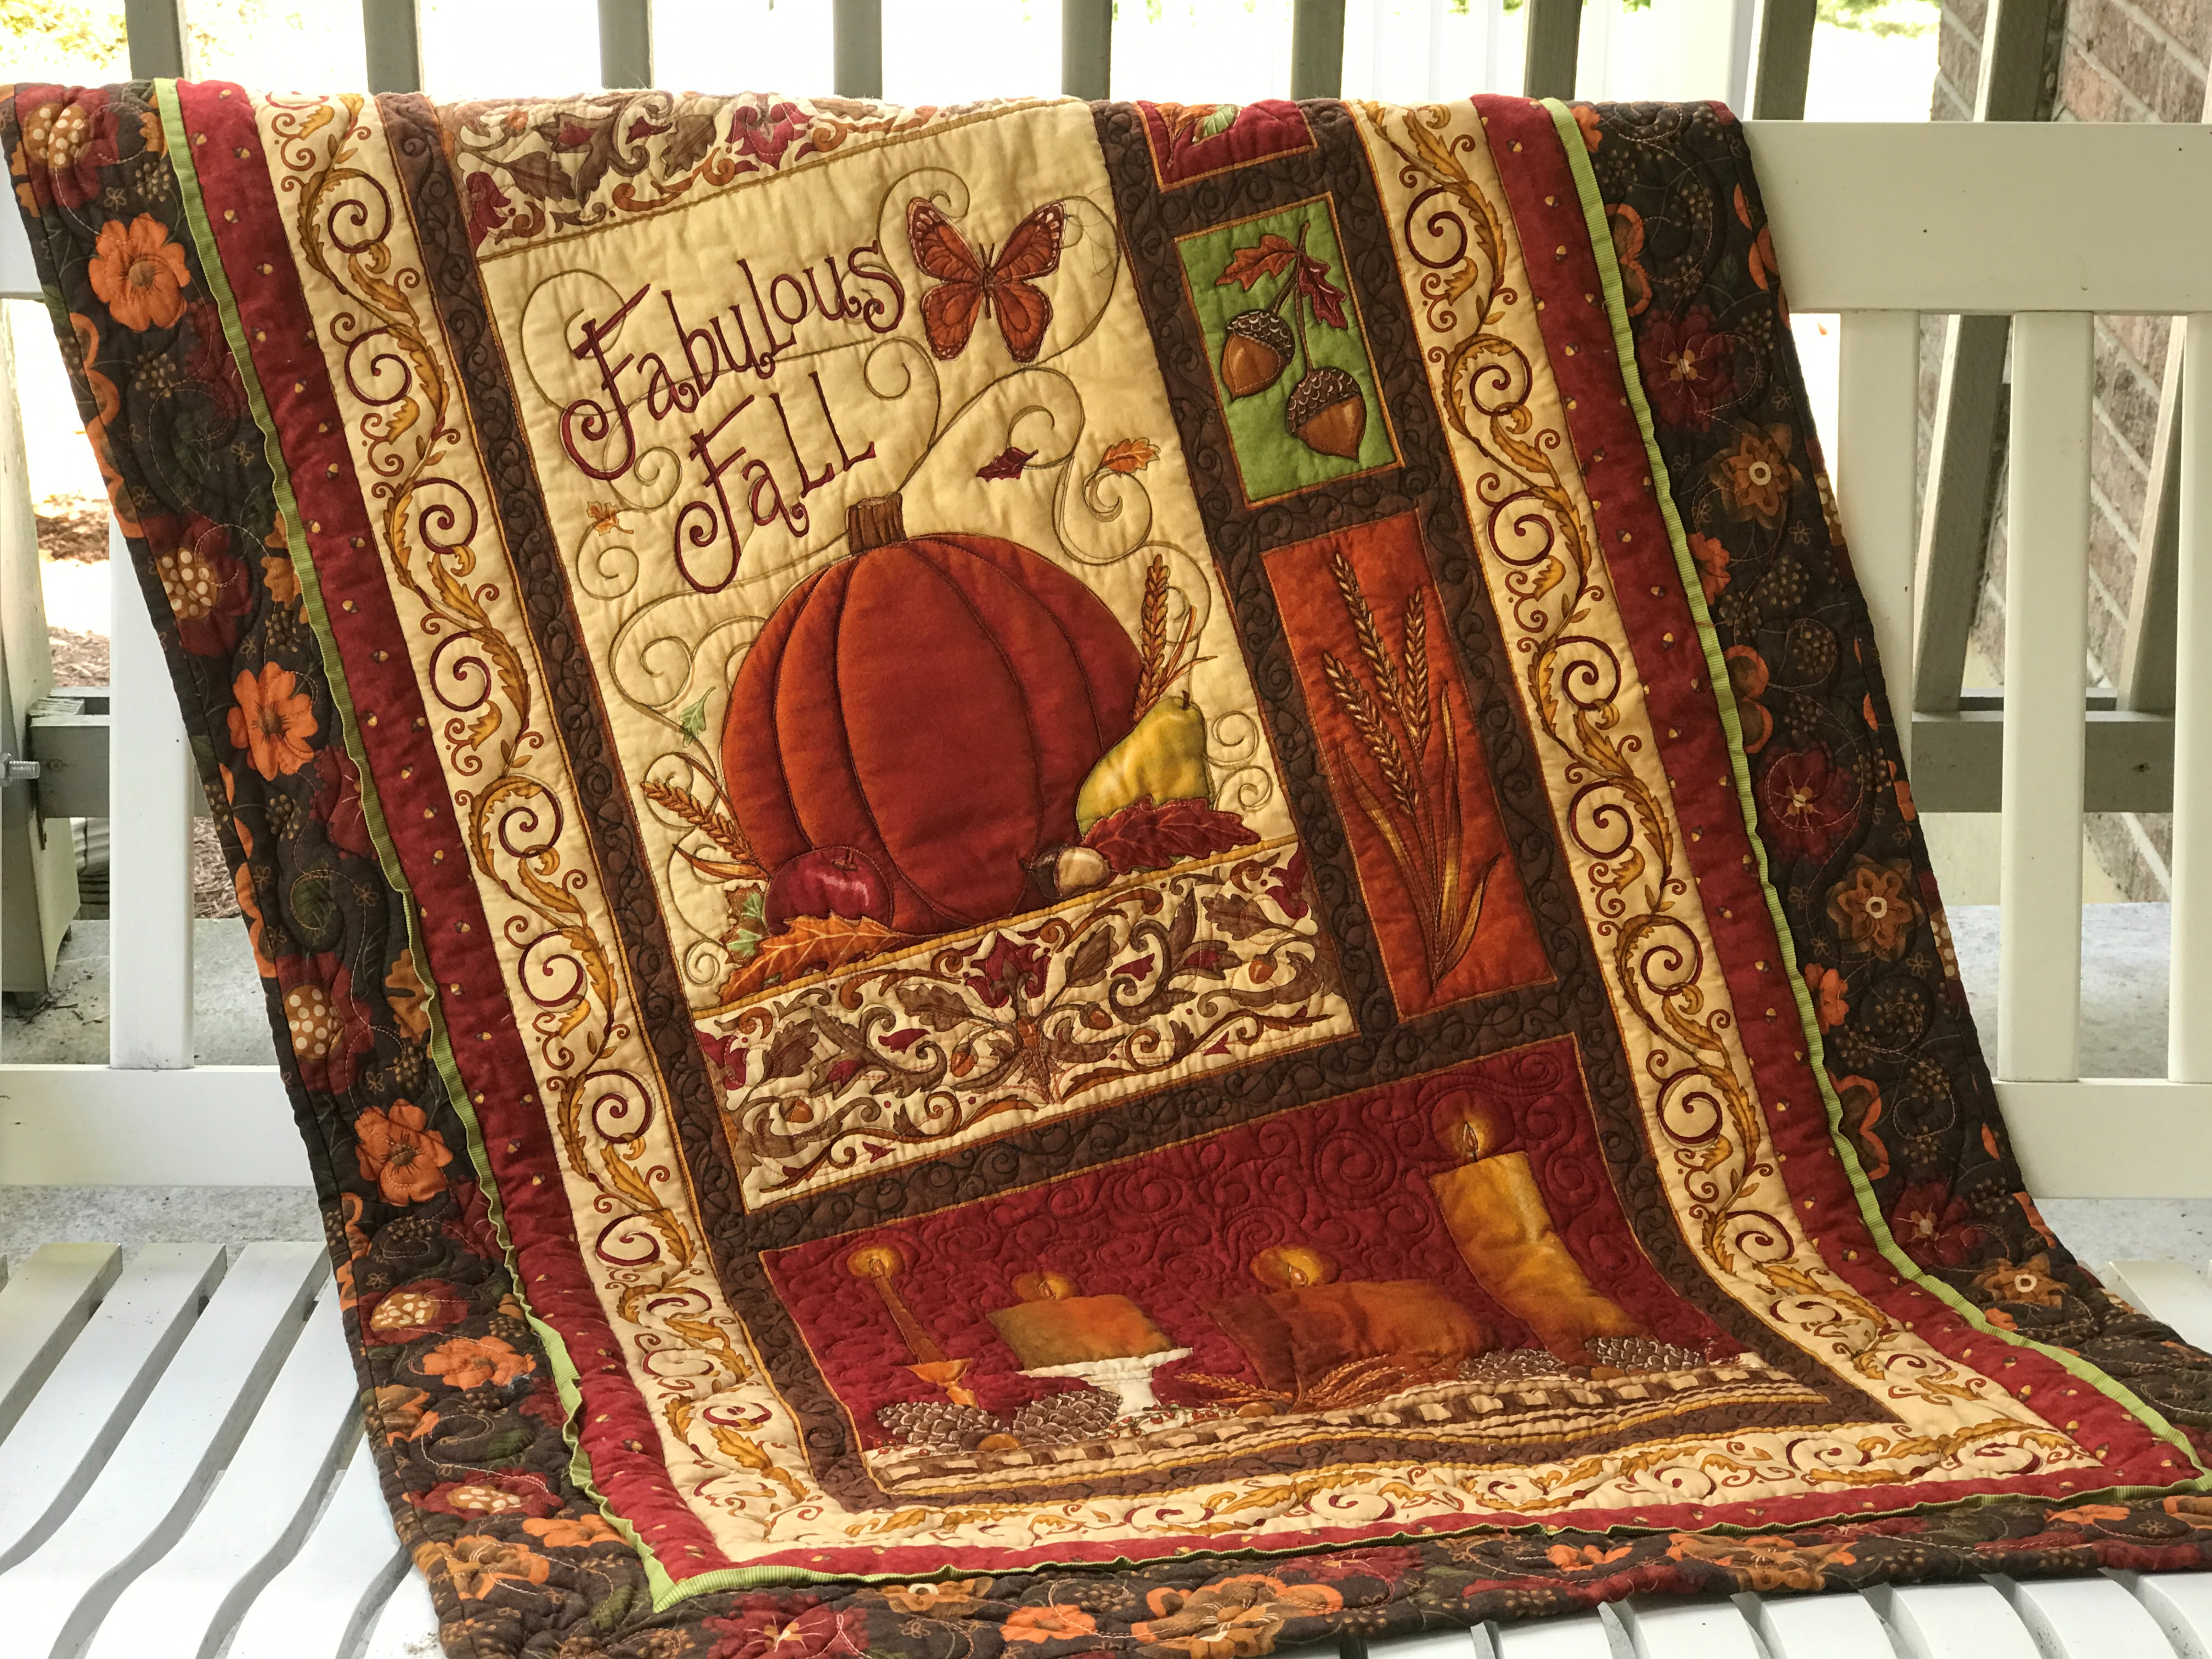
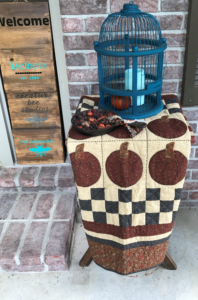
Now for that one quilt I had on my mind, the one for my porch swing. A panel. Simple but great for a swing quilt because it wasn’t too involved or expensive (in case it blows away).Image of quilt on swing. Then there are the old greats from Thimbleberries club.Image of basket quilt.Image of quilt and bird cage
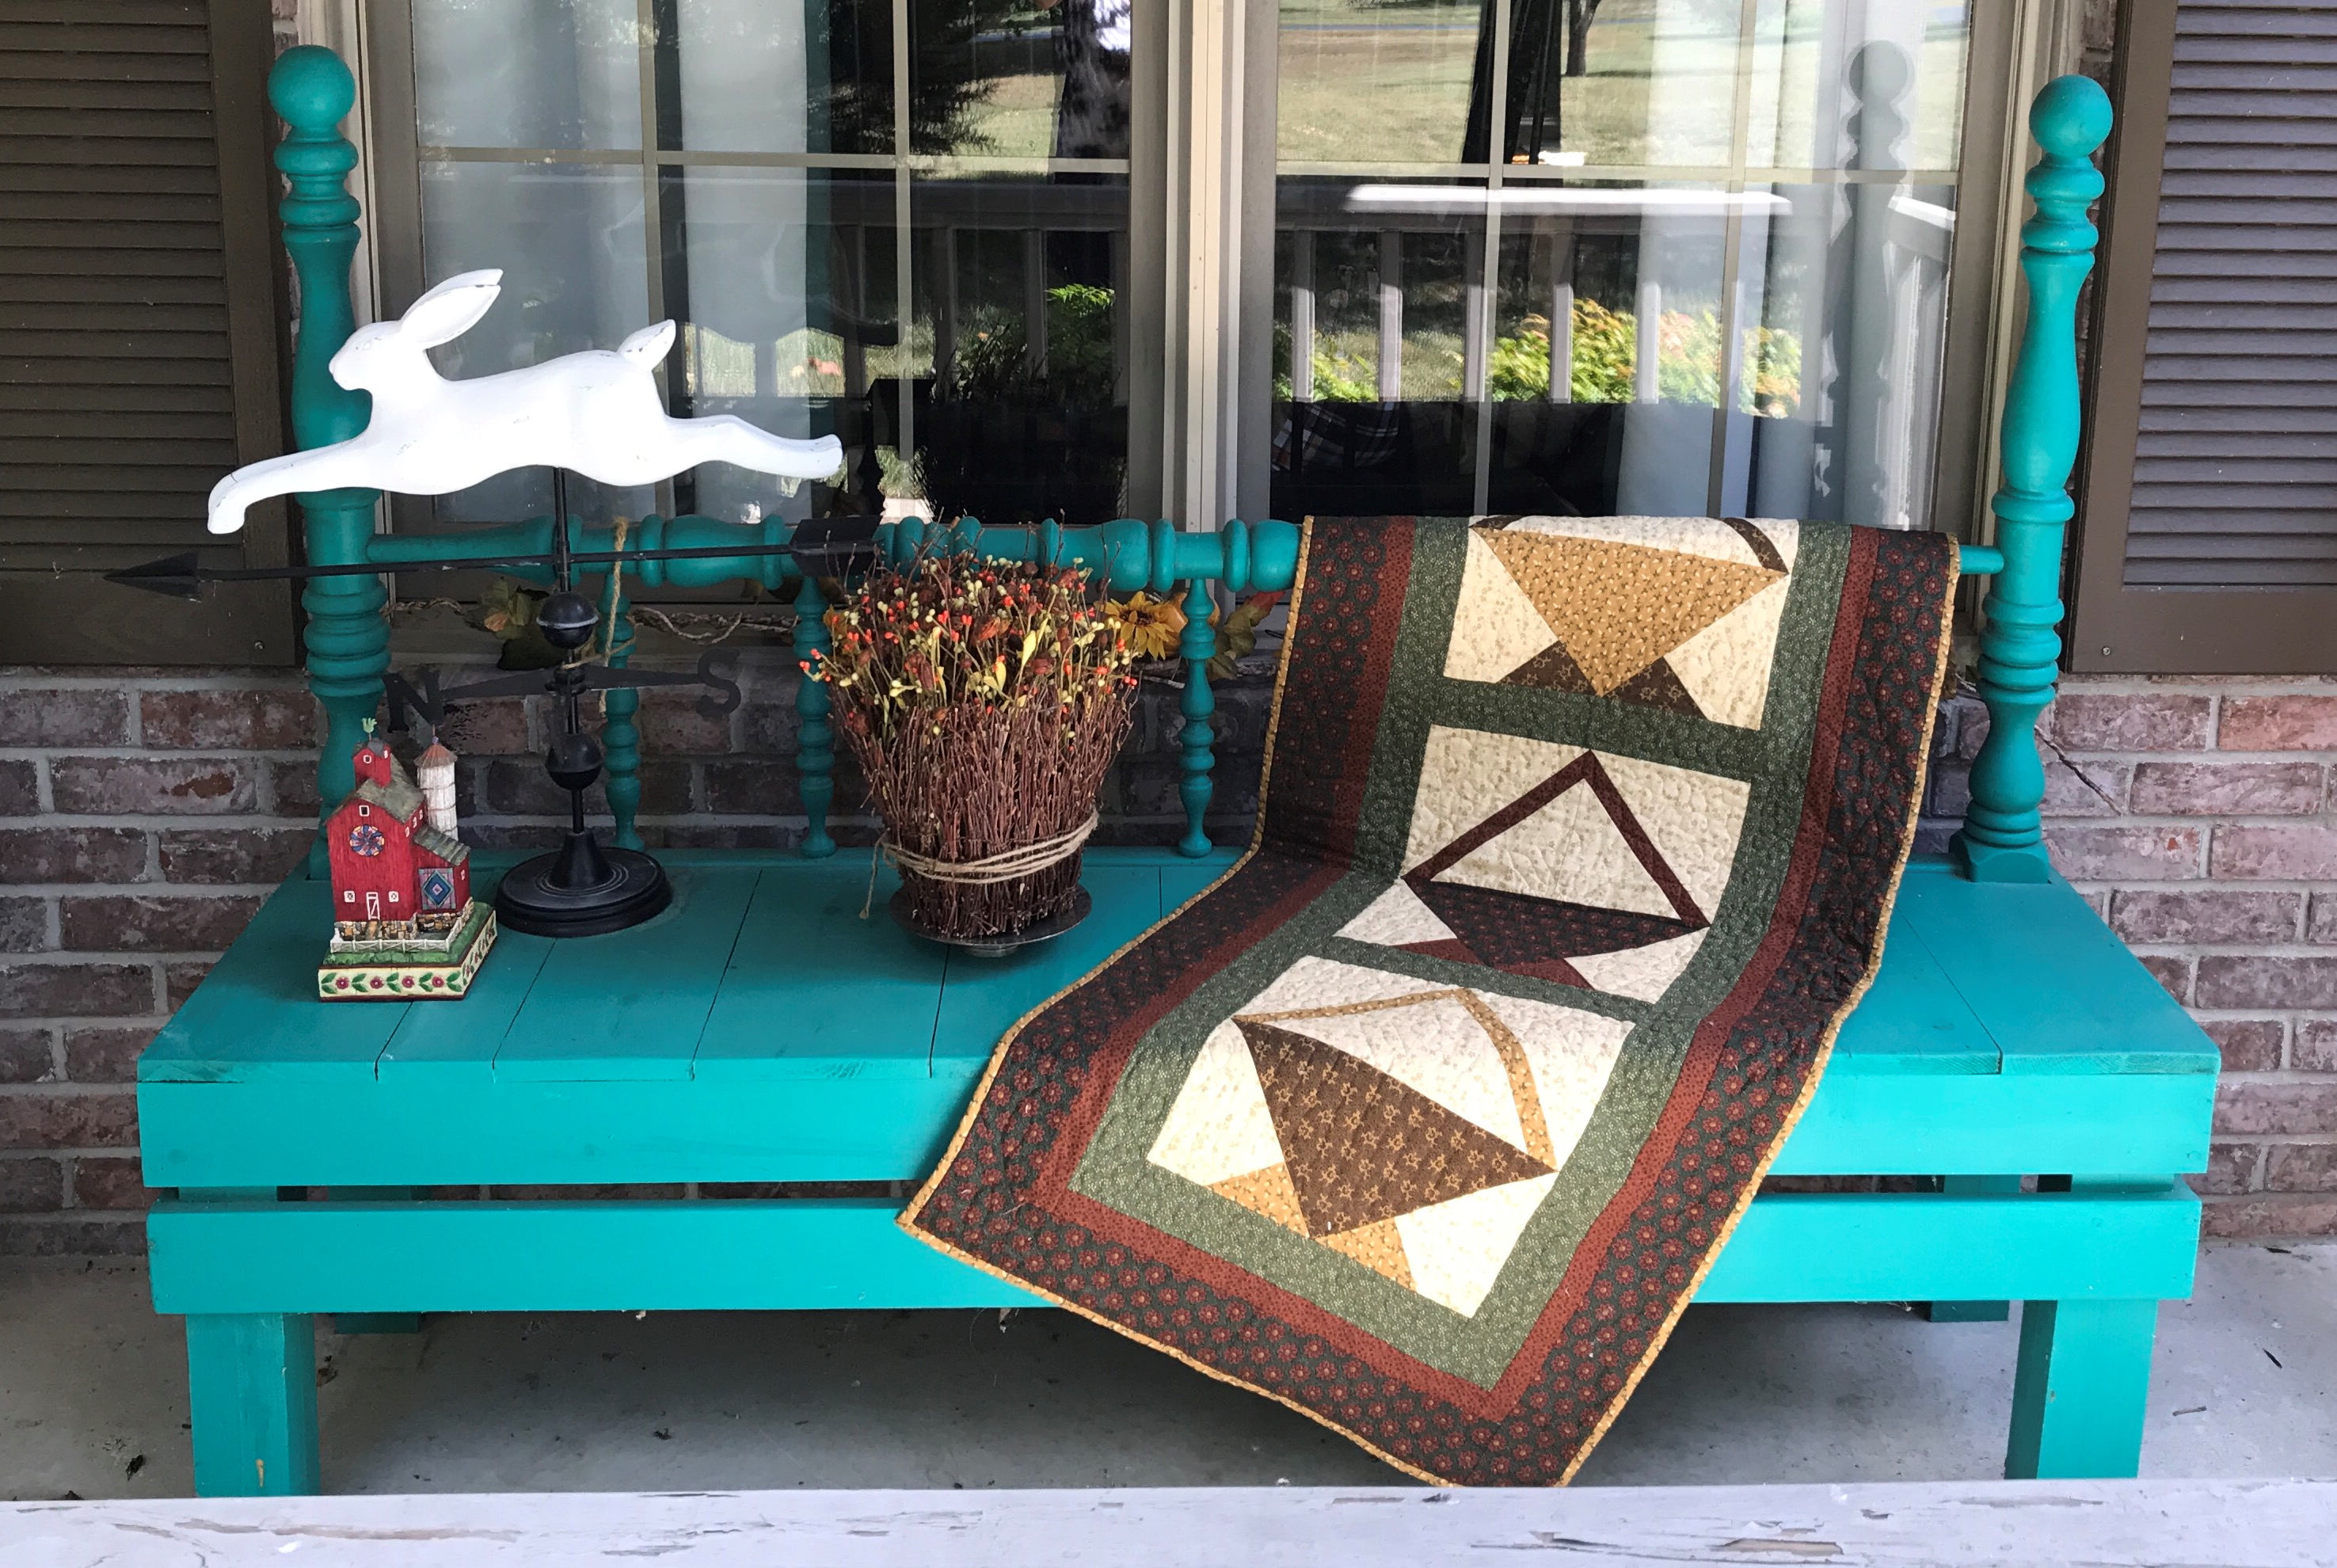
So, please tell me below that I’m not that weird and that you decorate with quilts, too! Or you can say whatever you want, but please comment!

In upcoming posts, I’ll show the rest of my Italian designs and introduce some NEW patterns using both sides of one focus fabric (it’s not just for winged-girls anymore!).

Sign up below to receive my posts (about one a week). Please share on Facebook and Pin on Pinterest! Thanks for checking in today.

Quilt Retreat Take-Alongs

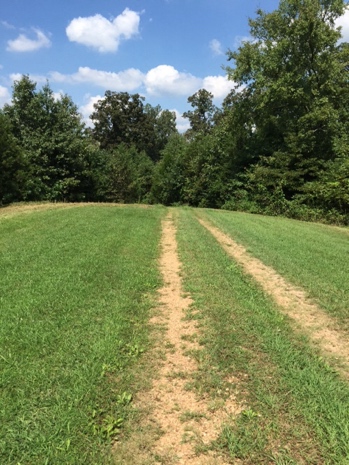
Image of Creek and Sand Bar

On the road to quilt retreat.

Here are a few items you might want to add to your retreat list:

There are lots of lists out there suggesting what to pack for quilt retreats. Here are a couple of things I add to the basic lists – to update them or accommodate for my projects. Hope this will help you, too, be totally prepared for your next retreat.

Okay, so first, take all the normal sewing/quilting supplies (machine, fabric, thread, needles, scissors, seam ripper, etc.).

Then consider:

Chargers for phone, Ipad and Fitbit

Cords for all machines and laptop

Leather thimble or little stick-on dots for hand-work

Chain-cutter (mine is Barney purple)

Guild directory (for when you can’t remember that one lady’s name)

Pre-cuts guide (for shopping trip)

Pressing board

Silicone Pressing Sheet

Extra light bulb for machine

Basting glue

Pressing Spray

1/4 inch guide

Extra lighting

Water

You might want to throw in some clothes and soap and you’re good to go! Now check out this One Sweet Retreat to read about last year’s trip to Jonas Bluffs.

Please share your ideas for retreat lists and comment below.

Sign up for automatic posts below. Visit Etsy.com/shop/CreativeBeeStudios for my new patterns!


Colorful Wings – Three New Quilt Patterns

Introducing three quilt designs using BOTH sides of your focus fabric.

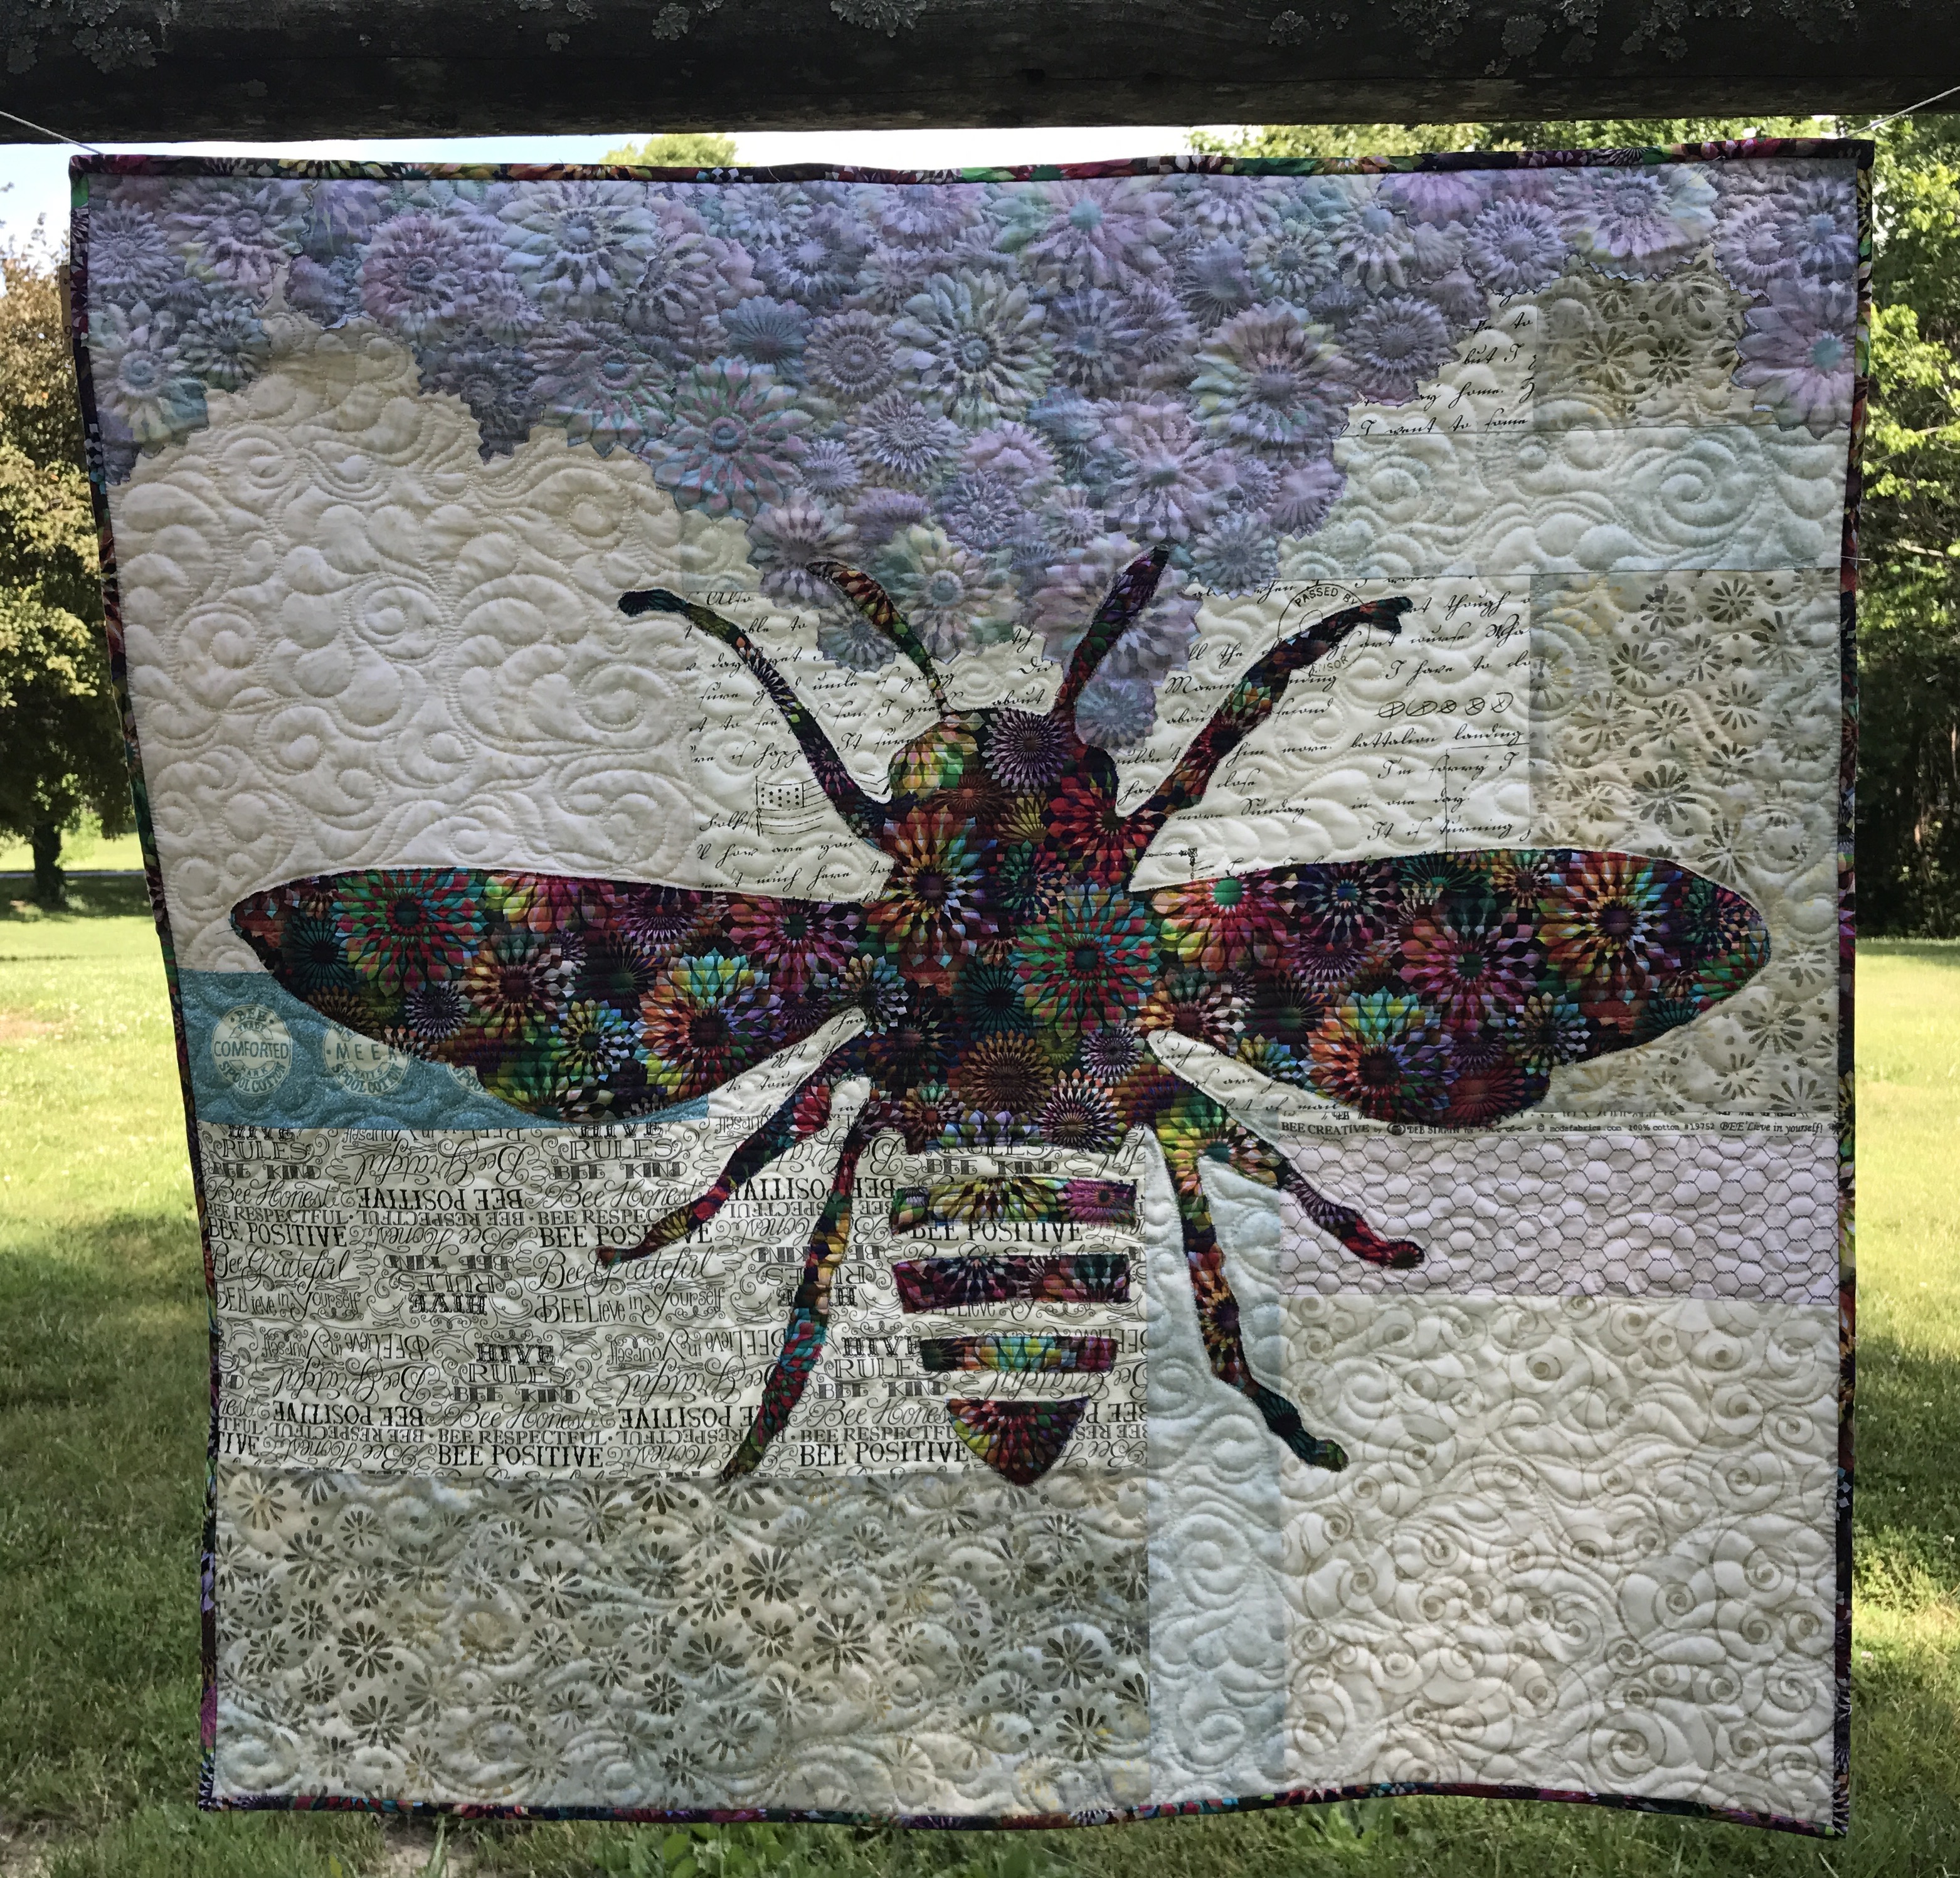
It all started with Phoebee (See Designing Quilts by Chance) and yardage of a Hoffmann Digital Spectrum print named Crystalia Rainbow.

Classes starting in September. Patterns available now.

After being inspired at quilt market (See Six Favorites from Quilt Market), I knew I wanted to mix lots of different fabric types to make a bee quilt. While I thought the shape of the bee would be “in the mix”, the background is actually where I used a variety of styles of fabrics:

chicken wire fabric from the 90’s, inherited from my mother-in-law, Pat, (love)

modern word fabric,

batiks,

and pieces of selvage…

with a few accent strips of color.

Patterns available in my Etsy shop: https://www.etsy.com/shop/CreativeBeeStudios

My Crystalia fabric became my bee. Her flowers I made from the “wrong” (such a harsh word) side of the same fabric.

I guess you could call the flower technique a “modern broderie perse” (thank you, Kelly). They are made with simple, fusible applique and are cut without fussing about the edges – in fact, I encourage letting background show through as it ties the two sides of the fabric together in the quilt.

In my classes and in my patterns, I point out that all reverse sides of fabric are not alike — audition your front AND back sides with your background fabrics.

The best way for me to describe a good reverse side is to say that it should “sing” just as much as the front, just with lesser value.

Image of Bee Quilt

Phoebee

One thing I liked most about Phoebee was that she seemed to be getting her life and beauty from the flowers. Thanks to the hubby for her name–which in Greek actually is spelled with two “e’s” at the end and means “bright, pure”.

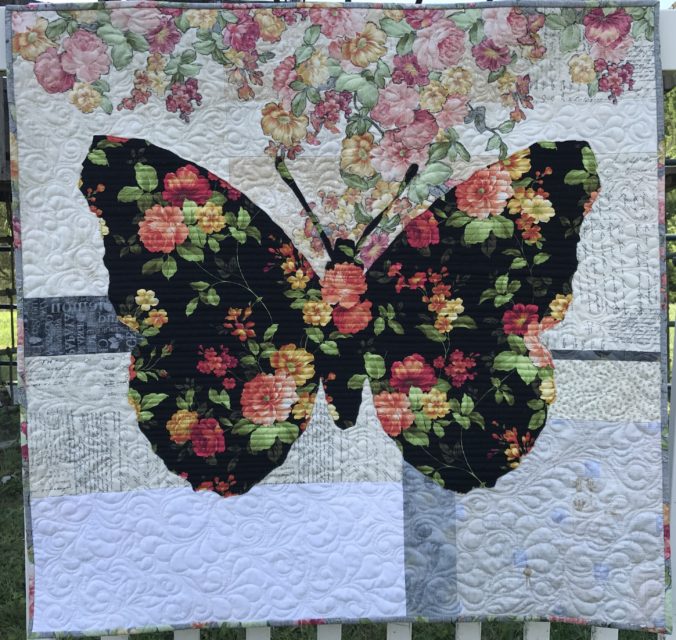
Image of Class FlyerNext came Belle. She’s a French butterfly. Belle means “beautiful” (I NEVER got that about Beauty and the Beast – blush).
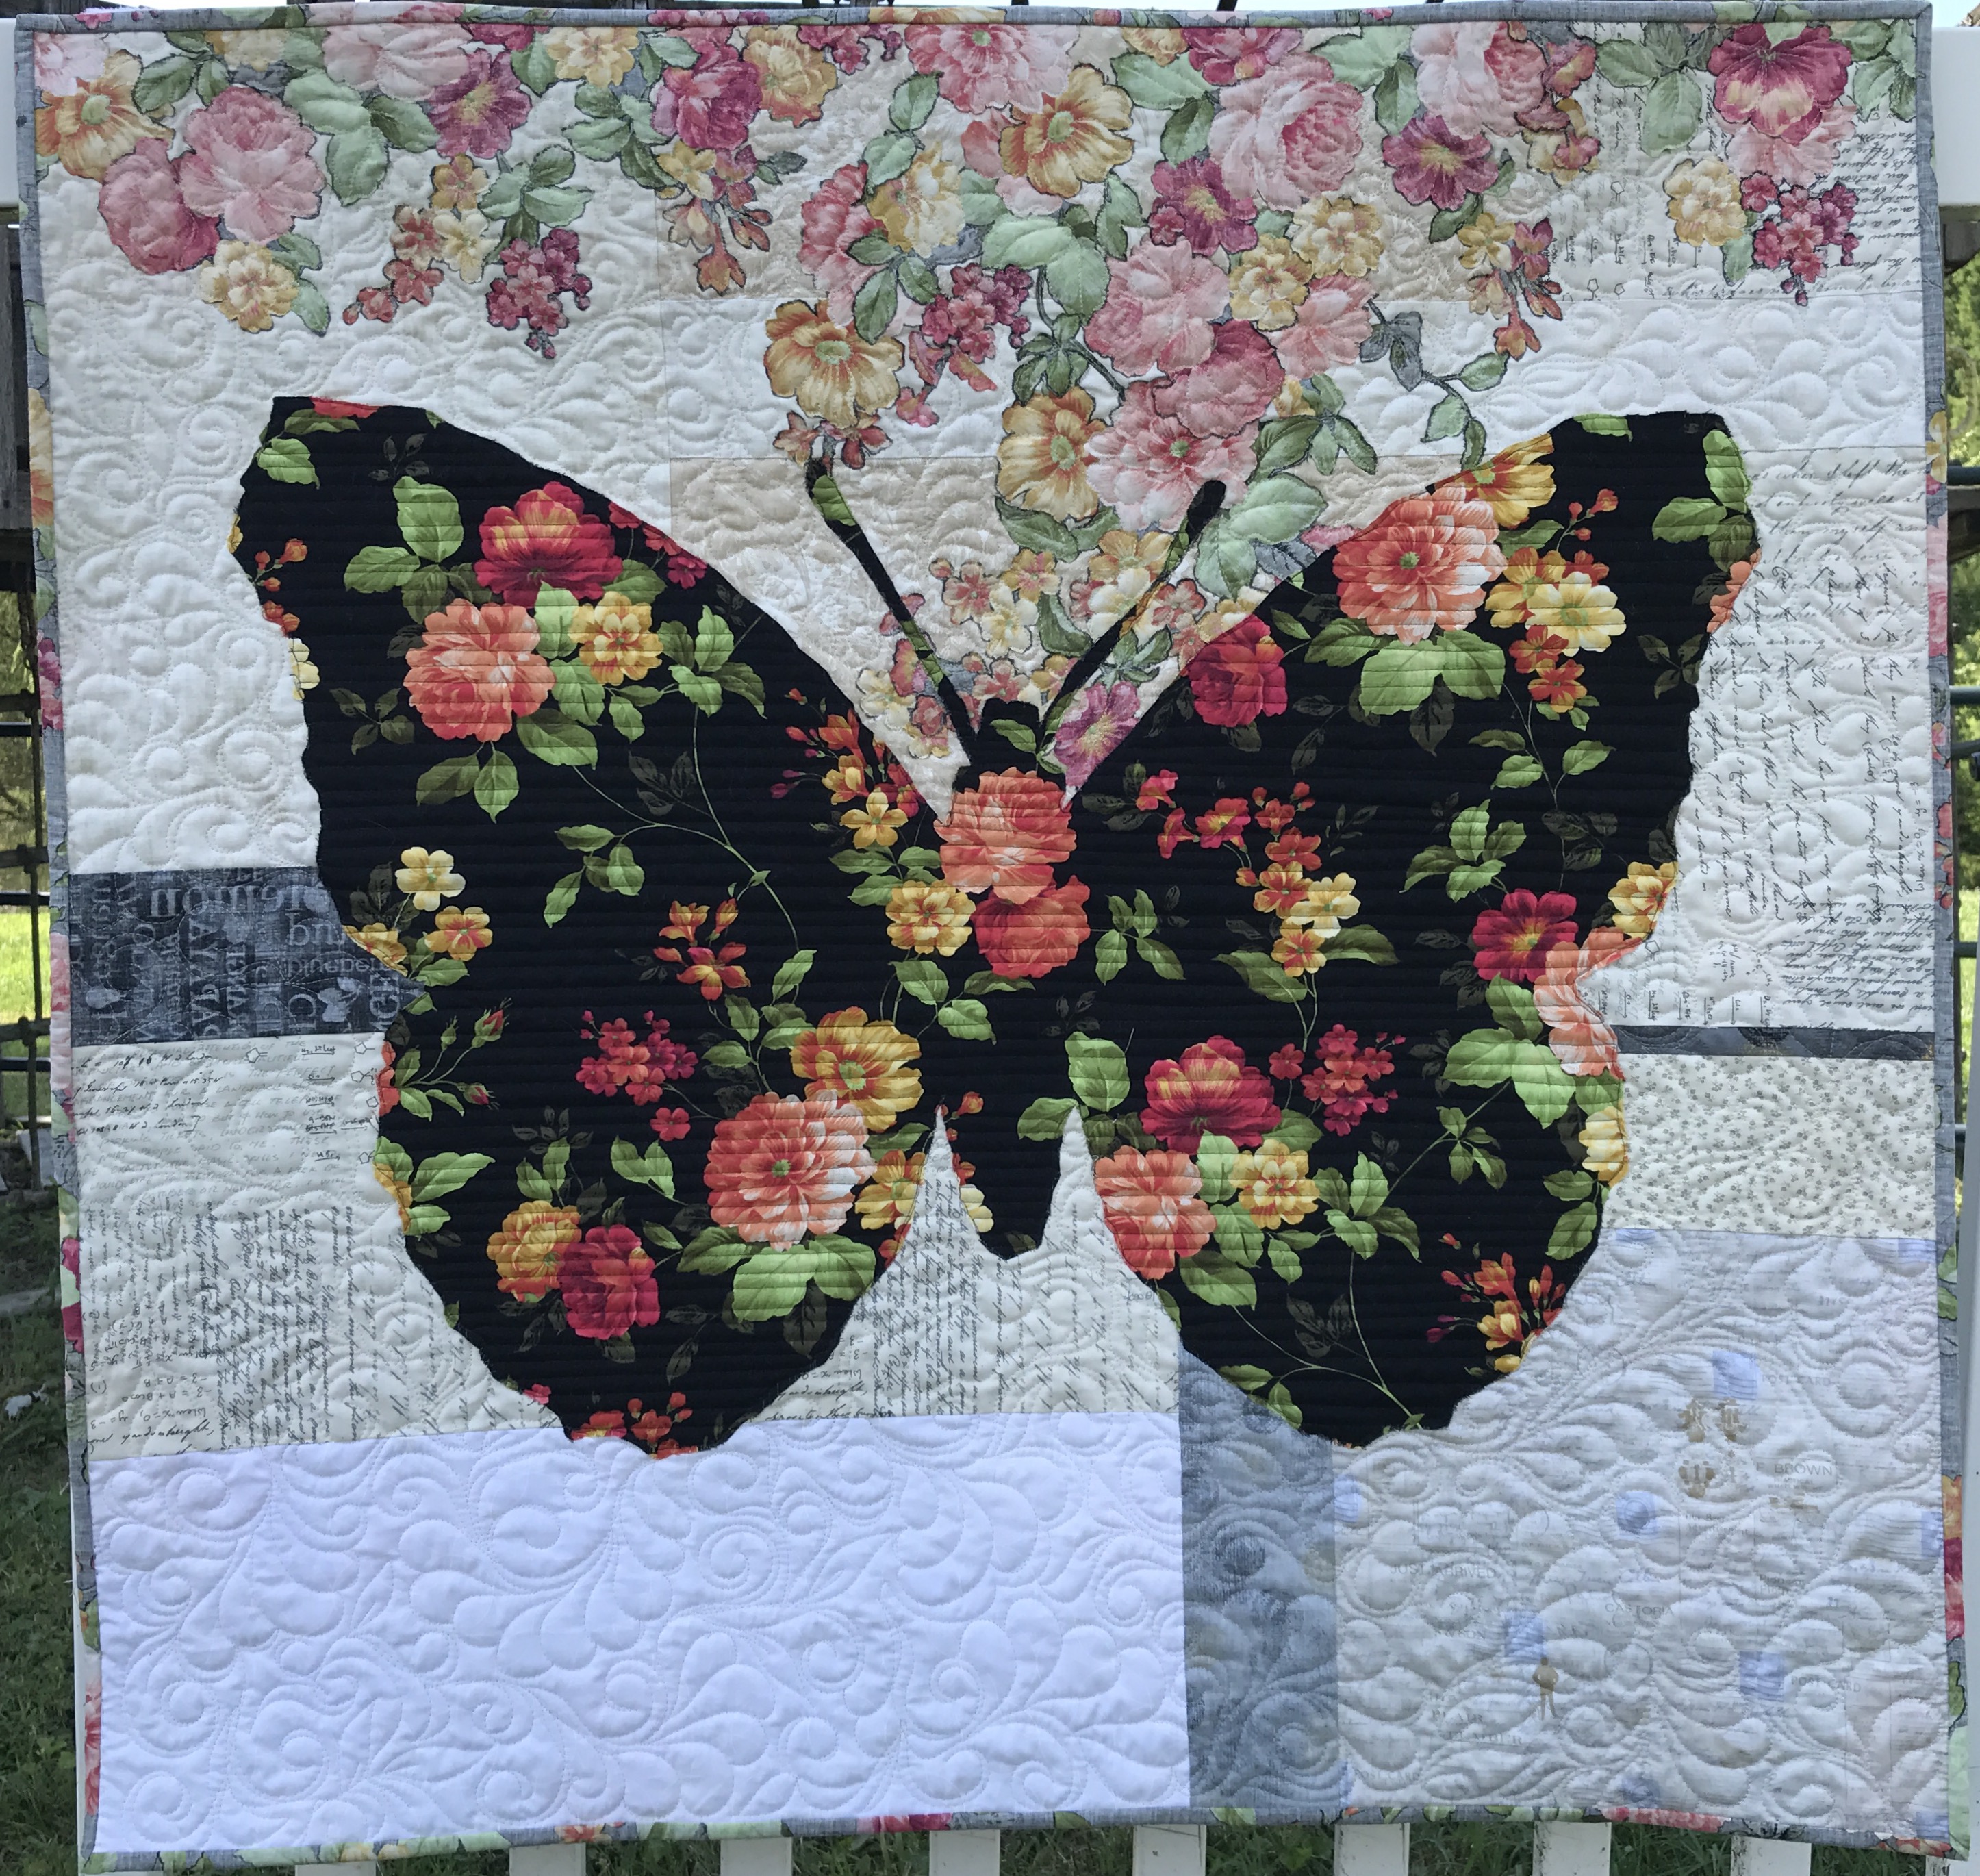
I found Belle’s fabric, Estate Gardens by Andover at my local quilt shop, The Golden Needle. I used similar neutrals in her background, but stayed with different shades of gray (some reversed) for the accent strips. Her binding is made with the reverse side out.

Note: I like to mix all shades of neutrals – white whites, beiges, off-whites- and all types of fabrics like tiny prints with batiks and novelties.

Image of butterfly quilt

Last but not least, meet Lily.

Lily is a sweet dragonfly made from Tree of Life fabric by Chong A Hwang for Timeless Treasures, also found at my local quilt shop.  Her background accent strips are in aqua because a) that’s my favorite color and b) I wanted to connect her to the water locales dragonflies love.Image of dragonfly quilt

Visit my Etsy page or The Golden Needle for patterns. If you are interested in weekend or evening classes, let me know in the comments below.

Next up is a review of value, very helpful for auditioning fabrics for Colorful Wings quilts! Don’t miss a post – sign up below for email notification! Thanks so much for following.  Karla


Lickety-Split Quilt Binding

When time and cuteness matter, this Lickety-Split Quilt Binding is the binding for you!

The Lickety-Split Quilt Binding technique for finishing quilts is helpful, time-saving, and attractive. By nature, it aids in a more perfect machine-attached binding for your quilts. Here’s how:

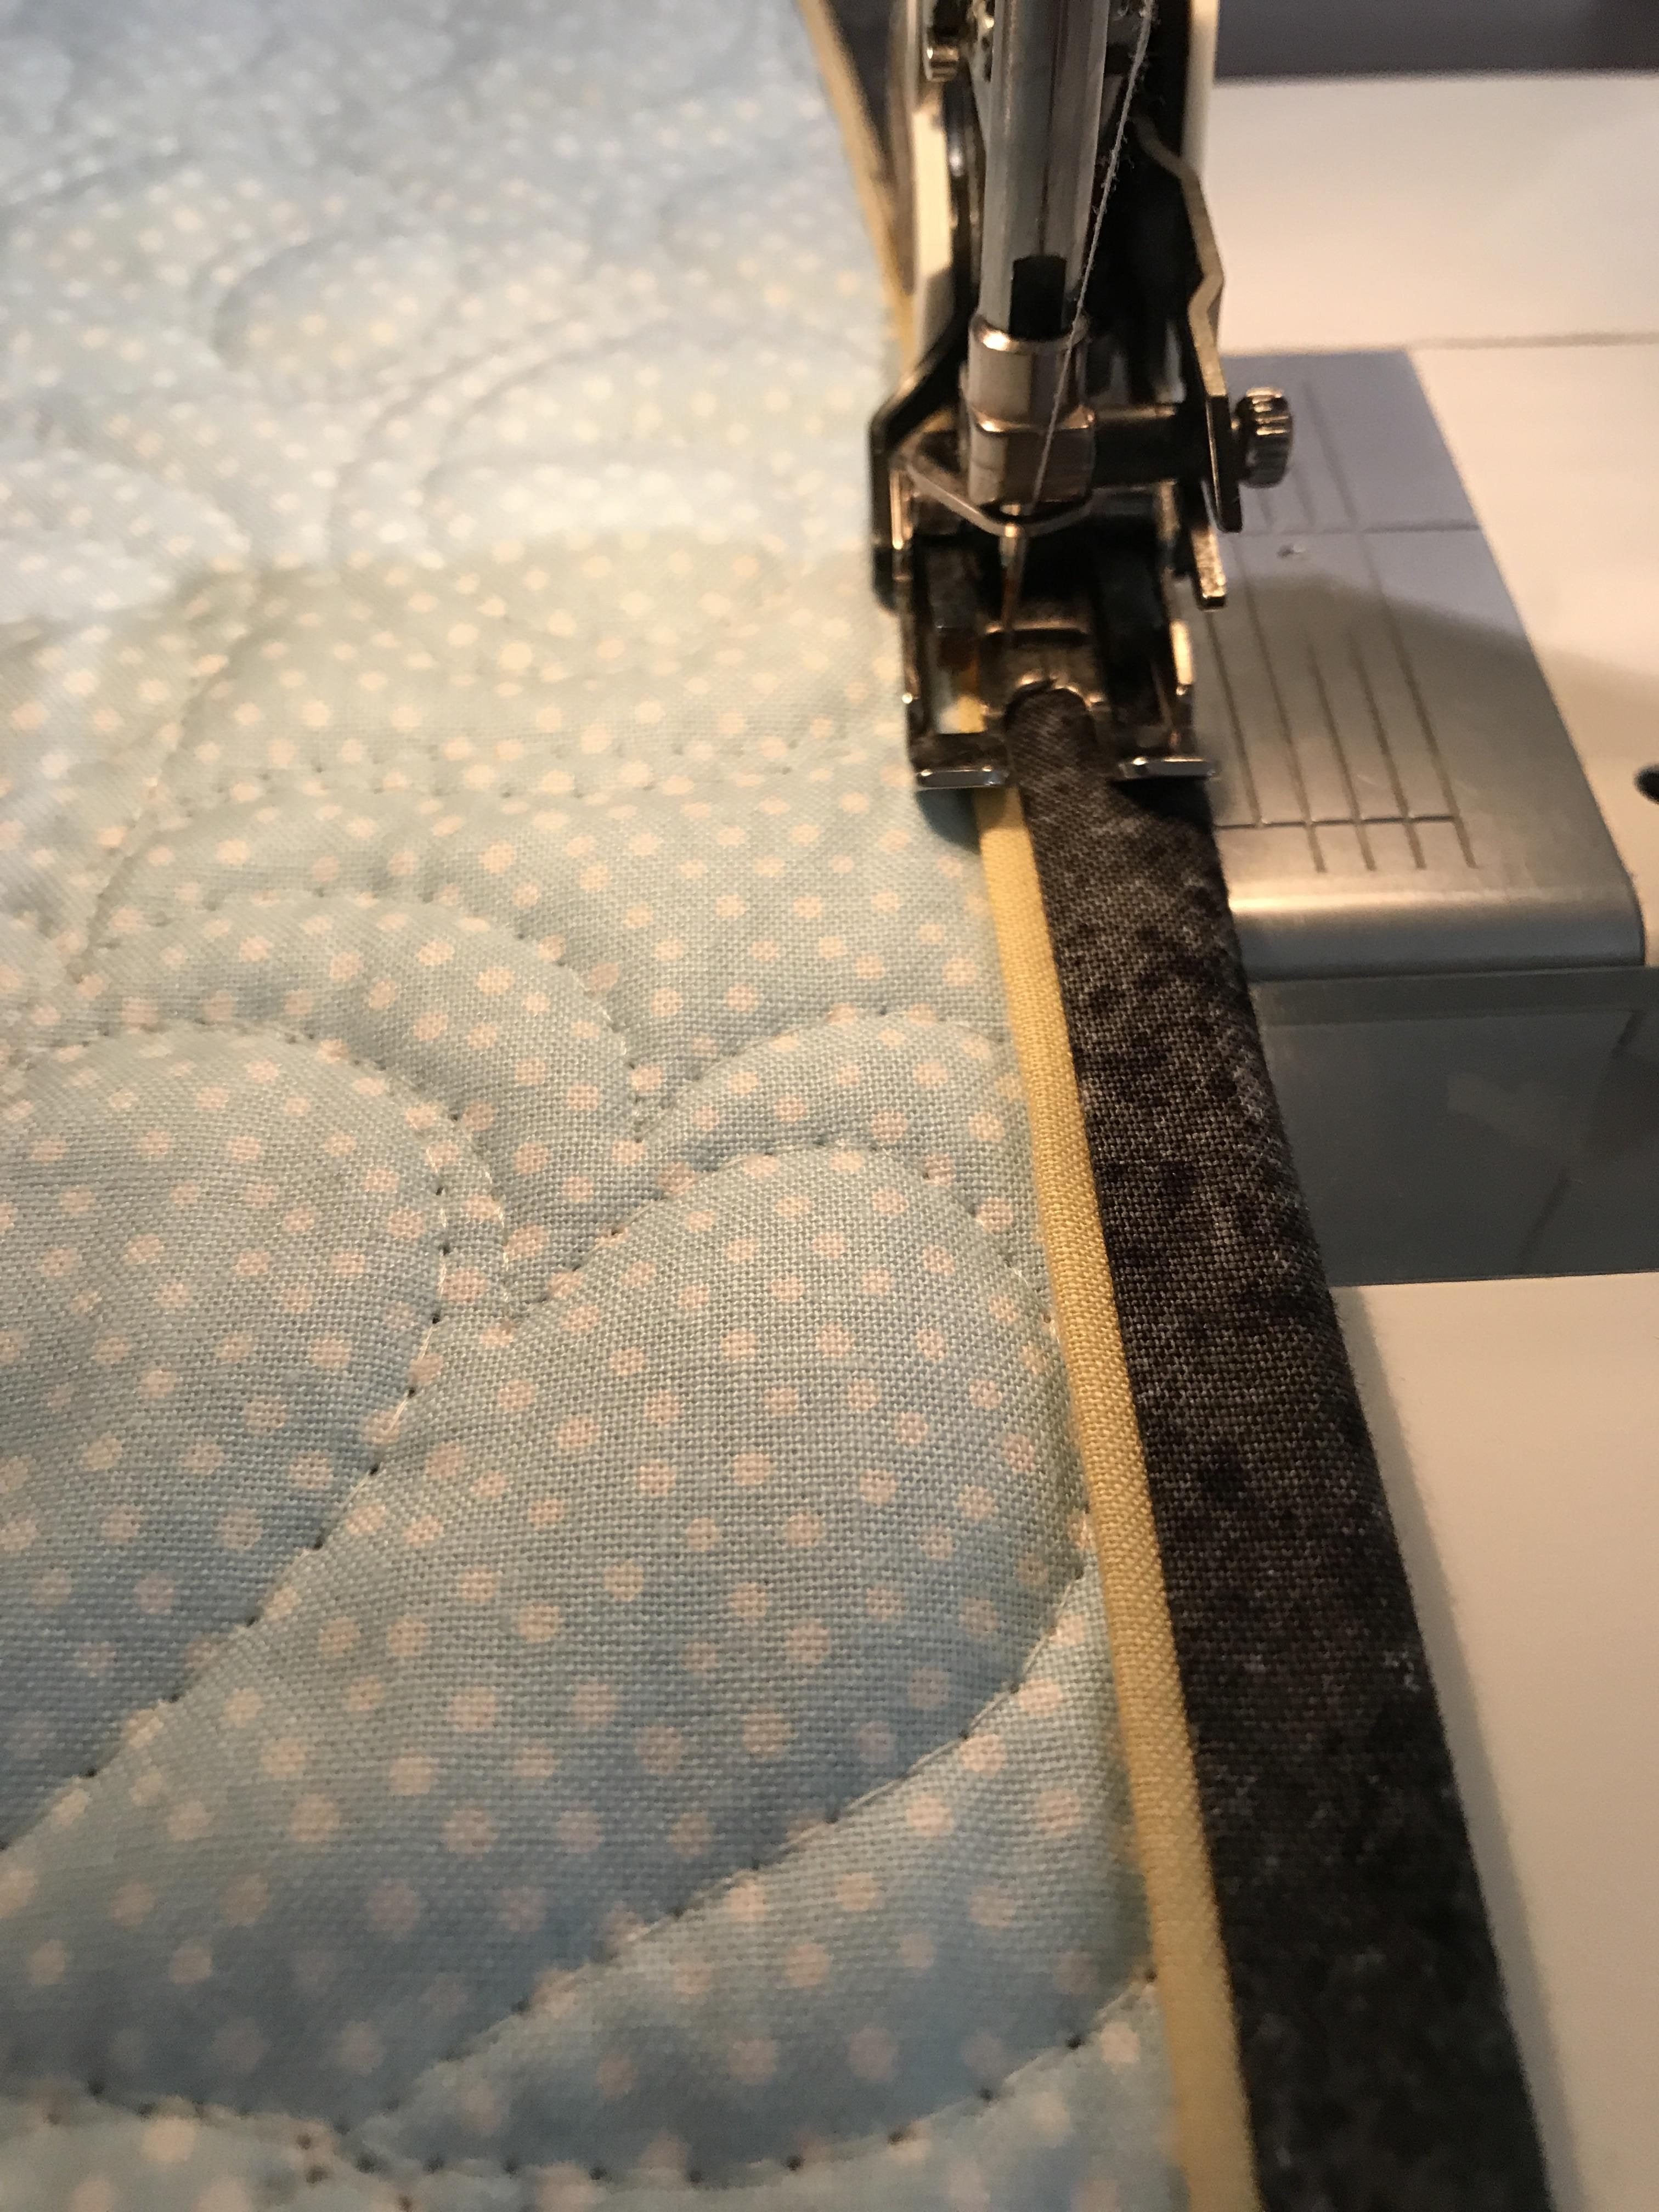
The binding is made by combining two differing strips to make the binding. One acts as an accent that appears next to the quilt. The accent looks like a flange or piping along the edge of the binding. And, here’s the best part, the accent doubles as a stitching guide. You’ll attach your binding to the back of the quilt, turn it to the front and stitch in the ditch of the accent and binding fabrics. When you use a bobbin thread that matches your backing, your finished product has a clean stitching line along the edge of your quilt backing.

I originally saw this idea years ago on Pinterest. This method produced a wider binding than is generally used these days. I’ve adapted the idea several times to product a variety of sizes, based on your needs. I don’t consider Lickety-Split Quilt Binding for all my quilts, but there is definitely a time and a place for it! I’ve used this technique of binding numerous times.  It’s great for things like utility quilts, baby quilts (the ones which will be well-loved and get lots of use), seasonal quilts, table runners, etc. I’ve used it on several seasonal quilts, which see the light of day for about one month a year and therefore don’t need a hand-turned binding.

See Quilting Resolutions HERE for more!

Here is the original pin for this binding technique. I wish I knew who Susie was because I’d like to personally thank her for this binding idea!

The best part about this binding technique is the tiny burst of interest you achieve with the accent fabric. This strip gives your needle a perfect nesting spot for stitching it down by machine.

Lickety-Split Quilt Binding finishes at either two and one/fourth inches or 2 inches. I like the smaller size for smaller art quilts, table runners, and wall hangings.

Image of Lickety-Split Quilt Binding
Binding technique for when time and cuteness matter.

Cutting Guide:

2 1/4 inch binding:

Main binding  strip: 1 1/4″

Accent strip: 1 1/2″

2 inch binding:

Main binding strip: 1 1/8″

Accent strip:  1 3/8″

Simply cut your strips and sew them end to end and press like normal binding, but do it for both colors.

Then sew the two long strips together, press seam to the binding color.

With the seam facing down, align the edge of the binding along the edge of your quilt and stitch a 1/4 seam (or smaller than your final stitch seam), connecting the ends with your favorite method. Lastly turn your binding to the front of your quilt and stitch in the ditch between the two fabrics. I like to use a seam guide and move my needle to a comfortable spot.

Note: I have not used this method on show quilts or nicer quilts which call for a hand-turned binding.  I did notice at our last guild show that one of the quilts in the winner’s circle (triangle) had a machine-attached binding, so it’ll be interesting to see where the quilting world goes with this!

What’s your favorite binding method for fast quilts? Tell me in the comments below. Sign up below for notifications and you’ll never miss a post.

Stay tuned for some exciting news from Creative Bee Studios!

« Older posts Newer posts »