Category: Broderie Perse Quilts (Page 2 of 2)

Image of Broderie Perse Quilts

Discover a variety of broderie perse quilts made with this easy technique and both sides of fabric.

Arrange your own gorgeous bouquet quilts quickly and easily using this technique. Some of the bouquets quilts are arranged in various vases, but others mason jars or even a vintage watering can as their base. Moreover, you’ll find hanging ice skates hold a beautiful Christmas bouquet!

In addition, you’ll see that these broderie perse quilts feature a variety of subjects like a bee, a butterfly, a tropical window scene. Surprisingly, a bison skull is made and decorated with feather fabric. Likewise, build seashell coral for Sally, the seahorse, from seashell fabric. It’s all about the focus fabric you choose.

The broderie perse quilt is a form of artistry.

While these quilt patterns generally include a paper template for the vase or other featured designs, like a bee, butterfly, or bison skull, the artistry of these quilts lies in the arrangement of the broderie perse cuttings. Quilters in classes especially enjoy the time when they get to arrange their cuttings, whether it’s a bouquet in a mason jar or a vine for a bunny.

What is it?

Simply put, broderie perse refers to cutting fabric using it’s own motif as a guide. For example, you’d likely cut blooms for a bouquet from a floral fabric. Surprisingly, some patterns use feather and even seashell fabrics for the broderie perse technique.  When you add the ease and speed of fusible web, you get a modern broderie perse quilt that’s fun to make.

How to use both beautiful sides?

Firstly, look for the focus fabric in the quilt. In most broderie perse quilts, it is the darkest portion of the quilt and it is also used to make the binding. Secondly, look for the lighter value of that same fabric. The lighter value, the reverse, is often used for a vase-like holder for a bouquet. However, in the case of the bee, butterfly or dragonfly quilts, the flowers are made with the reverse. Of course, there are always exceptions, like the bunny and sugar skull. In each of these patterns, the flowers are made with the right side of the floral focus fabric.

Remember, when you use BOTH sides, it’s almost like doubling your stash!

Pepita, the Legendary Quilt Pattern

Estimated reading time: 4 minutes

The Legend of the Poinsettia is about a little girl named Pepita.

In addition to The Legend of the Poinsettia, Pepita is the name of this Christmas quilted wall hanging. You’ll learn more about the Pepita Quilt Pattern below.

Pepita was a poor Mexican girl.

Summarily, the story that became The Legend of the Poinsettia goes like this. Pepita and her cousin Pedro were walking to church on Christmas Eve. Pepita was sad because she had no gift to give the Christ Child. However, Pedro tried to console her by saying, “Pepita, I am certain even the most humble gift, given in love, will be acceptable in His eyes.”

So she picked a bouquet of weeds from the side of the road.

Therefore, Pepita gathered up a bouquet of weeds from the roadside to give as her gift. Her spirits lifted as she entered the chapel and approached the alter. She laid the weeds at the feet of the Christ Child. Suddenly, Pepita’s common weeds burst in to brilliant red blooms! This was considered a miraculous event. Consequently, it was named the Flores de Noche Buena (Flowers of the Holy Night).

As she laid the weeds at the feet of the Christ Child, they burst into brilliant red blooms!

Today we call these flowers poinsettias, after Dr. Joel Poinsett. Dr. Poinsett was the first ambassador to Mexico. He first brought the bright red star-shaped flower to the United States.

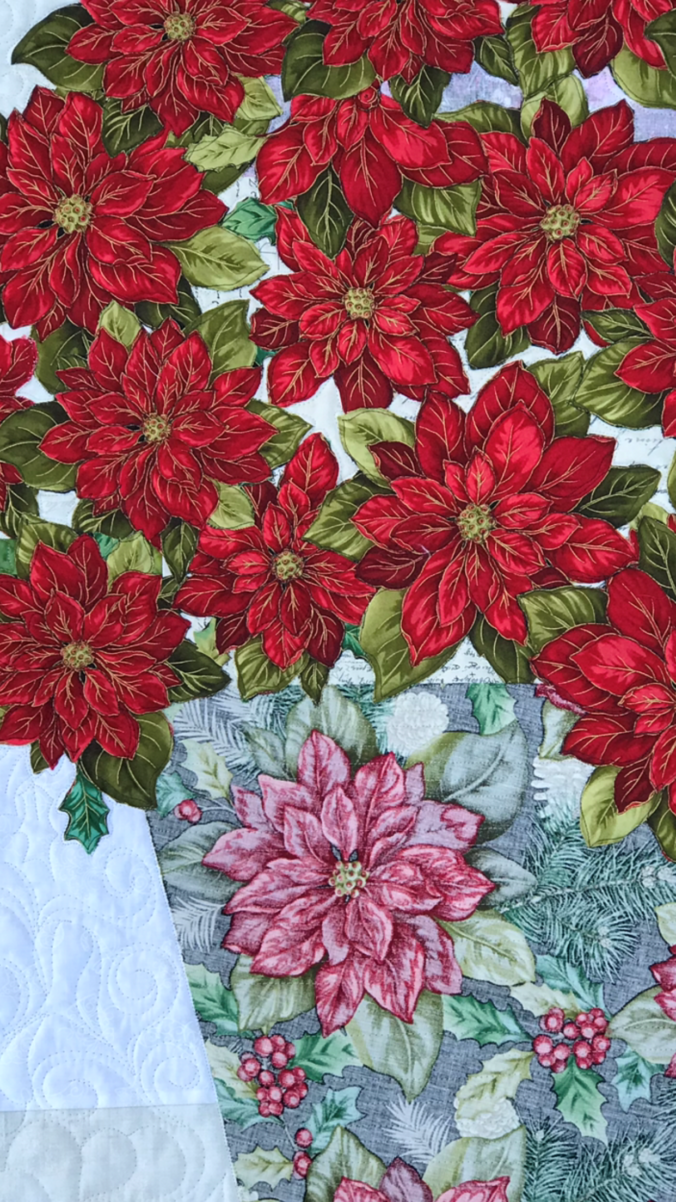
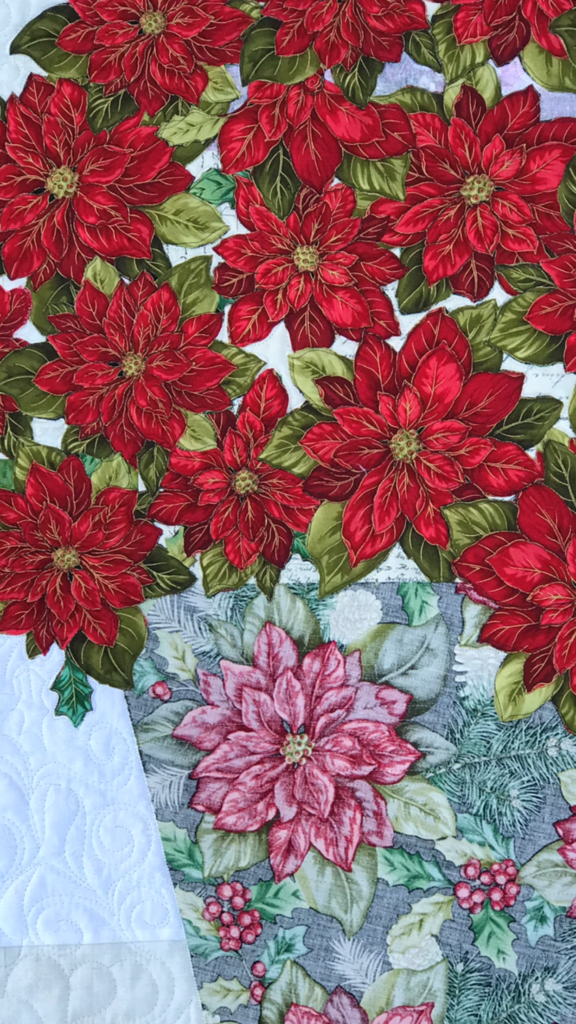
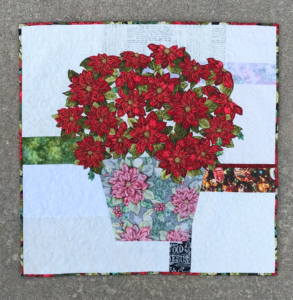
The Pepita quilt is made using both sides of one poinsettia focus fabric on a scrappy, fun background.

This quilt pattern is fast and easy to make using simple fusible web and an easy broderie perse technique.

First, you’ll discover the nuances of value as you learn to audition both sides of your fabrics. Then using easy fusible web and broderie perse techniques, you’ll build your bouquet. The blooms are made with the RIGHT sides of your focus fabric; the pot is made from the REVERSE.

Add fun, scrappy background fabrics.

Moreover, you’ll learn how to add a sparkling interest to your quilt by combining a variety of background fabrics. You might choose snow-y motifs, cardinals, red trucks, Christmas trees, batiks, Grunge, etc. The more variety of background fabrics you choose will make your quilt more interesting!

The Pepita Quilt Pattern or quilt is great for gifting because the fast technique and stunning look!

And now you know The Legend of the Poinsettia.

Unfortunately, I used to avoid poinsettias plants, because I thought they were poisonous for pets. However, in my recent research about them, I’ve learned they are only mildly toxic, causing a stomach upset if ingested. But if you are concerned, make up this beauty and you can have poinsettias in your Christmas décor every year!
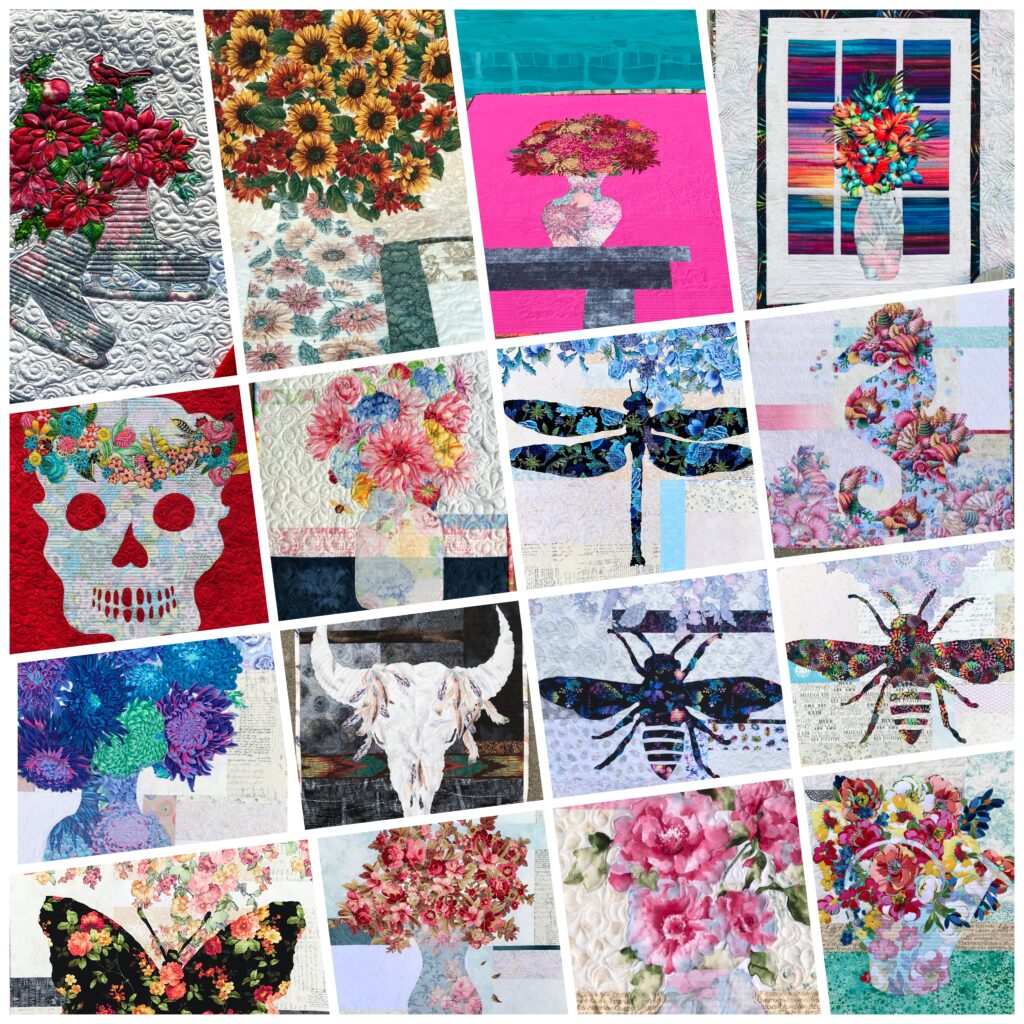
Image of Poinsettia Quilt
Pepita Quilted Wall Hanging

Click HERE to see other Colorful Petals series quilts!

SHOP more than 50 quilt patterns that use BOTH beautiful sides of fabric!

Learn more at How to Use Both Sides.

Watch Creative Bee Studios on YouTube!

New Quilt Pattern Using Both Sides

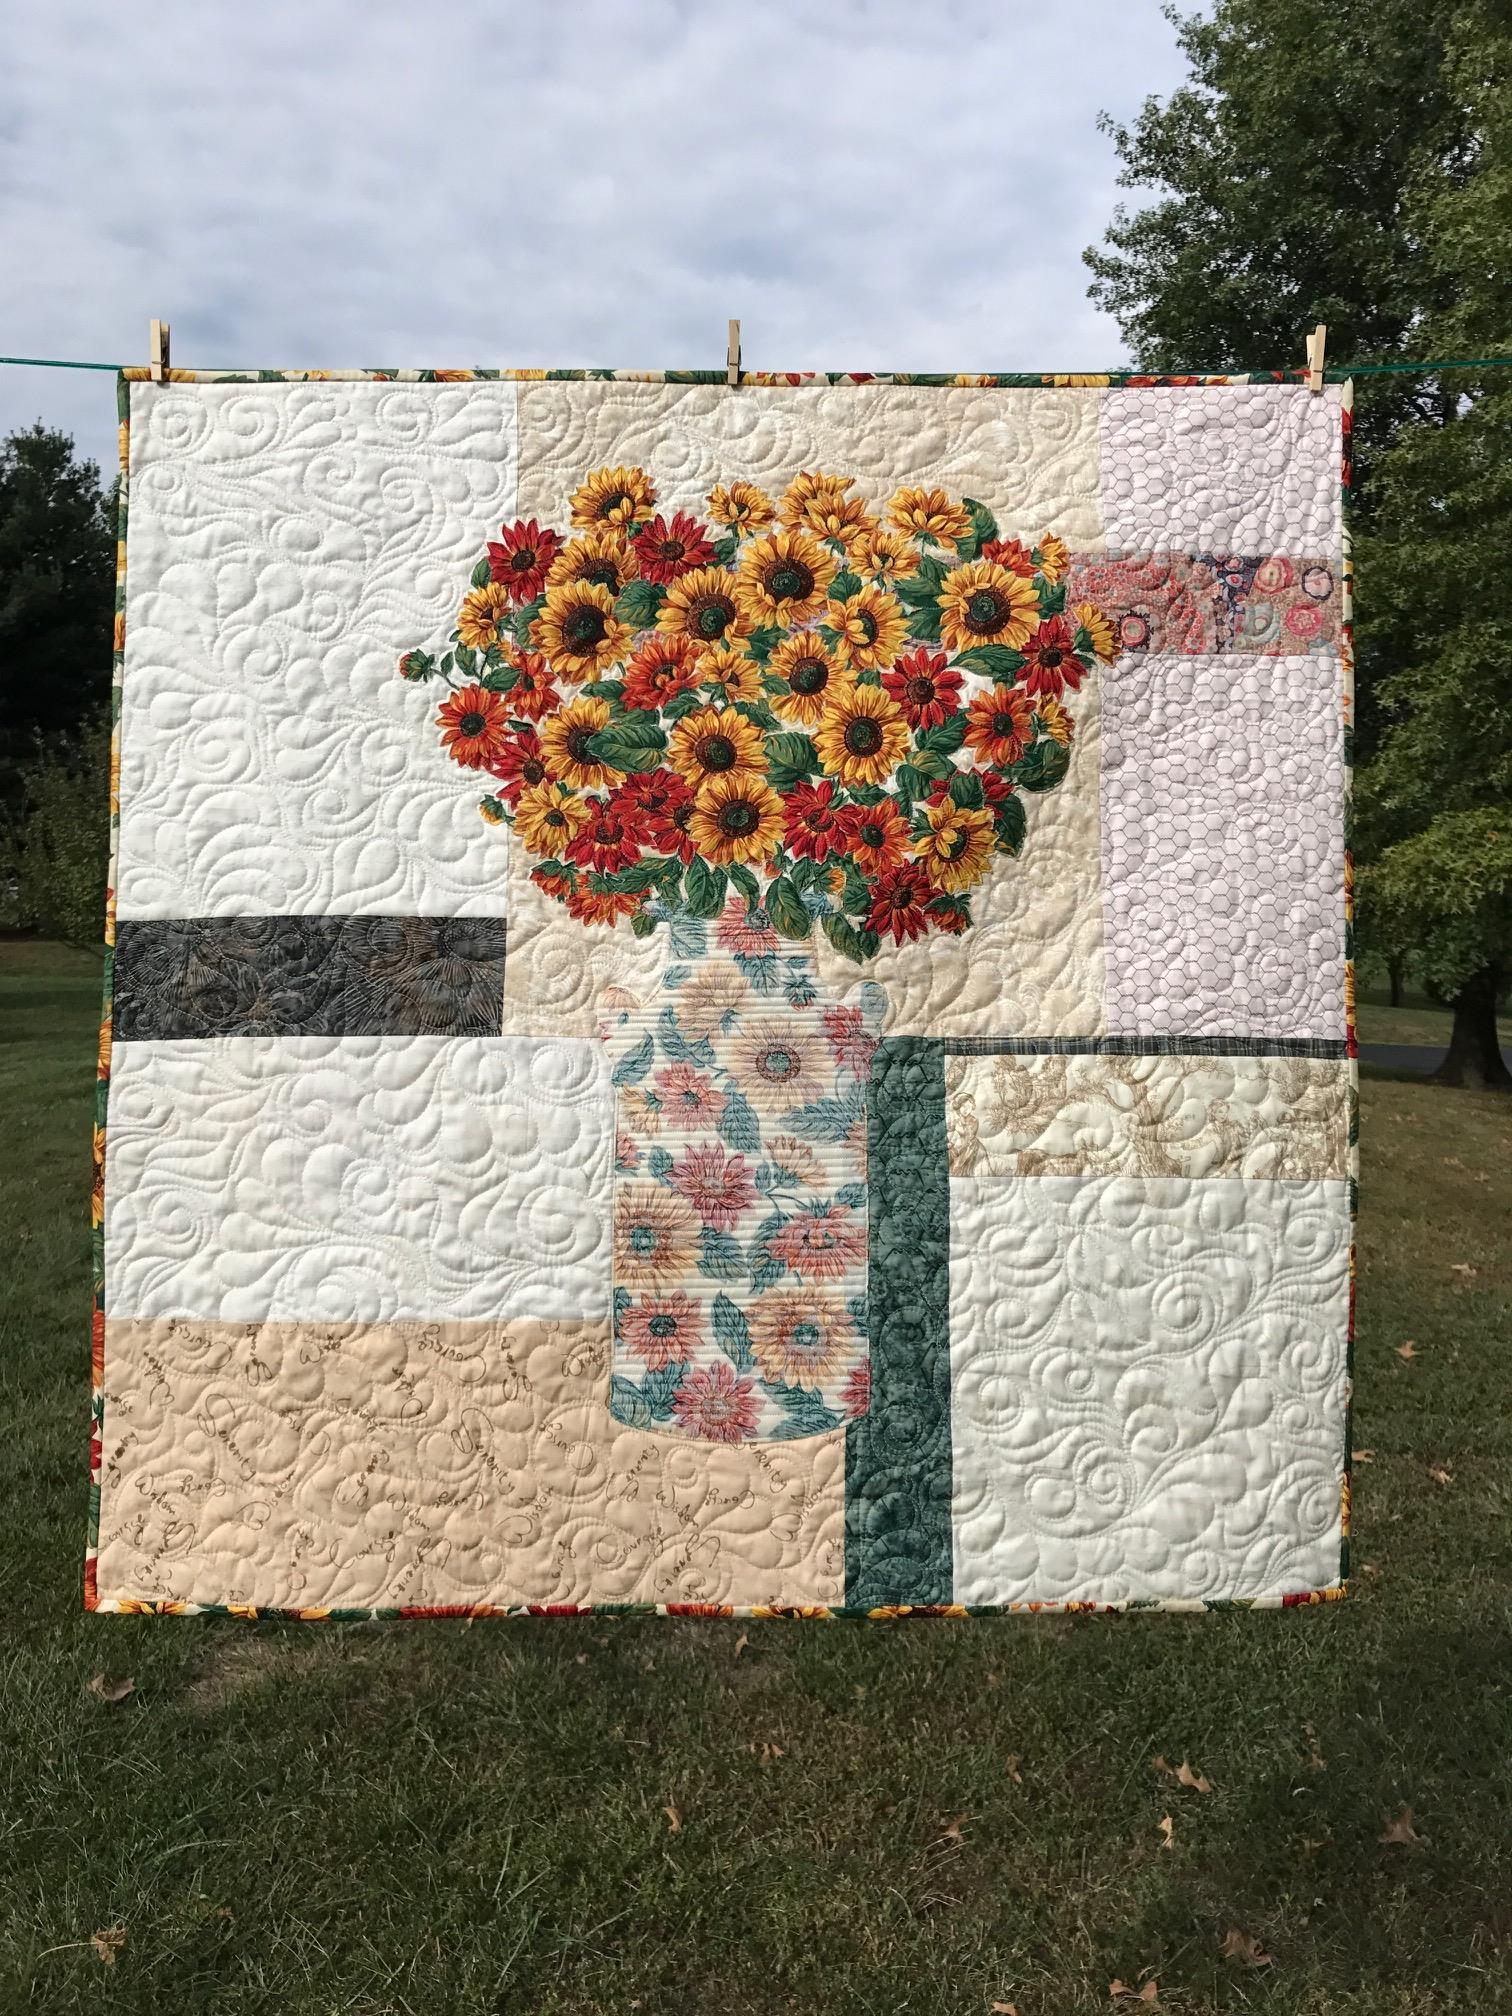
Meet sweet Emily. She is the second pattern in the series called Colorful Petals. Emily is made both beautiful sides of one focus fabric.

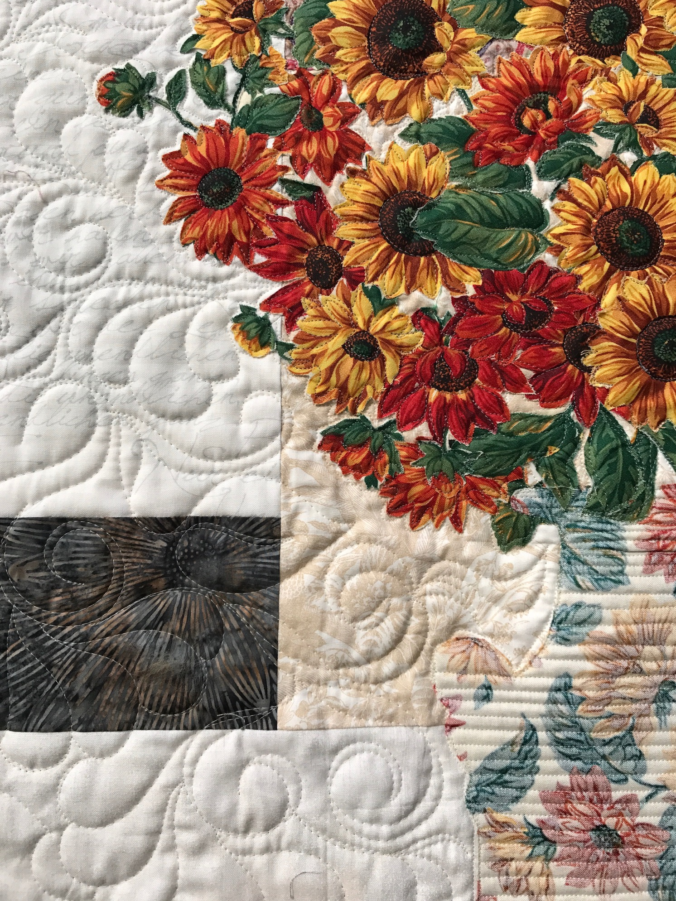
This lively sunflower fabric makes a great autumn art quilt.

Like Rose (click here), Emily’s “primitive pottery” vase is made from the reverse side of the floral focus fabric.

Choosing one focus fabric for the vase, bouquet and binding and stitching a scrappy background is a fun way to use up stash while making a fast, easy quilt for decorating or gifting.

It warms my heart to see some of my mother-in-law’s chicken wire fabric  (circa 90s) in this quilt.

The four colorful accent strips used in the #usebothsides line of patterns make it a great way to use some bold, maybe even eccentric, fabrics from your stash that might otherwise might be too wild for a calm quilt like this.

Colorful Petals – Rose, Emily, and Kate (more on her next week) –  will be taught at The Golden Needle (click here) on November 15th in Cape Girardeau, MO.

Image of Sunflower Bouquet Wall Quilt
Emily uses both sides of one focus fabric i this sunflower bouquet.

These quilt patterns are a lesson in VALUE as you learn to audition your focus fabric (front and back) with a variety of background fabrics and accent strips — and their reverse sides.

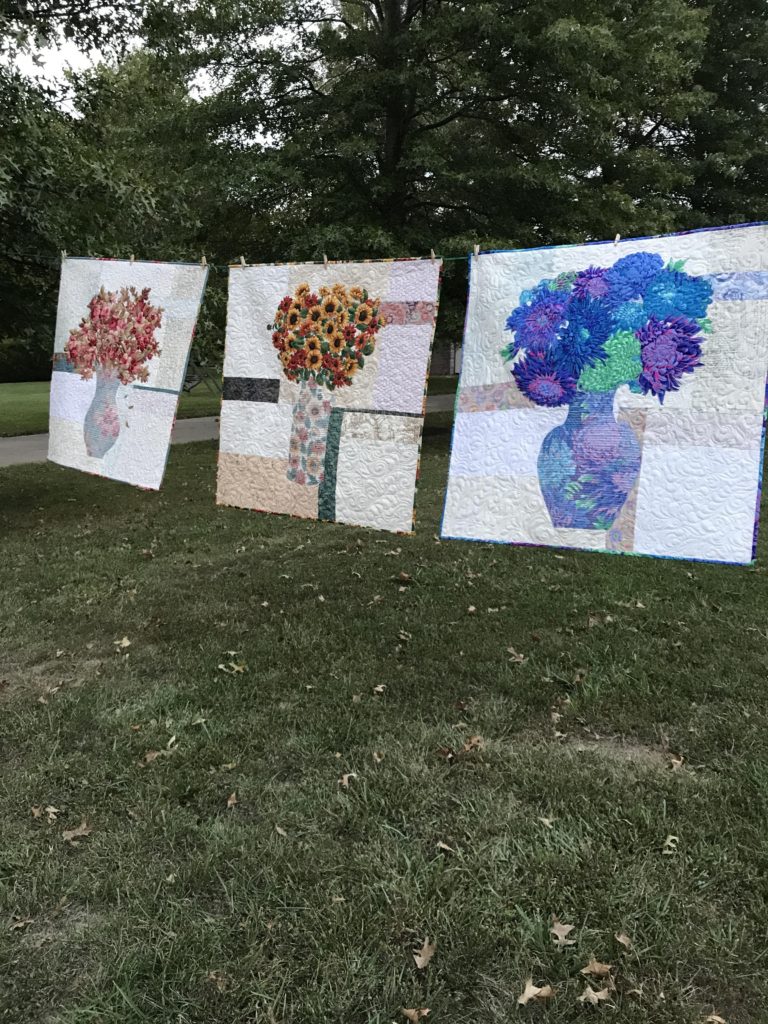
Image of Three Quilts
Colorful Petals Quilt Patterns
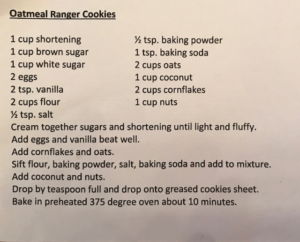
Image of Cookie Recipe

Shout out to my Colorful Wings class – here is the cookie recipe I promised you, compliments of Nancy Kester:

Shop the whole line of patterns at my Etsy Shop (click here).

Sign up below so you never miss a post!

Do you use both sides? Tell me how in the comments below!

Meet Rose…a Quilted Beauty

Estimated reading time: 3 minutes

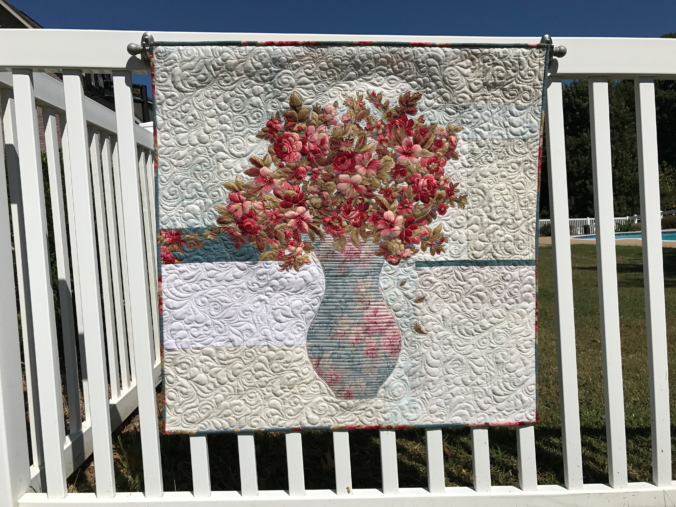
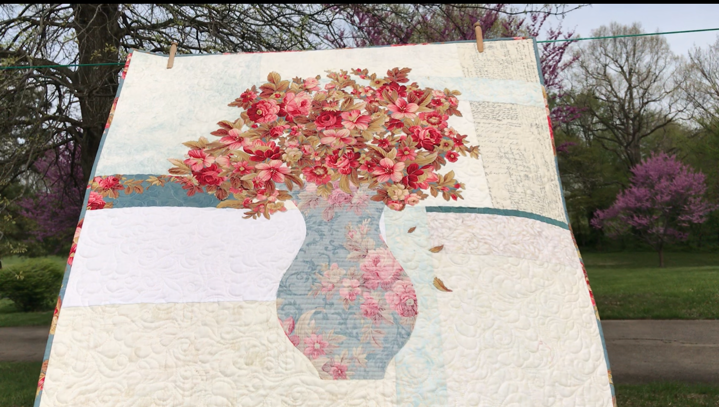
The rose bouquet quilt shown here is appropriately named Rose.

This Rose bouquet quilt was the first made in a series of bouquet quilts. Each quilt was as different and distinct as the focus fabric from which it was made!

Rose is made with both beautiful sides of one focus fabric!

First, the focus fabric for this Rose bouquet quilt is Bed of Roses by Geri Robinson by Red Rooster Fabrics. It is used for the vase (REVERSE), the bouquet, and binding. Unlike other similar quilts, one accent strip in the background is featured in this quilt to demonstrate the contrast between the right and reverse sides.

The scroll work on the focus fabric for the Rose bouquet quilt doesn’t appear on the right side, but it makes a beautiful design on the vase when you use the reverse!

The key to making a Rose bouquet quilt is learning how to audition both sides of fabric. Value is the key! First, you will discover the nuances of value as you learn to audition both sides of focus fabrics. Likewise, once you choose your focus fabric, you’ll apply the same principles (tips) to audition background fabrics. It’s easy to audition fabrics when you know what to look for.

Additionally, see The Tricky Traits of Value.

Easy Techniques

Basically, the Rose bouquet quilt is made using fusible applique and broderie perse techniques. Simply put, you’ll trace and cut the vase from a full-size paper template. Next, you’ll cut flowers and leaves from the motifs on the fabric. It’s as simple as fusing them onto the background fabrics. Finally, the applique can be secured during the quilting process, making this a truly fast project to make.

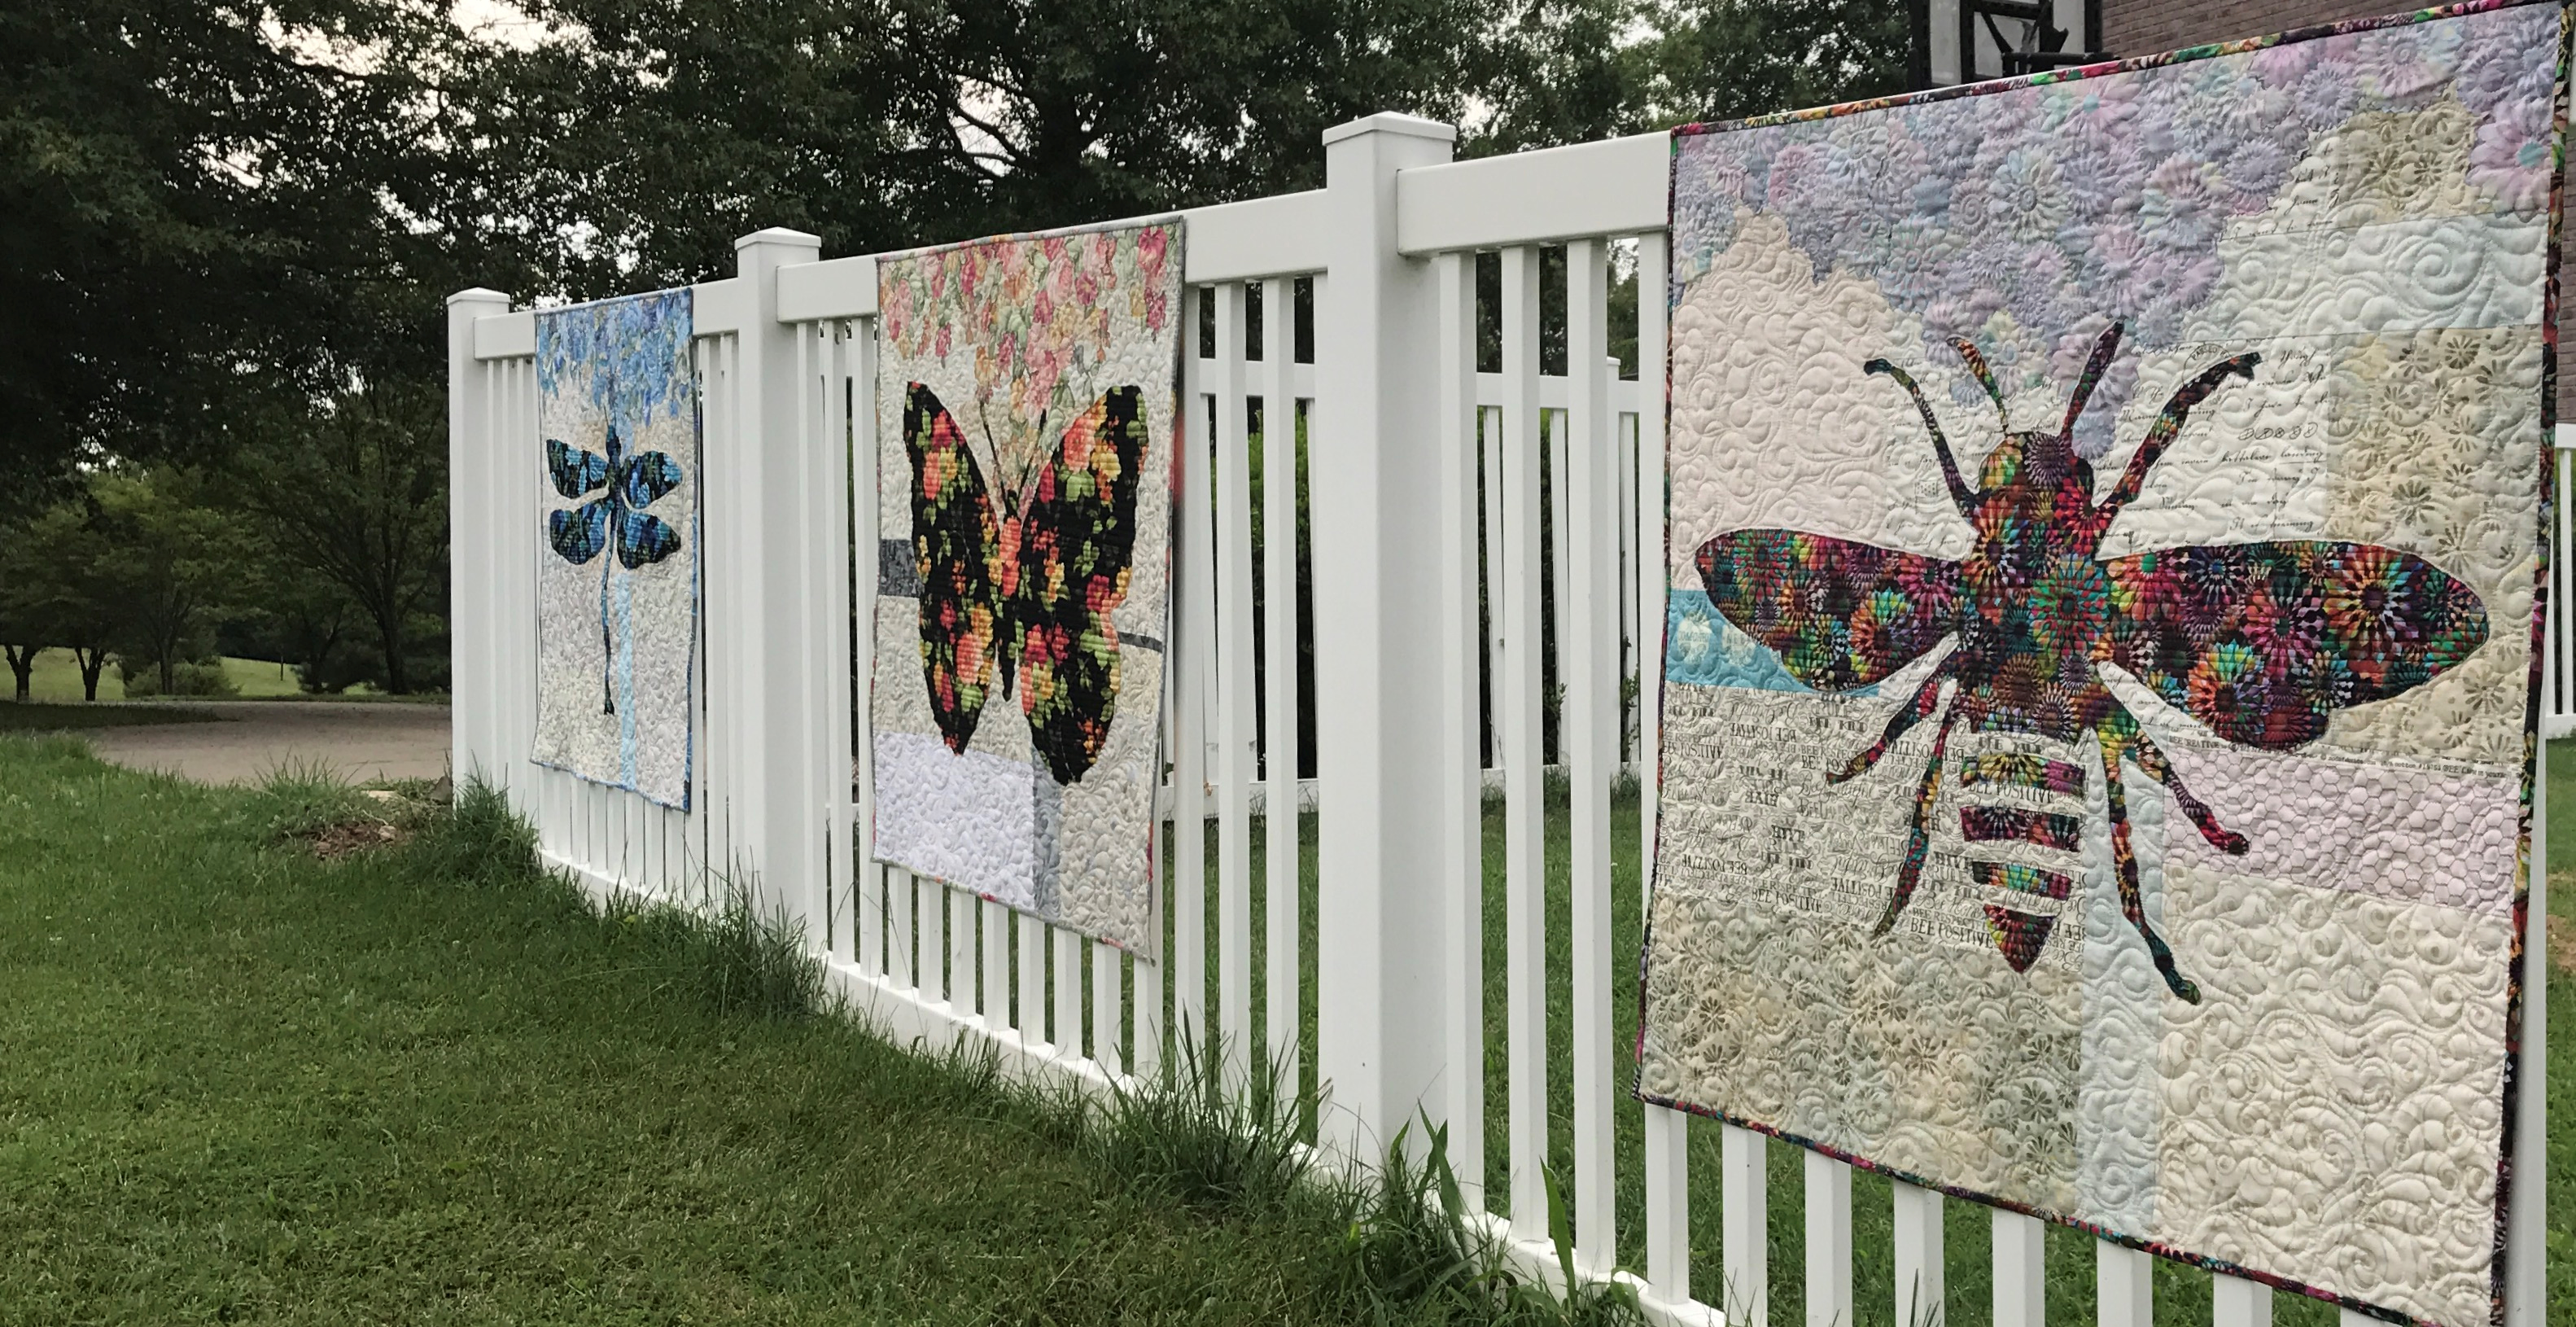
Image of Three Quilts on Fence
Phoebee, Belle & Lily

In conclusion, just like the quilts shown above, Rose is a fast, fun wall hanging which makes it a great gift or decoration for your home.

SHOP for more than 50 quilt patterns that use BOTH beautiful sides of fabric!

Watch Creative Bee Studios on YouTube! Subscribe today!

Designing Quilts by Chance

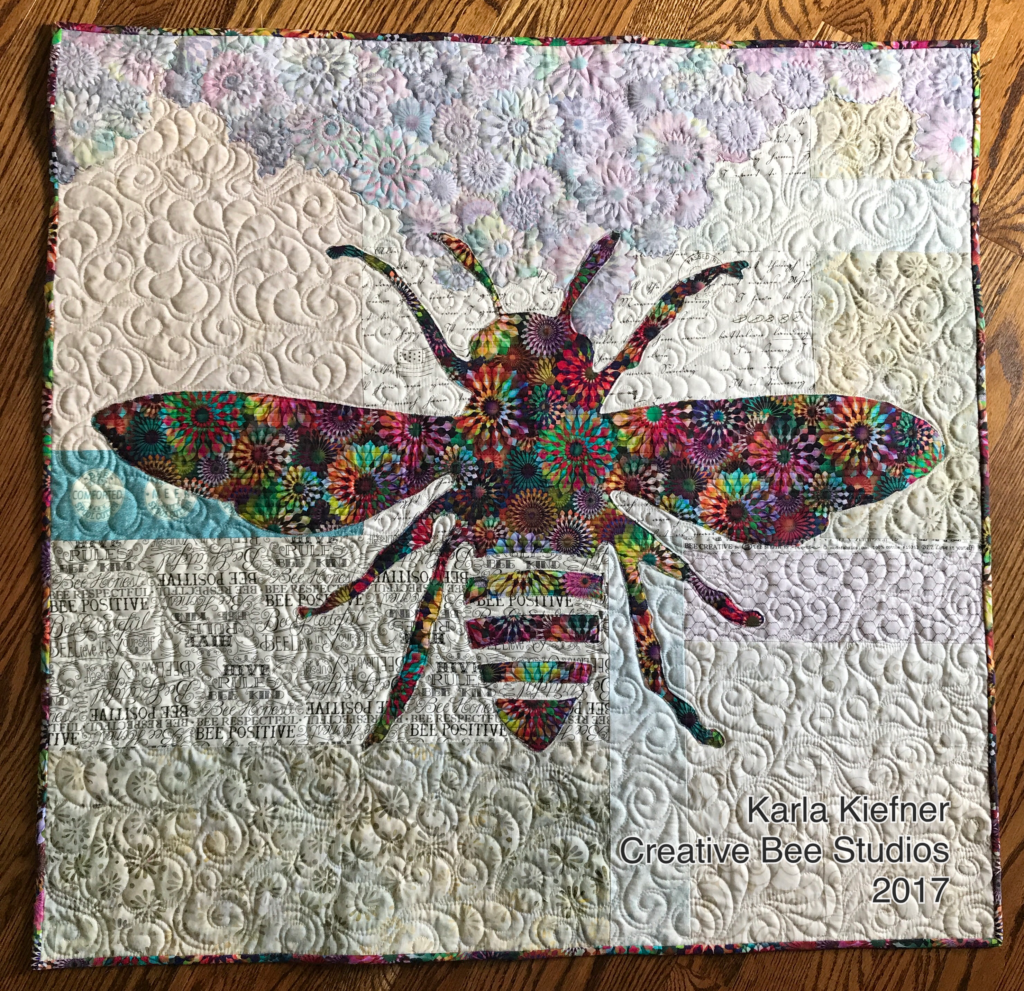
In this quilt, I used the front AND reverse side of its focal fabric.

How do you design a quilt? Do you use graph paper and draw out the design with exact proportions? Do you use color pencils or do you label the drawn areas with the colors of fabric or values you’ll use? Do you use a quilt design software or a tablet quilt design app?

Yeah…not me.  A quilt often comes to life in my head… very vaguely, kind of like a mystery unfolding.  I ponder the idea until I start to pull fabrics from my stash and start cutting, drawing, and stitching. At least, that’s how Phoebee came to life.

Image of Quilt with Bee.

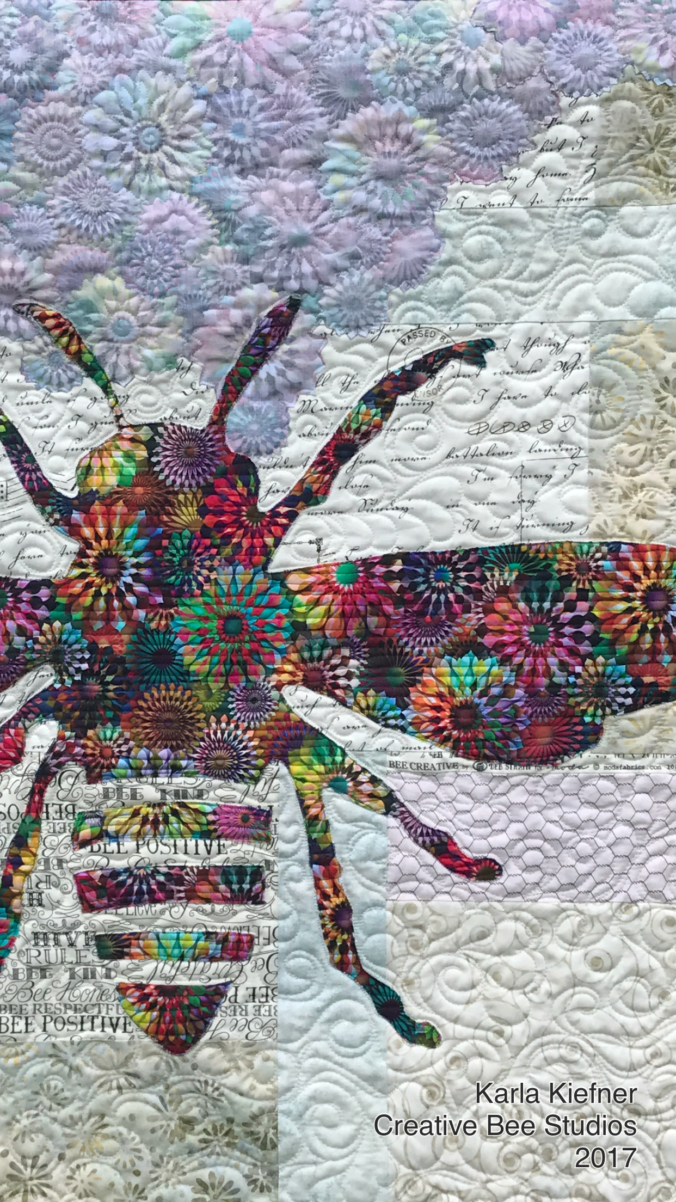
Phoebee was designed using both sides of a focal fabric.

Phoebee began with a vague idea to use pieced scraps from my stash for the background and use a bee as the main design. That’s about all I knew.  I thought I wanted to use multiple fabrics for the bee as well. I knew the shape I wanted to draw out for my bee, but I wanted to get my background set first for size.

I did use graph paper in my process, but it was after I stitched my pieces together and decided I liked the look. That’s when I wrote down the dimensions and drew the shapes out, labeling which fabrics I used. I used a pencil because my drawings and placement of fabric changed several times in the process.

Once I was happy with the background, I made all my notes and could hardly wait to grab fabrics to design the bee.

NOTE: I don’t clean up ANYthing while I’m in creating mode — I just let it flow and fabric is everywhere!

So here I was, sitting on my floor (because my design wall was {and still is, truth be told} full of a bed-size quilt in progress), trying out fabrics, figuring out how to combine them to make an interesting bee, when one fabric just kept jumping out at me. I finally gave in and decided to use it alone for my bee. That fabric looked really good against the pieced background.

But something was missing. I liked the bee. I liked the background. There needed to be another element – something of surprise or interest and something to “ground” the bee somehow. I moved the extra fabrics aside and accidentally turned the “bee (focal)  fabric” upside down — now THAT was interesting! To use the reverse side of the focal fabric for the flowers the bee was pollinating was exactly what this quilt needed to make sense, be unique, and complete the “story”.

Image of Full Quilt with Bee

Phoebee means bright, pure in Greek.

Phoebee means BRIGHT,  PURE in Greek and she is both! I happened to use a color-dense Hoffman Spectrum Digital floral print for the bee, the flowers and the binding, but any floral, big or small would work which makes this a great stash-busting quilt.

I like the idea that Phoebee is vibrant and the flowers are softer in value as the bee is getting its life from the flowers.

I’m excited to finish writing this pattern and I have hazy plans in my head brewing  of additional designs using pieced backgrounds and one floral focal fabric.

Image of Prairie Point Hanging Method

Prairie Point Quilt Hanging Method

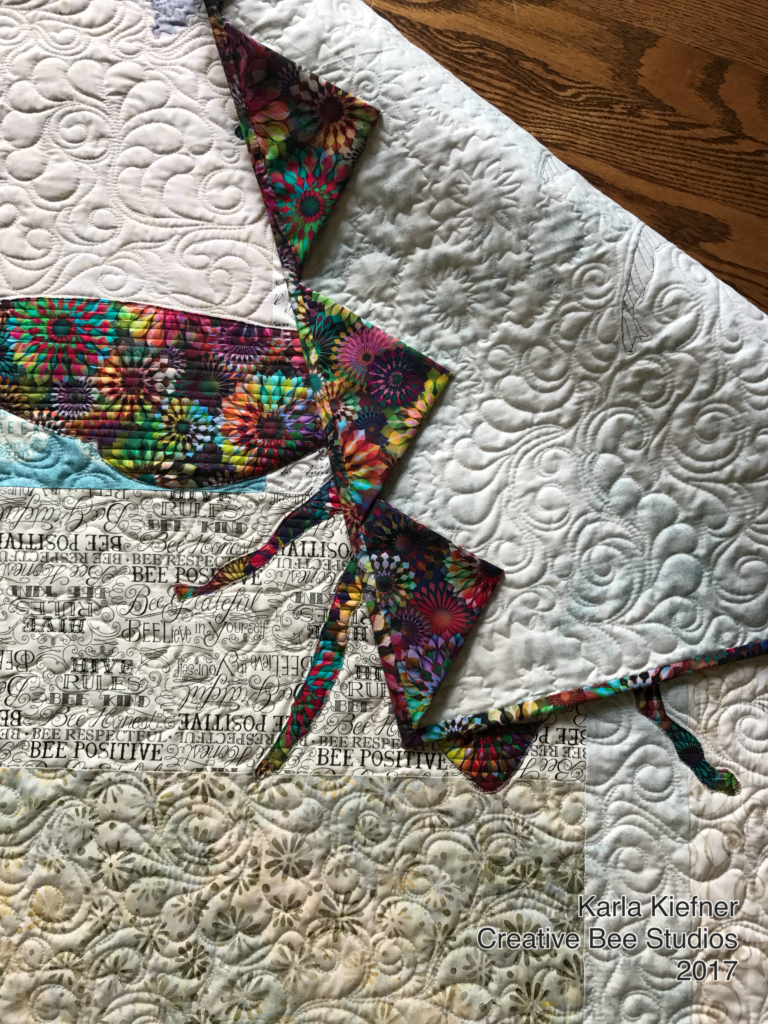
Notice the Prairie Point Hanging Method (click here for details)

Sign up and get an email when my next post goes live!

For more information about free-hand stylized quilting, visit my The Quilting Bee page.

Newer posts »