Estimated reading time: 4 minutes
Table of contents
- The Legend of the Poinsettia is about a little girl named Pepita.
- Pepita was a poor Mexican girl.
- So she picked a bouquet of weeds from the side of the road.
- As she laid the weeds at the feet of the Christ Child, they burst into brilliant red blooms!
- While The Legend of the Poinsettia is not as widely known, the plant has become a very popular traditional Christmas decoration.
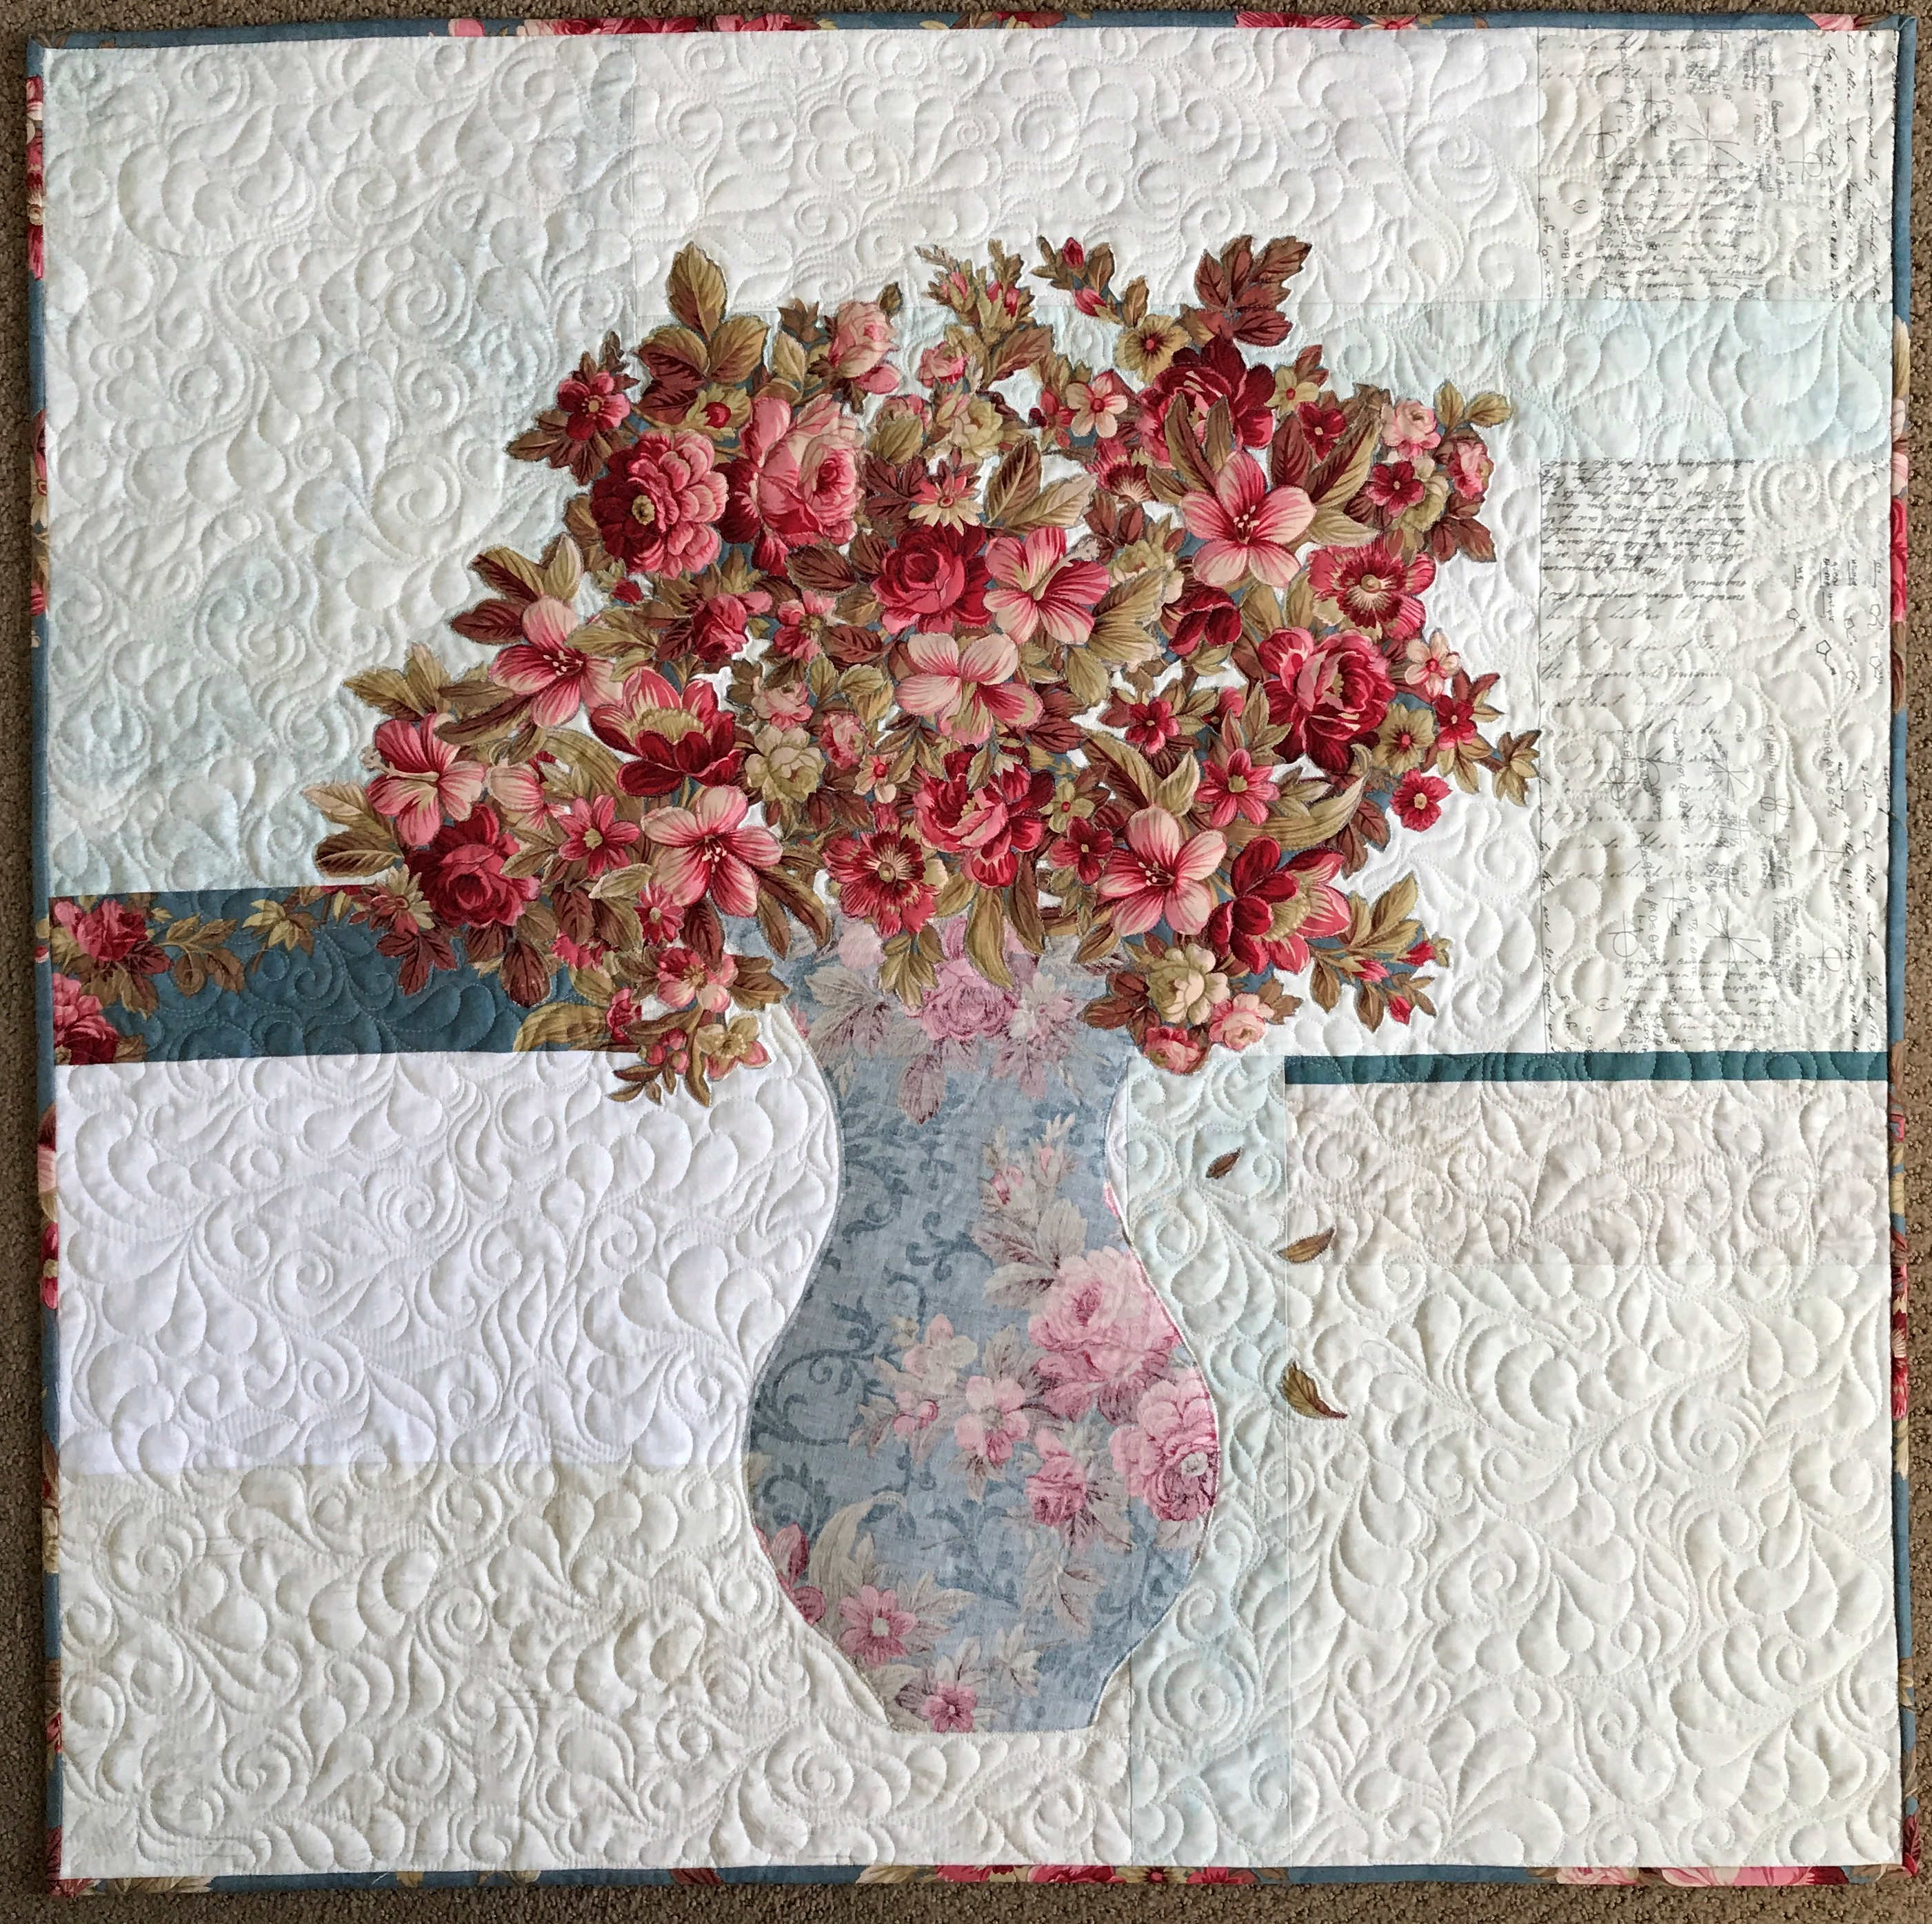
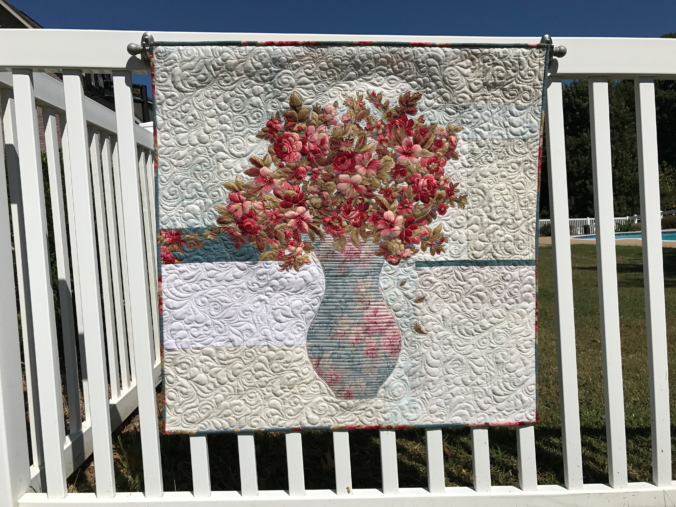
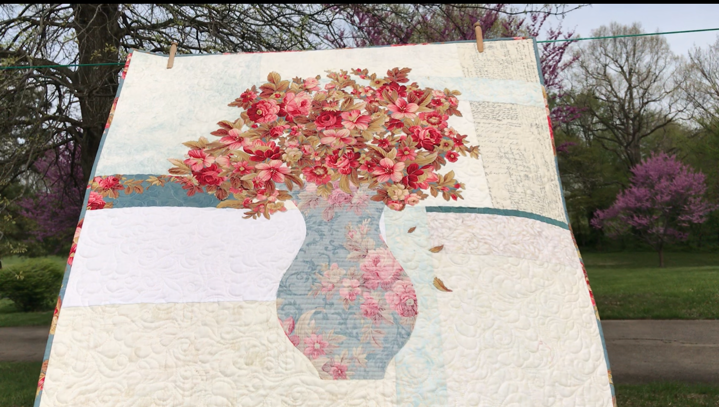
- The Pepita quilt is made using both sides of one poinsettia focus fabric on a scrappy, fun background.
- Add fun, scrappy background fabrics.
- And now you know The Legend of the Poinsettia.
- SHOP more than 50 quilt patterns that use BOTH beautiful sides of fabric!
- Watch Creative Bee Studios on YouTube!
The Legend of the Poinsettia is about a little girl named Pepita.
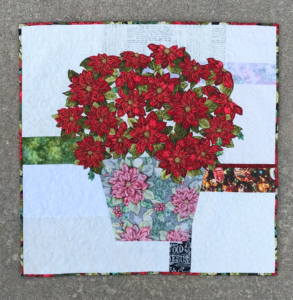
In addition to The Legend of the Poinsettia, Pepita is the name of this Christmas quilted wall hanging. You’ll learn more about the Pepita Quilt Pattern below.

Pepita was a poor Mexican girl.
Summarily, the story that became The Legend of the Poinsettia goes like this. Pepita and her cousin Pedro were walking to church on Christmas Eve. Pepita was sad because she had no gift to give the Christ Child. However, Pedro tried to console her by saying, “Pepita, I am certain even the most humble gift, given in love, will be acceptable in His eyes.”
So she picked a bouquet of weeds from the side of the road.
Therefore, Pepita gathered up a bouquet of weeds from the roadside to give as her gift. Her spirits lifted as she entered the chapel and approached the alter. She laid the weeds at the feet of the Christ Child. Suddenly, Pepita’s common weeds burst in to brilliant red blooms! This was considered a miraculous event. Consequently, it was named the Flores de Noche Buena (Flowers of the Holy Night).
As she laid the weeds at the feet of the Christ Child, they burst into brilliant red blooms!
Today we call these flowers poinsettias, after Dr. Joel Poinsett. Dr. Poinsett was the first ambassador to Mexico. He first brought the bright red star-shaped flower to the United States.
While The Legend of the Poinsettia is not as widely known, the plant has become a very popular traditional Christmas decoration.
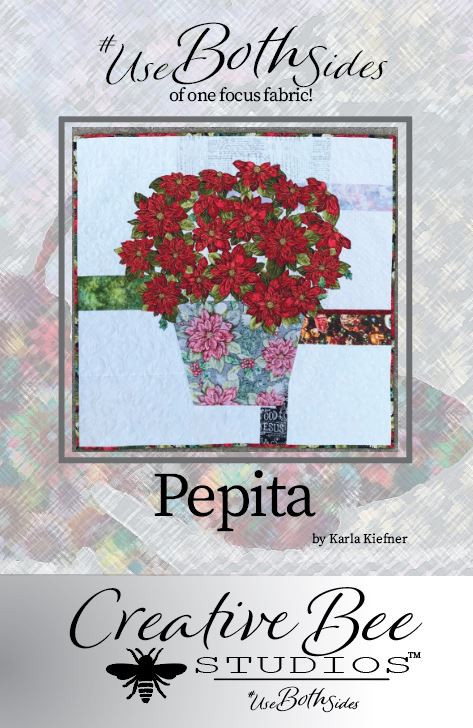
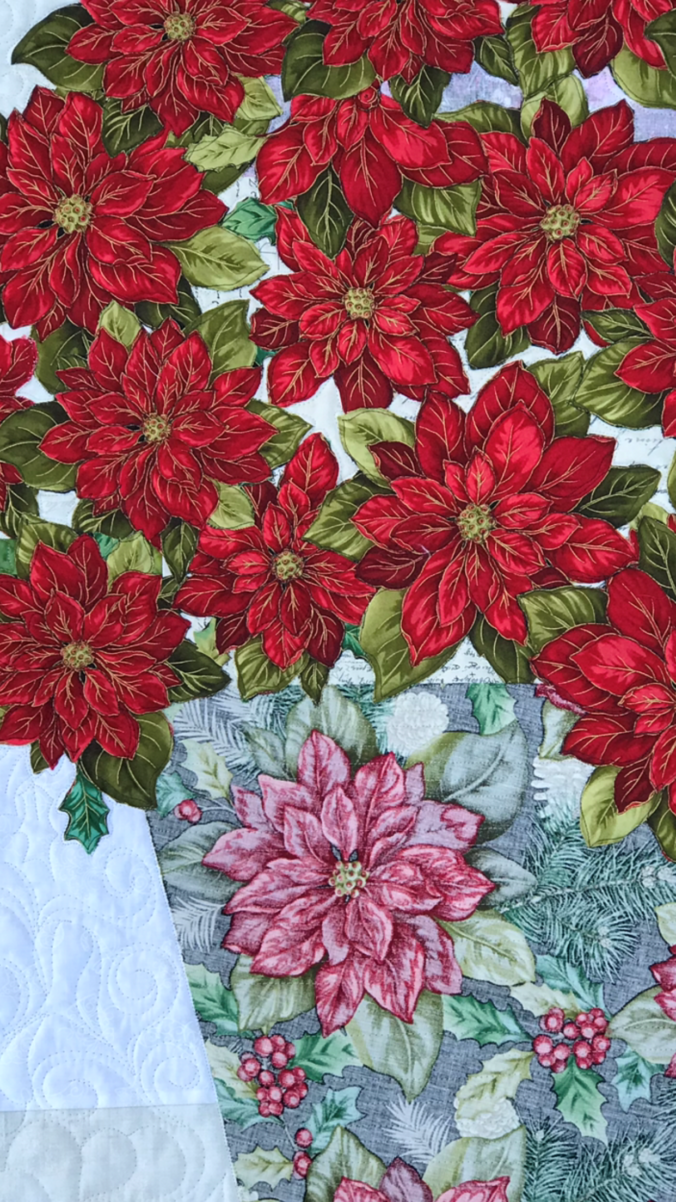
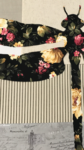
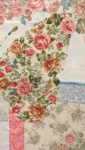
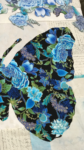
The Pepita quilt is made using both sides of one poinsettia focus fabric on a scrappy, fun background.
This quilt pattern is fast and easy to make using simple fusible web and an easy broderie perse technique.
First, you’ll discover the nuances of value as you learn to audition both sides of your fabrics. Then using easy fusible web and broderie perse techniques, you’ll build your bouquet. The blooms are made with the RIGHT sides of your focus fabric; the pot is made from the REVERSE.
Add fun, scrappy background fabrics.
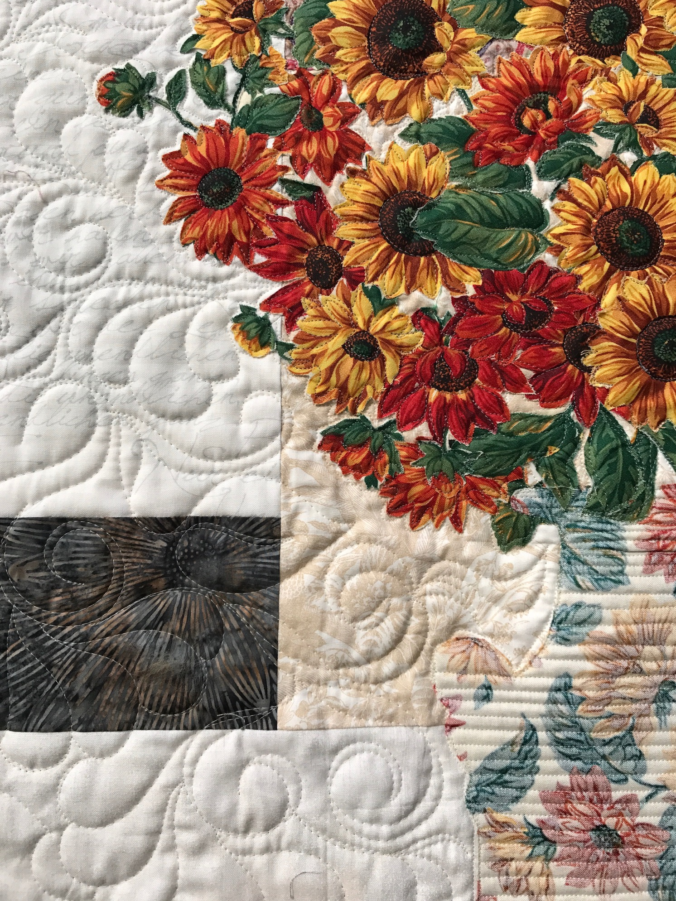
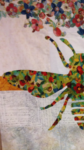
Moreover, you’ll learn how to add a sparkling interest to your quilt by combining a variety of background fabrics. You might choose snow-y motifs, cardinals, red trucks, Christmas trees, batiks, Grunge, etc. The more variety of background fabrics you choose will make your quilt more interesting!
The Pepita Quilt Pattern or quilt is great for gifting because the fast technique and stunning look!
And now you know The Legend of the Poinsettia.
Unfortunately, I used to avoid poinsettias plants, because I thought they were poisonous for pets. However, in my recent research about them, I’ve learned they are only mildly toxic, causing a stomach upset if ingested. But if you are concerned, make up this beauty and you can have poinsettias in your Christmas décor every year!


 Great job, friends!