Tag: Fusible Applique (Page 4 of 4)

Pepita, the Legendary Quilt Pattern

Estimated reading time: 4 minutes

The Legend of the Poinsettia is about a little girl named Pepita.

In addition to The Legend of the Poinsettia, Pepita is the name of this Christmas quilted wall hanging. You’ll learn more about the Pepita Quilt Pattern below.

Pepita was a poor Mexican girl.

Summarily, the story that became The Legend of the Poinsettia goes like this. Pepita and her cousin Pedro were walking to church on Christmas Eve. Pepita was sad because she had no gift to give the Christ Child. However, Pedro tried to console her by saying, “Pepita, I am certain even the most humble gift, given in love, will be acceptable in His eyes.”

So she picked a bouquet of weeds from the side of the road.

Therefore, Pepita gathered up a bouquet of weeds from the roadside to give as her gift. Her spirits lifted as she entered the chapel and approached the alter. She laid the weeds at the feet of the Christ Child. Suddenly, Pepita’s common weeds burst in to brilliant red blooms! This was considered a miraculous event. Consequently, it was named the Flores de Noche Buena (Flowers of the Holy Night).

As she laid the weeds at the feet of the Christ Child, they burst into brilliant red blooms!

Today we call these flowers poinsettias, after Dr. Joel Poinsett. Dr. Poinsett was the first ambassador to Mexico. He first brought the bright red star-shaped flower to the United States.

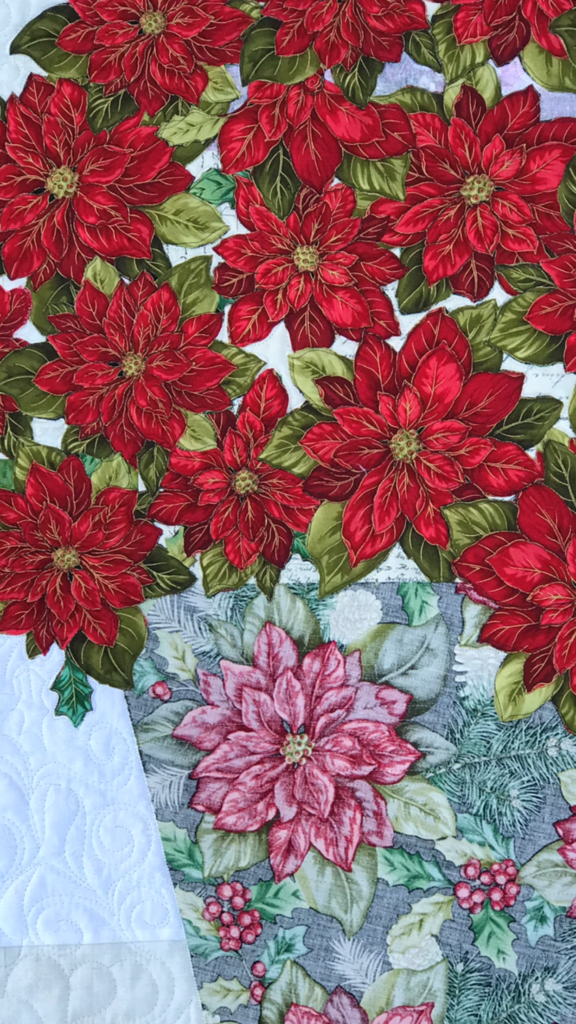
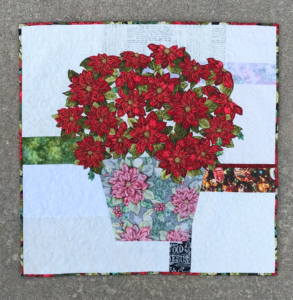
The Pepita quilt is made using both sides of one poinsettia focus fabric on a scrappy, fun background.

This quilt pattern is fast and easy to make using simple fusible web and an easy broderie perse technique.

First, you’ll discover the nuances of value as you learn to audition both sides of your fabrics. Then using easy fusible web and broderie perse techniques, you’ll build your bouquet. The blooms are made with the RIGHT sides of your focus fabric; the pot is made from the REVERSE.

Add fun, scrappy background fabrics.

Moreover, you’ll learn how to add a sparkling interest to your quilt by combining a variety of background fabrics. You might choose snow-y motifs, cardinals, red trucks, Christmas trees, batiks, Grunge, etc. The more variety of background fabrics you choose will make your quilt more interesting!

The Pepita Quilt Pattern or quilt is great for gifting because the fast technique and stunning look!

And now you know The Legend of the Poinsettia.

Unfortunately, I used to avoid poinsettias plants, because I thought they were poisonous for pets. However, in my recent research about them, I’ve learned they are only mildly toxic, causing a stomach upset if ingested. But if you are concerned, make up this beauty and you can have poinsettias in your Christmas décor every year!
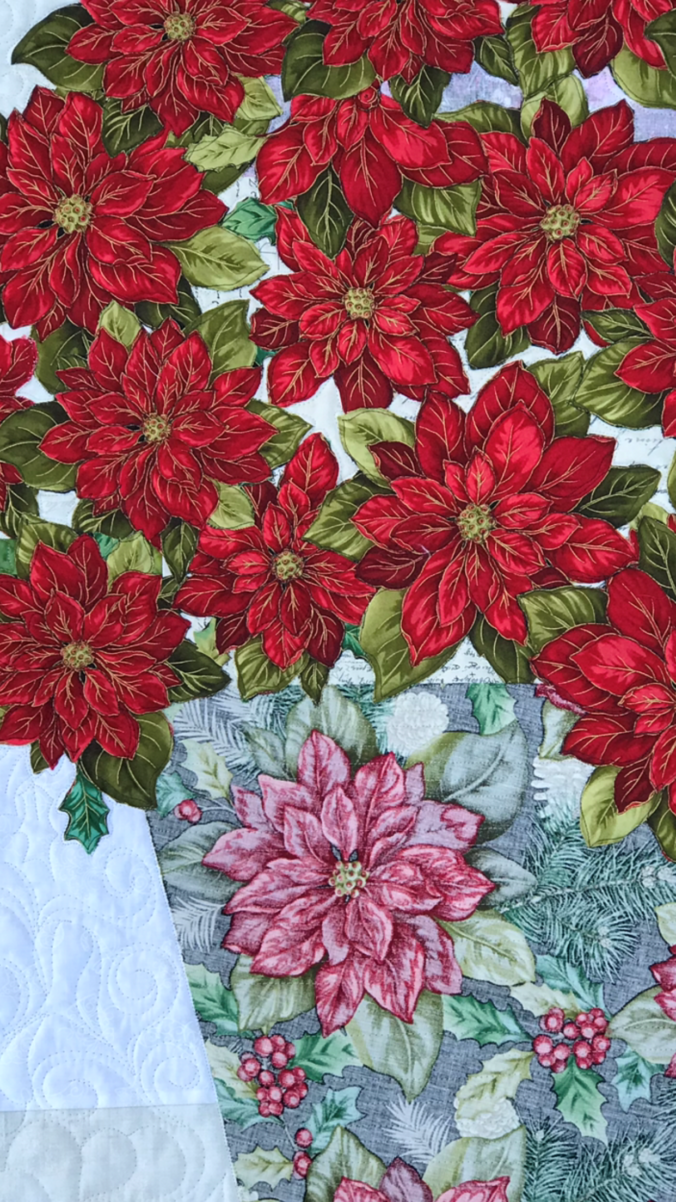
Image of Poinsettia Quilt
Pepita Quilted Wall Hanging

Click HERE to see other Colorful Petals series quilts!

SHOP more than 50 quilt patterns that use BOTH beautiful sides of fabric!

Learn more at How to Use Both Sides.

Watch Creative Bee Studios on YouTube!

JOY Quilted Wall Hanging Pattern

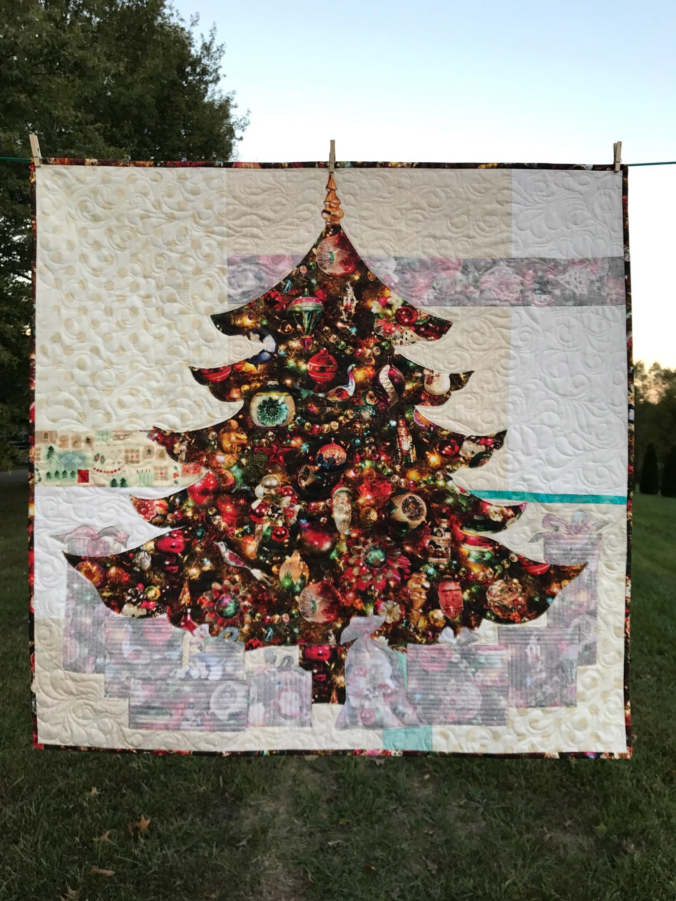
JOY is a quilted wall hanging pattern which uses both sides of one focus fabric on a wintery background.

Joy: cheer, glee, gladness, festivity, jubilance, exultation

This #usebothsides pattern was one of my first designs. See more than 40 patterns now in my Etsy Shop: CreativeBeeStudios.

See Christmas Quilts in July for a smaller quilted wall hanging pattern made with broderie perse and one focus fabric!

There are many, MANY Christmas fabrics which would make a great JOY quilted wall hanging.

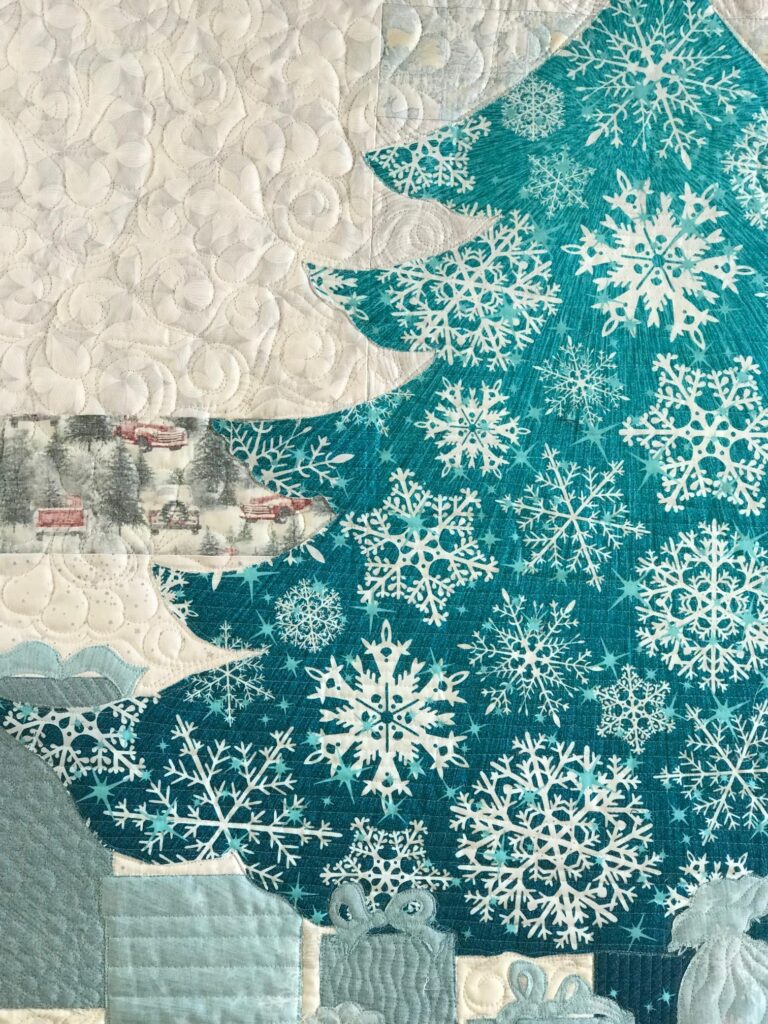
You can choose modern circles, snowflakes, poinsettias, cookie cutters, etc. Each gives a different feel to this Christmas tree wall hanging. The trick is to find a focus fabric you love whose reverse side sparkles -but with a lesser value.

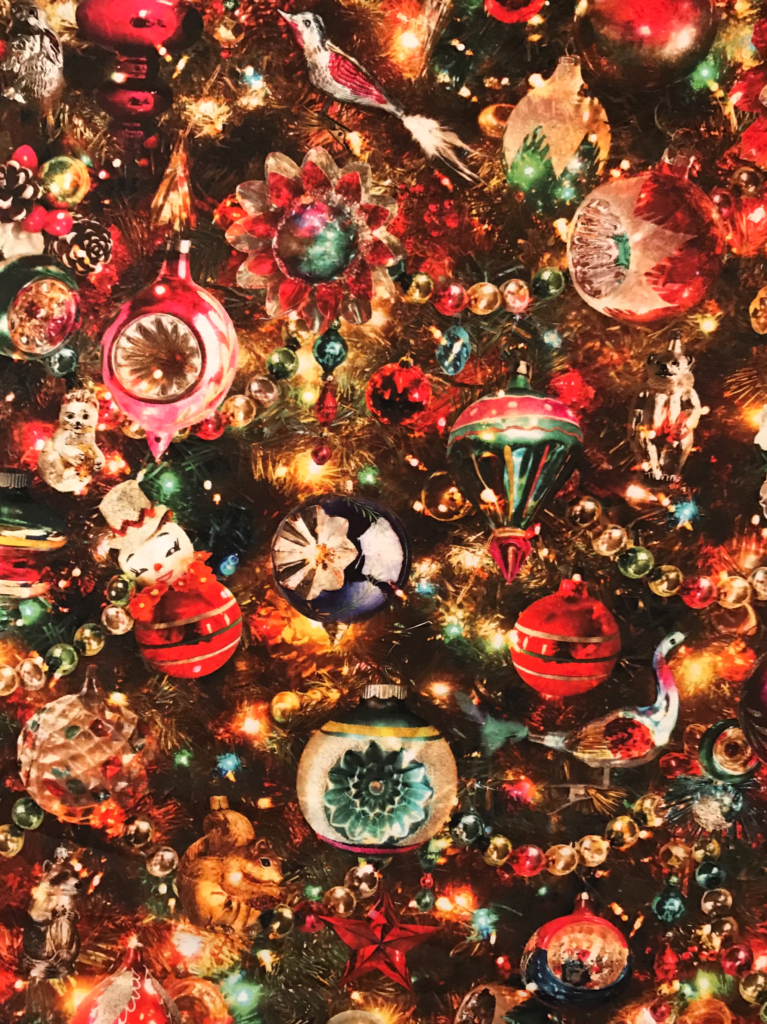
I happened to find one that gives a vintage flair to the quilt. These vintage glass ornaments sparkle on both sides of the Hoffman Digital Spectrum fabric called All Aglow Christmas.

Image of Fabric

Now take a look at this focus fabric!

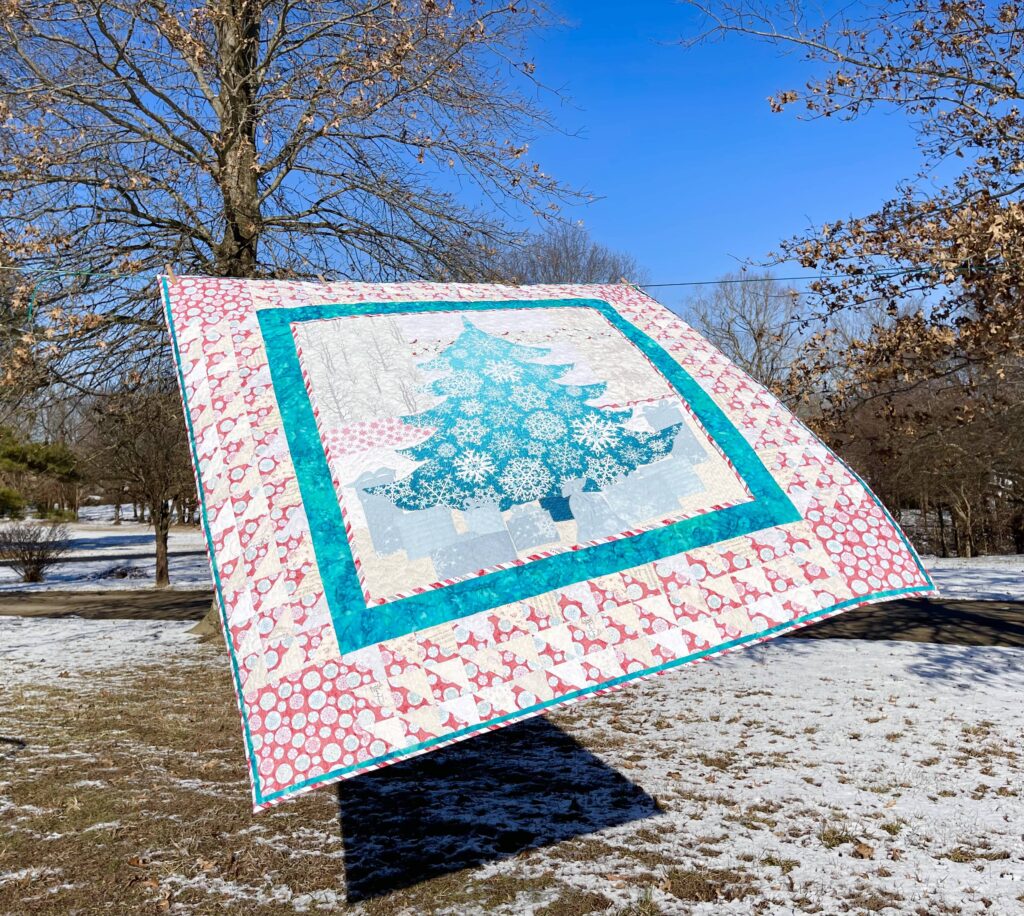
Image of Tree Wall Hanging

Make this JOY with Hoffman’s Supernova Seasons panel!

This version features a lighter, snowy background. You’ll see cardinals on a lighted wire and little red trucks. Both accent strips are reversed to let the focus fabric shine.

Shuffle through your Christmas stash and make up some JOY to make the Christmas season bright!

Give a little JOY this Christmas season!

What kind of fabric would you use for a JOY tree? When do you start your Christmas decorating or festivities?

Subscribe below to get the latest tips, tricks, new pattern announcements and more from Creative Bee Studios!

Fabulous Quilting Tools

Here are the three best quilting tools!

Are these the three best quilting tools EVER, in the whole world? Okay, maybe not. However, if you are making quilts using fusible applique or even broderie perse, THESE ARE THE THREE BEST

Anyone who quilts knows you gotta have tools…and the right tools can really make quilting fun!

I’ve been sharing  tips of the trade when it comes to working with value and auditioning fabrics for my latest patterns, which use both sides of one focus fabric.  Now I’m going to share the three top tools I’ve found and grew to love while making these patterns.

(drum roll)

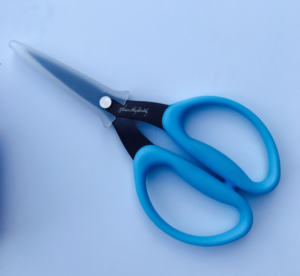
Karen Kay Buckley Scissors

Image of Scissors

They cut like a dream. The edges are serrated which makes them seem to grab and hold on to the fabric as you cut, rather than pushing it away from you. I have made many of these #usebothsides quilts and cut many, many paper-fused appliques with them – and quickly, too. They cut today as well as the first day I bought them. I highly recommend them. They make cutting enjoyable, even under deadlines. I use the blue handled size.

Soft Fuse Premium

A few years ago, I wandered upon Misty Fuse. I liked that it looked almost like a spider-web and, once fused, it felt like it wasn’t even there. It works great for projects where you use rulers or die cutters and you don’t need to trace patterns–because there’s no paper on which to draw.

Image of Logo

Enter…Soft Fuse Premium , a paper-backed, but thin, web-like fusible which quilts like a dream. Soft Fuse  doesn’t make your applique stiff or hard to manage and it quilts like a dream (kinda like Karen’s scissors cut). I highly recommend it.

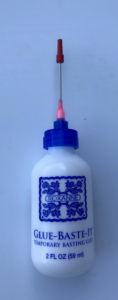
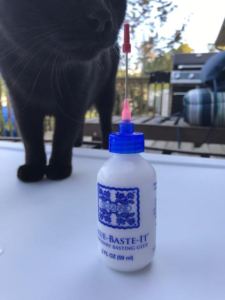
Roxanne Glue-Baste-It

Temporary Basting Glue

Image of Glue Bottle

Last, but not least, Glue-Baste-It with this micro-applicator tip is the bomb–and life-saver when it comes to whipping out quilts! This has saved me many times! It gets into tiny places, dries clear (really, it does, except maybe on Lame – but how often do you applique with that?), and it  lasts forever! I still have a teeny, tiny bottle from 15 years ago (from the Sewing Basket) by my machine and it still works great (but doesn’t have this fancy applicator tip).  So, why do I need this product? When I’m cutting flowers for Colorful Petals or Colorful Wings, I don’t cover  my entire piece of fabric with fusible but I might see a flower I really want in my quilt. Rather than set it aside, I keep it in my pile and put a dot or two of Glue-Baste-It on it when I place it on my quilt. It holds the flower in place just as though it was fused, until I quilting it down. Likewise, if I’m quilting a long the edges  of my applique and find a spot not adhered fully, I don’t plug in the iron and wait for it to heat up to reheat the fused fabric -I just dab a dot of this glue and keep on stitching! It really is a great product to have on hand.

Do you NEED these products to make #USEBOTHSIDES quilts?
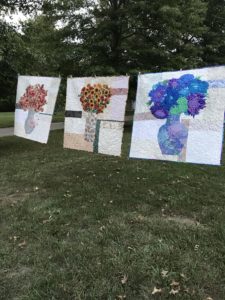
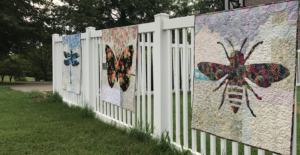
Image of Three Quilts
Colorful Petals Quilt Patterns
Image of Three Quilts
Patterns available at etsy.com/shop/CreativeBeeStudios
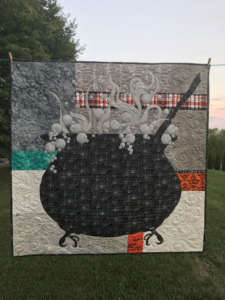
Image of Cauldron Wall Hanging

Nah, but having cool tools is part of the game of quilting, right? If nothing else, put them on your wish list for Christmas!

Speaking of Christmas…the countdown is on and a new pattern is coming SOON! Stay Tuned.

What’s your favorite quilting tool or product? Let me know!

Never miss a post or a new pattern reveal! Sign up below. Visit: www.etsy.com/shop/CreativeBeeStudios today!

Outtake:

Image of Cat
This is Mungojerrie (named after a cat in the musical, CATS), checking out the Roxanne’s.

Colorful Wings – Three New Quilt Patterns

Introducing three quilt designs using BOTH sides of your focus fabric.

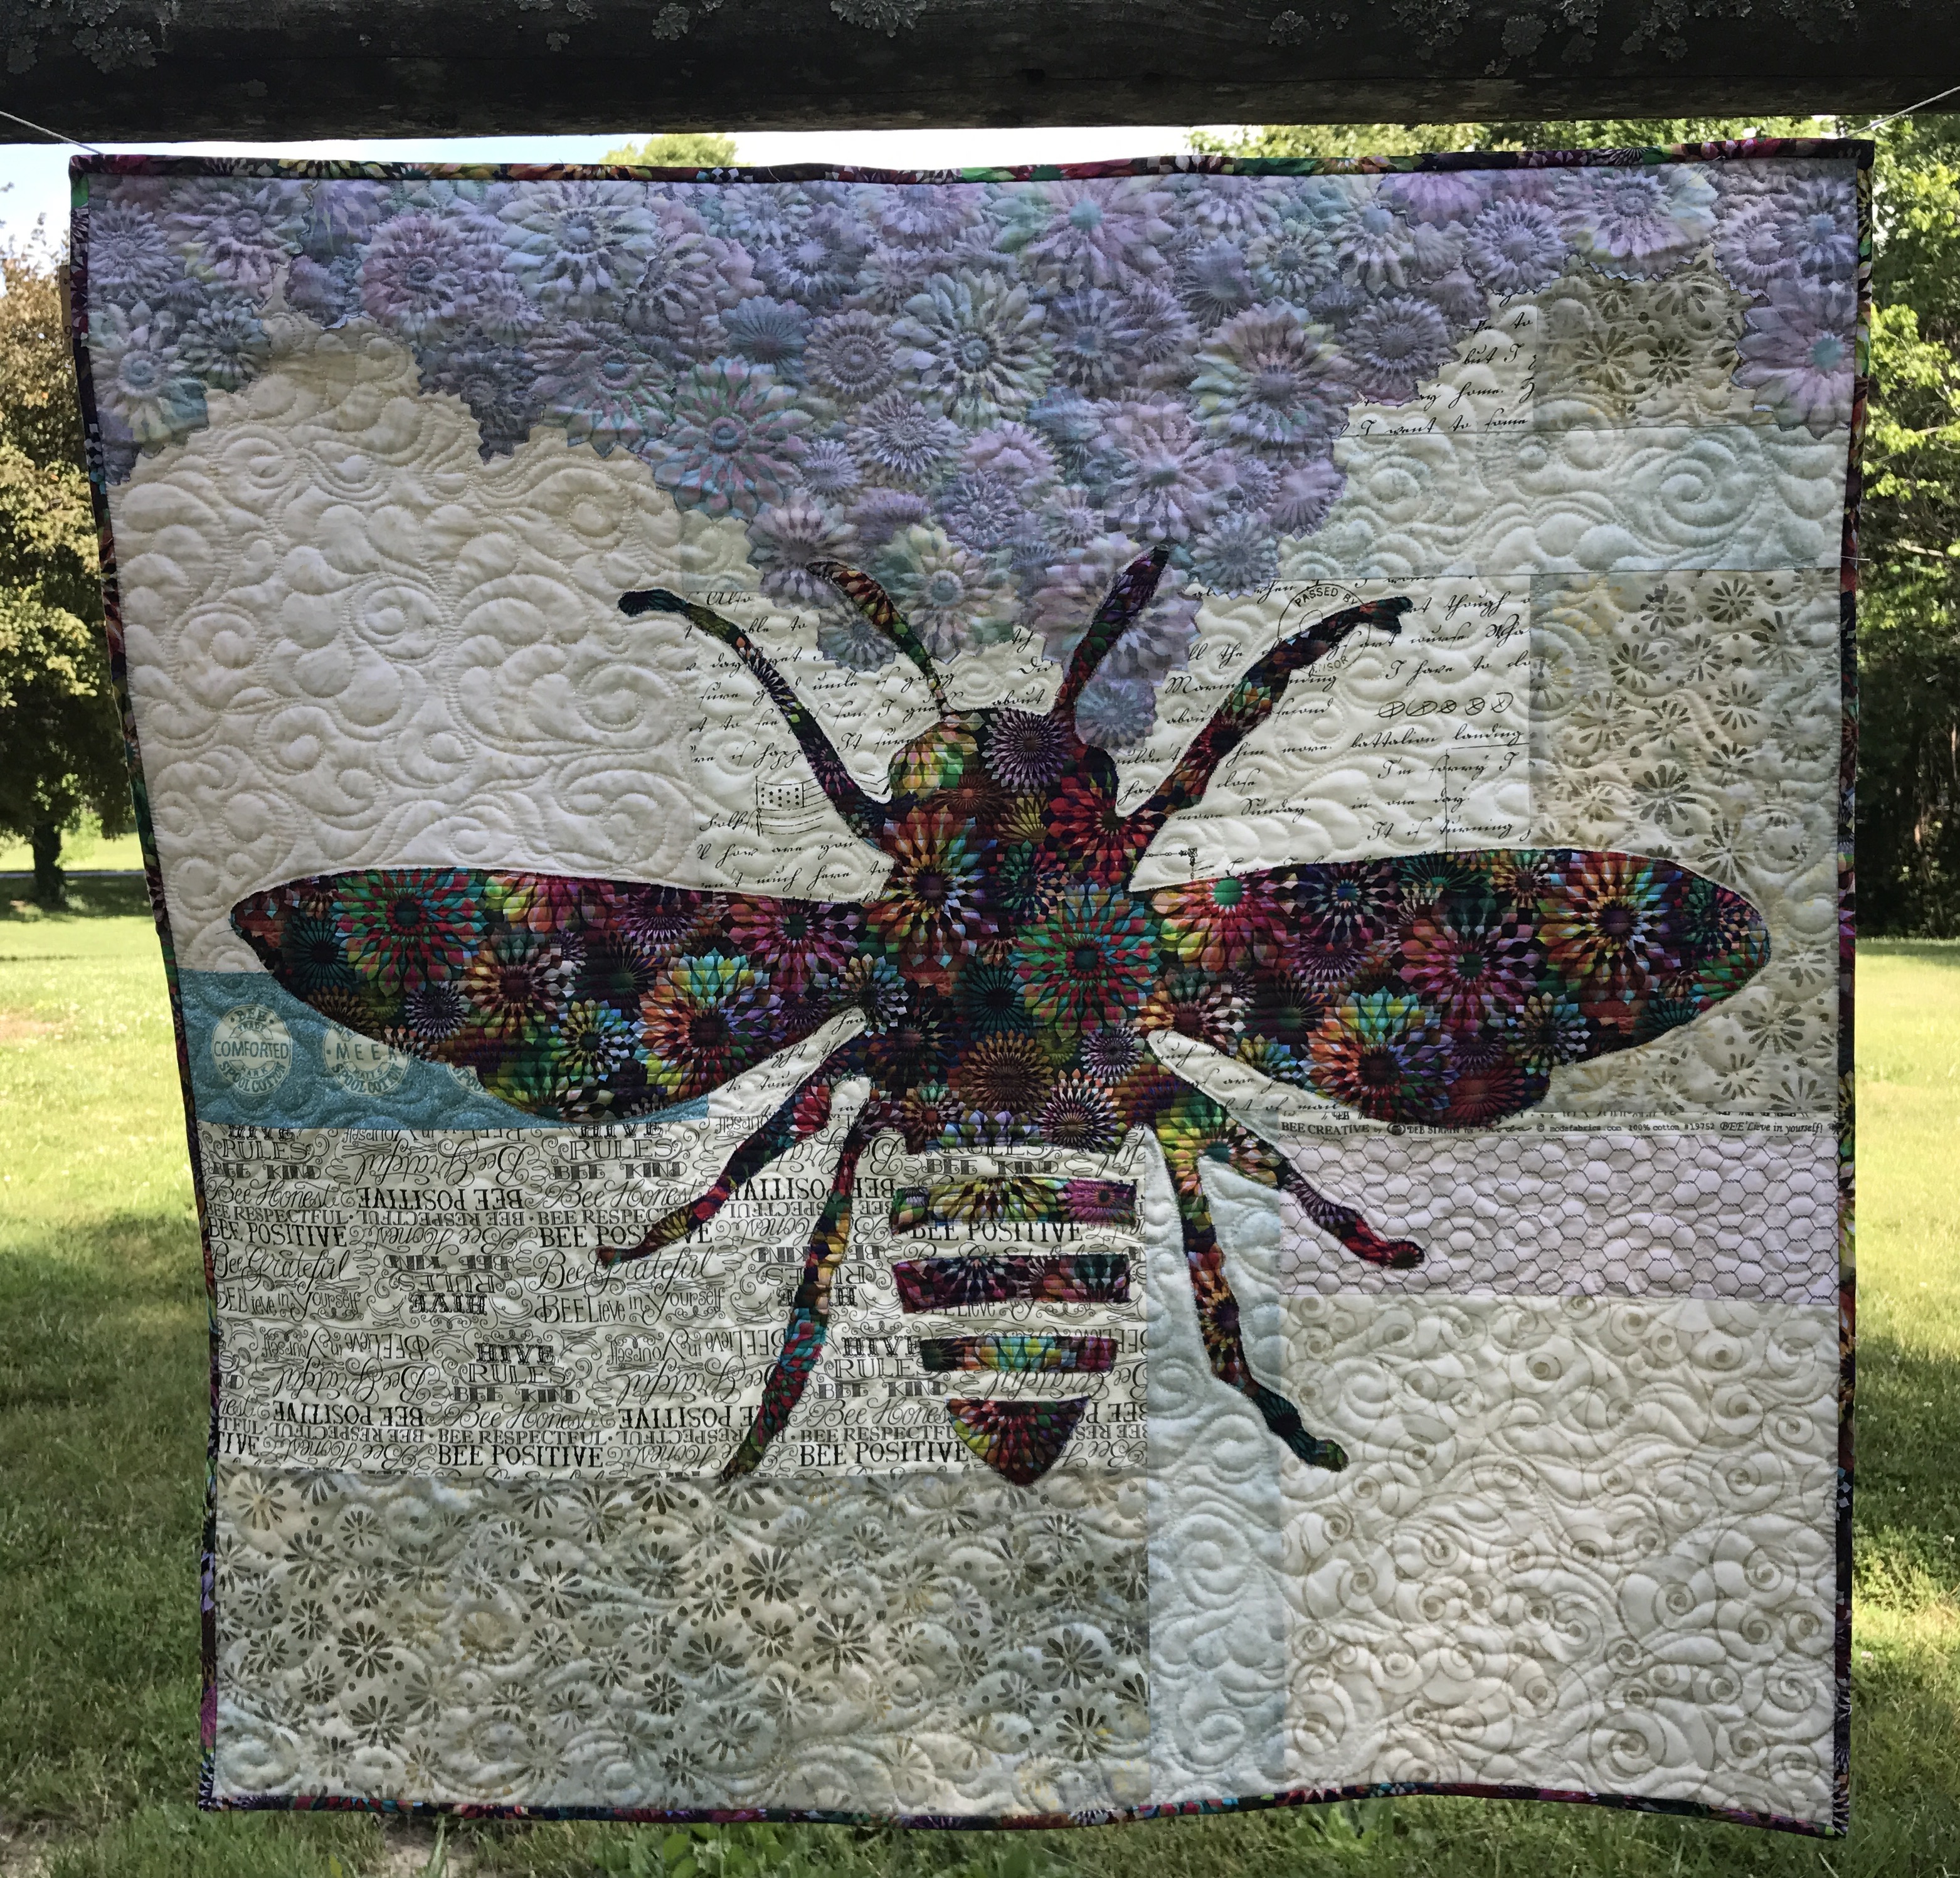
It all started with Phoebee (See Designing Quilts by Chance) and yardage of a Hoffmann Digital Spectrum print named Crystalia Rainbow.

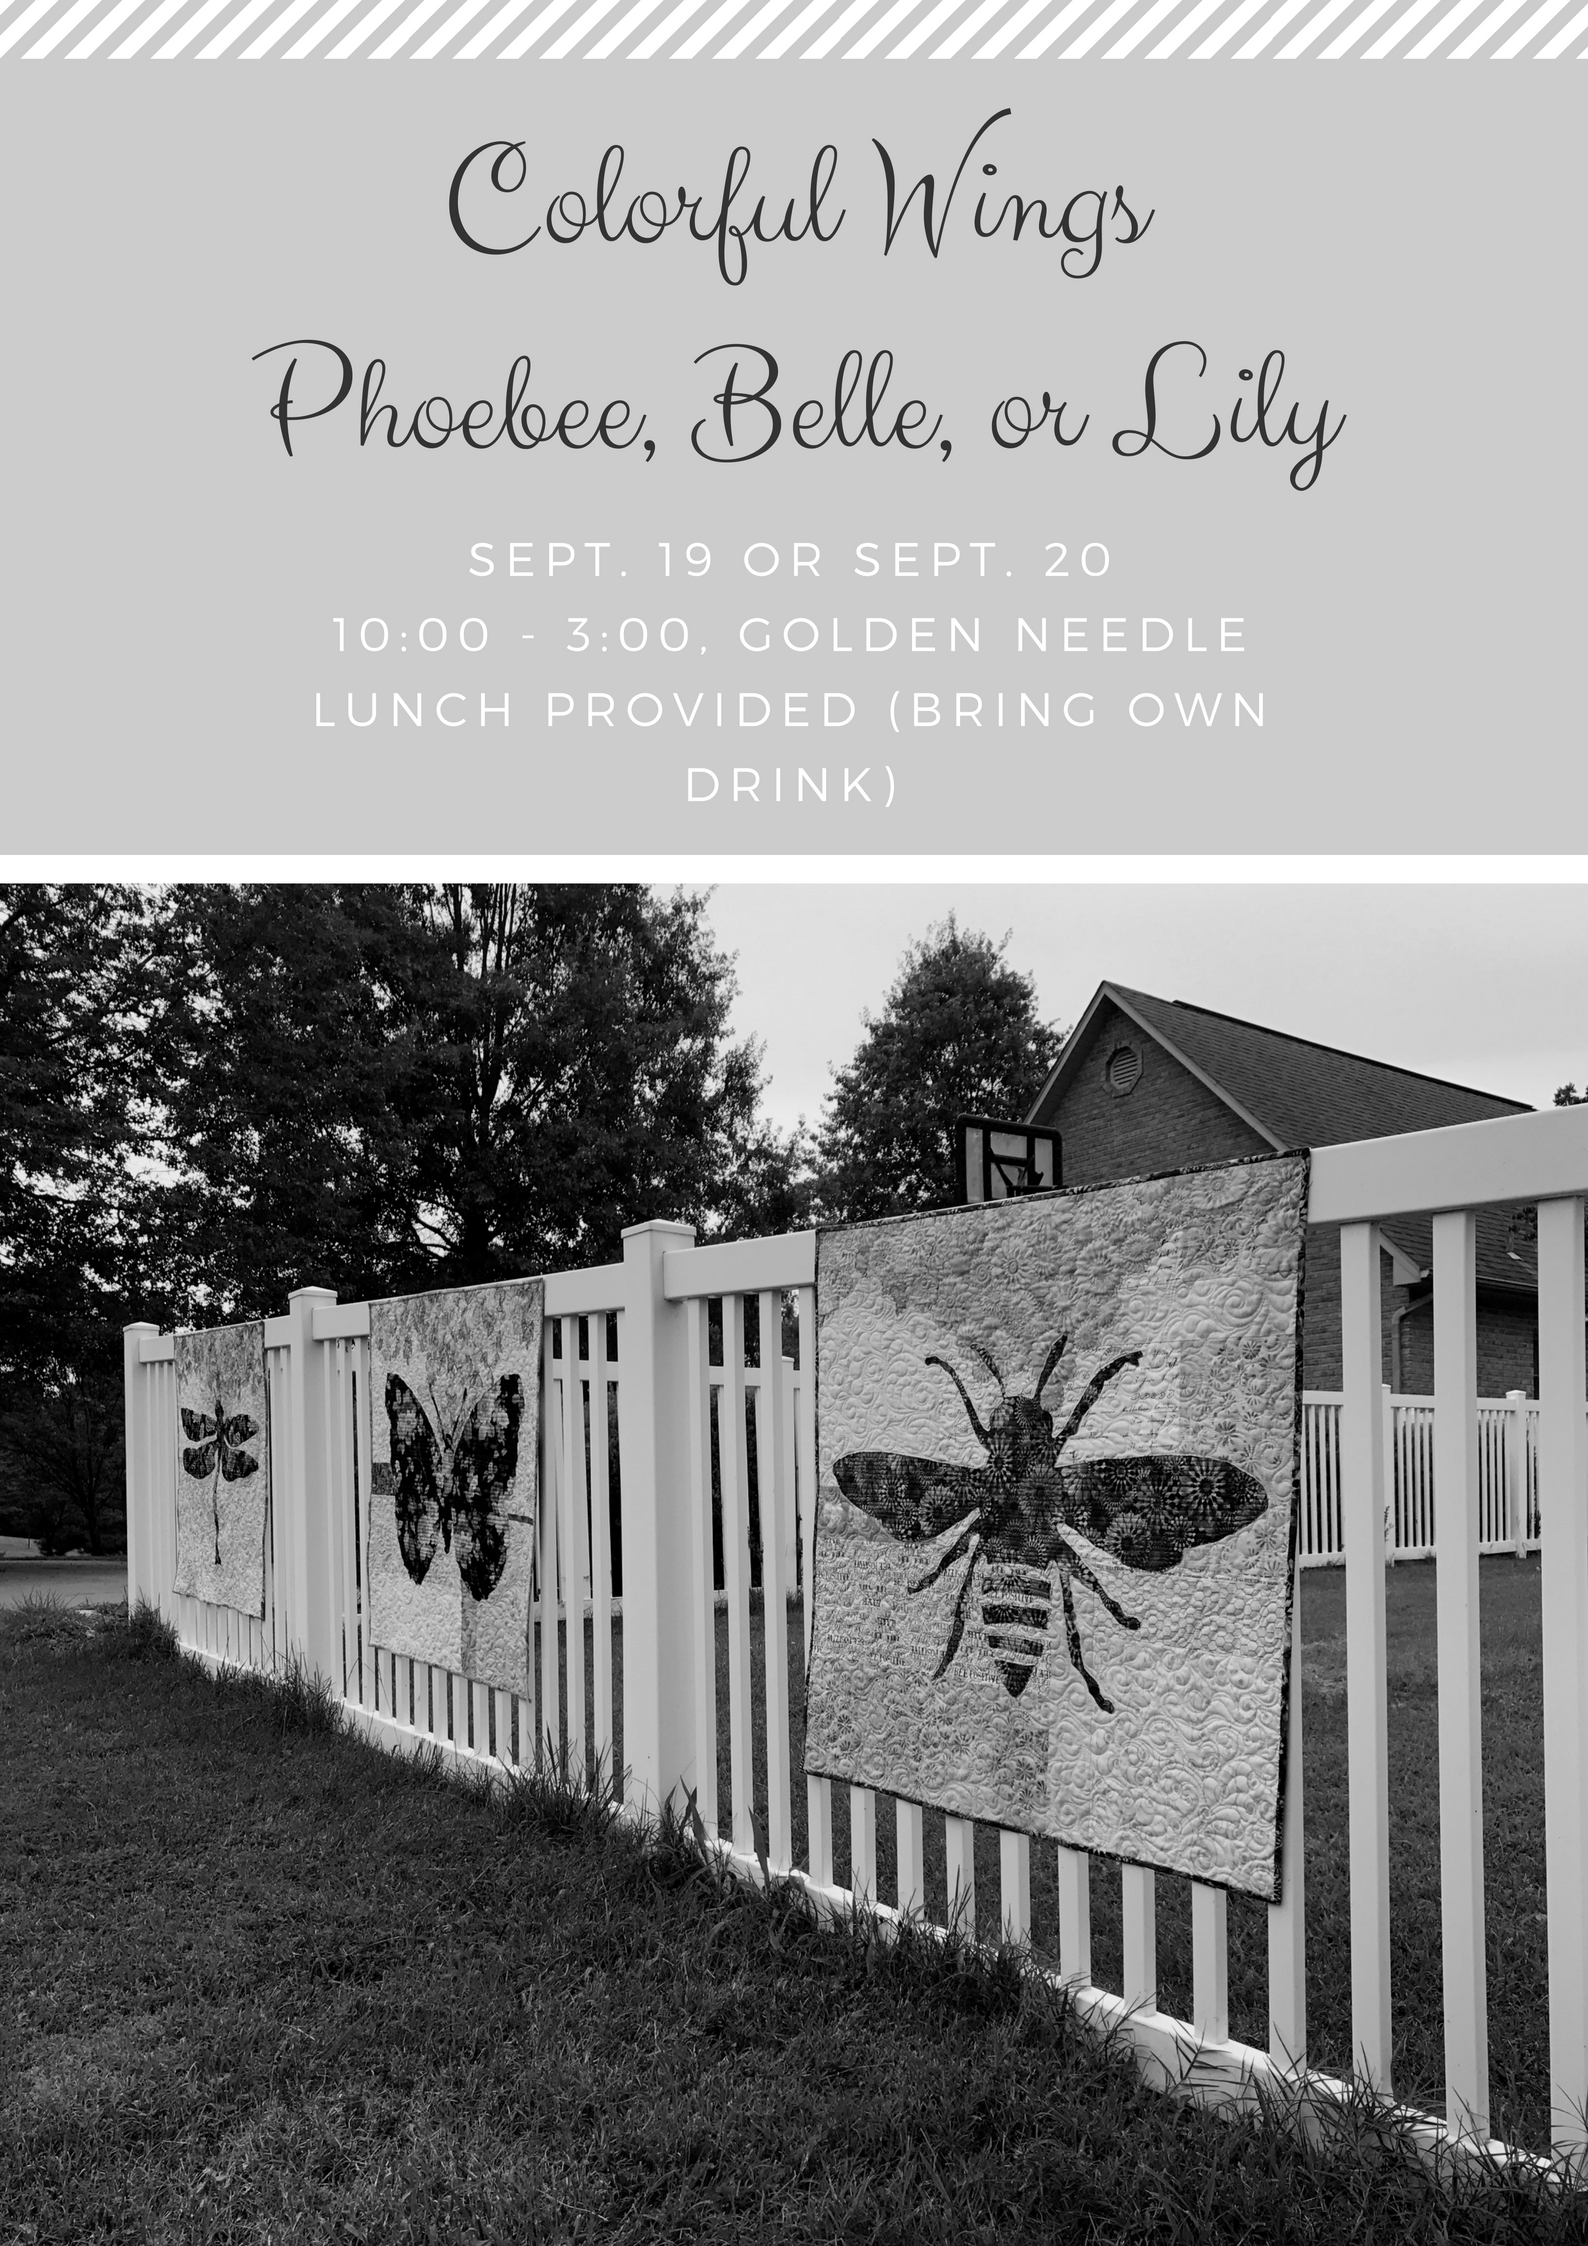
Classes starting in September. Patterns available now.

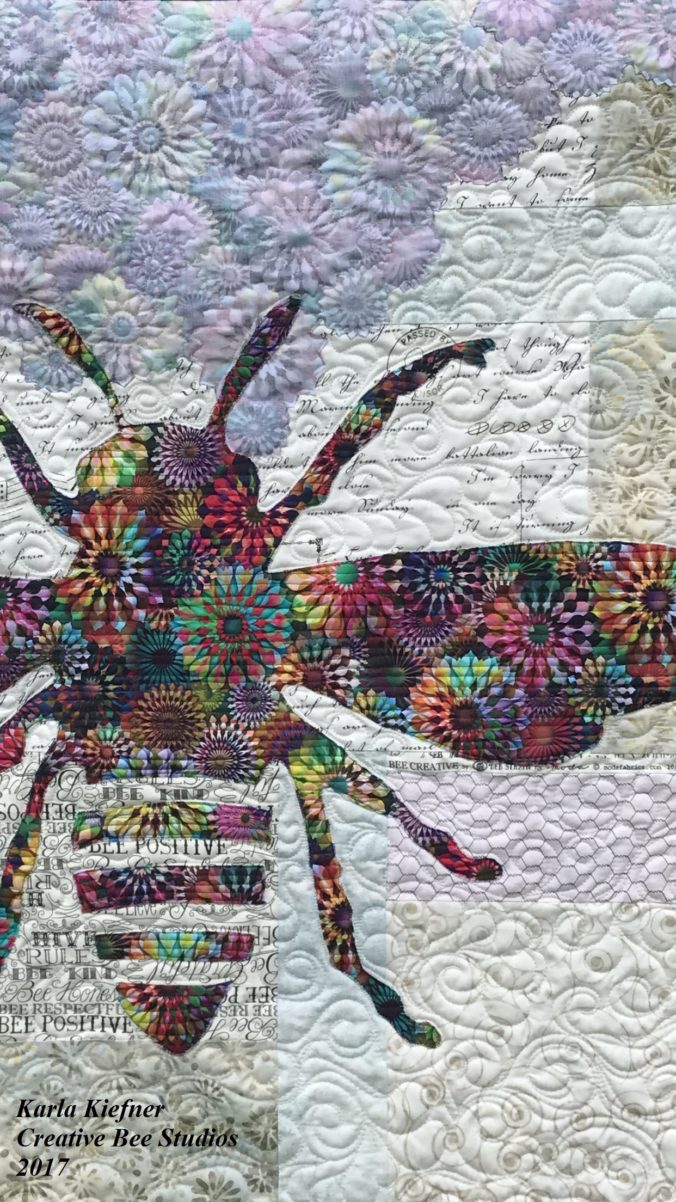
After being inspired at quilt market (See Six Favorites from Quilt Market), I knew I wanted to mix lots of different fabric types to make a bee quilt. While I thought the shape of the bee would be “in the mix”, the background is actually where I used a variety of styles of fabrics:

chicken wire fabric from the 90’s, inherited from my mother-in-law, Pat, (love)

modern word fabric,

batiks,

and pieces of selvage…

with a few accent strips of color.

Patterns available in my Etsy shop: https://www.etsy.com/shop/CreativeBeeStudios

My Crystalia fabric became my bee. Her flowers I made from the “wrong” (such a harsh word) side of the same fabric.

I guess you could call the flower technique a “modern broderie perse” (thank you, Kelly). They are made with simple, fusible applique and are cut without fussing about the edges – in fact, I encourage letting background show through as it ties the two sides of the fabric together in the quilt.

In my classes and in my patterns, I point out that all reverse sides of fabric are not alike — audition your front AND back sides with your background fabrics.

The best way for me to describe a good reverse side is to say that it should “sing” just as much as the front, just with lesser value.

Image of Bee Quilt

Phoebee

One thing I liked most about Phoebee was that she seemed to be getting her life and beauty from the flowers. Thanks to the hubby for her name–which in Greek actually is spelled with two “e’s” at the end and means “bright, pure”.

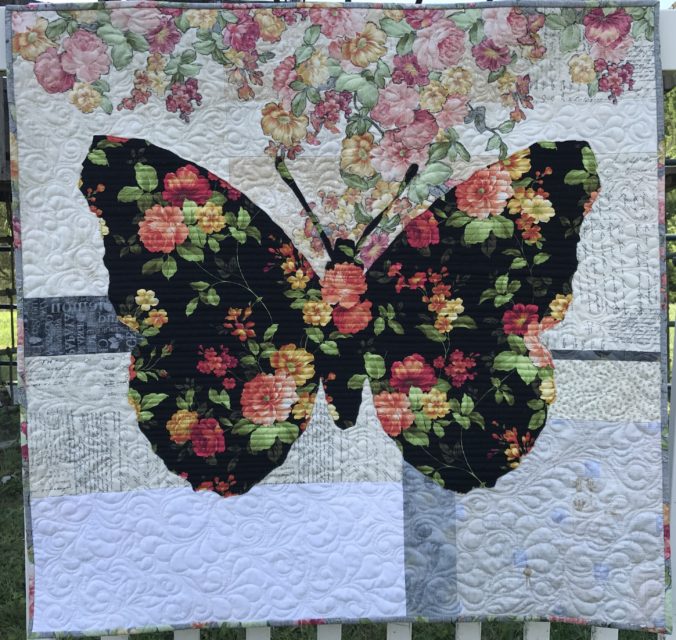
Image of Class FlyerNext came Belle. She’s a French butterfly. Belle means “beautiful” (I NEVER got that about Beauty and the Beast – blush).
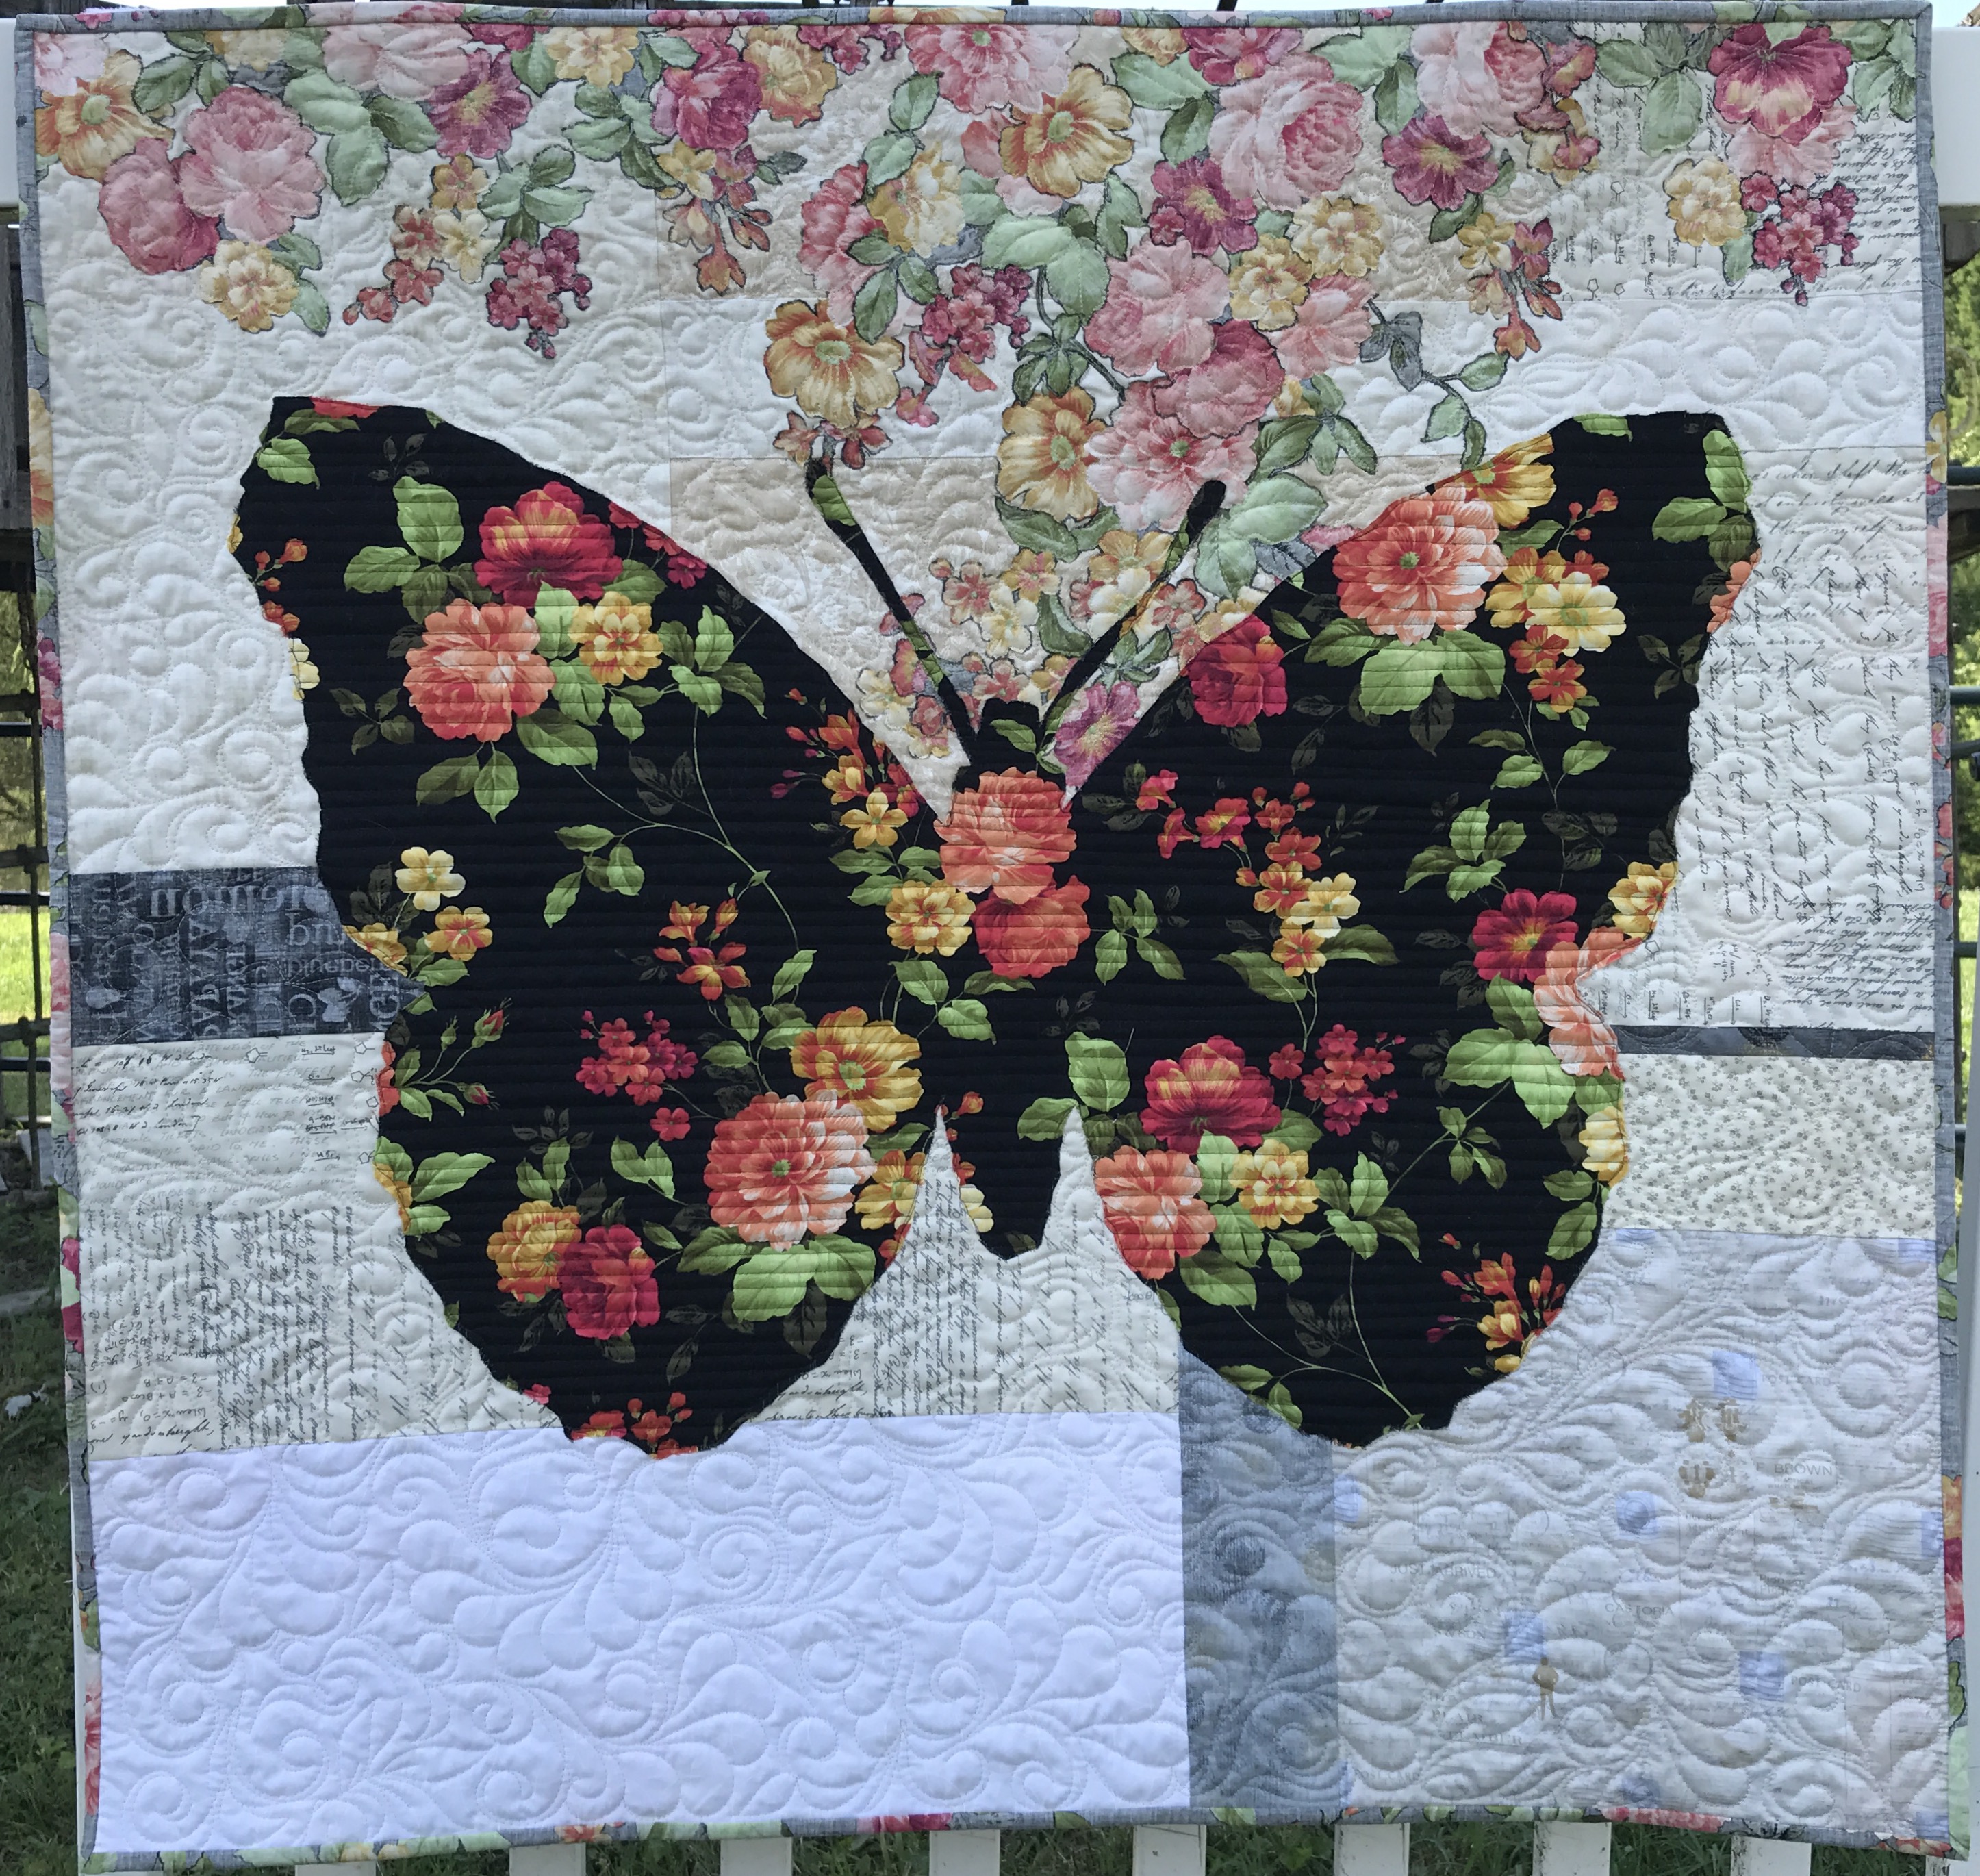
I found Belle’s fabric, Estate Gardens by Andover at my local quilt shop, The Golden Needle. I used similar neutrals in her background, but stayed with different shades of gray (some reversed) for the accent strips. Her binding is made with the reverse side out.

Note: I like to mix all shades of neutrals – white whites, beiges, off-whites- and all types of fabrics like tiny prints with batiks and novelties.

Image of butterfly quilt

Last but not least, meet Lily.

Lily is a sweet dragonfly made from Tree of Life fabric by Chong A Hwang for Timeless Treasures, also found at my local quilt shop.  Her background accent strips are in aqua because a) that’s my favorite color and b) I wanted to connect her to the water locales dragonflies love.Image of dragonfly quilt

Visit my Etsy page or The Golden Needle for patterns. If you are interested in weekend or evening classes, let me know in the comments below.

Next up is a review of value, very helpful for auditioning fabrics for Colorful Wings quilts! Don’t miss a post – sign up below for email notification! Thanks so much for following.  Karla


It’ll Be Fun, They Said

Find out what happens when I join a quilt guild Round Robin challenge:

Let’s do a Round Robin! It’ll be fun…wait, that was ME saying that!

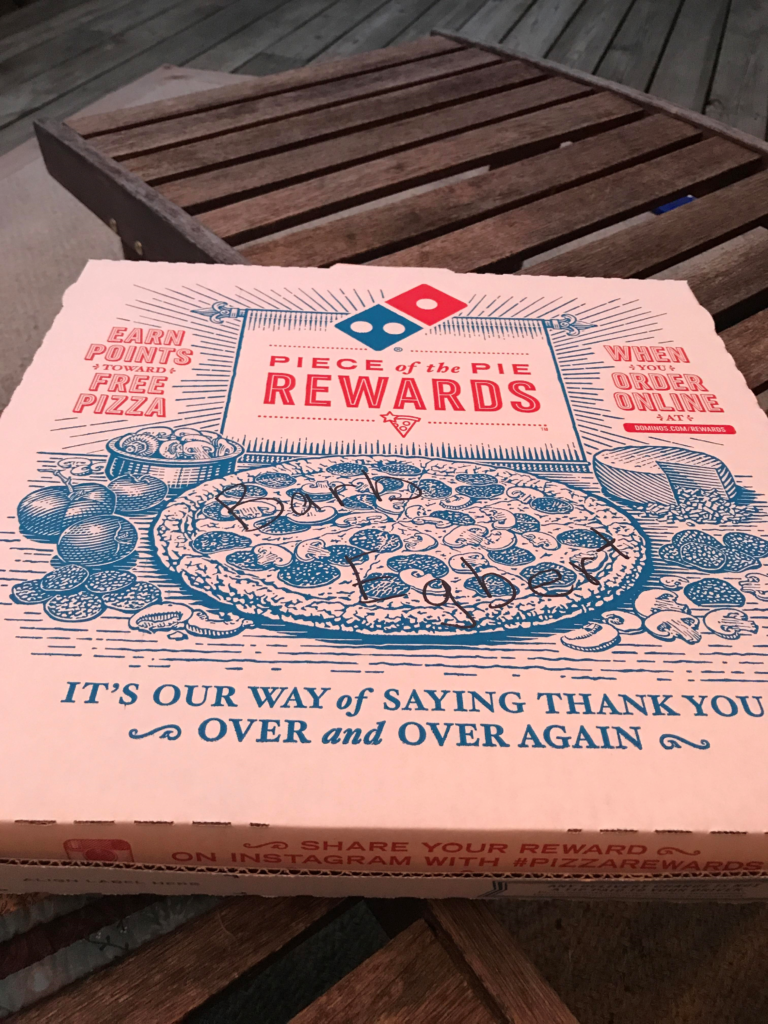
Now here I sit with the dreaded pizza box–which, by the way, makes me hungry for pizza every time I see it–and I have a feeling of dread.

What’s inside and why did I think this would be a good idea?

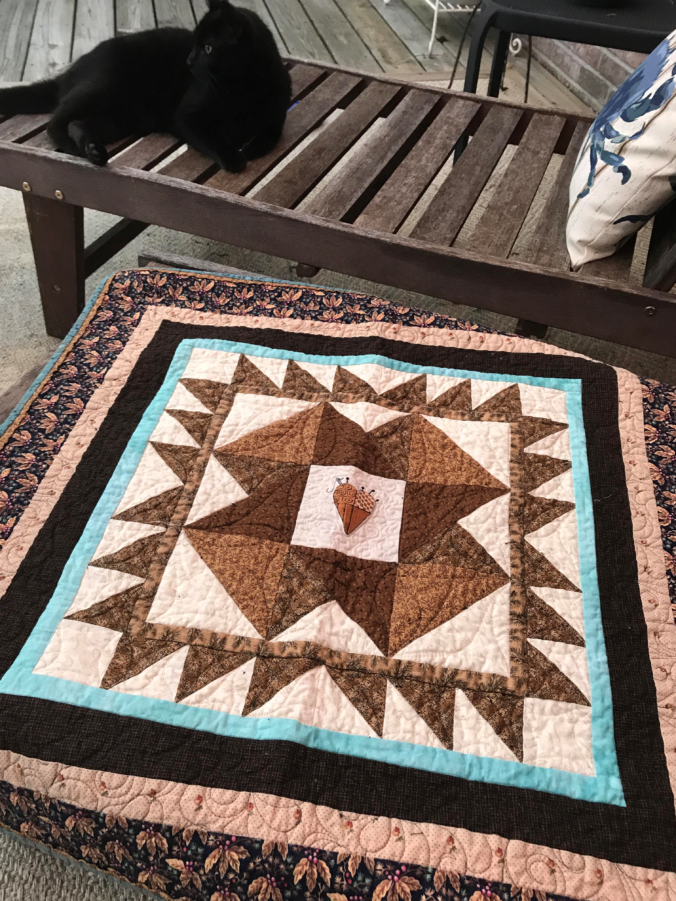
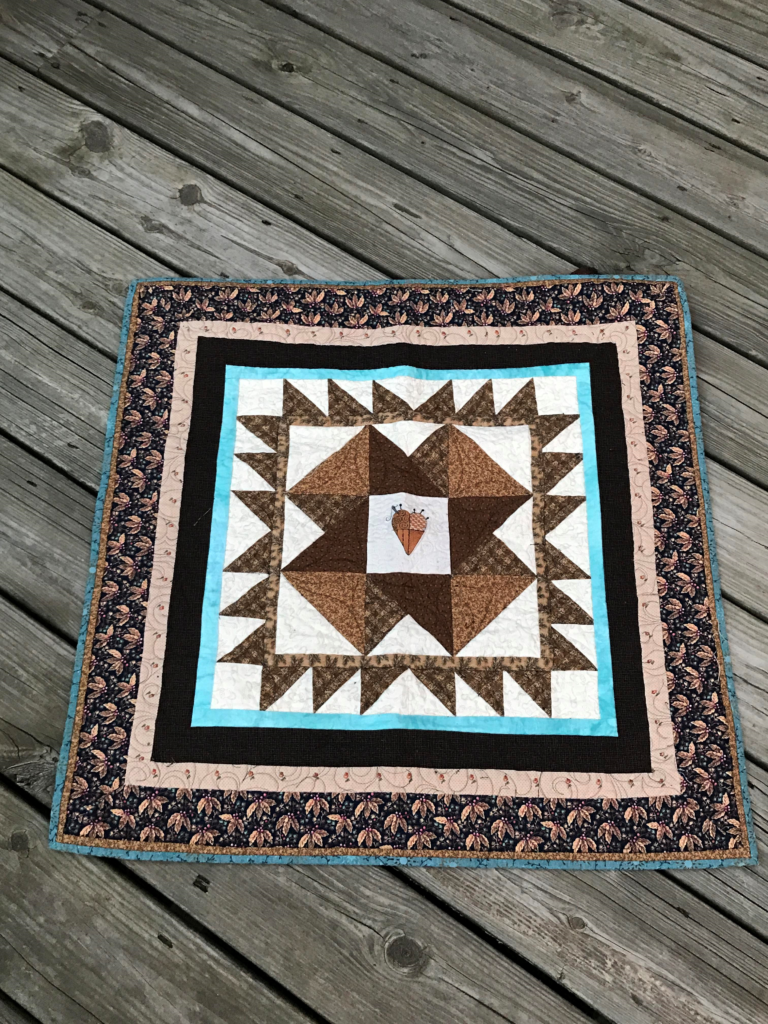
I’ve participated in a Round Robin before. You know how it goes, everyone starts with a certain size block and each block has borders added by a different quilter and at the next guild meeting the blocks with borders get passed on to the next quilter until you get a completed wall hanging quilt top made with your original block. It was lots of fun in 2008! So what’s the difference? Why am I so afraid of ruining each of my four other friend’s quilts?

Round Robin 2008 with Cindy Spaeth and Mary Lou Rutherford

Well, let’s see what’s different here? Nine years ago there were only three of us in our group. I didn’t know the other ladies too well, so maybe there was some safety in that.

I was fairly new in the guild. There it is…I was a newbie! I had no fear! I didn’t realize what could go wrong- I didn’t know all the “rules” and I certainly didn’t concern myself with design knowledge. If I liked it, I did it. That was it.  And even though I say I like to fight the establishment and throw the rules out the window, I do respect other people’s need for rules and order.

THAT’S what scares me! Can I do creative, yet disciplined work that will pass muster with these awesome quilters?

I guess that why they call it a challenge! Time will tell and you will know in about four months!

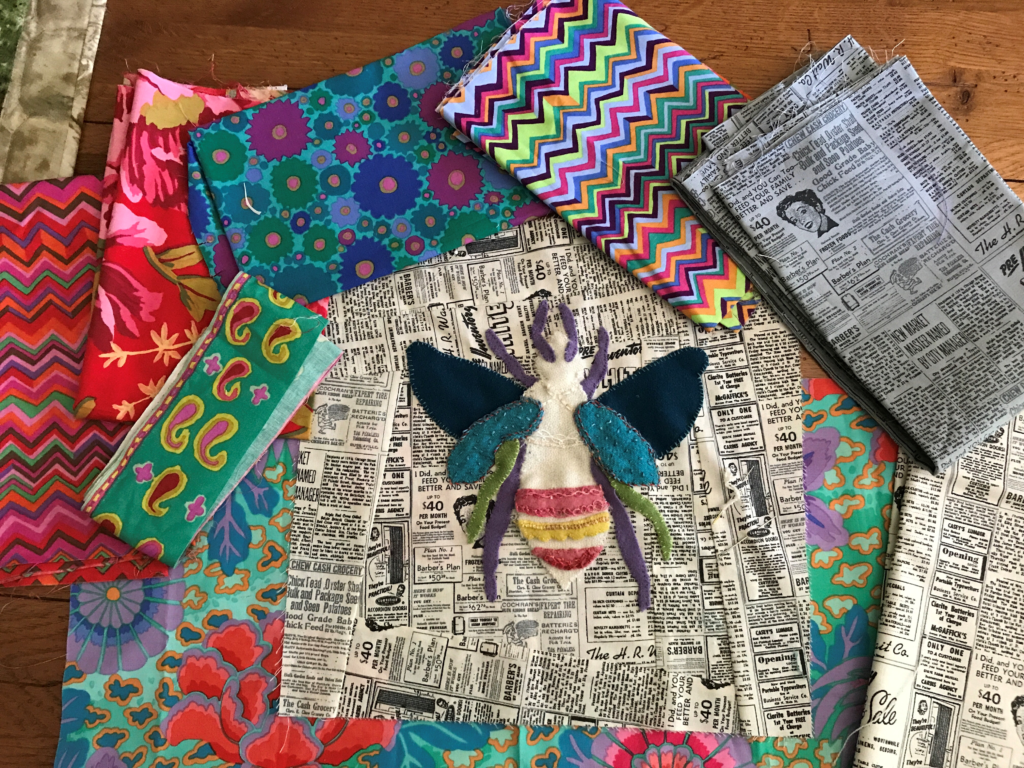
My block and fabric offerings for the Round Robin Challenge.

Stay tuned. In the meantime, I think I’ll call Dominoes.

Tell me what challenges you like to do. Sign up to follow my posts and I’ll send you an email when a new post goes live. Please share on Facebook and Twitter and pin on your Pinterest boards! Thanks for your friendship and for following me.

A Love Note from Johnny to June

One of my favorite love notes was one written by Johnny Cash to June Carter.

Firstly, as far as love notes go, this one stands the test of time. Certainly not without it’s tragedies, the love between Johnny and June eventually prevailed.

Here’s what Johnny penned:

Hey June,

That’s really nice. You’ve got a way with words and a way

with me as well.

The fire and excitement may be gone now that we don’t go out there and sing them anymore, but the ring of fire still burns around you and I, keeping our love hotter than a pepper sprout.

Love John

Then, in response to reading Johnny’s words, here are some Valentine crafts designed just for fun.

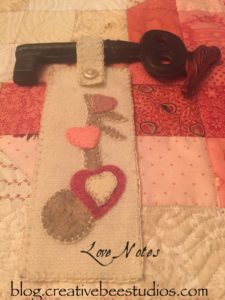
Image of Love Notes woolie
Love Notes Woolie

Wool Applique

This little wool applique features three little hearts on a soft vine music note. (Get it? Hearts, music note.) It’s tiny and made from scraps of beige, taupe, and three pinks. It hangs from heavy metal “key”.

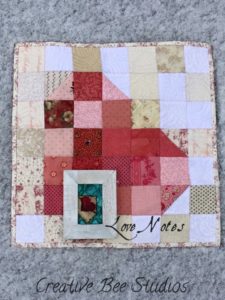
Image of Heart Quilt

Quilted Wall Hanging

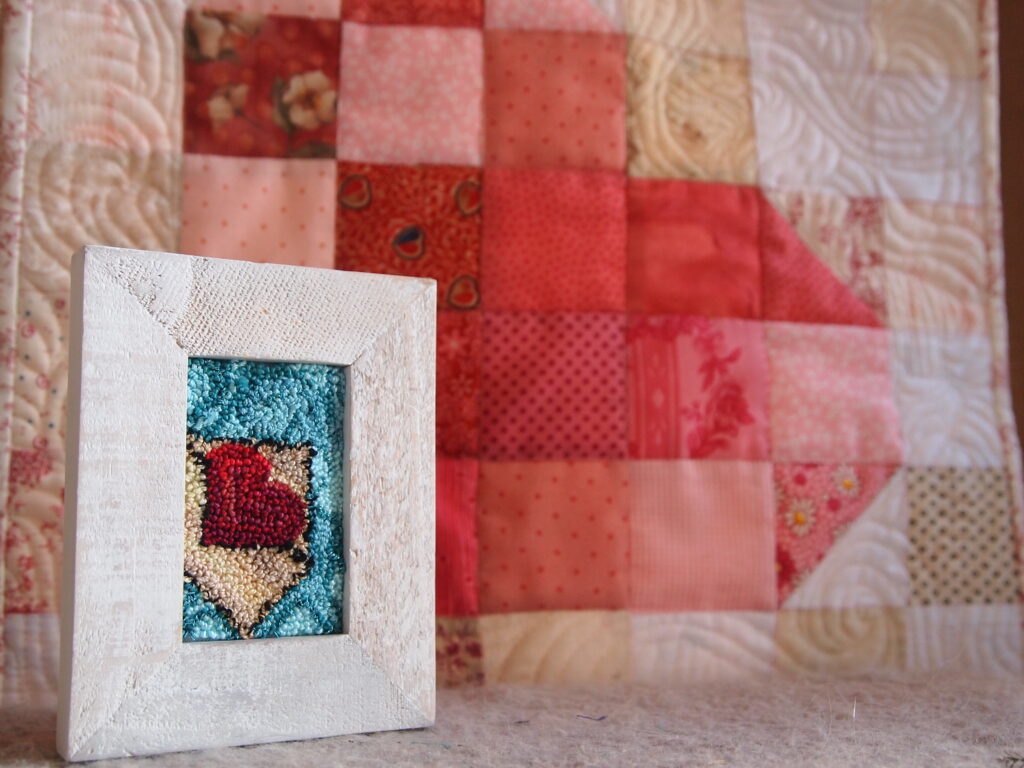
Image of Love Notes quilt and punch needle

Here, this mini heart quilted wall hanging is shown lying on a soft layer of snow with Love Notes Mini Punch Needle.

It’s fun to take little squares to make shapes. A heart is easy. Since there is no pattern needed, just determined the size of squares you want and start designing. You might use lefterover squares from other projects! So doing, this is an easy, quick project.

Note: Since making this, I developed a method of how to audition the VALUE of fabrics by using BOTH sides. Consequently, I would now reconsider some of my fabric values! Learn about The Tricky Traits of Value HERE !

Punch Needle Embroidery

Lastly, this punch needle is set in a miniature wooden frame. It’s an open envelope with a heart coming out of it. Tiny punch needle designs are a great activity to do in between larger, more involved quilt projects. Click HERE to learn more.

So, I think of June and Johnny each year when I decorate with these little joys.

Share your love this Valentine’s Day and know that you are loved.

In conclusion, remember this: For God so loved the world, that he gave his only begotten Son, that whosoever believeth in him should not perish, but have everlasting life. John 3:16.

So please share my blog with your friends, on Facebook, Instagram, and Pinterest– every chance you get–I appreciate your love and support!

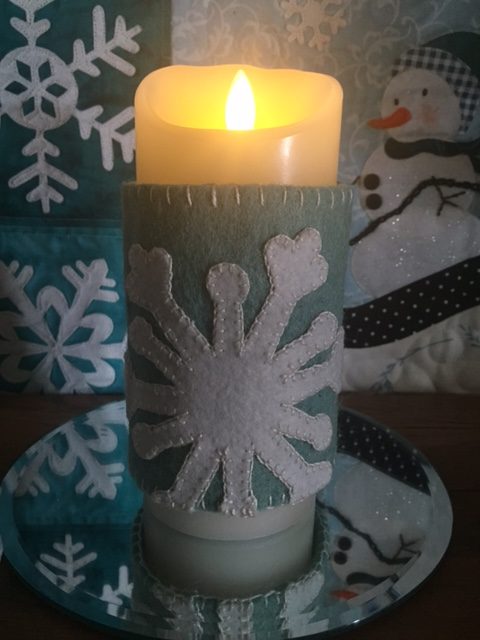
Let It Snow Woolie

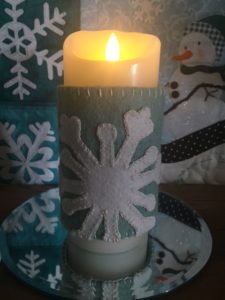
A little wool, a little thread… and a cozy little candle with wool applique.

Okay, so you’ll also need a needle, scissors, some fusible, a hair elastic and a button, but you get the idea. Simple, sweet and cozy for a snow flurry kind of day!

I used the snowflake Accuquilt die for this quick applique. Makes a sweet gift.

Please sign up to get email notifications when my next post goes live! You can also see  more sweet ideas for creative minds at Bloglovin.com. I appreciate every share and pin on Facebook, Pinterest, and Twitter. Tell your friends!

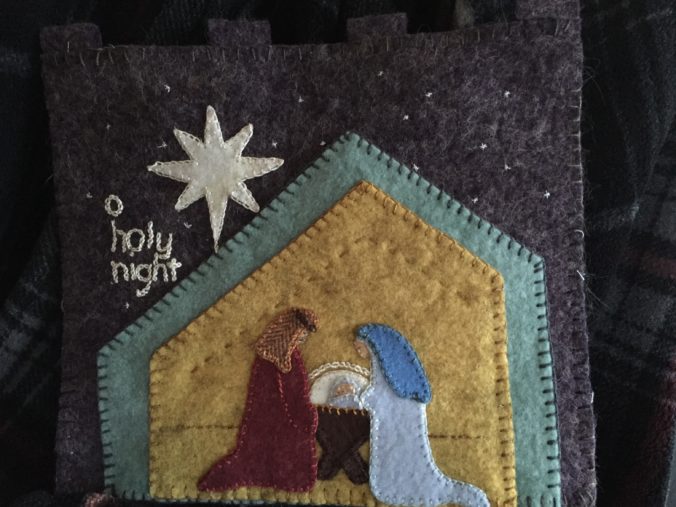
O Holy Night

Manger Scene Wool Applique

O HOLY NIGHT

Here is a sweet wool applique manger scene for you!

And she brought forth her firstborn son, and wrapped him in swaddling clothes, and laid him in a manger; because there was no room for them in the inn. Luke 2:7

Christmas blessings to you each day of the year!


One Sophisticated Lady

See how to make a baby quilt using a phone app and cutting machine!

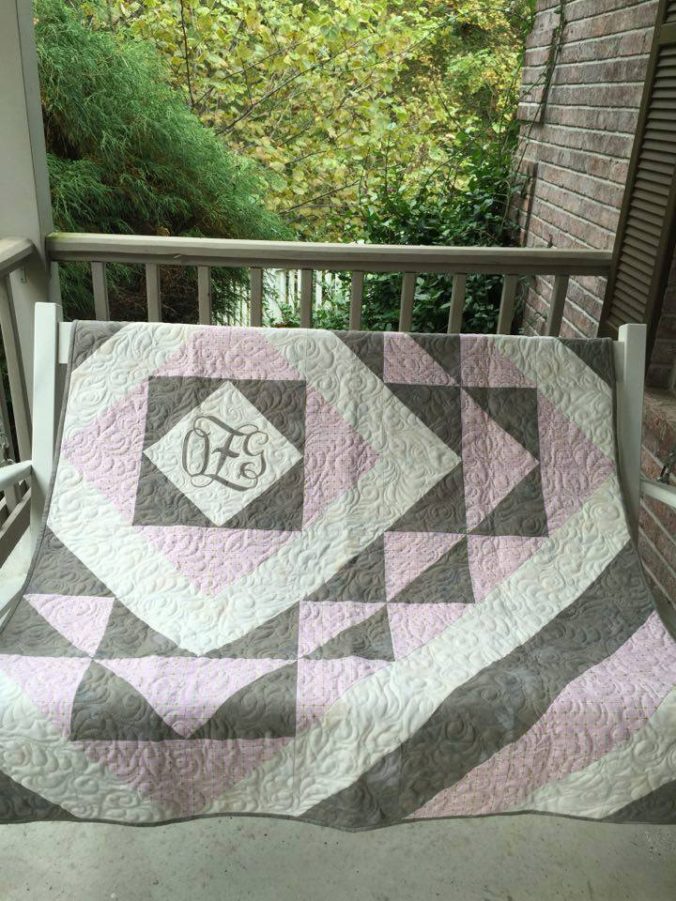
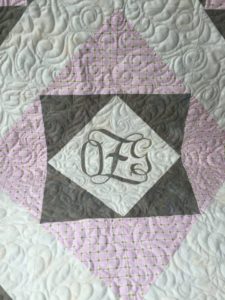
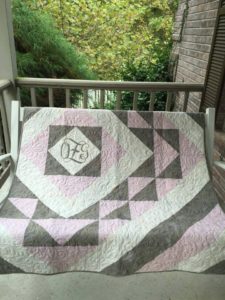
This is a baby quilt for a classy baby’s room! It’s a personalized one, made for a friend’s grandbaby.

Firstly, I got a text from a friend to see if I would make a quilt for her grandbaby. She sent me pictures of the most beautiful baby’s room I’d ever seen! 

A personalized baby quilt.

Next, when she commissioned me to make a baby quilt, she sent photos of the baby’s room.

However, the grandmother had no specific ideas in mind for the quilt, other than to go with the theme of a somewhat “grown-up” room.

Let the fabric do the talking.

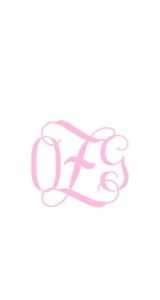
The grandbaby girl’s room is painted a very pretty taupe and pearl in large, horizontal stripes. There are some accents in soft pink and a large gold monogram on the wall.

One Sophisticated Lady

While milling around Hancocks, I found their collection of Moda Fabrics‘ Grunge–which I LOVE! They read as a solid, but are anything but boring and feel, oh, so good! It wasn’t long before I had the pearl and taupe picked out and down the aisle a little further, I found this soft pink with a little touch of gold. I sent a pic to my friend and the project began. 

A design wall is helpful!

When I got home I looked at many baby quilt designs and decided on using large half-squares because I wanted to try to keep the cost down as much as possible. After viewing many variations, I started making half-square triangle blocks and just placing them on the design wall, moving them around to see different patterns emerge. I eventually came up with a pattern I liked and filled-out the quilt with blocks as needed.

Add a monogram to the baby quilt with a phone app!

Now I had planned to use a monogram similar to the one in the baby’s room as a focal point for the quilt, but not being terribly experienced at using my ScanNCut2, I was also a little apprehensive. I was super excited to find the exact monogram on my phone’s Monogram It app!

Monogram It App
Monogram It App

Turns out, it was so easy to send this design from my phone to my computer and then to my ScanNCut2, I could hardly contain myself!

I cut the fabric, fused with HeatNBond Ultrahold and pressed it to the quilt. (Normally you aren’t supposed to sew through the Ultra, but I quilted around the edges of it to make sure it stood up to washings. I choose the Ultra instead of HeatNBond Lite because I wanted to be certain the fabric wouldn’t fray.)

Monogrammed Baby Quilt

I added an embroider label, quilted and bound the quilt as usual. I included a Shout Color Catcher with washing instructions for the momma.

This quilt was fun to make and I am really excited about the world of possibilities of using the ScanNCut2 in my future quilting and design work!

Let me say here that I am fortunate because from the start of this project, my friend said she totally trusted my judgement and

One Sophisticated Lady

whatever I wanted to make would be great–not all projects allow you that freedom to let the design come together.

Next time I’ll make this quilt using BOTH beautiful sides of fabric!

SHOP patterns, quilter tee shirts and more!

Sweet Pumpkin Applique

Sweet pumpkin is in the air!

Autumn brings the best of pumpkin to our senses. You might have already enjoyed your favorite seasonal coffees. Maybe you’ve lit some sweet-scented candles. Are you anticipating that first bite of sweet pumpkin pie?

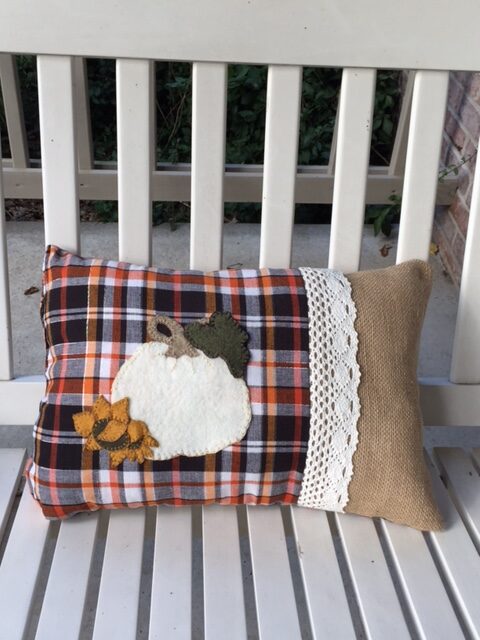
It’s true, this time of year, pumpkin touches almost all our senses. Now you can add the cozy touch of wool and the unique look of the combination of plaid, lace, and burlap to make your fall seasonal experience complete!

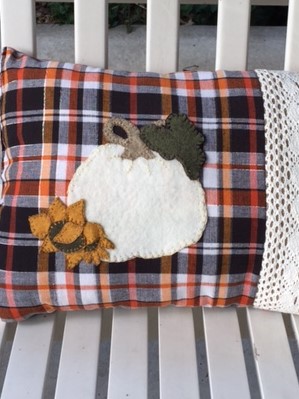
Here is the Sweet Pumpkin Applique pillow.

Sweet Pumpkin
Sweet Pumpkin Applique

First, download the free template here.

Use the template for your own pumpkin project or make the pillow as shown.

Sweet Pumpkin Applique

Accent Pillow Size: 12 x 17 inches

First, trace the template designs onto the paper side of fusible. Cut loosely around each. Press onto back of wool. Cut on lines.

Next, baste one 12-inch piece of 2 1/2-inch lace onto the left edge of 6 1/2 x 12-inch burlap. Pin, right sides together, one 11 x 12 inch plaid fabric and burlap together; stitch.

Then place applique pieces from back to front in order as listed and numbered: Pumpkin, Stem, Leaf, Small Sunflower Center (slip petal ends beneath center), Large Sunflower Center (slip petal ends 5, 6, 7, 8, and 9 beneath center; add petals 10 and 11 on top). Press to fuse pieces in place.

Hand stitch the wool applique using the blanket stitch and/or running stitch. I suggest these Valdani threads, size 8: Pumpkin: Easter; Stem: PT4; Leaf: P11 Aged Black; Sunflowers: P5.

Sweet Pumpkin Closeup

When handwork is complete, align and pin 12 x 17-inch backing with top, right sides together. Mark a 4-inch area for turning on fabric end of pillow. Machine stitch. Trim corners and turn. Use fingers to gently push out corners in burlap. Fill with small tuffs of polyester fill. Turn ends of opening inward and stitch.

Lastly, add a decorative blanket stitch (optional) across the end with a thick thread to make a nice edge.

 Looking ahead to Christmas cheer, here’s JOYFUL, made with BOTH beautiful sides of fabric!

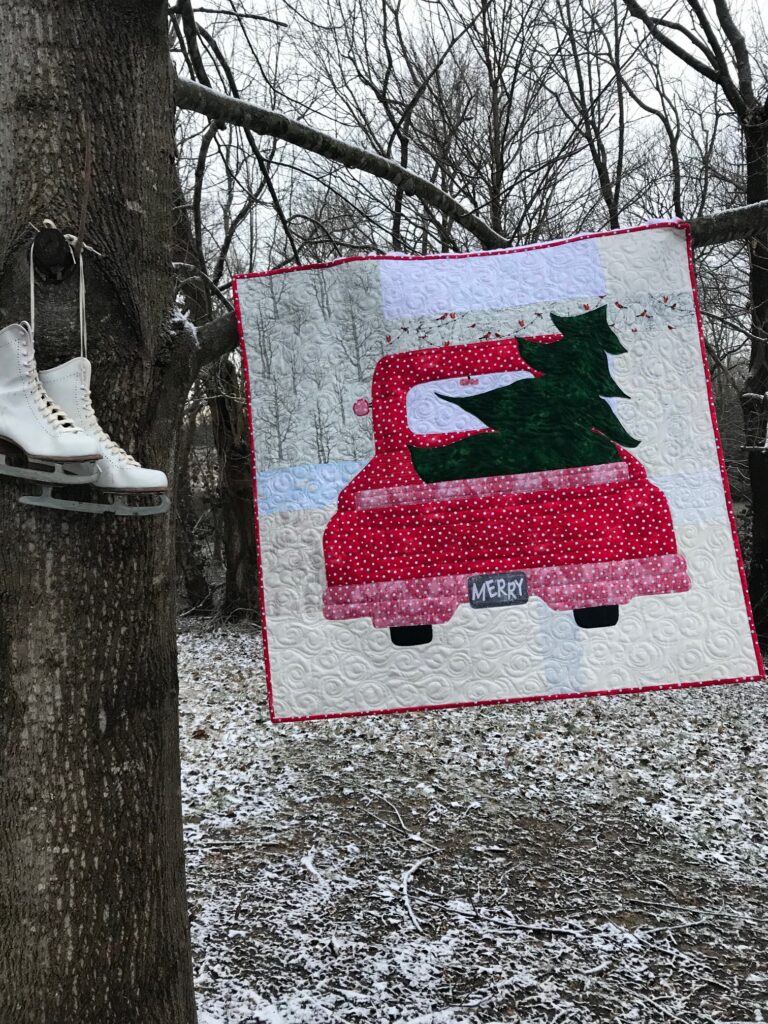
Image of MERRY
MERRY Quilt Pattern

Shop easily-use the blue Easy-Link Blue SHOP buttons HERE!

Newer posts »