Tag: Etsy (Page 5 of 5)

Pepita, the Legendary Quilt Pattern

Estimated reading time: 4 minutes

The Legend of the Poinsettia is about a little girl named Pepita.

In addition to The Legend of the Poinsettia, Pepita is the name of this Christmas quilted wall hanging. You’ll learn more about the Pepita Quilt Pattern below.

Pepita was a poor Mexican girl.

Summarily, the story that became The Legend of the Poinsettia goes like this. Pepita and her cousin Pedro were walking to church on Christmas Eve. Pepita was sad because she had no gift to give the Christ Child. However, Pedro tried to console her by saying, “Pepita, I am certain even the most humble gift, given in love, will be acceptable in His eyes.”

So she picked a bouquet of weeds from the side of the road.

Therefore, Pepita gathered up a bouquet of weeds from the roadside to give as her gift. Her spirits lifted as she entered the chapel and approached the alter. She laid the weeds at the feet of the Christ Child. Suddenly, Pepita’s common weeds burst in to brilliant red blooms! This was considered a miraculous event. Consequently, it was named the Flores de Noche Buena (Flowers of the Holy Night).

As she laid the weeds at the feet of the Christ Child, they burst into brilliant red blooms!

Today we call these flowers poinsettias, after Dr. Joel Poinsett. Dr. Poinsett was the first ambassador to Mexico. He first brought the bright red star-shaped flower to the United States.

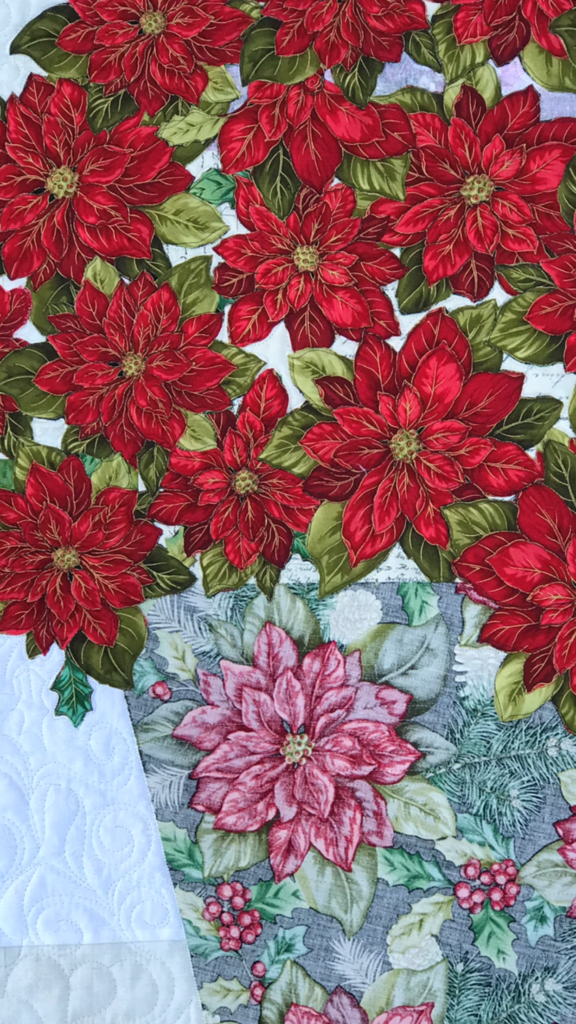
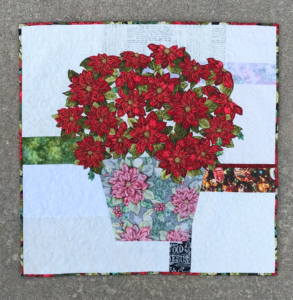
The Pepita quilt is made using both sides of one poinsettia focus fabric on a scrappy, fun background.

This quilt pattern is fast and easy to make using simple fusible web and an easy broderie perse technique.

First, you’ll discover the nuances of value as you learn to audition both sides of your fabrics. Then using easy fusible web and broderie perse techniques, you’ll build your bouquet. The blooms are made with the RIGHT sides of your focus fabric; the pot is made from the REVERSE.

Add fun, scrappy background fabrics.

Moreover, you’ll learn how to add a sparkling interest to your quilt by combining a variety of background fabrics. You might choose snow-y motifs, cardinals, red trucks, Christmas trees, batiks, Grunge, etc. The more variety of background fabrics you choose will make your quilt more interesting!

The Pepita Quilt Pattern or quilt is great for gifting because the fast technique and stunning look!

And now you know The Legend of the Poinsettia.

Unfortunately, I used to avoid poinsettias plants, because I thought they were poisonous for pets. However, in my recent research about them, I’ve learned they are only mildly toxic, causing a stomach upset if ingested. But if you are concerned, make up this beauty and you can have poinsettias in your Christmas décor every year!
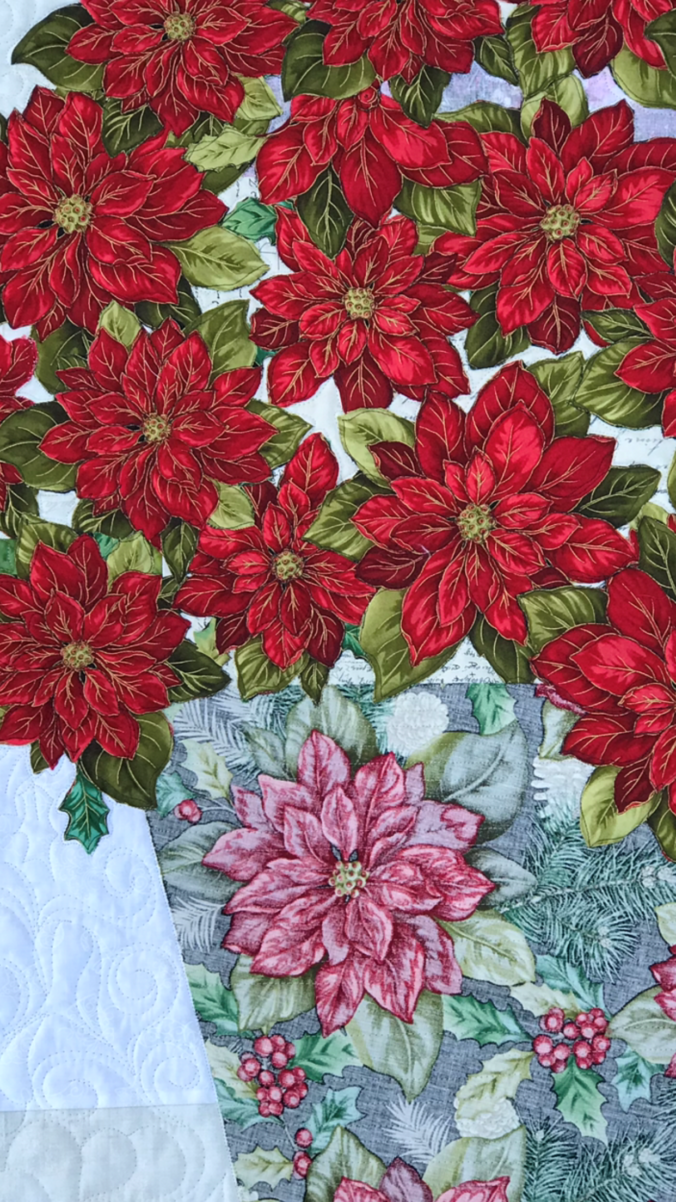
Image of Poinsettia Quilt
Pepita Quilted Wall Hanging

Click HERE to see other Colorful Petals series quilts!

SHOP more than 50 quilt patterns that use BOTH beautiful sides of fabric!

Learn more at How to Use Both Sides.

Watch Creative Bee Studios on YouTube!

JOY Quilted Wall Hanging Pattern

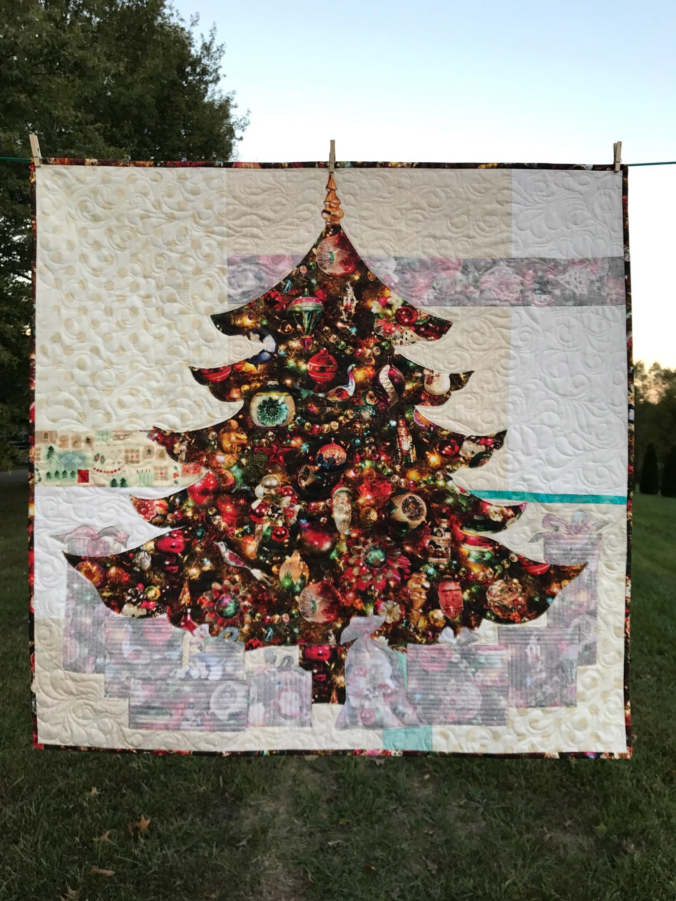
JOY is a quilted wall hanging pattern which uses both sides of one focus fabric on a wintery background.

Joy: cheer, glee, gladness, festivity, jubilance, exultation

This #usebothsides pattern was one of my first designs. See more than 40 patterns now in my Etsy Shop: CreativeBeeStudios.

See Christmas Quilts in July for a smaller quilted wall hanging pattern made with broderie perse and one focus fabric!

There are many, MANY Christmas fabrics which would make a great JOY quilted wall hanging.

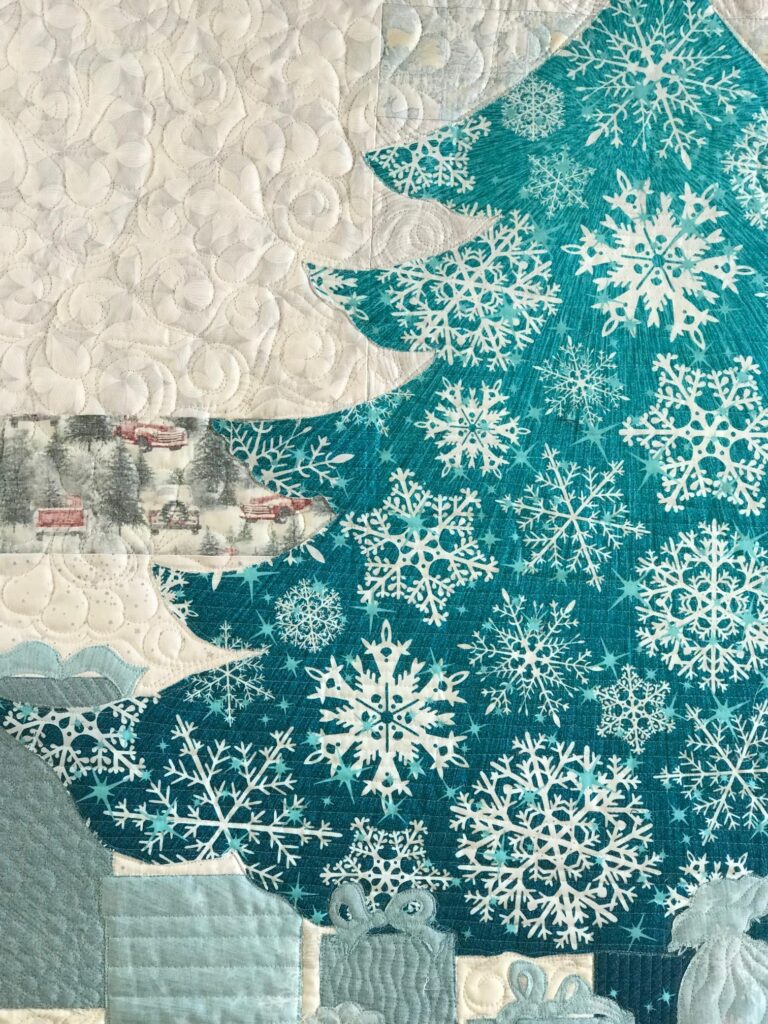
You can choose modern circles, snowflakes, poinsettias, cookie cutters, etc. Each gives a different feel to this Christmas tree wall hanging. The trick is to find a focus fabric you love whose reverse side sparkles -but with a lesser value.

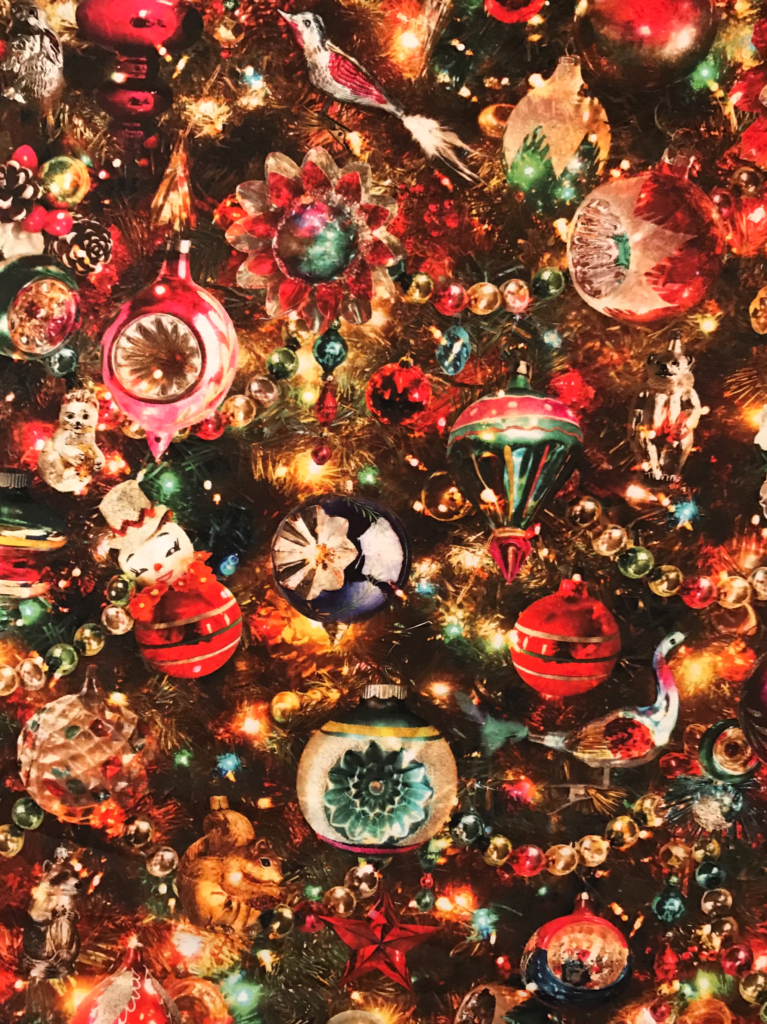
I happened to find one that gives a vintage flair to the quilt. These vintage glass ornaments sparkle on both sides of the Hoffman Digital Spectrum fabric called All Aglow Christmas.

Image of Fabric

Now take a look at this focus fabric!

Image of Tree Wall Hanging

Make this JOY with Hoffman’s Supernova Seasons panel!

This version features a lighter, snowy background. You’ll see cardinals on a lighted wire and little red trucks. Both accent strips are reversed to let the focus fabric shine.

Shuffle through your Christmas stash and make up some JOY to make the Christmas season bright!

Give a little JOY this Christmas season!

What kind of fabric would you use for a JOY tree? When do you start your Christmas decorating or festivities?

Subscribe below to get the latest tips, tricks, new pattern announcements and more from Creative Bee Studios!

Spooky Quilts A-Brewing

Estimated reading time: 3 minutes

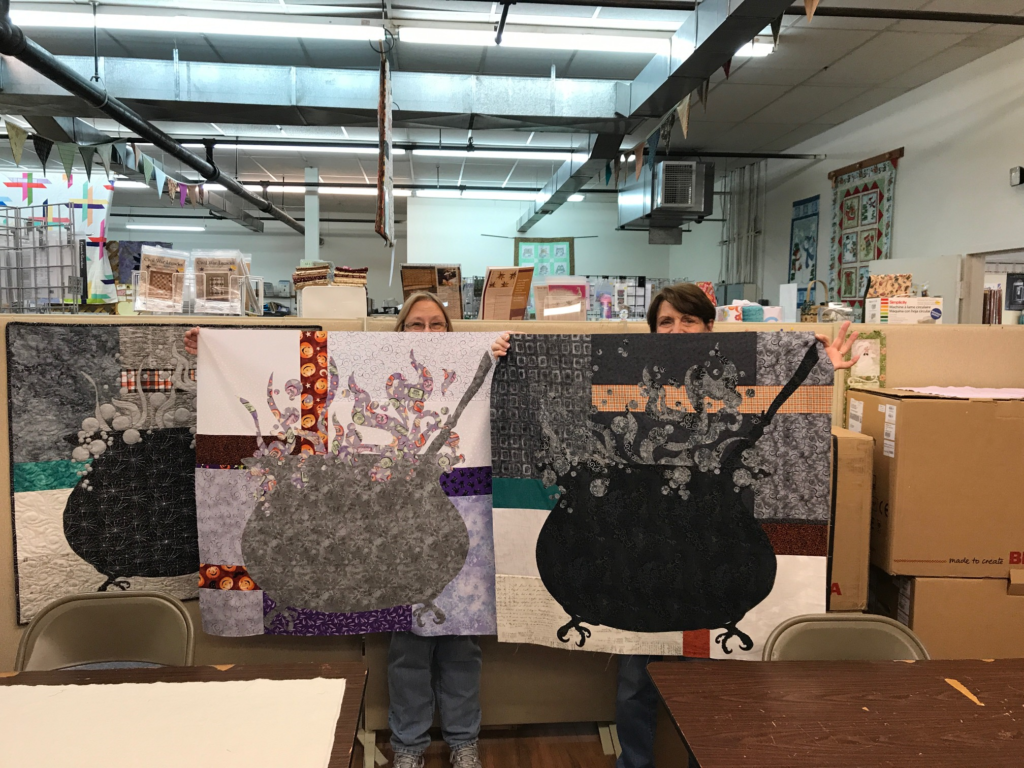
Creativity abounds in these Halloween quilts made by workshops and by pattern customers!

View the variety of background and focus fabrics used in these Halloween quilts.

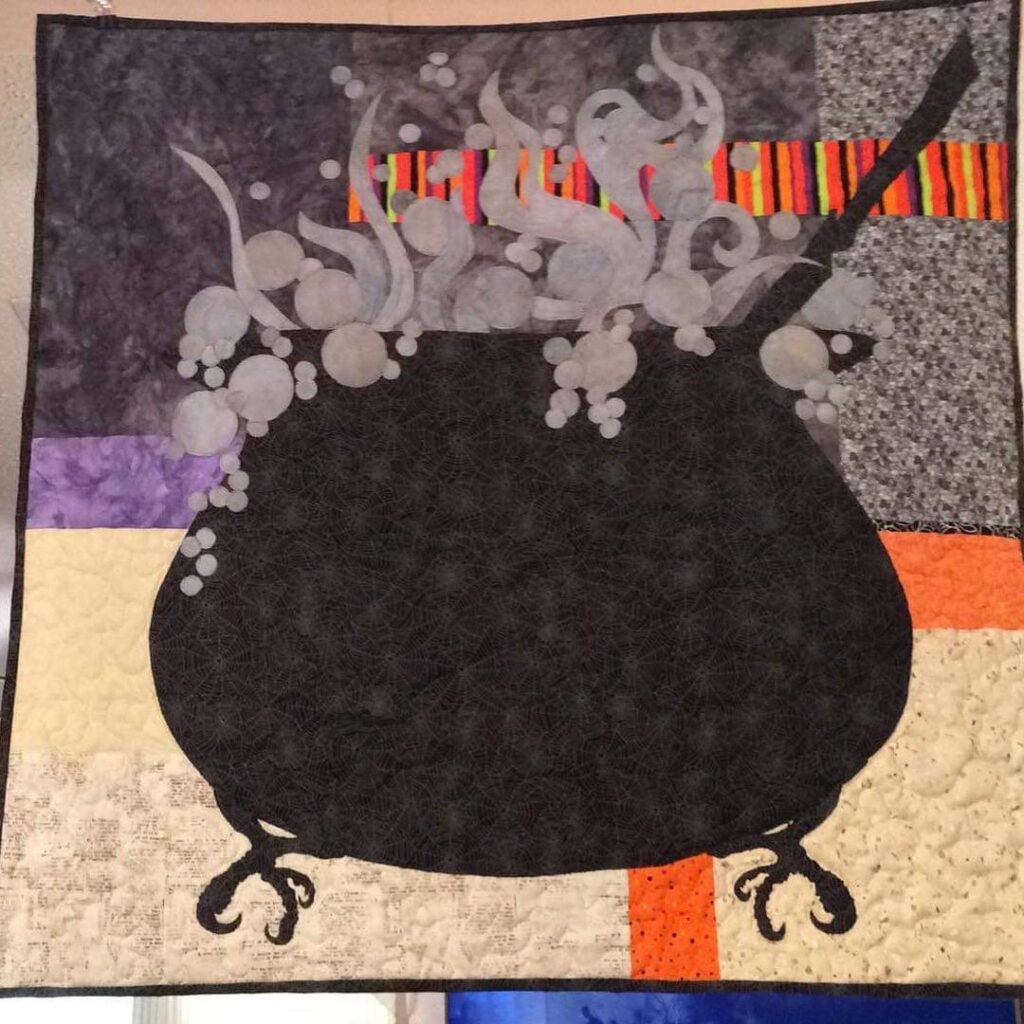
Creative Cauldrons

First, each quilter chose a focus fabric for their individual cauldrons, auditioning BOTH sides of the fabric.

There are lots of fun Halloween fabrics on the market every year. When choosing one for your cauldron, be sure to audition BOTH sides! You learn how in the Something’s Brewing quilt pattern.

Image of Cauldron QuiltsImage of Cauldron Quilt

These quilters use BOTH spooky sides to stir up trouble!

While the focus fabric is key, background fabrics play a key role in providing interest and sparkle to the quilts. Secondly, these cauldron creators auditioned their possible background fabrics. Variety of fabric genre adds interest to the background. The accent strips are used to pull your eye through the quilt.

If the value is right, use it in your Halloween quilts!

I encourage students to check their values when auditioning fabrics, but be bold with their choices!

If you like a fabric and the value is right, use it! Don’t worry if it’s a little wild or out of your norm.

Karla
Image of Halloween Quilt

As well as checking the values of the backgrounds fabrics, students watch how those fabrics work with their focus fabric. Notice that the lower half is a lighter value and the cauldron really stand out.

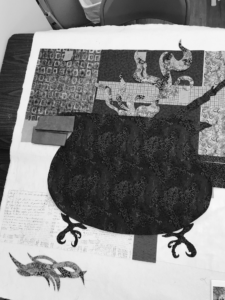
Black and White Image of Cauldron

Quilt-makers of these Halloween quilts evaluate the value of their background fabrics as they relate to the front AND back of their focus fabrics using black and white pictures.

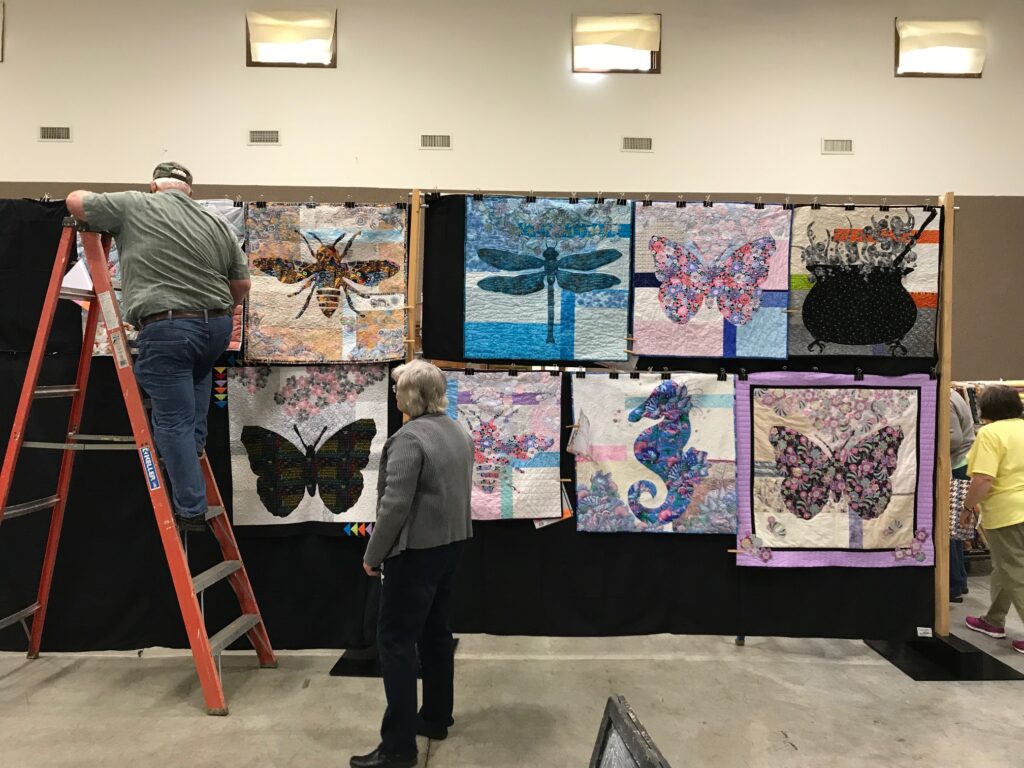
image of show quilts
Something’s Brewing from Memory Makers class in their quilt show.

SHOP Something’s Brewing  Quilt Pattern.

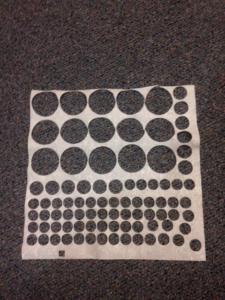
Bubble-making is easy when you use Accuquilt or Scan N Cut to make them! Here is the sheet from bubbles made in record time – less than 7 minutes–on the Scan N Cut!

Image of Cut Fabric

Learn more about the Something’s Brewing Wall Hanging.

See Sweet Pumpkin Applique Pillow for another fun fall project!

Need a yummy meal for busy crafting days? See A Delicious Quilting-Day Soup for You!

New Quilt Pattern Using Both Sides

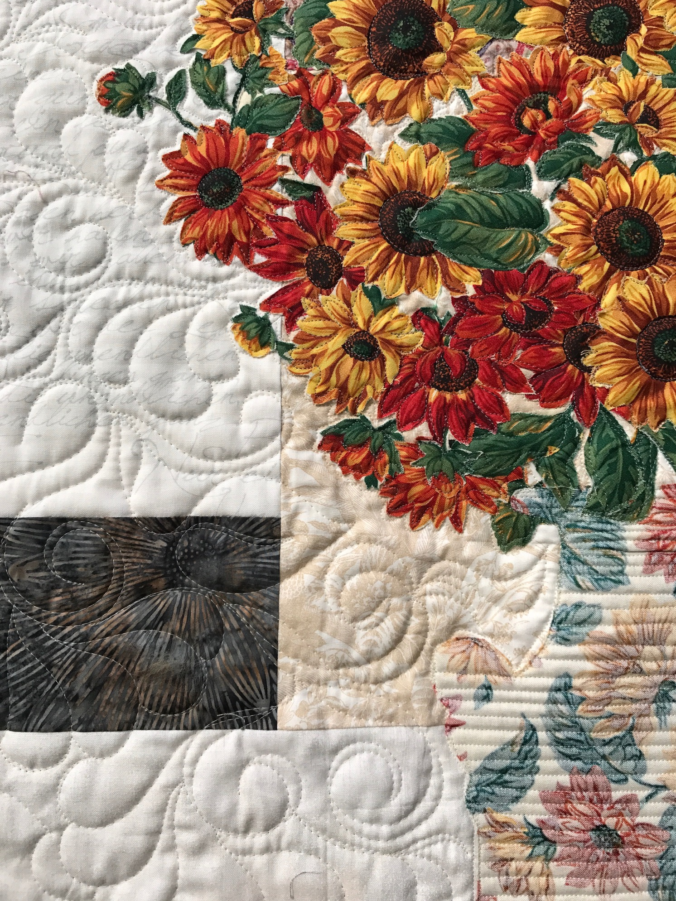
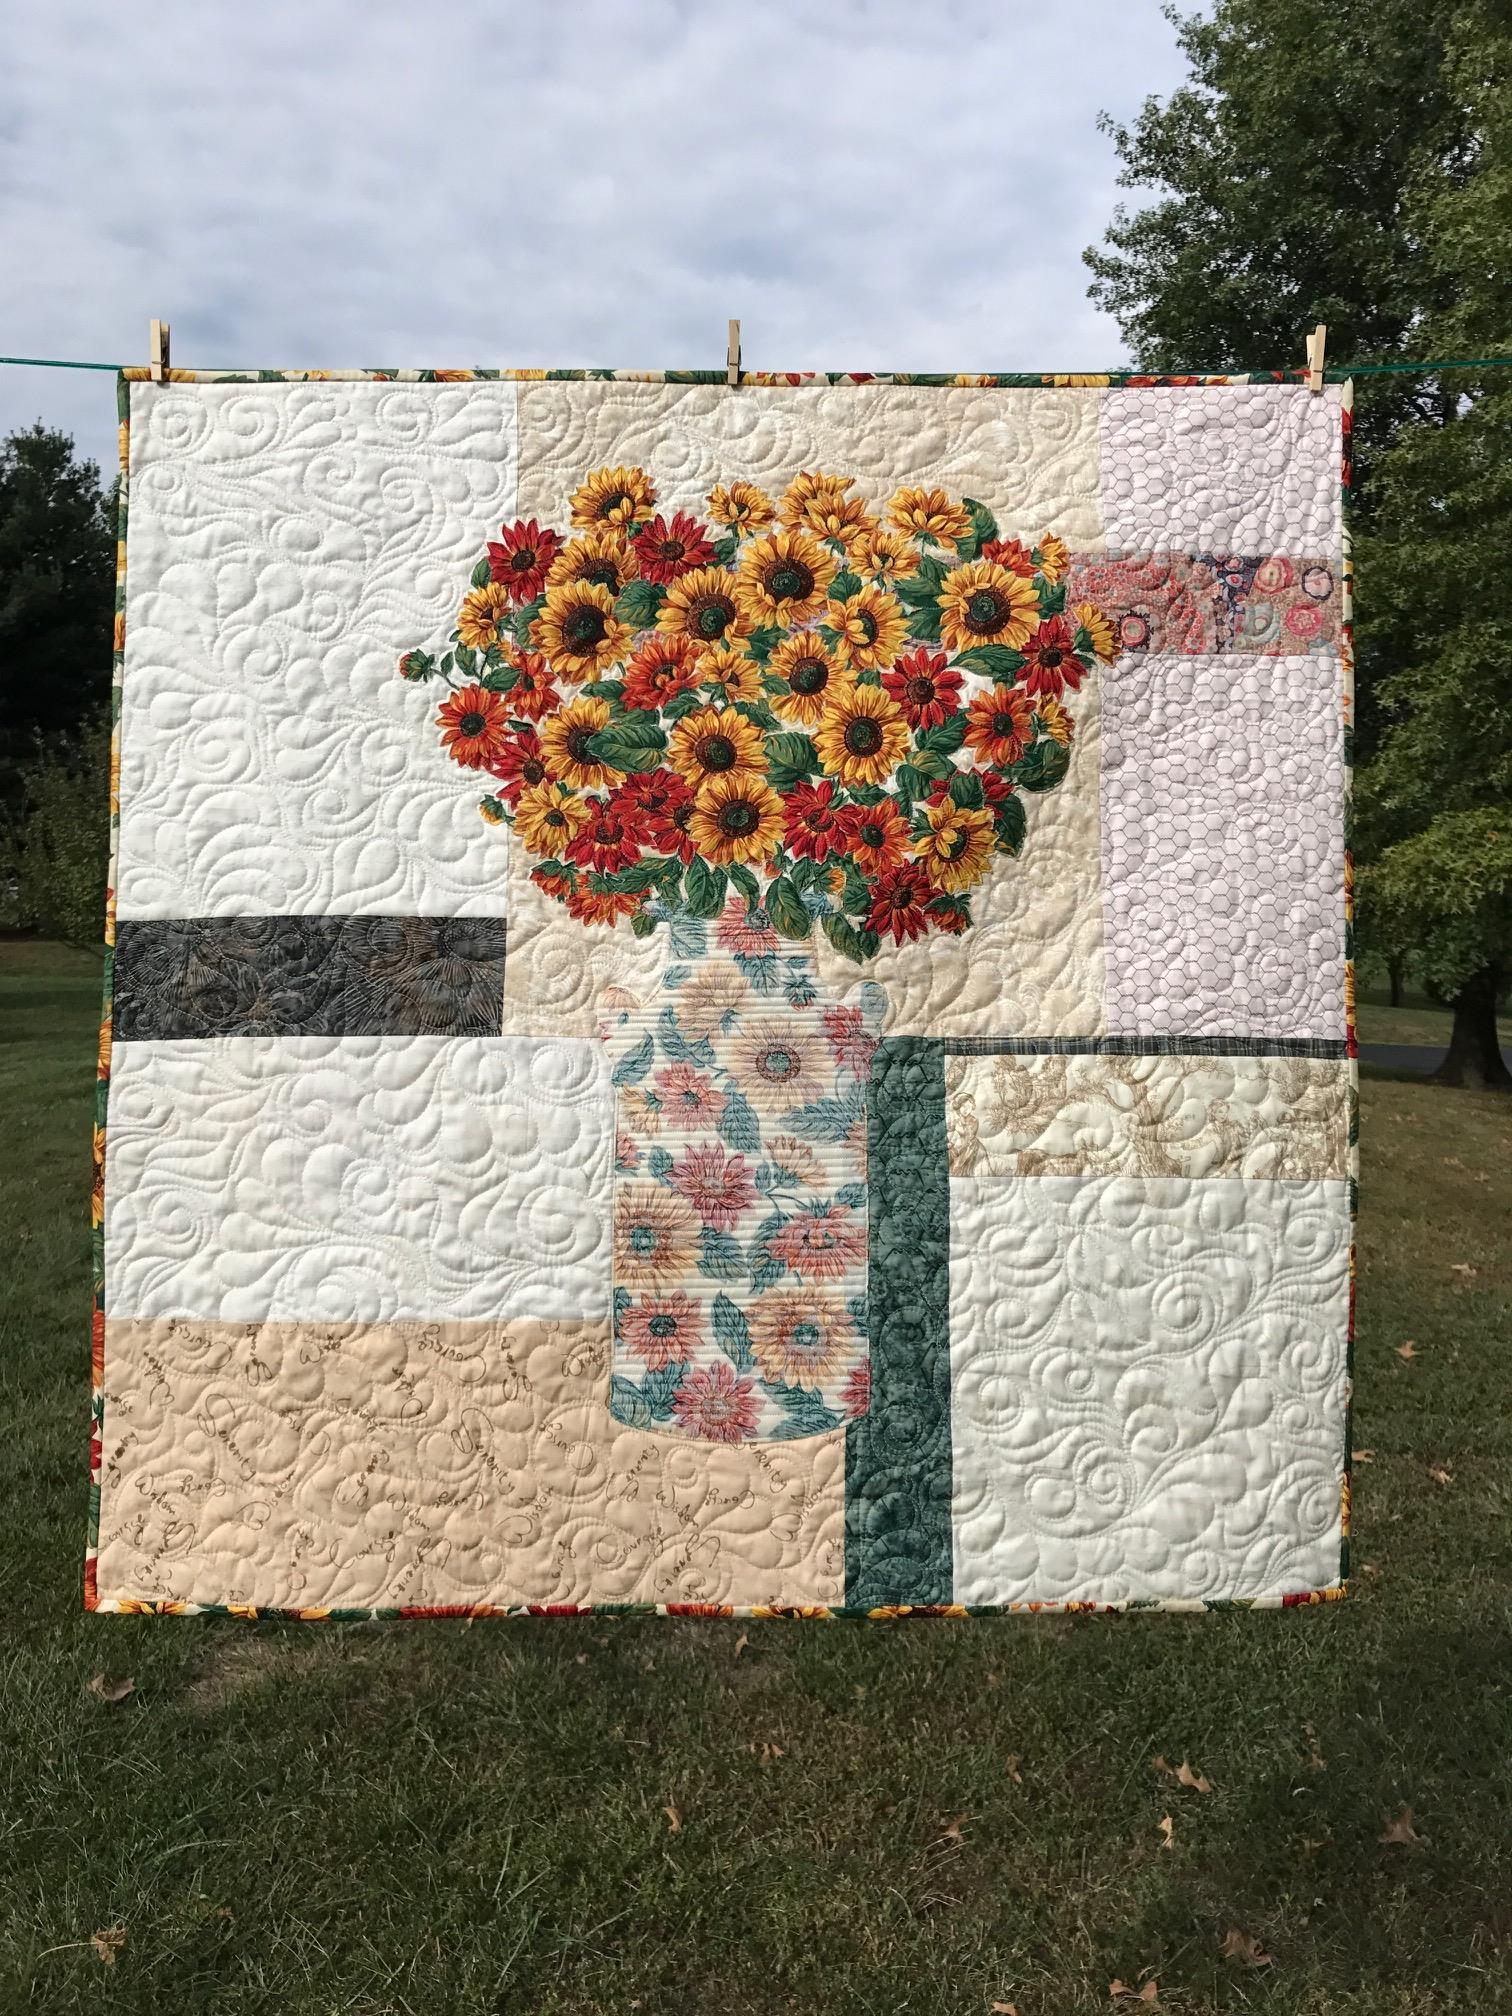
Meet sweet Emily. She is the second pattern in the series called Colorful Petals. Emily is made both beautiful sides of one focus fabric.

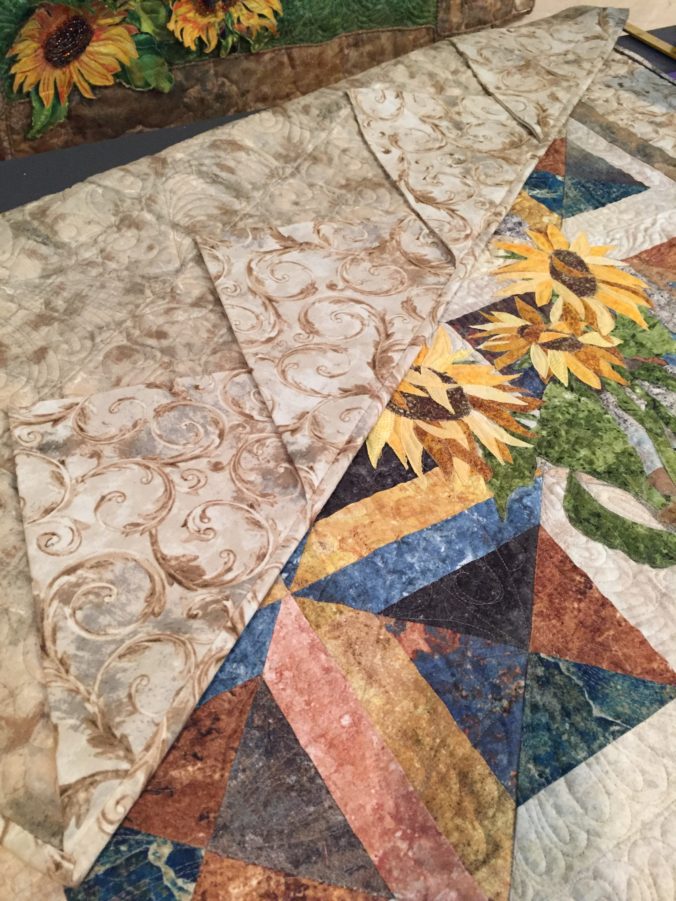
This lively sunflower fabric makes a great autumn art quilt.

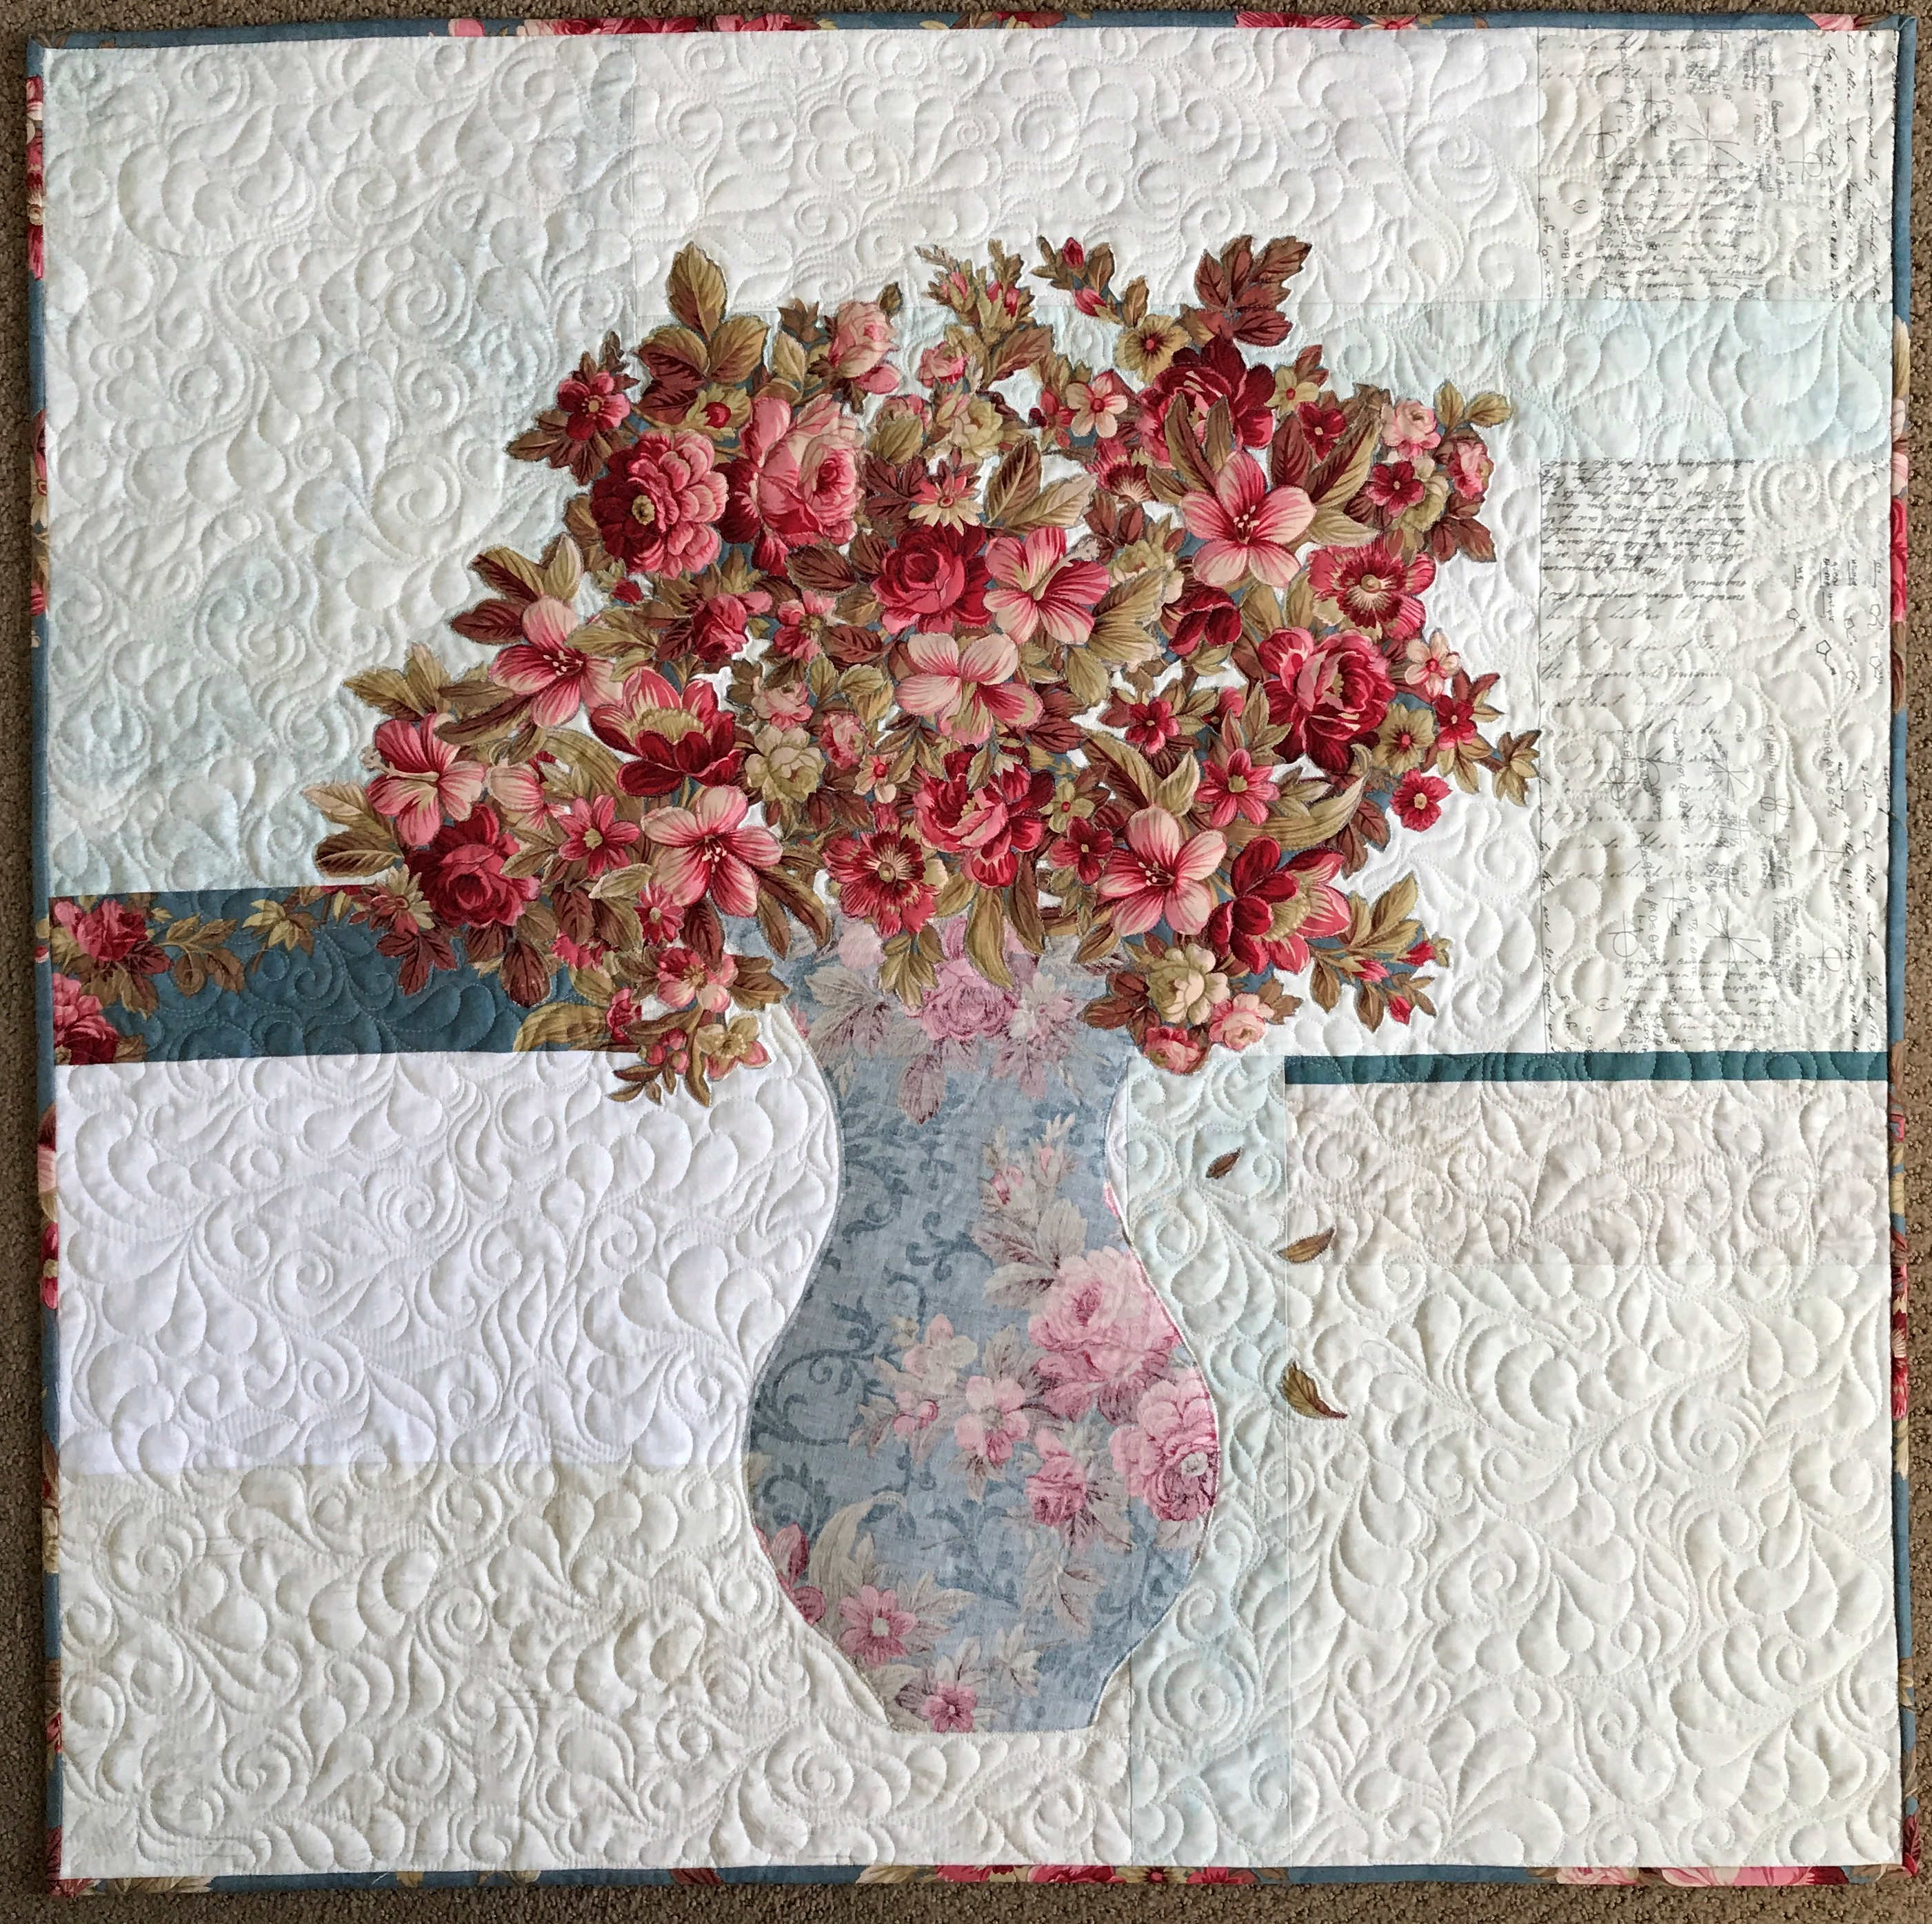
Like Rose (click here), Emily’s “primitive pottery” vase is made from the reverse side of the floral focus fabric.

Choosing one focus fabric for the vase, bouquet and binding and stitching a scrappy background is a fun way to use up stash while making a fast, easy quilt for decorating or gifting.

It warms my heart to see some of my mother-in-law’s chicken wire fabric  (circa 90s) in this quilt.

The four colorful accent strips used in the #usebothsides line of patterns make it a great way to use some bold, maybe even eccentric, fabrics from your stash that might otherwise might be too wild for a calm quilt like this.

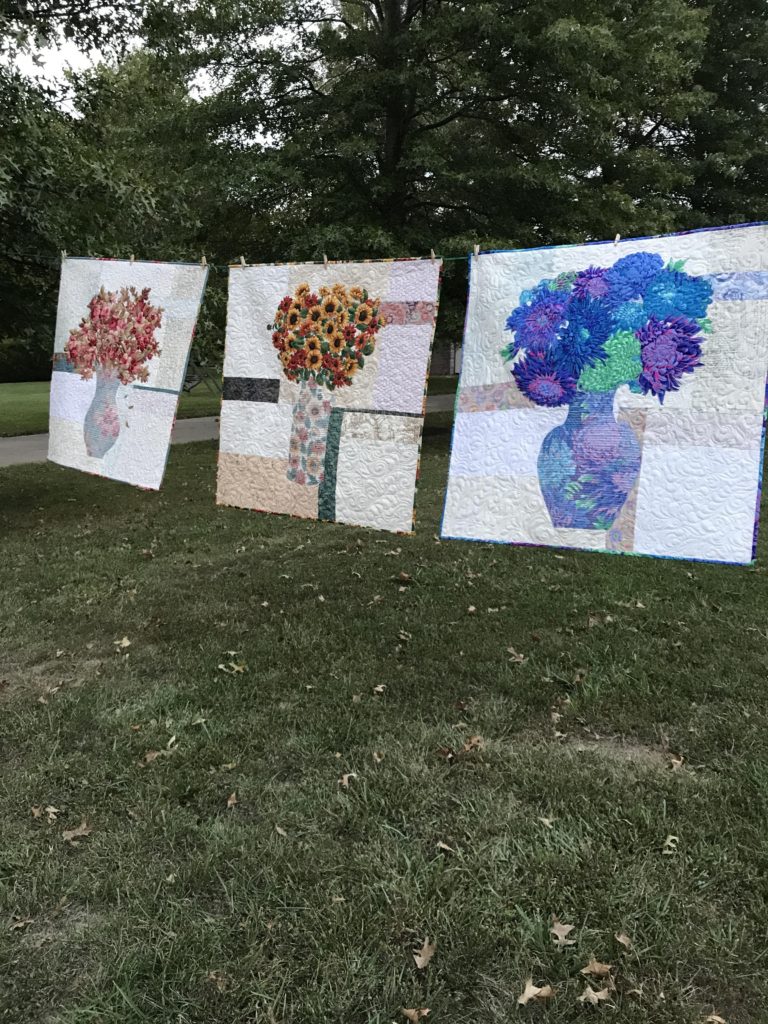
Colorful Petals – Rose, Emily, and Kate (more on her next week) –  will be taught at The Golden Needle (click here) on November 15th in Cape Girardeau, MO.

Image of Sunflower Bouquet Wall Quilt
Emily uses both sides of one focus fabric i this sunflower bouquet.

These quilt patterns are a lesson in VALUE as you learn to audition your focus fabric (front and back) with a variety of background fabrics and accent strips — and their reverse sides.

Image of Three Quilts
Colorful Petals Quilt Patterns
Image of Cookie Recipe

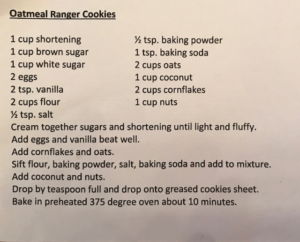
Shout out to my Colorful Wings class – here is the cookie recipe I promised you, compliments of Nancy Kester:

Shop the whole line of patterns at my Etsy Shop (click here).

Sign up below so you never miss a post!

Do you use both sides? Tell me how in the comments below!

Something’s Brewing Wall Hanging

Estimated reading time: 3 minutes

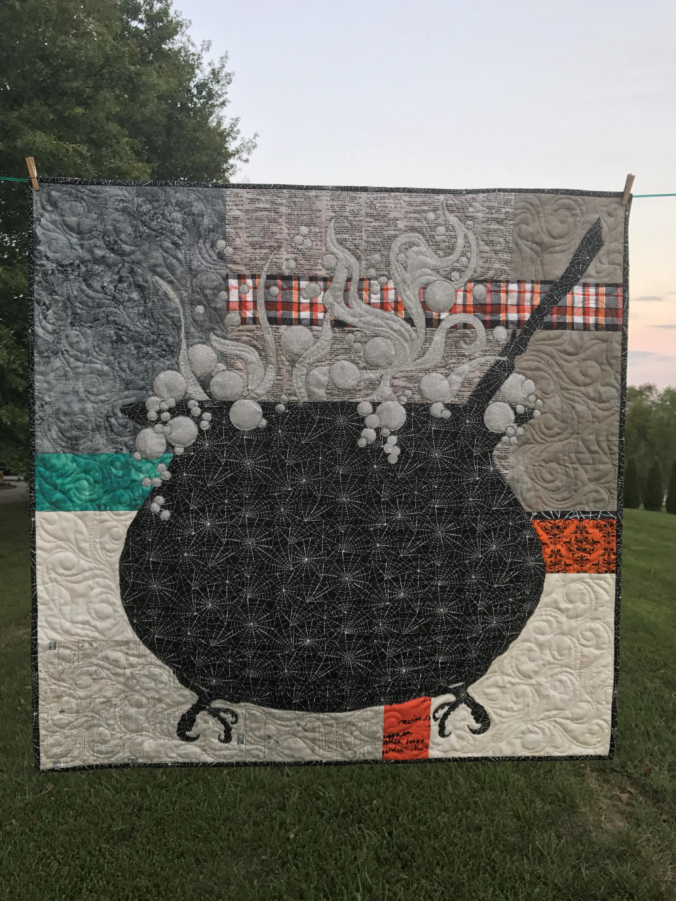
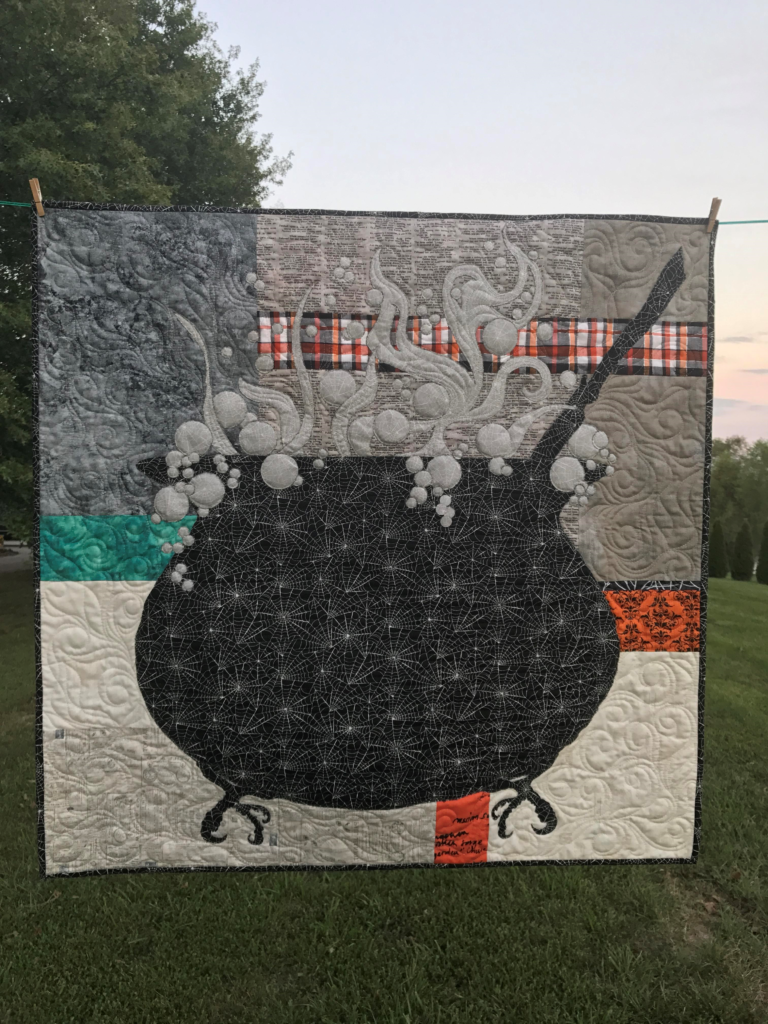
Something’s Brewing, all right, with this Halloween wall hanging!

This Halloween wall hanging is spooky fun to make.

What is this Halloween wall hanging quilt?

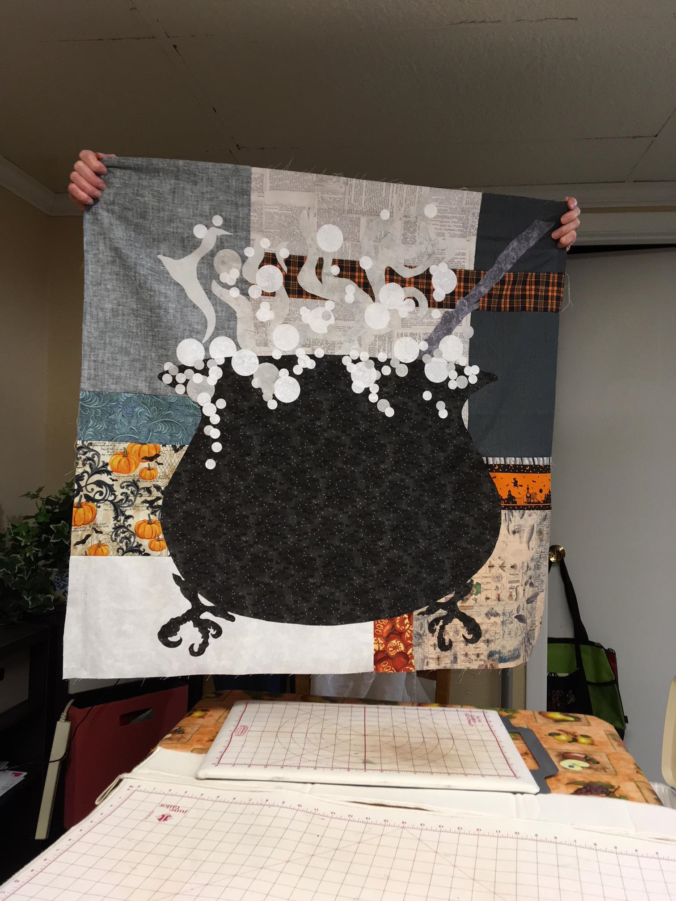
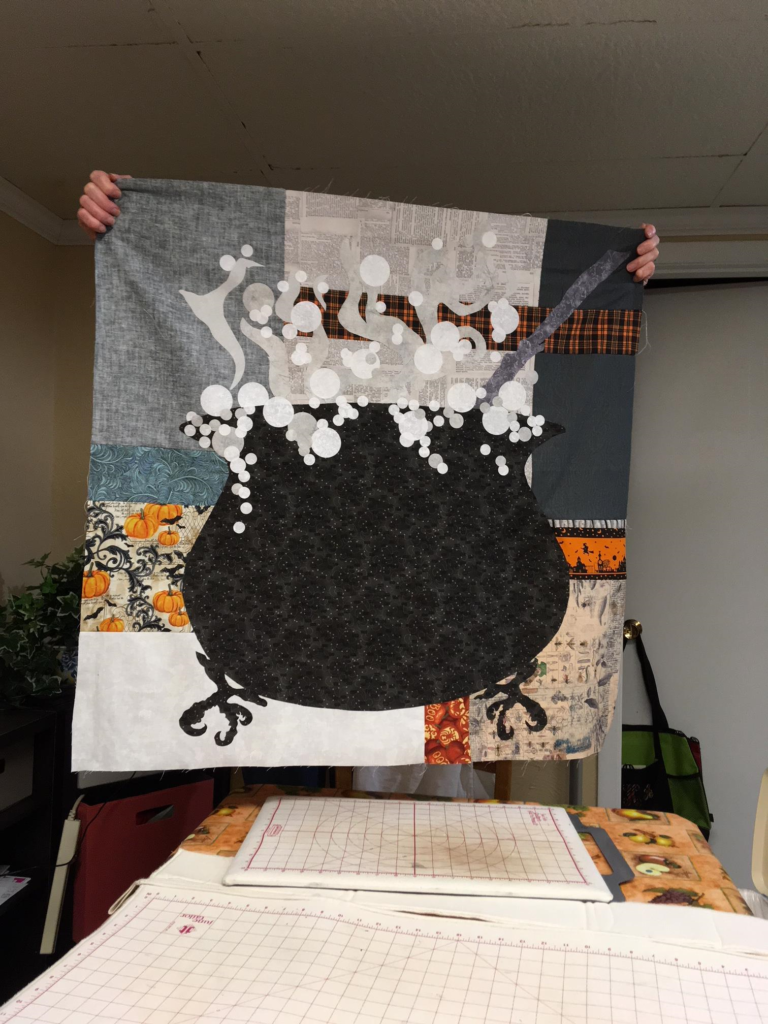
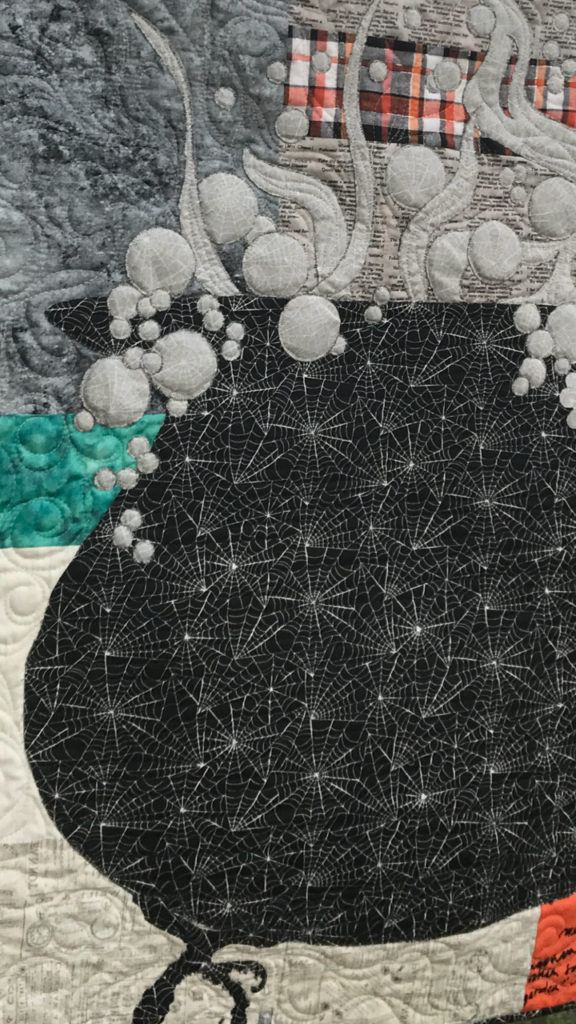
First, Something’s Brewing features a bubbling cauldron. The cauldron stands on two honey-buzzard claw feet. There’s even a broomstick to stir the pot! Bubbles and steam boil over the top and edges onto the fun background fabrics!

How is Something’s Brewing made?

Most importantly, this quilted Halloween wall hanging is made using both SPOOKY sides of one focus fabric. The cauldron is shown made from the RIGHT sides of a black fabric with white spider webs. However, the bubbles and steam are made from the REVERSE of the same focus fabric. Make the binding with the same fabric, as well.

The pattern comes complete with a full-size paper template.

Secondly, make the quilt using easy and fast fusible applique techniques.

Value is the key to unlock the magic of this Halloween wall hanging.

Discover the nuances of value as you learn how to audition BOTH spooky sides of fabric! Begin with the focus fabric. Once you’ve chosen that, start auditioning both sides of possible background fabric options.

The scrappy background fabrics.

Make your quilt sparkle by choosing a variety of background fabrics. Something’s Brewing is shown here with an eclectic mix:

  • My favorite fabric in this quilt: text from MacBeth!
  • Beige newsprint
  • Vanilla Grunge
  • Mottled Aqua
  • Stone Gray
  • Stonehenge (REVERSE)
  • Several Halloween motif fabrics
  • Plaid with glitz

Other Halloween Quilt Patterns

Read how Jacq O’ Lantern Makes a Happy BOO!

See all the Halloween patterns and shop more than 50 designs that use BOTH beautiful sides of fabric HERE!

Finally, I have to share how fun it was to design and make this quilt, especially the honey buzzard claw feet and broomstick. Also, I love to see the creative cauldrons that customers and students make! There are LOTS of fun Halloween fabrics out there (and maybe in your stash) that would make a great cauldron.

Hope you’ll be stirring up something spooky soon!

Enjoy YOUR quilting journey!

A Colorful Quilt Class

There’s something really fun about watching eleven ladies take one pattern (Phoebee, Belle, or Lily) and make it their own. The trick to these patterns is auditioning the fabrics – which can actually take more time than putting the top together! They did a fantastic and creative job of fabric selection and color/value placement of all the elements (background pieces, accent strips, and both sides of the focus fabric).

In addition to making these beauties, we had tips, door prizes, a mini-trunk show and lunch.

To not reveal their quilts before completion, I’m just going to give you an “in-progress” peek at the variation in these winged-girl quilts:Image of Phoebee Quilt in Progress

Image of Belle Pattern in ProgressImage of Lily Pattern in ProgressImage of Belle Pattern in Progress Image of Lisa's Belle Pattern in Progress Image of Lynnore's Belle Pattern in Progress

Image of Marla's Belle Pattern in Progress Image of Nancy's Phoebee Pattern in Progress Image of Paige's Phoebee Pattern in ProgressImage of Mary's Belle Pattern in ProgressImage of Merle's Belle Pattern in ProgressGreat job, friends!

Now let’s get looking to #usebothsides of your focus fabric to make some beautiful bouquets!

Rose uses the reverse of her focus fabric for the vase and the front for the bouquet and binding.

Image of Flower Bouquet Quilt

Rose quilt pattern is available at etsy.com/shop/CreativeBeeStudios

Check your stash-do you have any beautiful “wrong-sides” to use?

Sign up below to learn more about upcoming patterns and get quilting tips, musings and more right in your mailbox (about once a week).

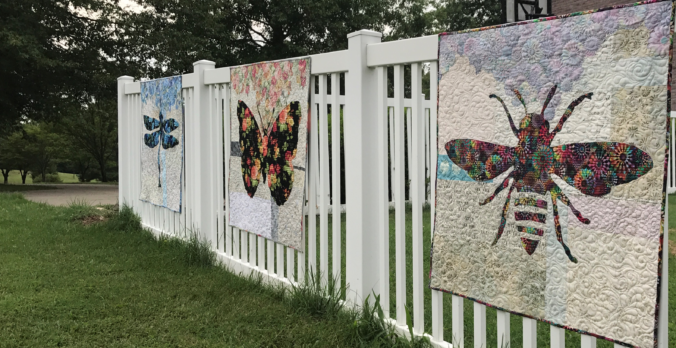
Colorful Wings – Three New Quilt Patterns

Introducing three quilt designs using BOTH sides of your focus fabric.

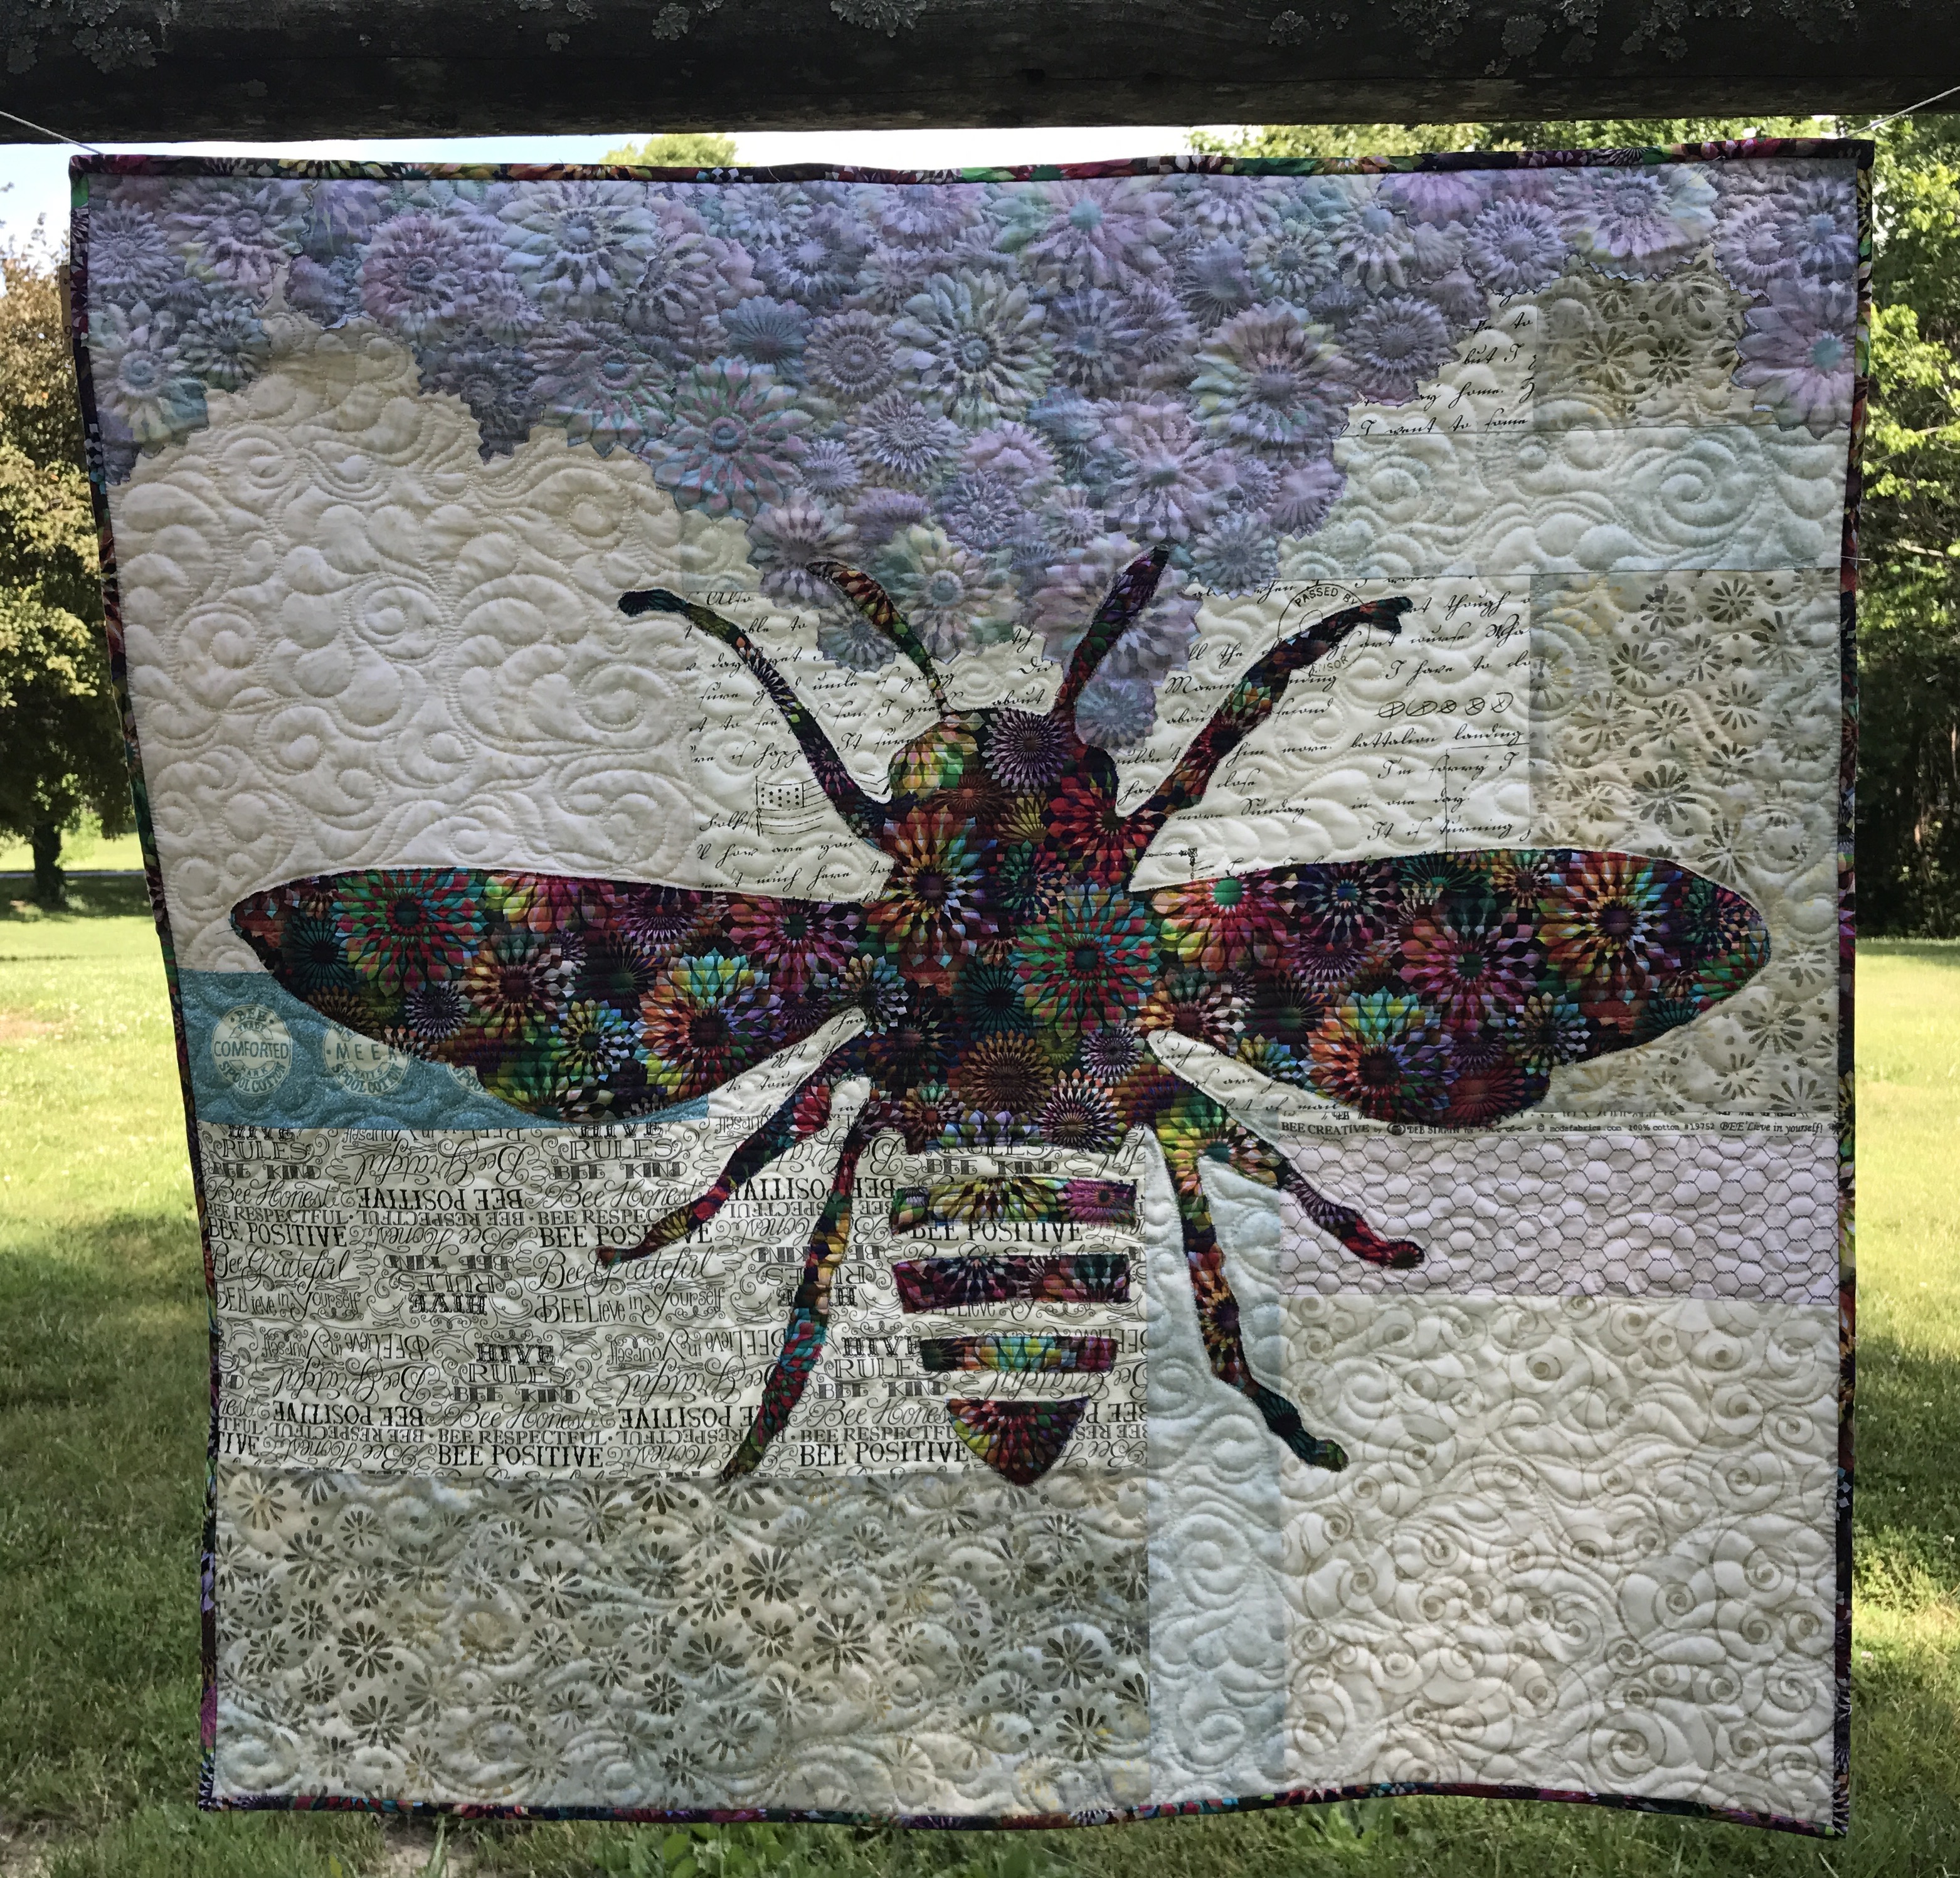
It all started with Phoebee (See Designing Quilts by Chance) and yardage of a Hoffmann Digital Spectrum print named Crystalia Rainbow.

Classes starting in September. Patterns available now.

After being inspired at quilt market (See Six Favorites from Quilt Market), I knew I wanted to mix lots of different fabric types to make a bee quilt. While I thought the shape of the bee would be “in the mix”, the background is actually where I used a variety of styles of fabrics:

chicken wire fabric from the 90’s, inherited from my mother-in-law, Pat, (love)

modern word fabric,

batiks,

and pieces of selvage…

with a few accent strips of color.

Patterns available in my Etsy shop: https://www.etsy.com/shop/CreativeBeeStudios

My Crystalia fabric became my bee. Her flowers I made from the “wrong” (such a harsh word) side of the same fabric.

I guess you could call the flower technique a “modern broderie perse” (thank you, Kelly). They are made with simple, fusible applique and are cut without fussing about the edges – in fact, I encourage letting background show through as it ties the two sides of the fabric together in the quilt.

In my classes and in my patterns, I point out that all reverse sides of fabric are not alike — audition your front AND back sides with your background fabrics.

The best way for me to describe a good reverse side is to say that it should “sing” just as much as the front, just with lesser value.

Image of Bee Quilt

Phoebee

One thing I liked most about Phoebee was that she seemed to be getting her life and beauty from the flowers. Thanks to the hubby for her name–which in Greek actually is spelled with two “e’s” at the end and means “bright, pure”.

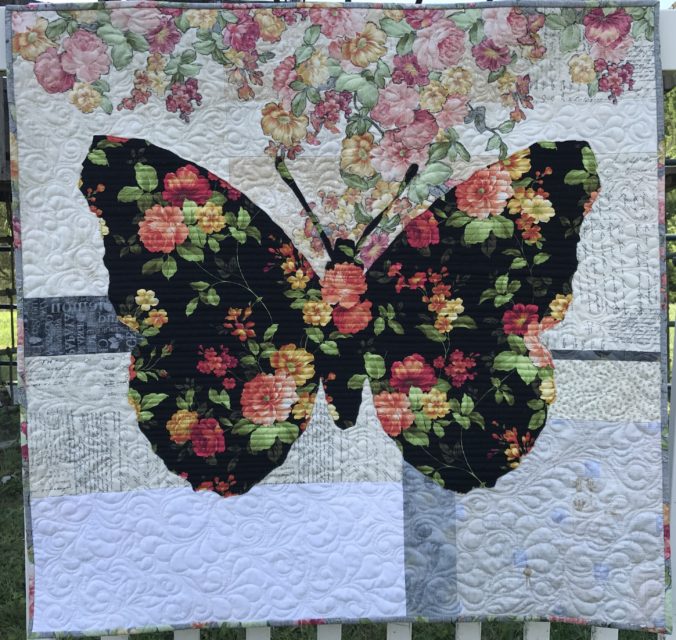
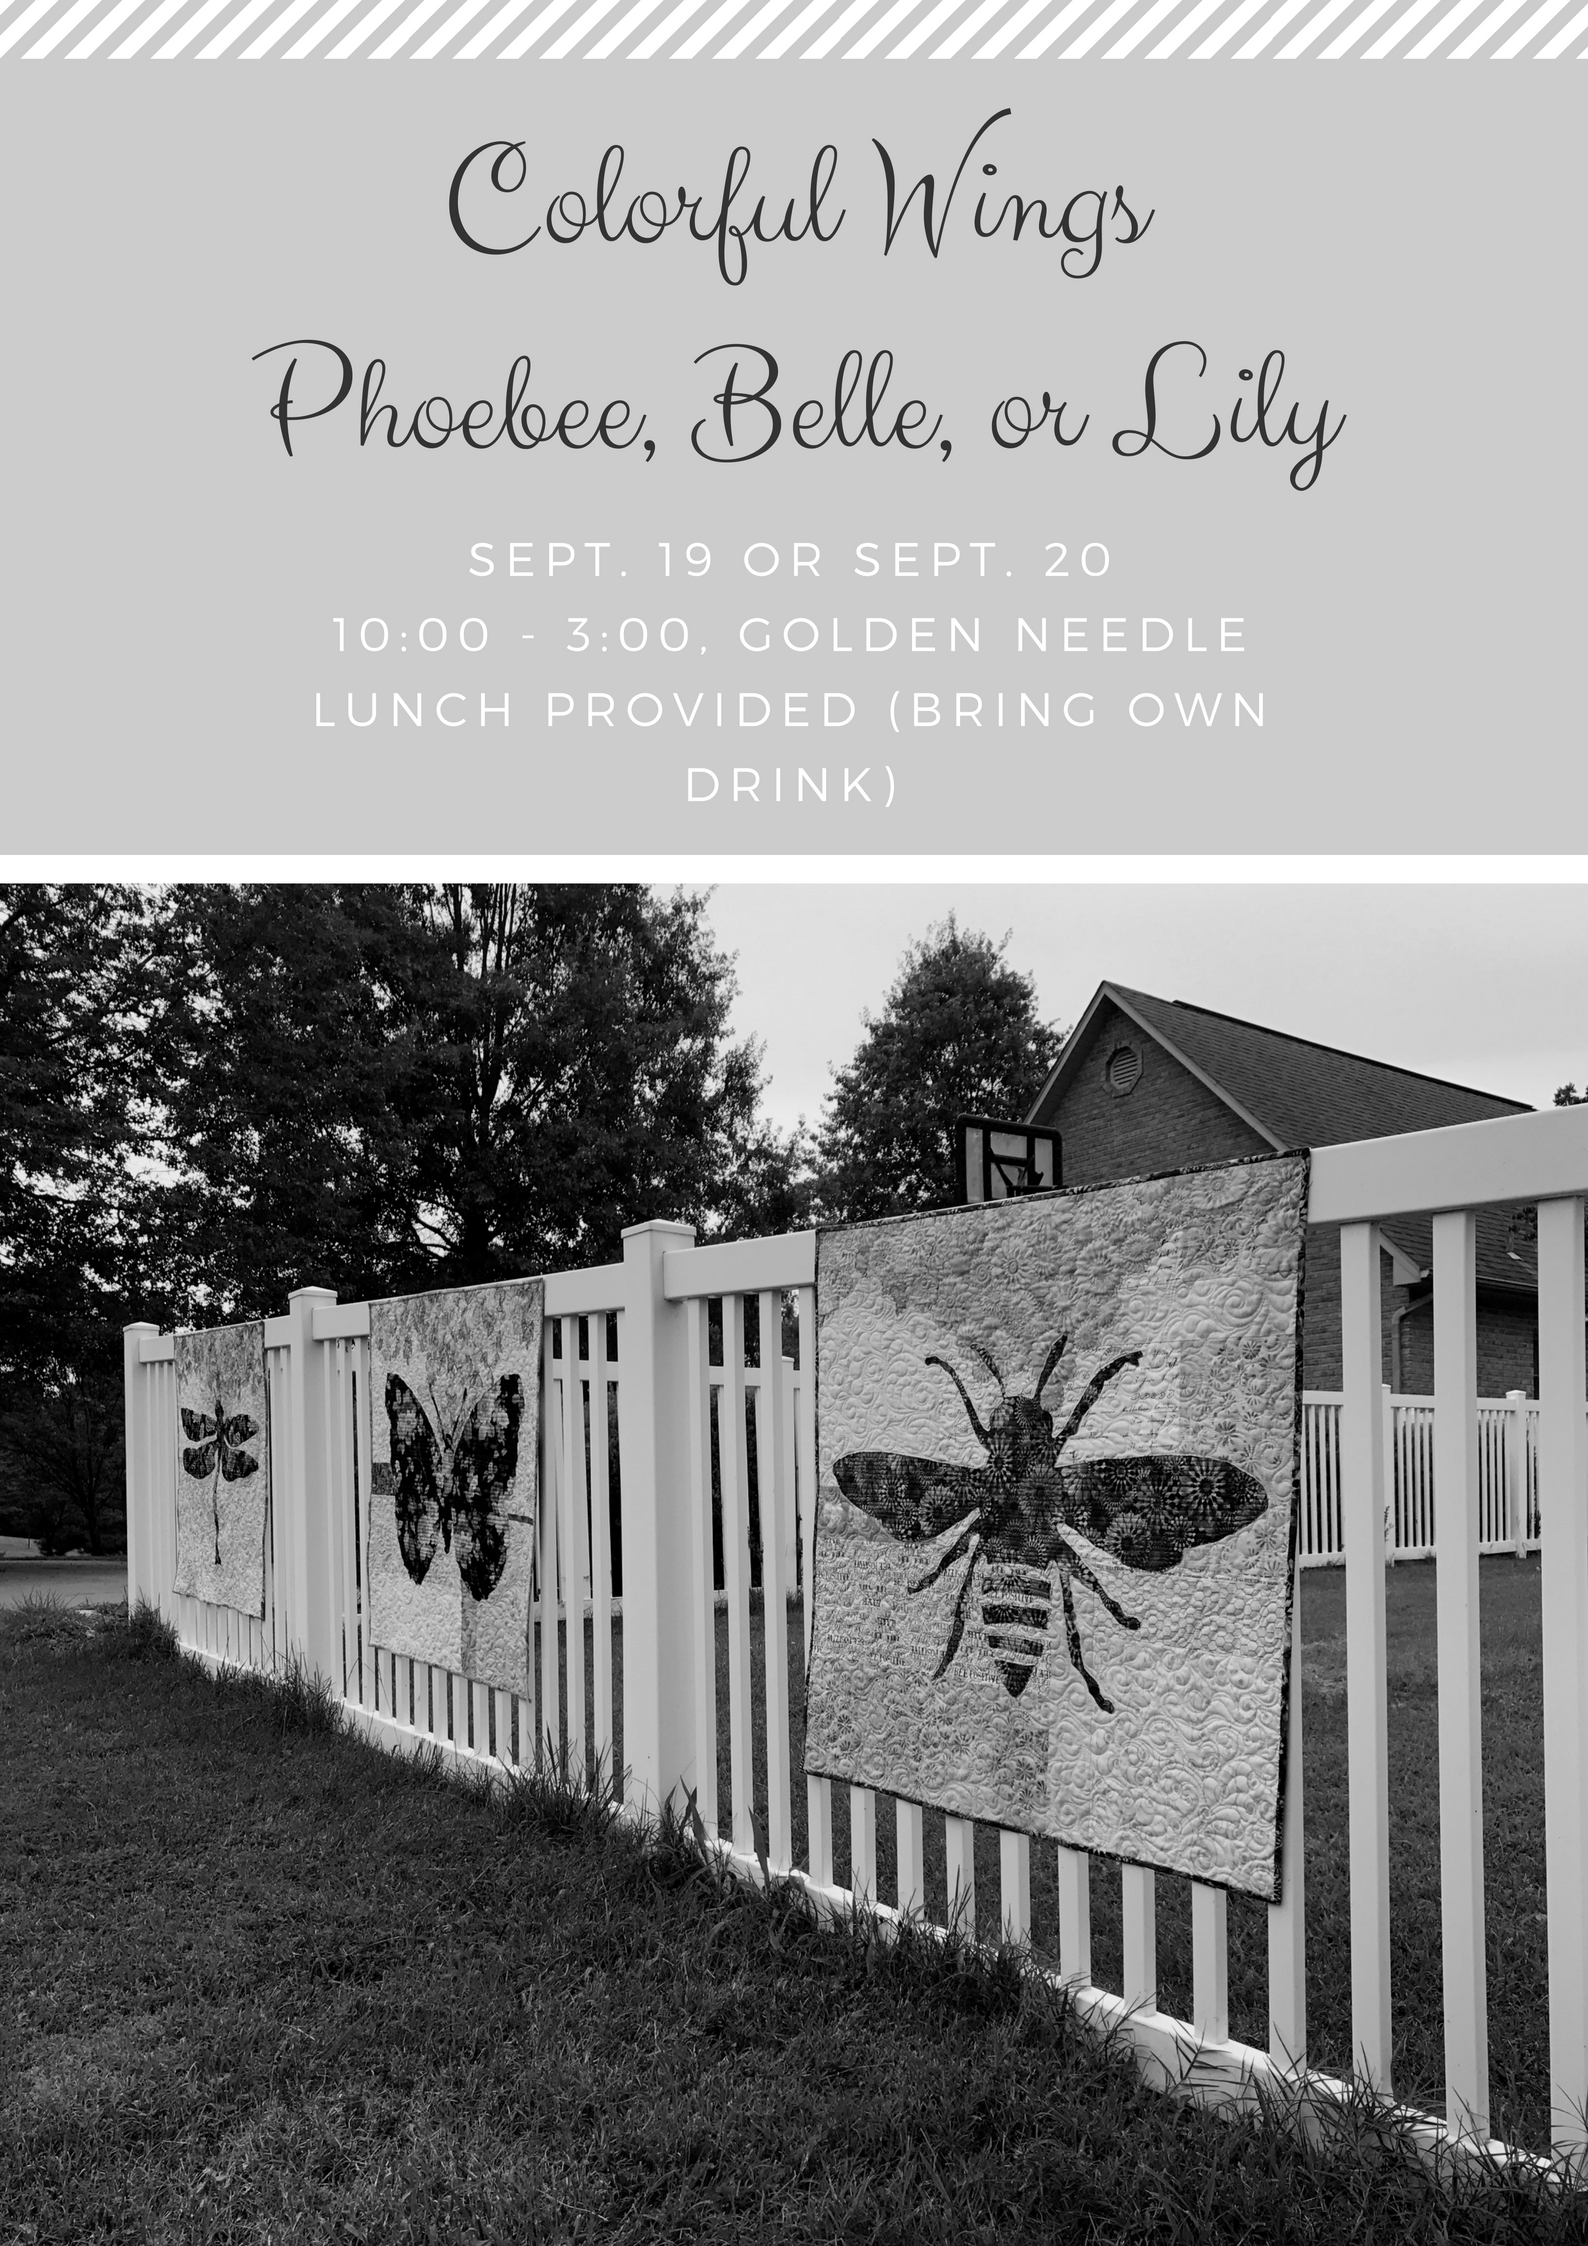
Image of Class FlyerNext came Belle. She’s a French butterfly. Belle means “beautiful” (I NEVER got that about Beauty and the Beast – blush).
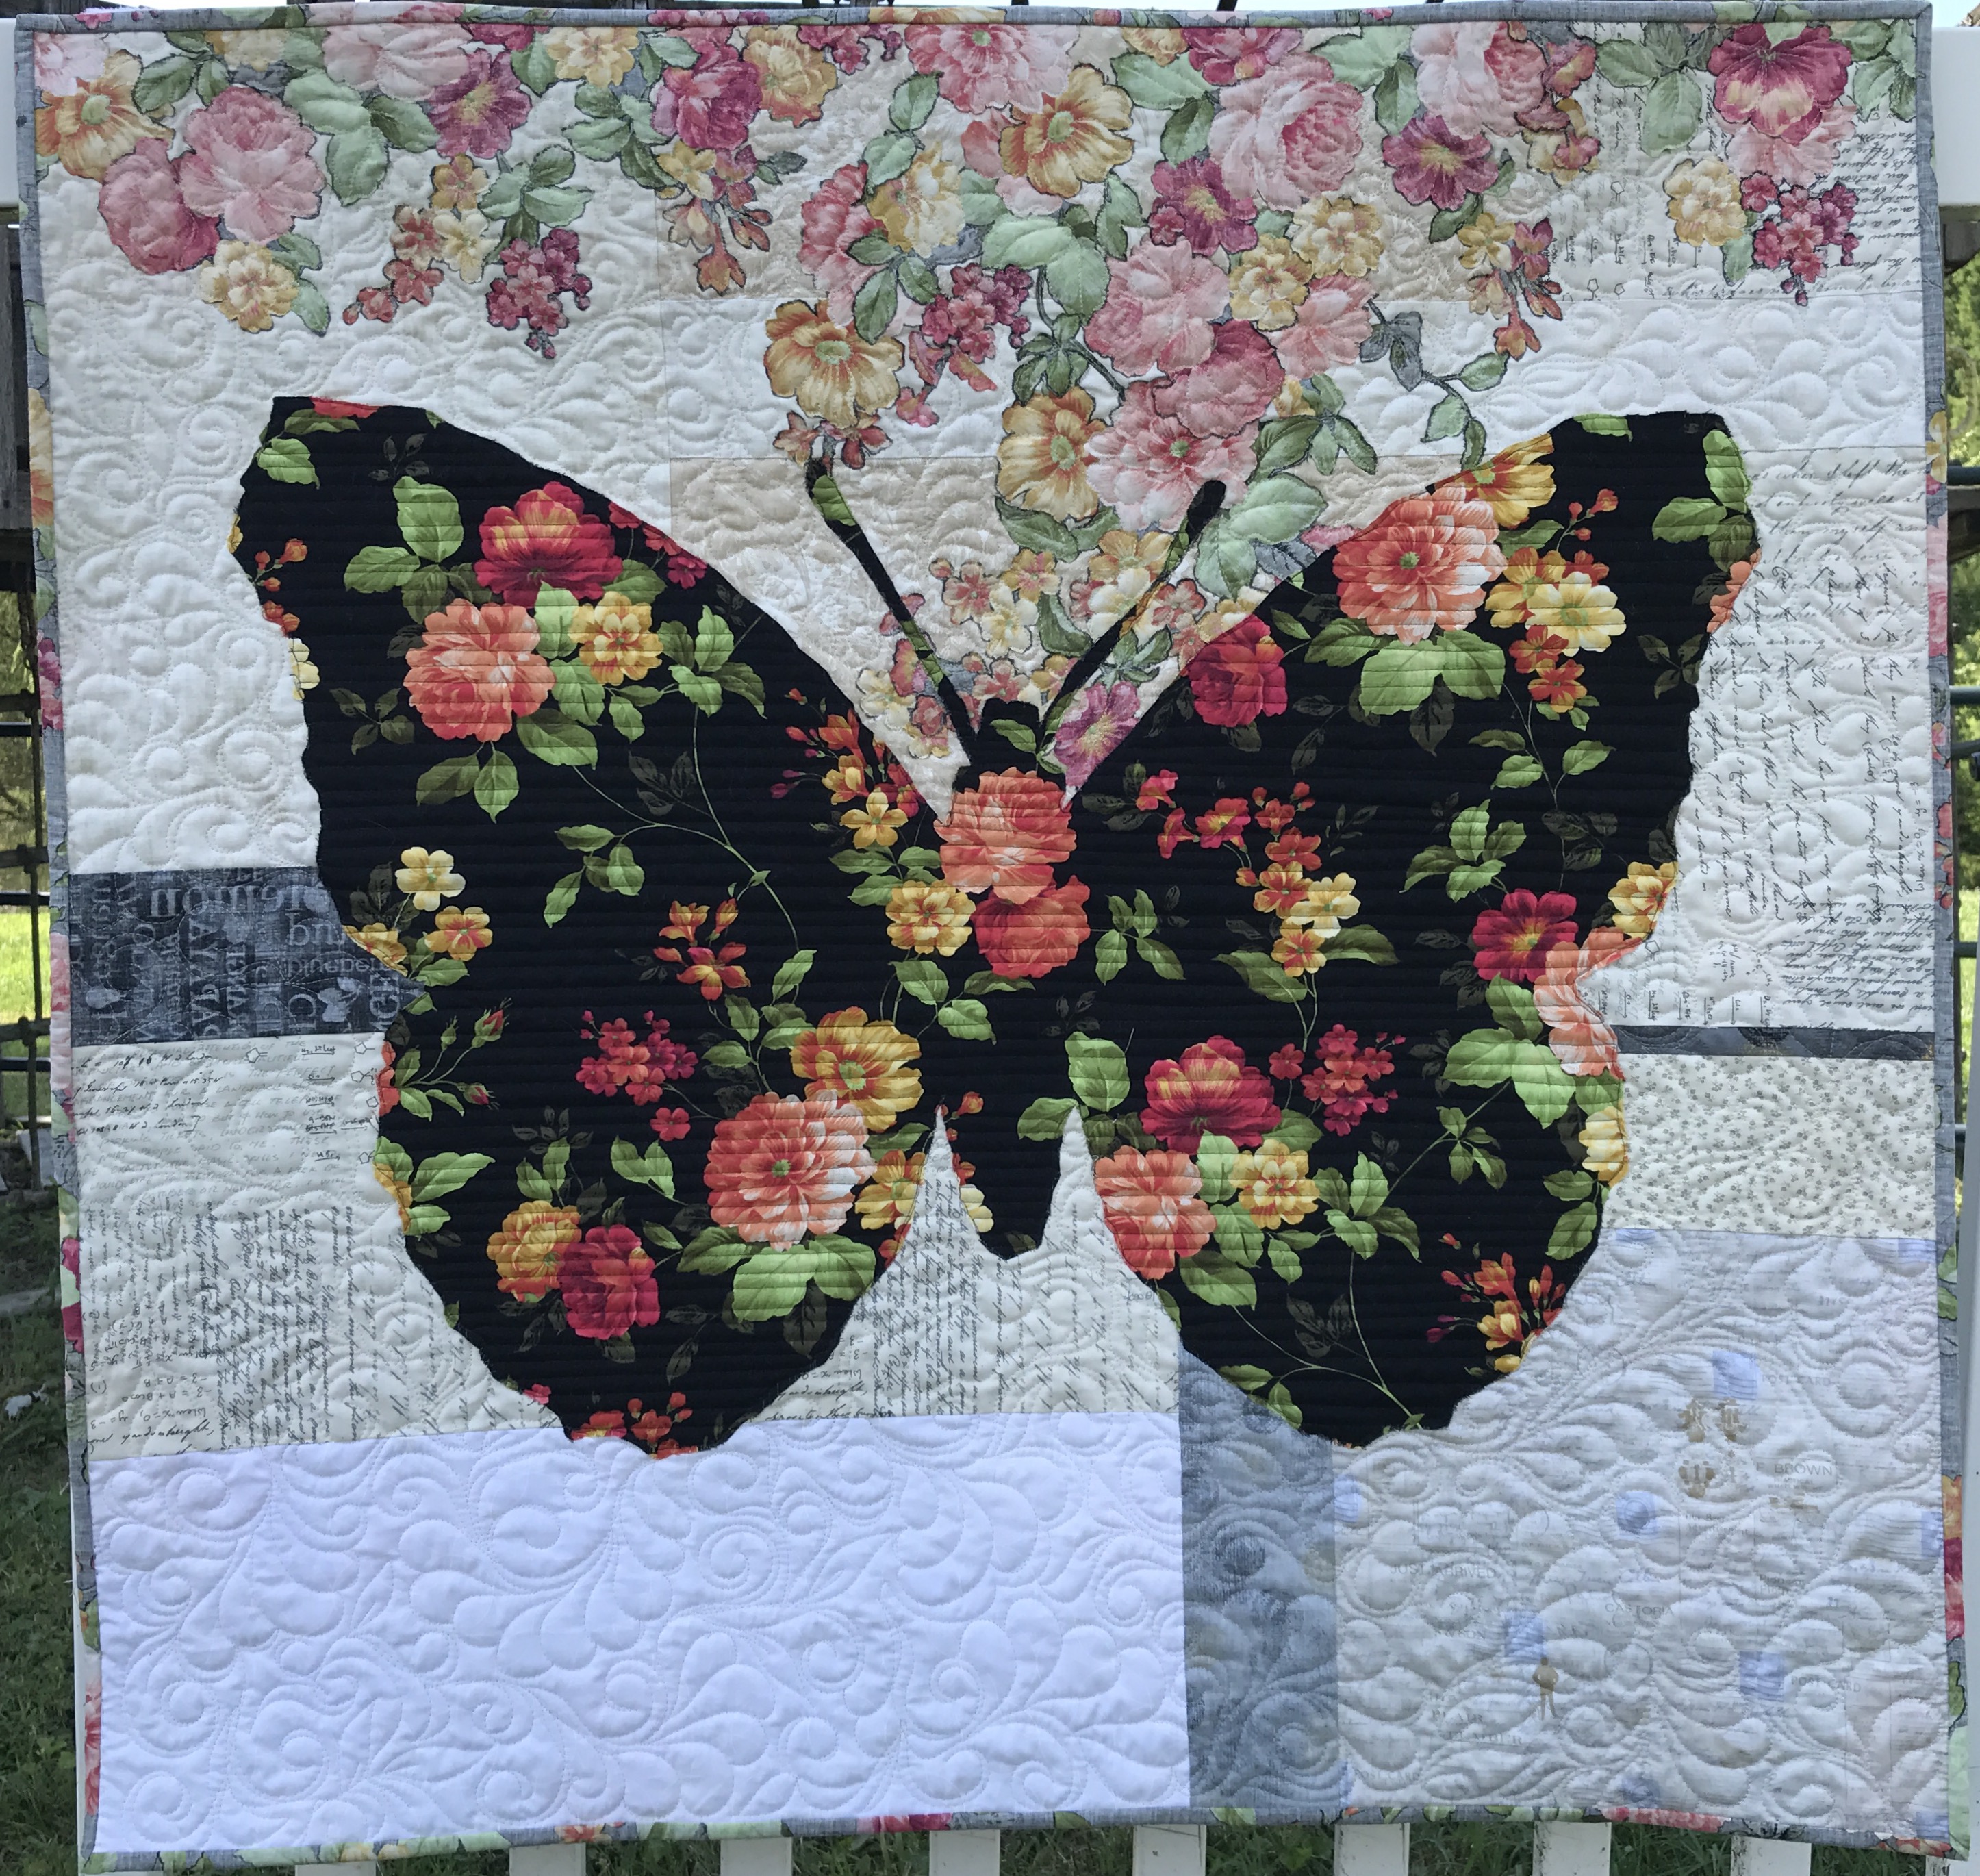
I found Belle’s fabric, Estate Gardens by Andover at my local quilt shop, The Golden Needle. I used similar neutrals in her background, but stayed with different shades of gray (some reversed) for the accent strips. Her binding is made with the reverse side out.

Note: I like to mix all shades of neutrals – white whites, beiges, off-whites- and all types of fabrics like tiny prints with batiks and novelties.

Image of butterfly quilt

Last but not least, meet Lily.

Lily is a sweet dragonfly made from Tree of Life fabric by Chong A Hwang for Timeless Treasures, also found at my local quilt shop.  Her background accent strips are in aqua because a) that’s my favorite color and b) I wanted to connect her to the water locales dragonflies love.Image of dragonfly quilt

Visit my Etsy page or The Golden Needle for patterns. If you are interested in weekend or evening classes, let me know in the comments below.

Next up is a review of value, very helpful for auditioning fabrics for Colorful Wings quilts! Don’t miss a post – sign up below for email notification! Thanks so much for following.  Karla


Prairie Point Hanging Method

Discover a quick quilt hanging method to display your quilts!

Let’s face it…quilts take time. We really should cherish each step of the process. But, if you’re like me, it’s those last few steps that sometimes really test your patience:

Firstly, the binding…

Then the label…

Last, the SLEEVE…ugh!

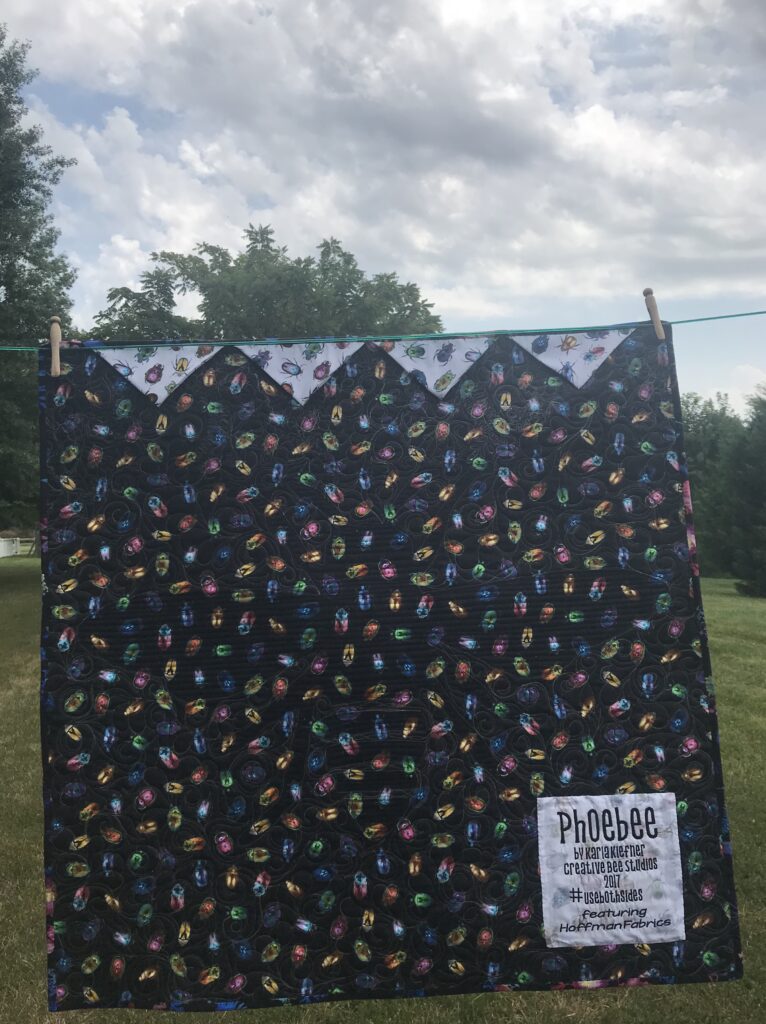
Now, here is a fast, easy way to attach a hanging sleeve, with just a few quick points – Prairie Points!

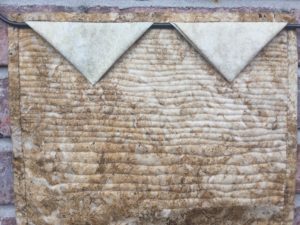
Start with a few squares of fabric, fold them diagonally twice and lay them on your quilt. Next, baste with your machine, using a seam width that is smaller than your binding seam. Lastly, stitch the points by hand with just a few stitches! That’s it! It’s that easy.

Now let’s break it down:

For instance, if you have a small wall hanging, 5 inch squares will do.  But if you have a large quilted wall hanging, 12 – 16 inch squares will work.  The number you need depends on how large you make them and the size of your quilt. You’ll see, as soon as you fold one and hold it up to your quilt, how many you’ll need. This method is so much faster and easier that the traditional “sleeve”, you’ll be looking forward to using this method on your quilts!

So, for this tiny wall hanging (11  inches wide), I am using two five-inch squares.

Easy Method for Hanging Quilts

For small pieces, I like to use an even number of triangles so that the center is open for hanging it on one hook or nail. Of course, larger pieces need to be hung by two points, so the number of triangles attached to the quilt depend only on how many you want to add. For example, my 90 -inch wide quilt has 7 triangles which started with 12 1/2 inch squares.

Also great about this method, if you have a particularly heavy quilt to hang, you can add additional rod support in the center of your quilt in between two triangles.

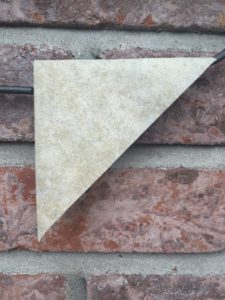
To begin, fold a square diagonally once, press. Fold that triangle

Folded twice from square.

diagonally again, press. Do this for all of the squares. Secondly, lay them at the top of your quilt, cut edge, lining up with the top edge of your quilt sandwich. Pin in place. Next, machine baste within the seam of your binding (whether the binding is on yet or not). Lastly, use a needle and thread (I like to use doubled thread for this) to stitch down each point, securing with several stitches.

Finally, attach and turn binding as usual and your quilt is ready to hang!

Image of Quilt Hanging Method

All Creative Bee Studios patterns provide Prairie Point Hanging Method instructions. Shop Patterns HERE.

Learn more about Creative Bee Studios #usebothsides patterns here.

Learn about NEW textiles, merchandise and MORE at Uncork the BUBBLES!

JOIN The BUZZ and follow Creative Bee Studios on Facebook, Instagram, and Pinterest!

Newer posts »