Tag: Fusible Applique (Page 3 of 4)

Tying Up Loose Threads

Estimated reading time: 5 minutes

Fun with the Loose Threads quilt program began with an integrated trunk show and screen presentation.

The Loose Threads Quilt Guild of St. Peters, Missouri, is a fun group of quilters. I was honored to present my quilt program to this large turnout of enthusiastic members.
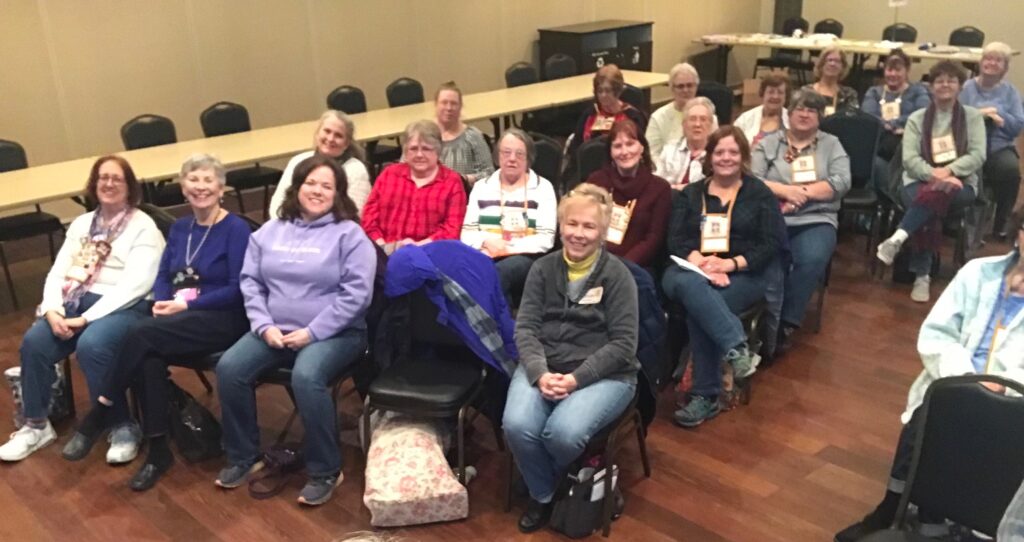
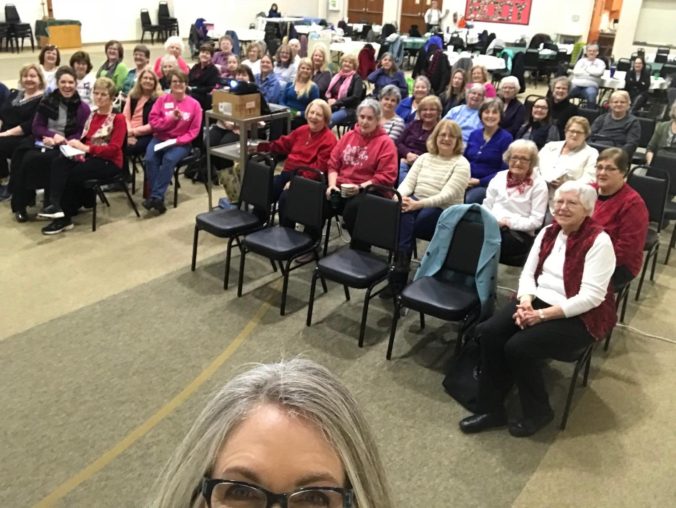
Image of Quilters at Loose Threads quilt  program

We begin the Loose Threads quilt program with our “selfie” photos!
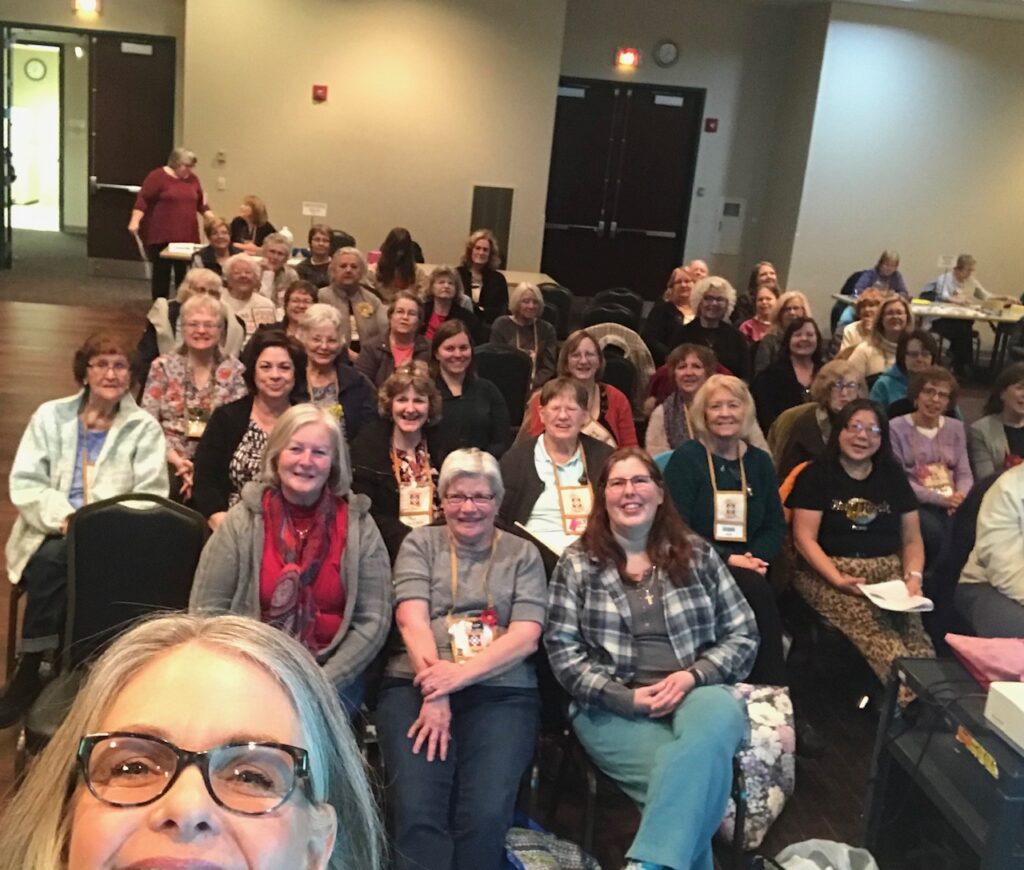
Loose Threads Quilt Program Group Photo

The group was so large, we needed three!
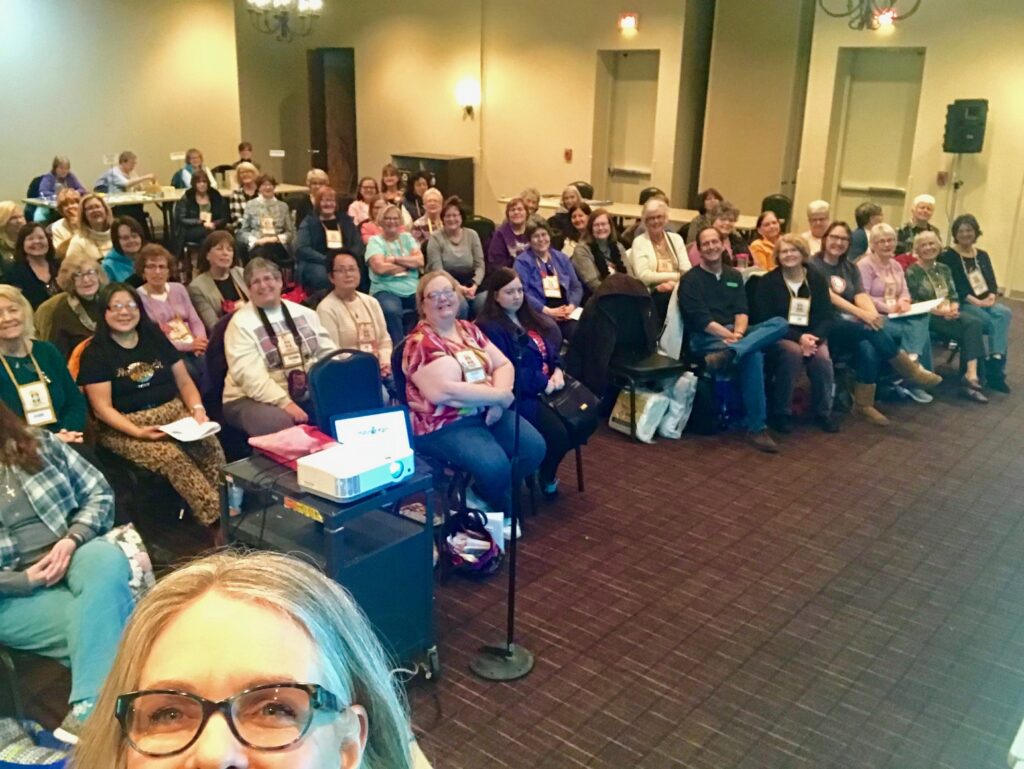
Image at Loose Threads quilt program
As my kids would tell you, selfies are not my forte.

With help from the membership, my Loose Threads quilt program began. The “quilt angels” hold up the quilts while viewing the screen.

First, I start the quilt program by inviting the Loose Threads guild members to ponder their own quilting journeys.

Next, we explore all the ways we are influenced in our journeys.

Finally, I share how my very curvy quilting journey has been like a train ride of surprise destinations.

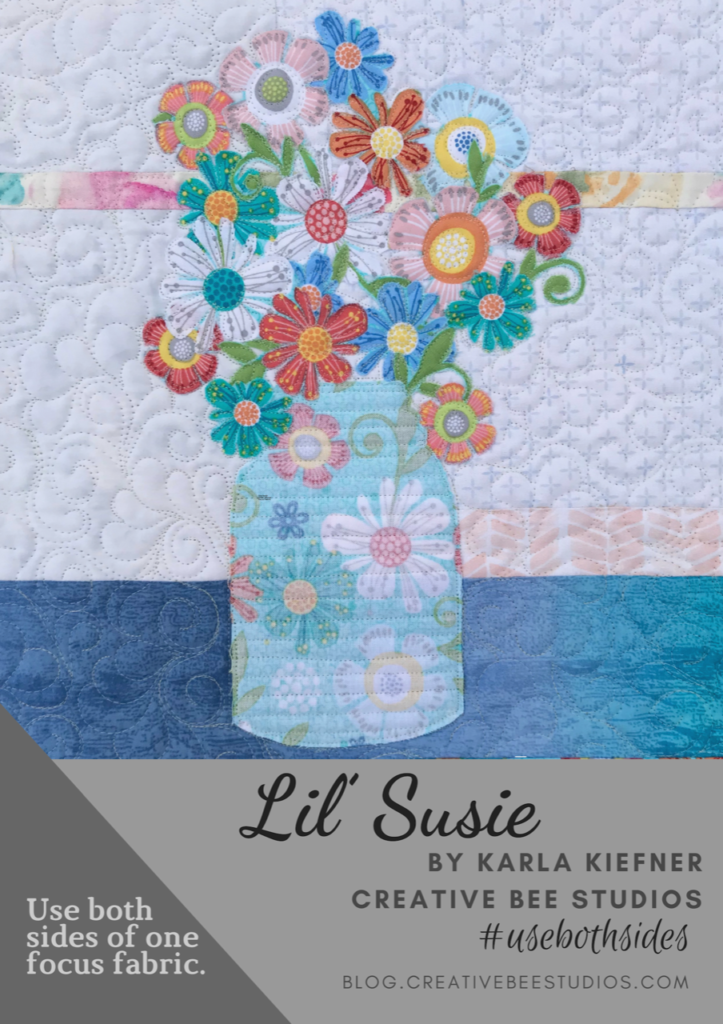
At the conclusion of the program, the Lil’ Susie quilt pattern was debuted.

Image of Lil' Susie Pattern

The next day, the Grace class began.

Take a peek at just a few of their “Grace” class projects in progress:
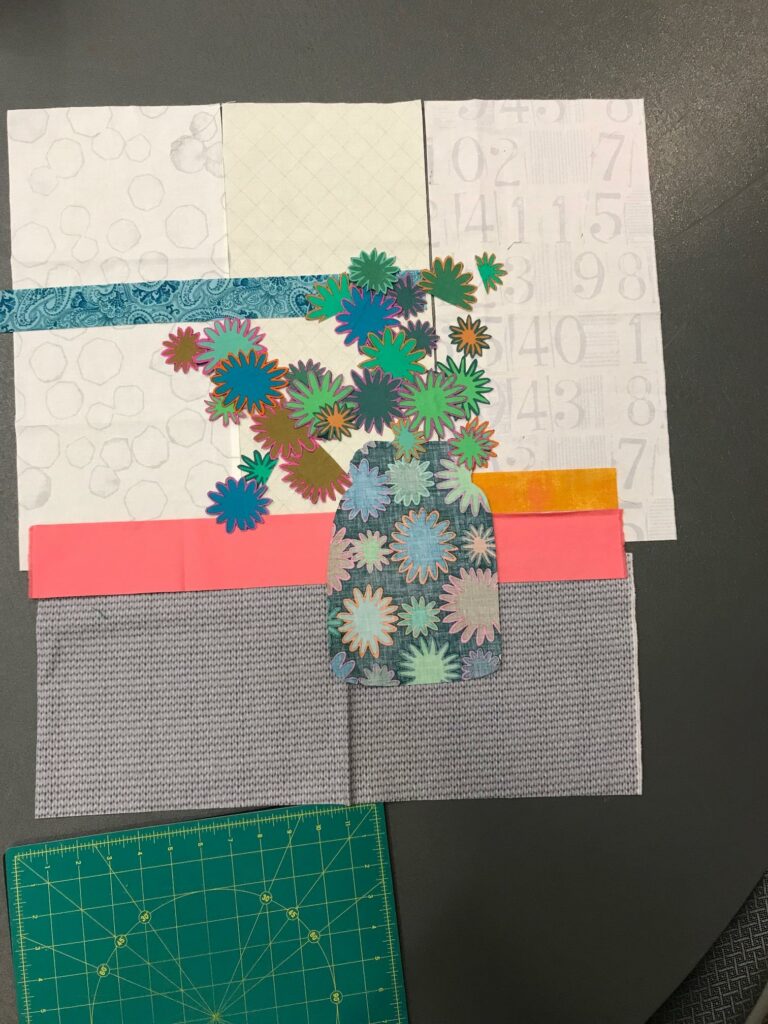
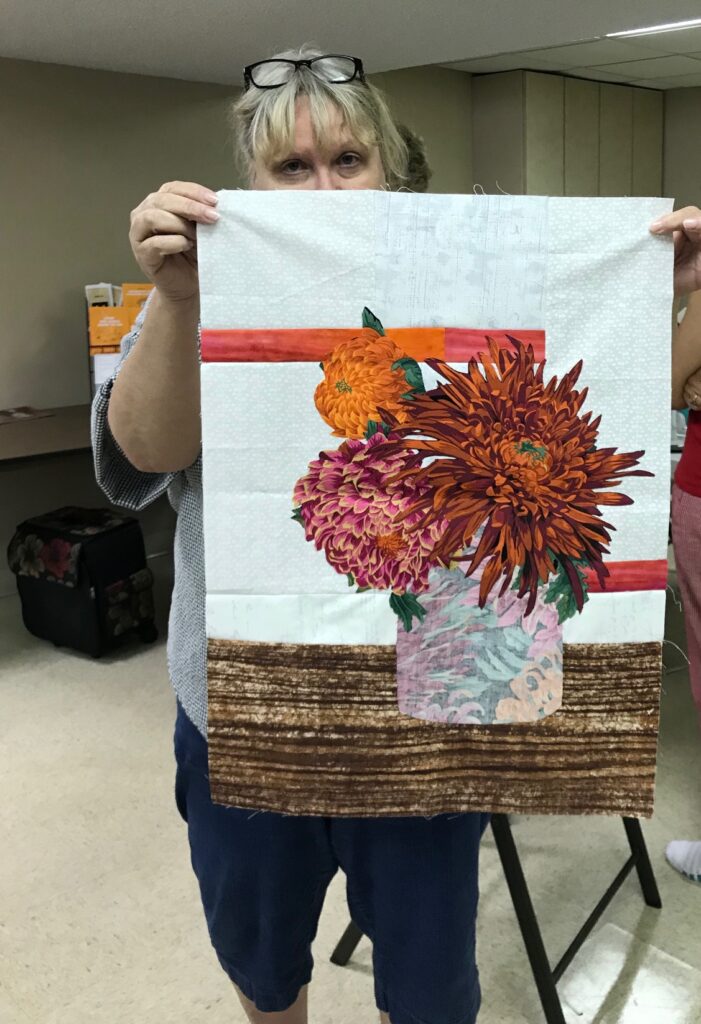
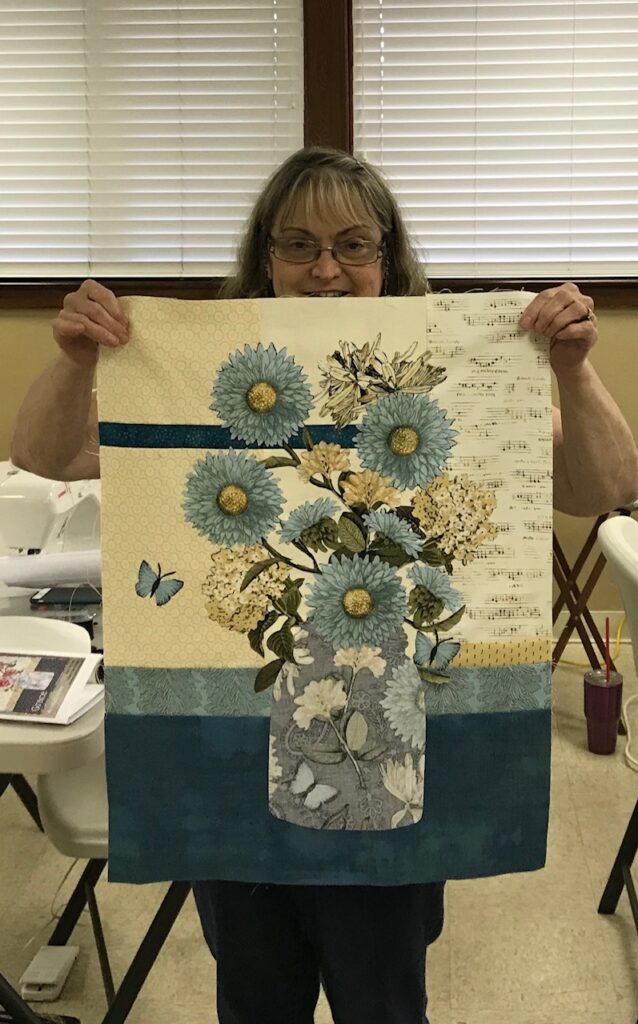
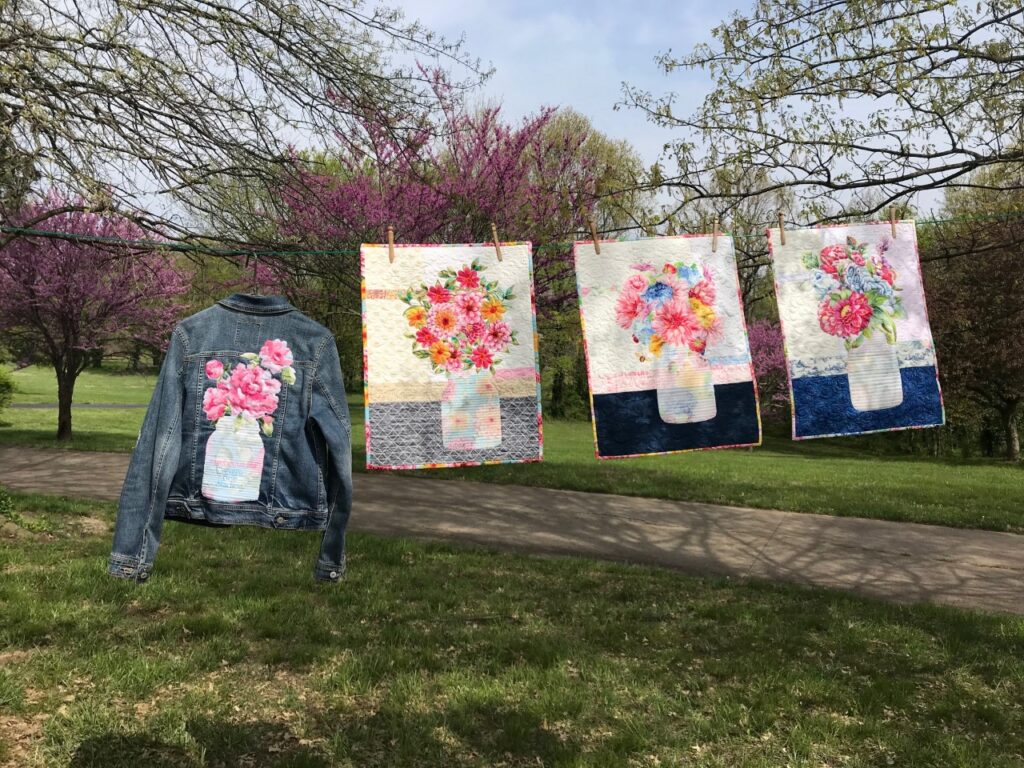
Notice how the focus fabric makes all the difference? Each one has it’s own personality.
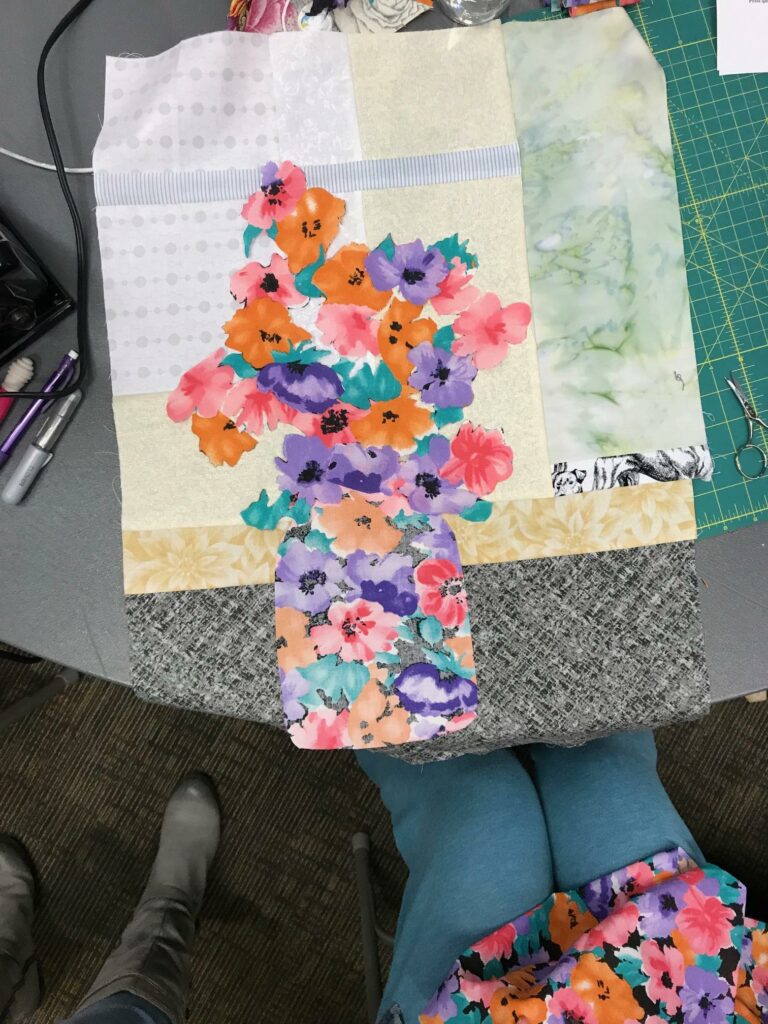
Image of Class Project

In classes, in addition to making a cute little quilt top, the quilters’ play with their fabrics, learning the nuances of value and how it relates to both sides of the focus fabric and what’s surrounding it.
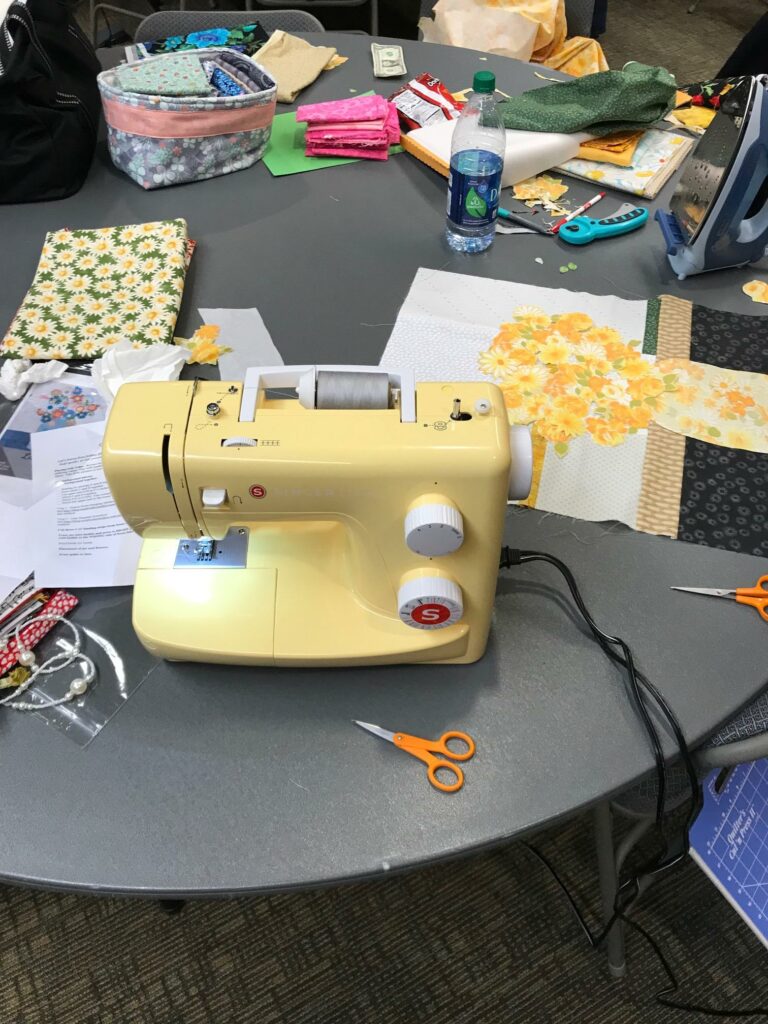
(I had to get her matching machine and bouquet!)

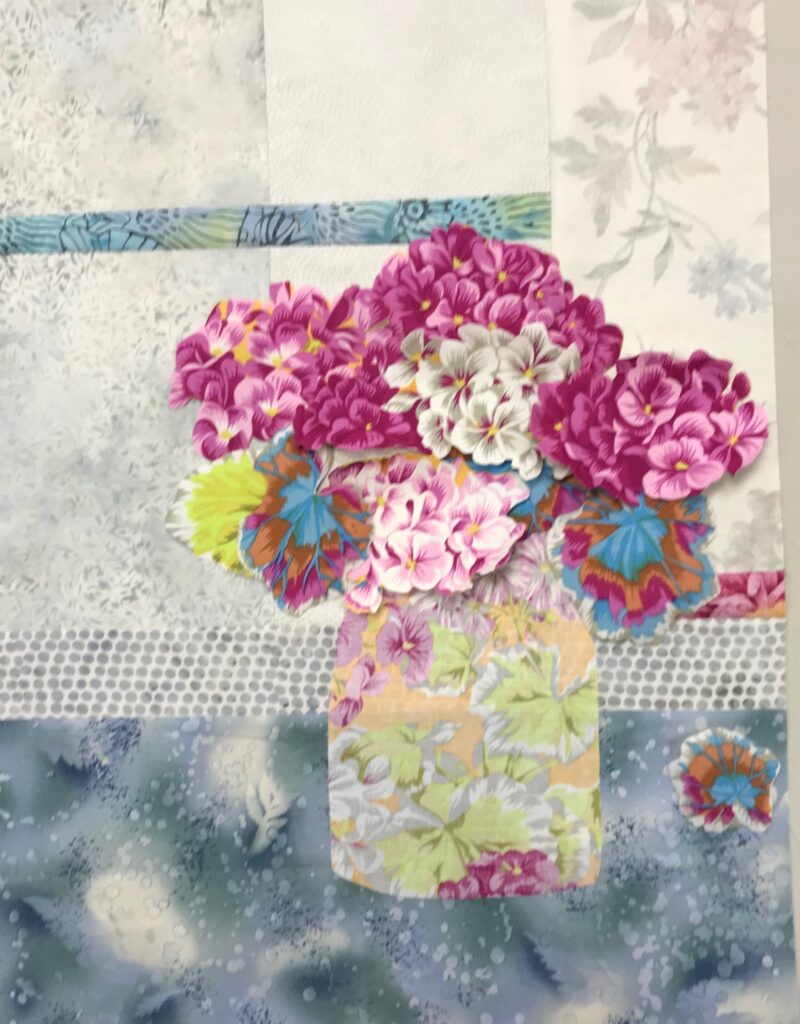
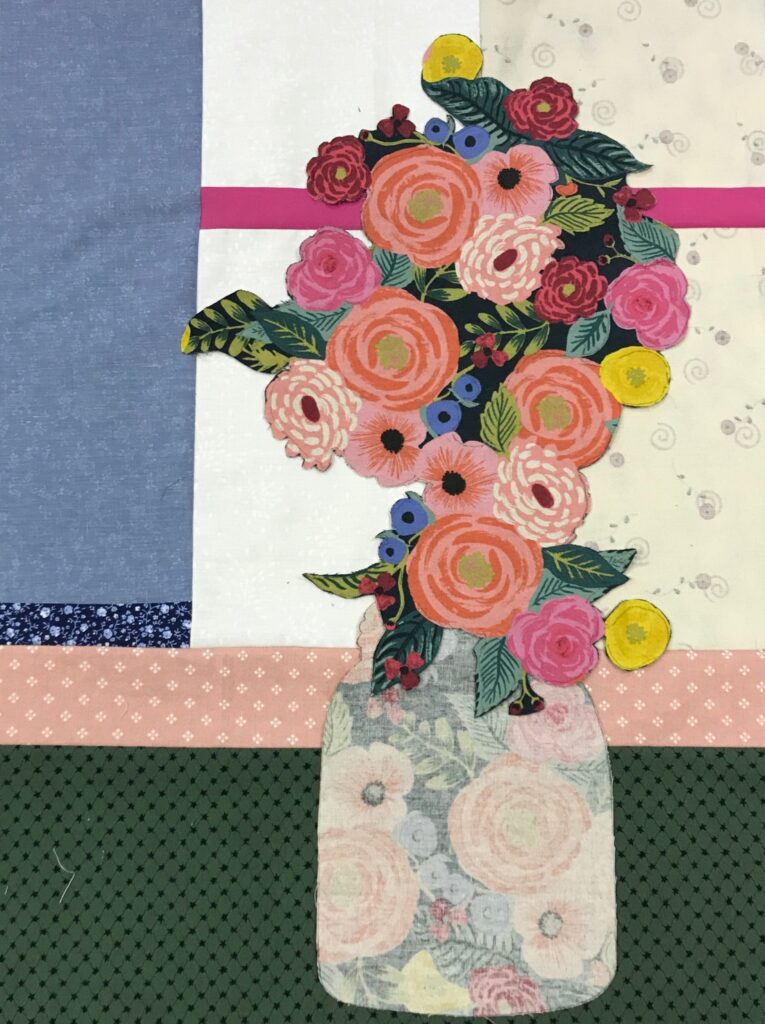
Once their fabrics are chosen, it’s all about building their bouquets!

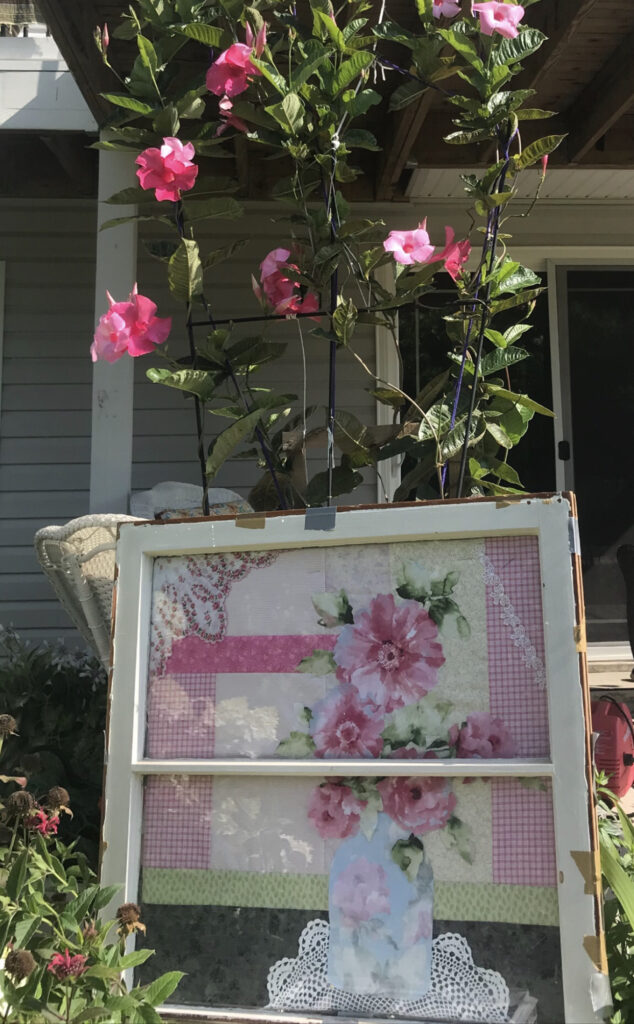
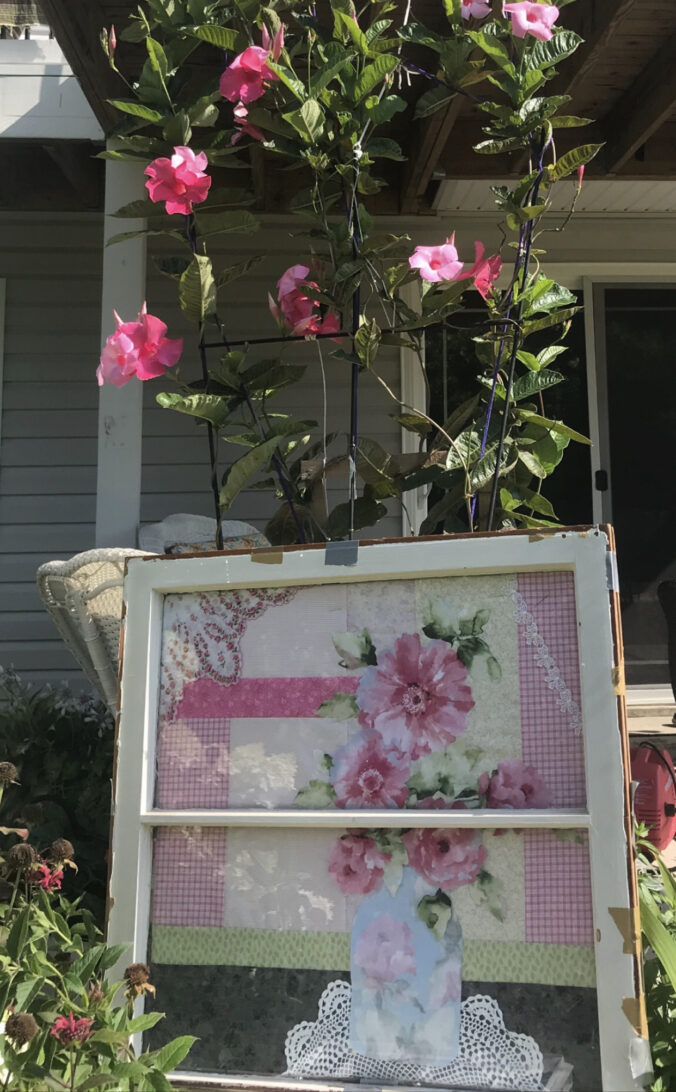
Now, take a look at this creative gal – who just happens to be the gal who inspired me many, many years ago to join my local quilt guild. Vickie brought an old window pane to build her “Grace” bouquet!
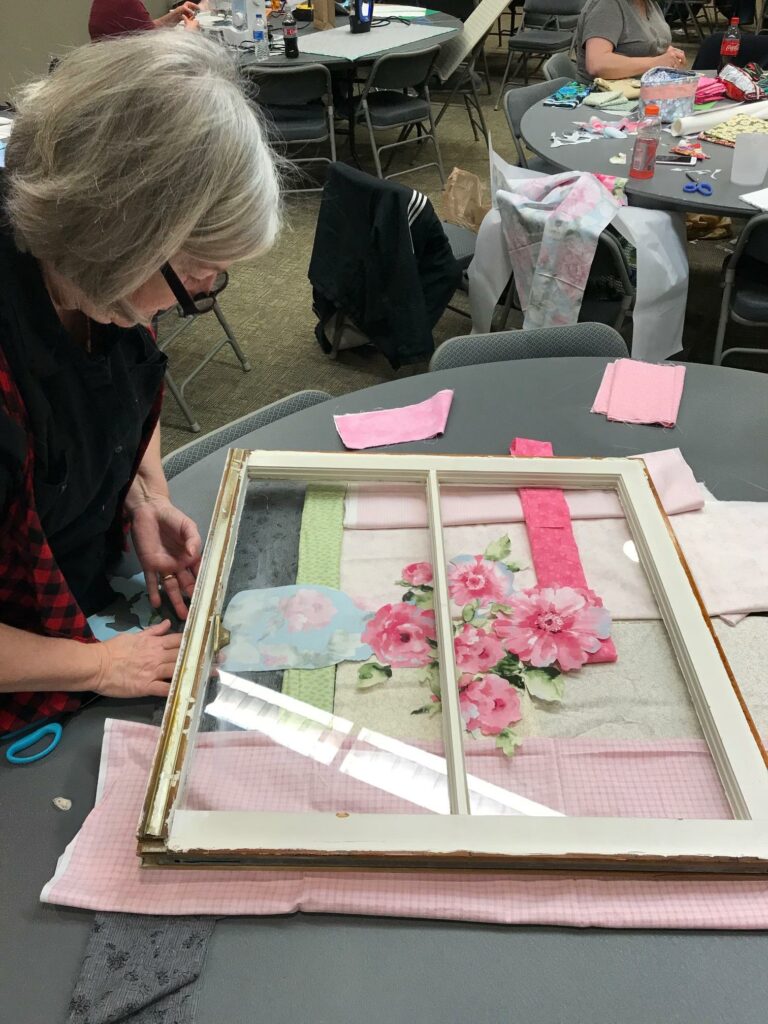
Image of Quilter Working

Isn’t she fabulous?

Image of Quilt in Window
Notice how Vickie added a crocheted doily, a vintage hankie, and lace to her bouquet? She adapted her background fabrics to fit her window and then built her bouquet! Sew fun!

A happy shout-out to the Loose Threads Quilt Guild! Hope to see you lovely quilters again soon!

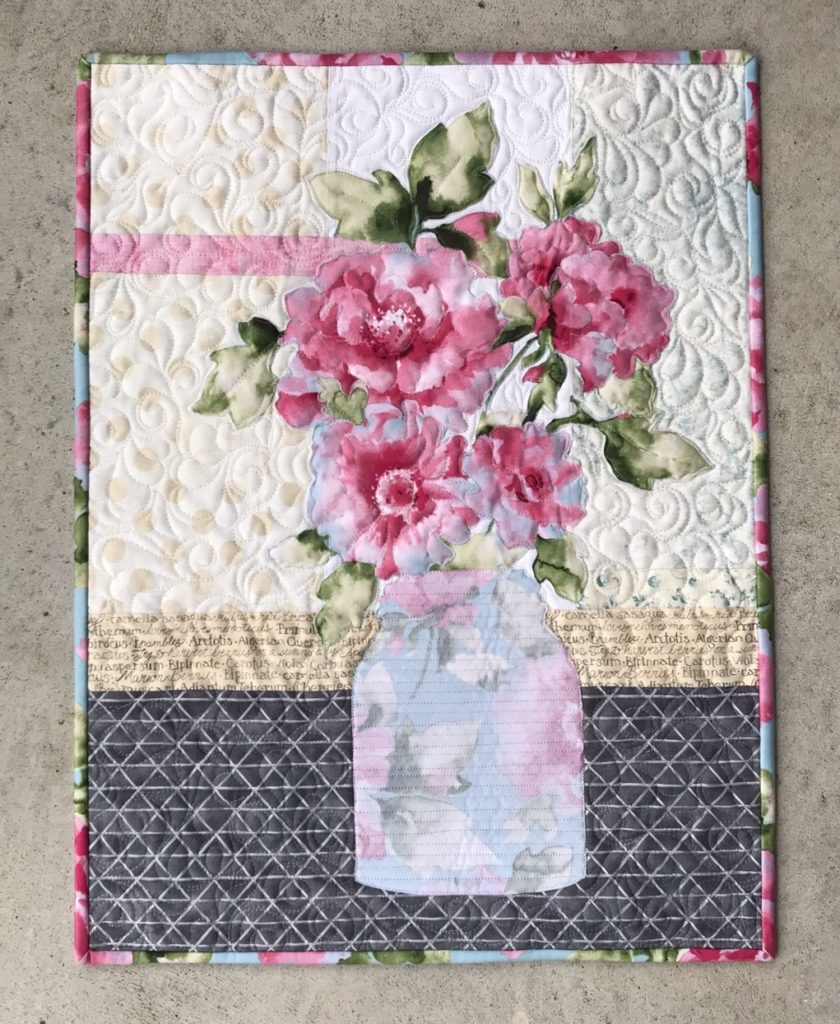
Image of Grace Quilt Pattern
Grace Quilt Pattern

Meet the Calico Needlers and visit Margie’s Sew Much Fun!

Meet the Twilight Stitchers Quilt Guild!

The Twilight Stitchers Quilt Guild of Blue Springs, Missouri hosted me as their program speaker and teacher.

Twilight Stitchers -their name is intriguing and their guild is a lot of fun! One of my many new friends, Vickie, made the trip extra special for me with her care for details and accommodations. Thanks, Vickie!

I love to see how other guilds operate.

Initially, the venue of the meeting can be a big variant from guild to guild. Also, the personality of the guild can be portrayed by how they run their meetings and what committees are reporting (involvement in the community, etc). Lastly, how the guild members interact with one another contributes to the enthusiasm and fun of a guild meeting.

It’s fun to note new ideas like “Quilt Angels” (an appreciative title for the members who sacrifice seeing the fronts of a speaker’s quilts because they’ve volunteered to hold the quilts for the guild to see).

A special thank you to my Quilt Angels for the night!

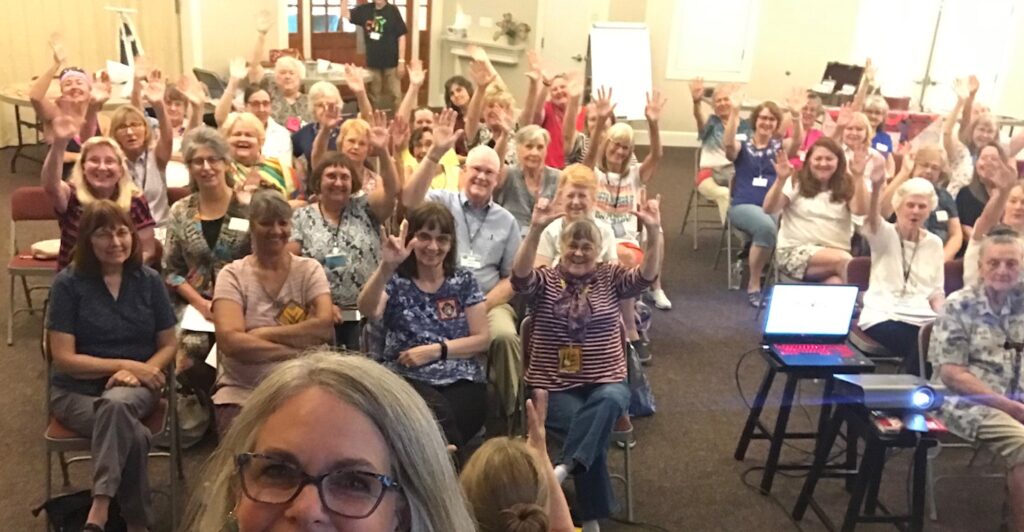
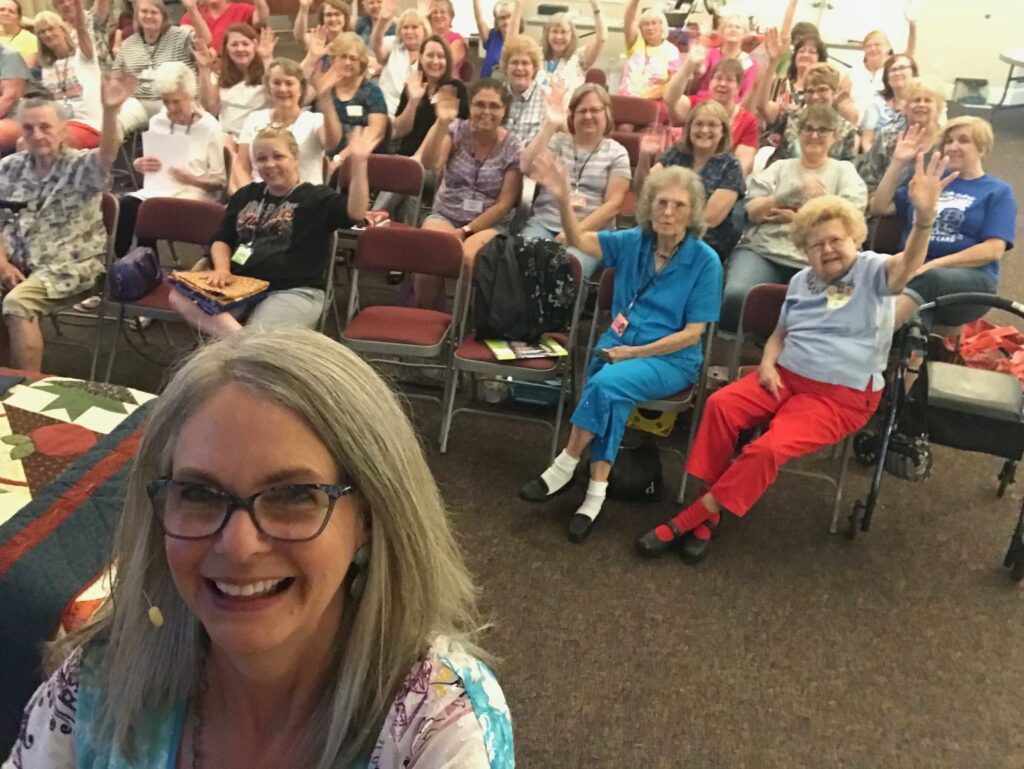
To begin, here are some pics from our opening selfies – they appear to be a rowdy group!

Image of Twilight Stitchers Quilt Guild Selfie
Image of Twilight Stitchers Quilt Guild

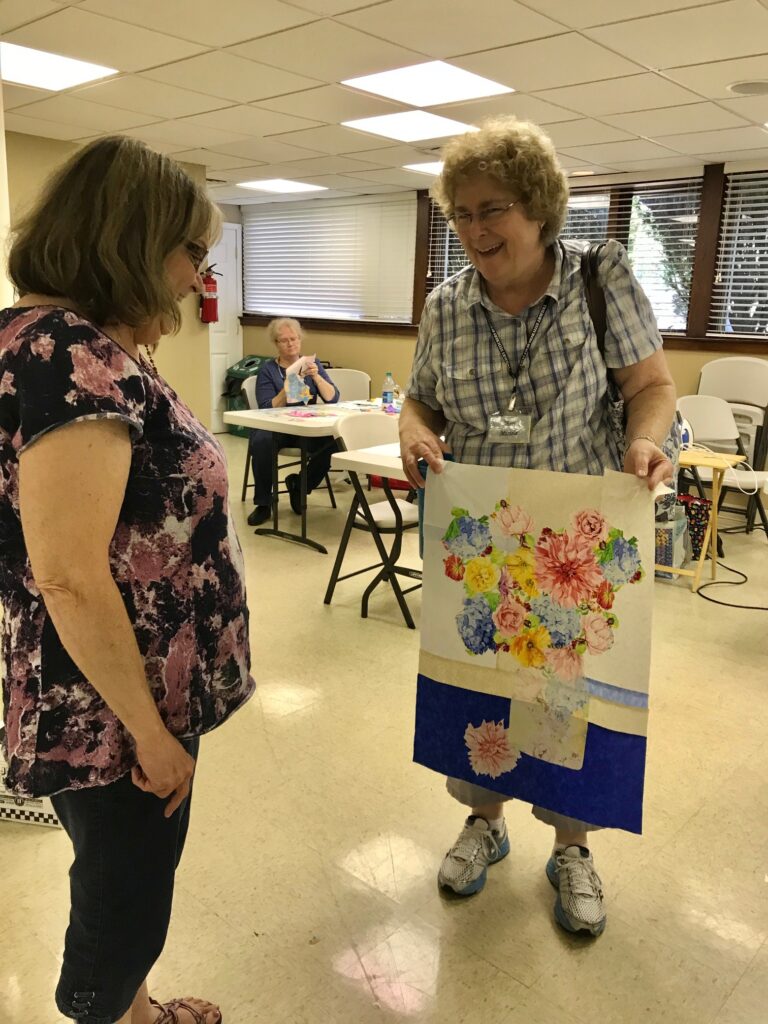
The “Grace” quilt class the following day was exciting. I give LOTS of pre-class guidance for choosing fabrics to bring and I was so delighted to see that they were all well prepared AND sew creative!

Classroom Set-up for the Grace Quilt Class

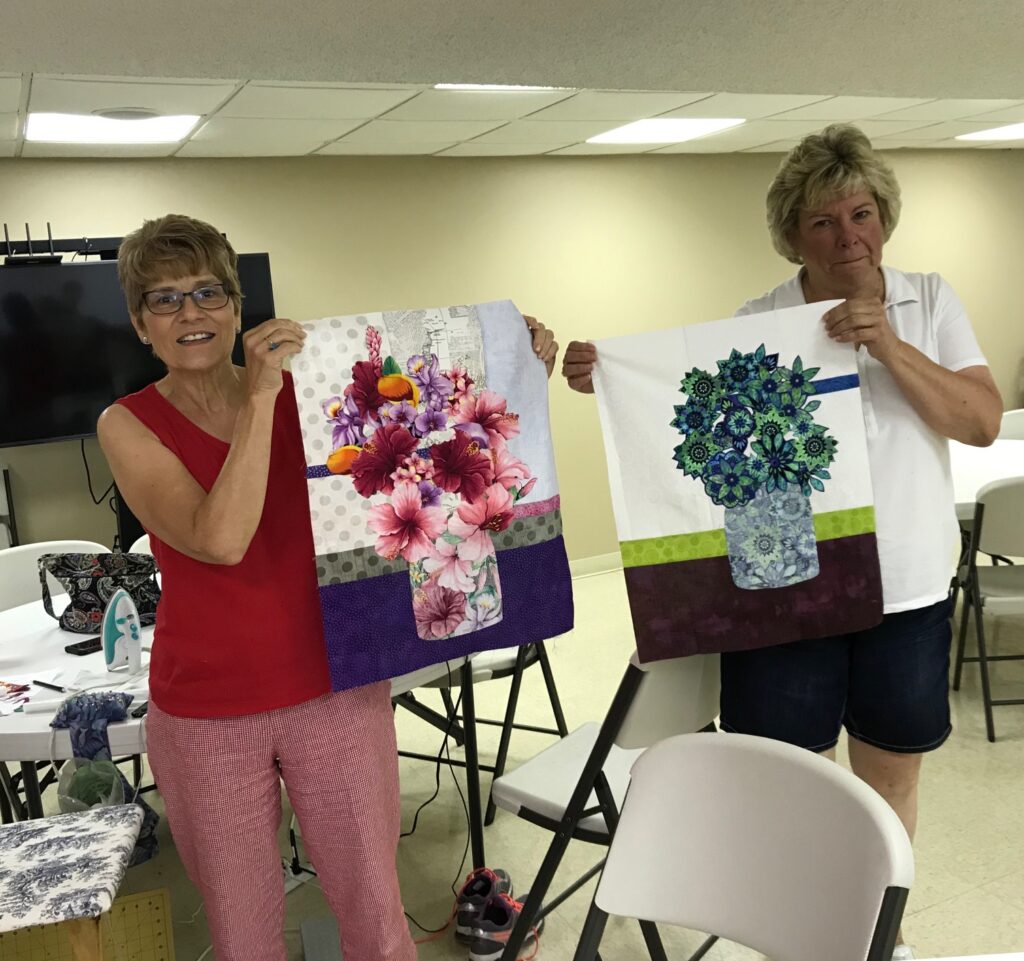
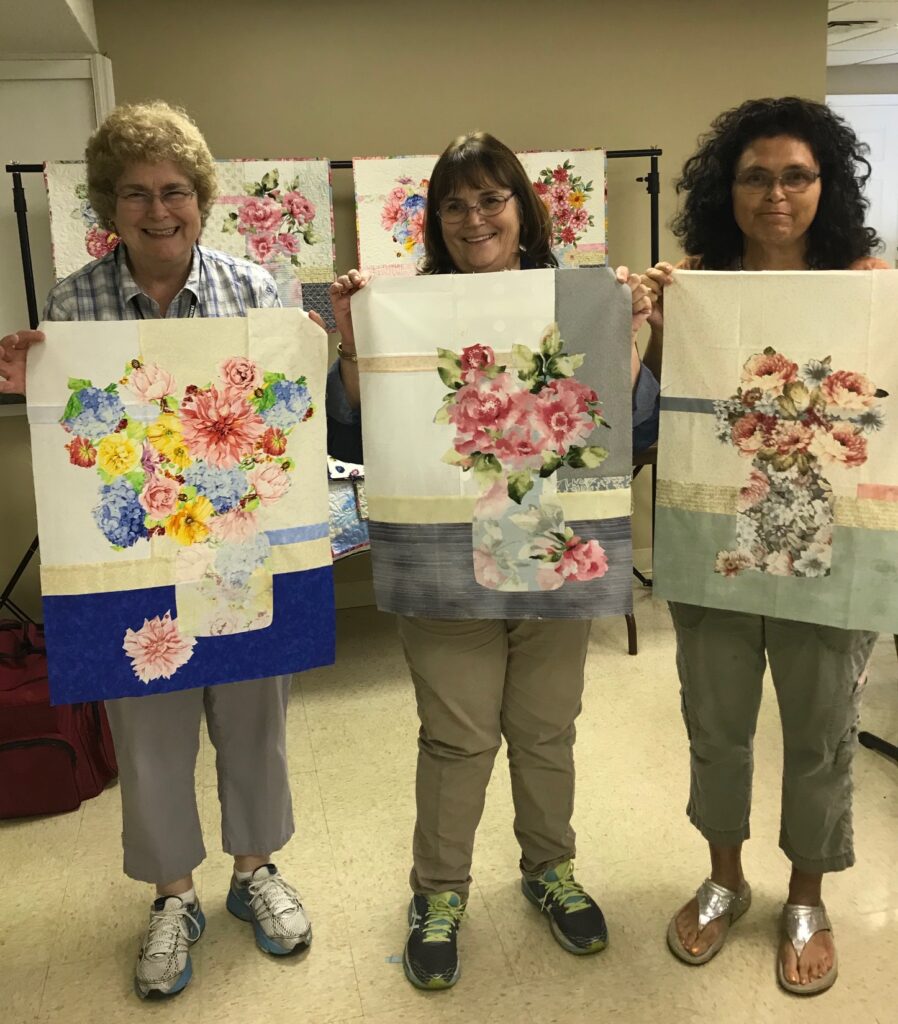
In this class, each quilter brings one or several unique focus fabrics. First, they learn how to audition and choose a focus fabric. Secondly, they audition background fabrics and accents strips from the variety they’ve brought to class. Oftentimes, quilters will share opinions and fabric with their surrounding quilters! (“I thought this would look good in my quilt, but it would work really well in yours!”)

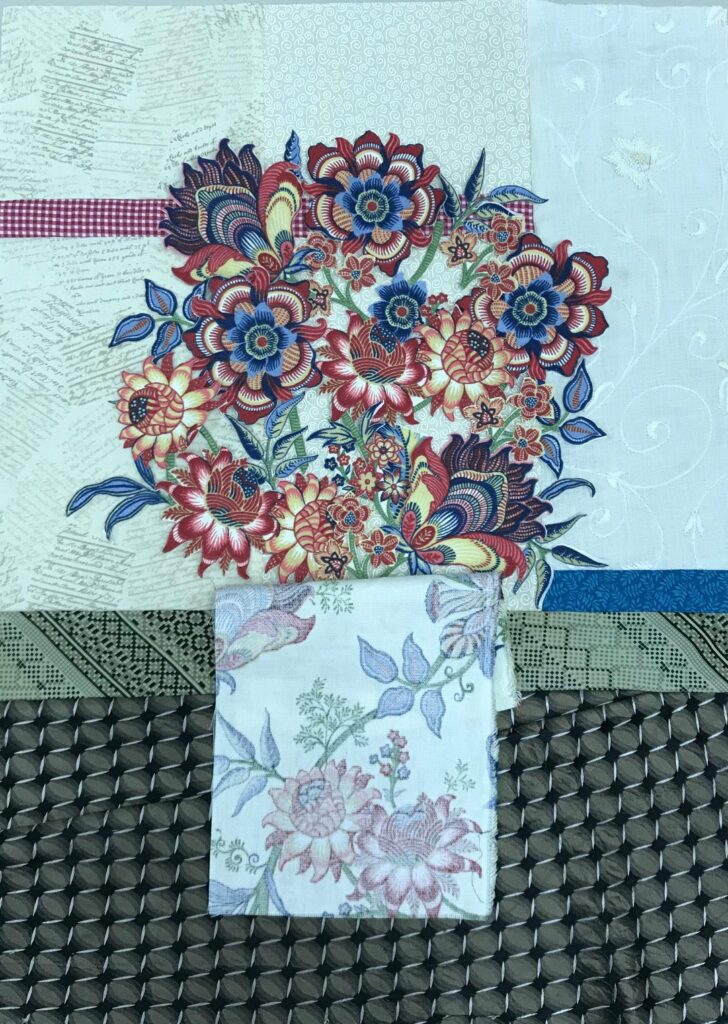
To summarize, you can see in these photos that they chose varied fabrics. As a result, their bouquets were unique, even presenting the quilters’ personalities! In addition, one quilter used men’s’ ties and other out-of-the-box fabrics and was going to design her own vase to fit her bouquet!

Image of Quilters with Projects
Image of Three Twilight Quilters with Quilts
Image of Quilter's Bouquet
Image of Vickie's Bouquet
Image of Hydrangea Bouquet
Image of Couple's Bouquet
Image of Two Quilters

I wish I’d gotten a pic of my first husband/wife duo – but she slipped off before I could snag her pic – busy lady. Their quilts have “related” but different focus fabrics and will hang together in their home! Hope they’ll share them with us using…wait for it…#usebothsides !!!! Yes, they all learned about hashtags during the program!

Image of Quilt in Progress

Now that you’ve looked at the focus fabrics (bouquets), scroll back up to note the clever background fabrics they chose!

I hope to get to see the Twilight Stitchers again soon! You just never know where quilters will cross paths! See Quilts at the Beach to see how I bumped into a quilter, from Warrensburg, Missouri (a hop, skip, and a jump from Blue Springs) at Pensacola Beach!
A hearty THANKS to my new friend in Blue Springs!

image of quilt pattern taught at Twilight Stitchers
Grace Quilt Pattern

See “Grace” Quilt Pattern at my Etsy shop: Creative Bee Studios #usebothsides

Quilts at the Beach

Give me a good beach quilt in the midst of winter!

Why do I love a good beach quilt? We lived in Pensacola, Florida – twice! The first time (as newlyweds), my husband was a student pilot. The second time, with two little ones, he was a flight instructor. When he left the full-time USMC life, we moved to Missouri. We’ve spent many vacations going back “home” to Pensacola (also home of our favorite: the Blue Angels).

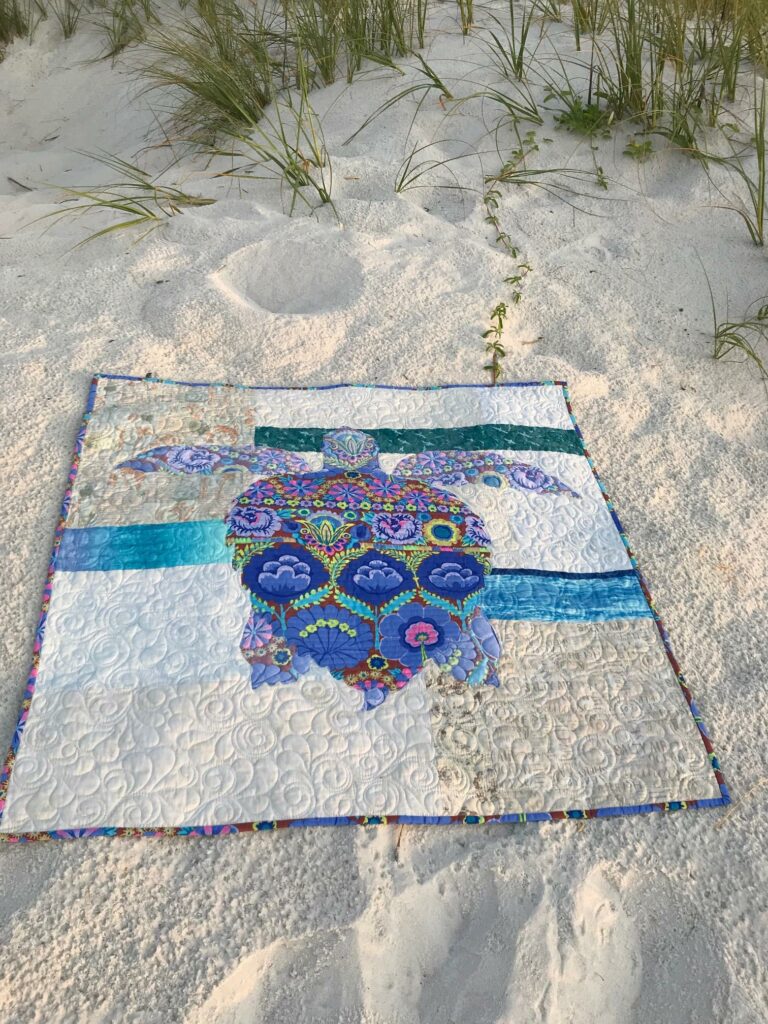
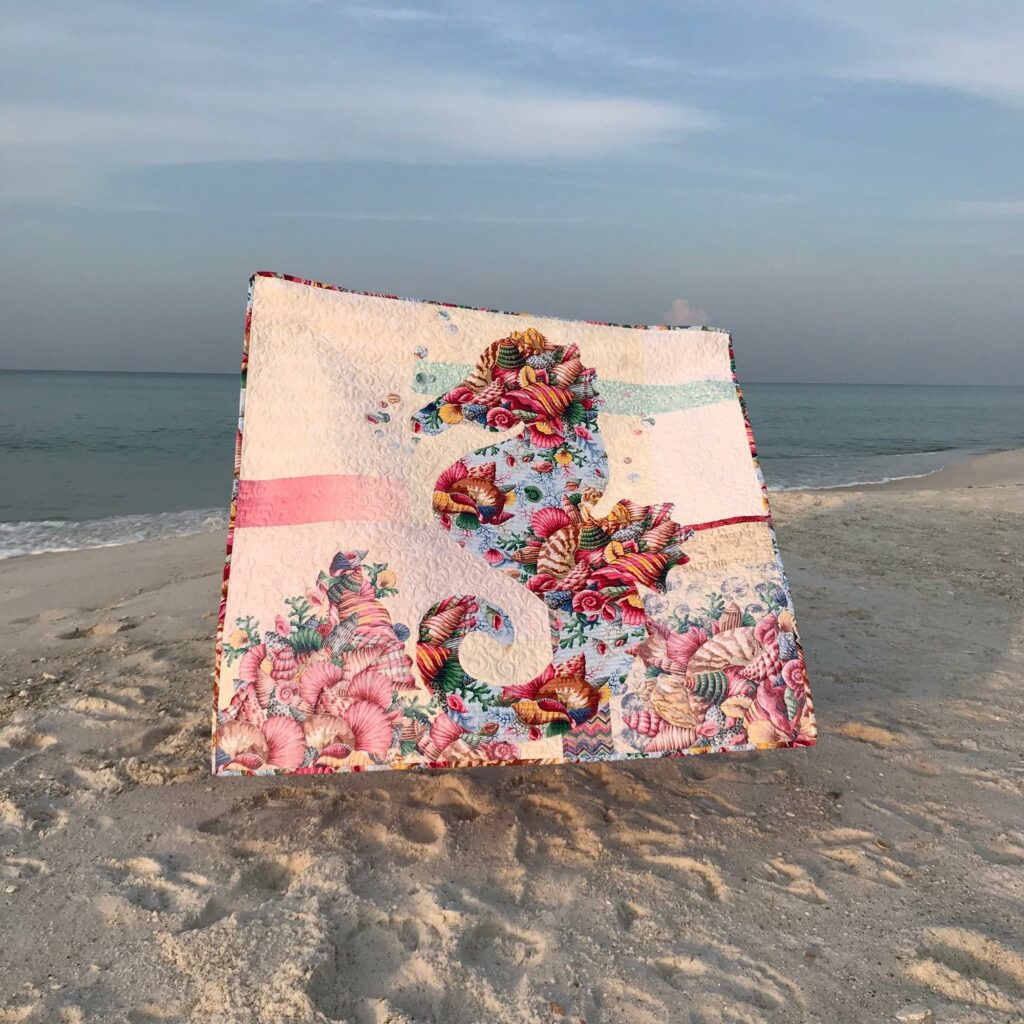
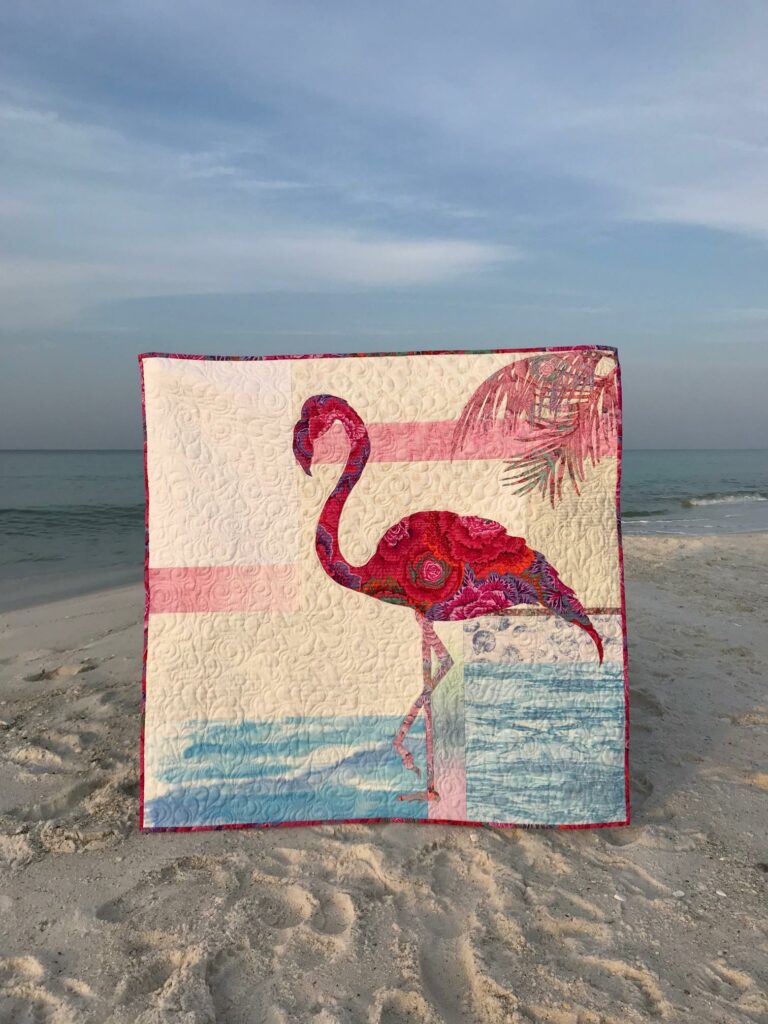
Location, location, location. It’s the key. As you can see in these pics, Sally, Sandy, Fiona, and Bubbles are right at home on the beach!

This weekend we attended a wedding to attend in Baton Rouge, so we decided to grab a couple of beach days on the tail end of the trip. I debated whether I should even bother to take quilts along to photograph…I’m SO glad I DID!

Image of Sandy Quilt on Sand.
It’s Sandy on the beach. 🙂

My favorite name for a beach quilt has to be this: Sandy! Doesn’t she look happy in the sand?

Image of Sally Quilt at Beach
Sally

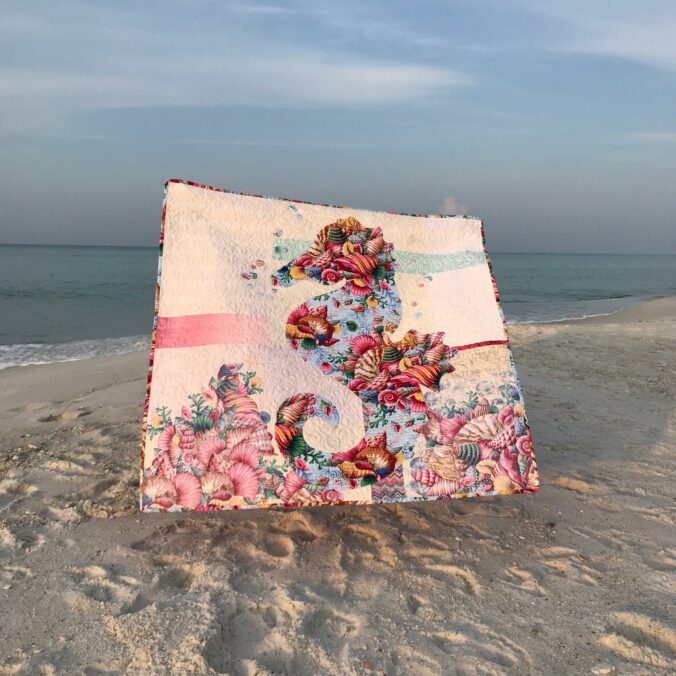
Sally the seahorse was flying high in the morning light. She’s made with both beautiful sides of one of my all-time favorite KFC fabrics: Shell Bouquet by Philip Jacobs.

Image of Fiona Quilt at Beach
Fiona

Fiona the friendly flamingo helped me spot a friend at the beach:

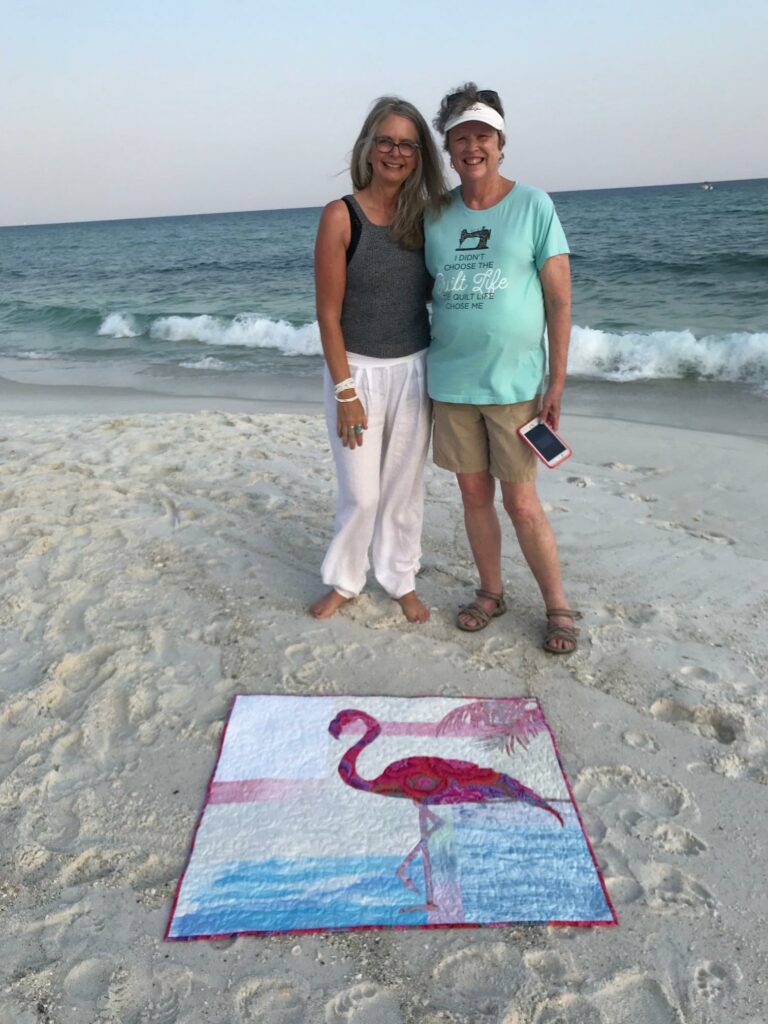
It’s hard to spot another quilter at the beach. Therefore, when I passed a gal on the walkway who was wearing a MSQS shirt, I HAD to speak to her! It turns out she’s from Missouri, too! She had just bought fabric from the pharmacy (now A & E Fabrics) to make some #usebothsides quilts! See my blog about her guild HERE: Inspired Quilters Inspire

Image of Karla and Cheryl, quilters at the beach.
Cheryl helped me take evening pics. Quilters are so nice!
Image of Bubbles on deck.
Bubbles

My husband came up with the name “Bubbles” for this happy guy! See The Marine Behind the Quilts to learn more about his role (my husband’s, not Bubble’s).

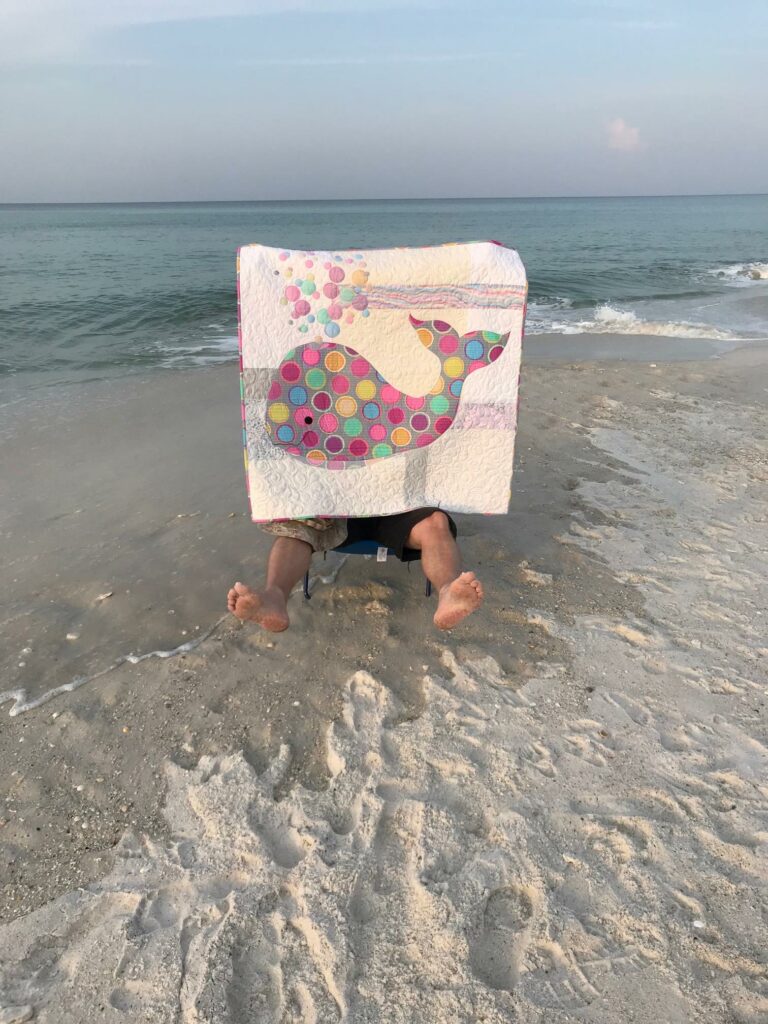
You might wonder how those quilts just seemed to hover in the air above the beach…You can see in this blooper: thanks to his quick reaction, my hubby saved Bubbles from a big one! I thought he hid quite well on that little beach chair behind the one-yard square quilts!

Image of blooper photo.

Patterns for each of these quilts and MANY MORE are available in my Etsy shop: Creative Bee Studios

Read more at Summer Books & Quilts.

And…quilt by the light of the moon.

It certainly is a wonderful life when you can dance by the light of the moon.

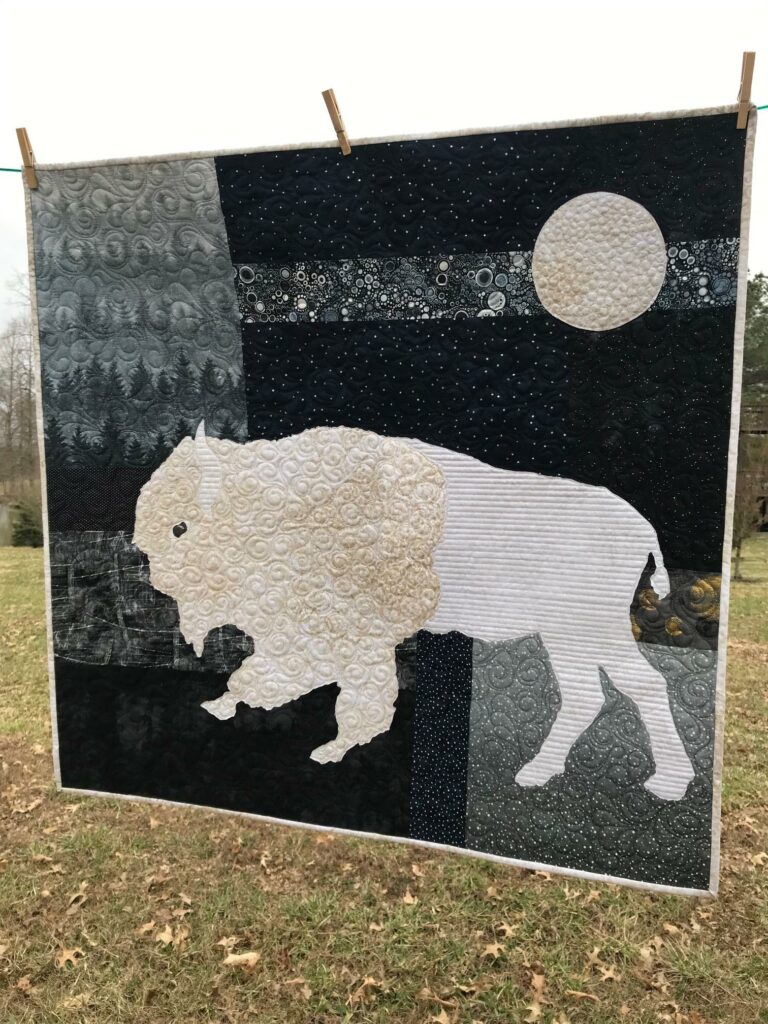
This bison quilt makes me want to dance by the light of the moon because I couldn’t help singing along with characters George and Mary from It’s a Wonderful Life with those very words!

Sharing a quilt pattern is ALWAYS wonderful! Learn about this unique way to use both sides of fabric and the story behind this design.

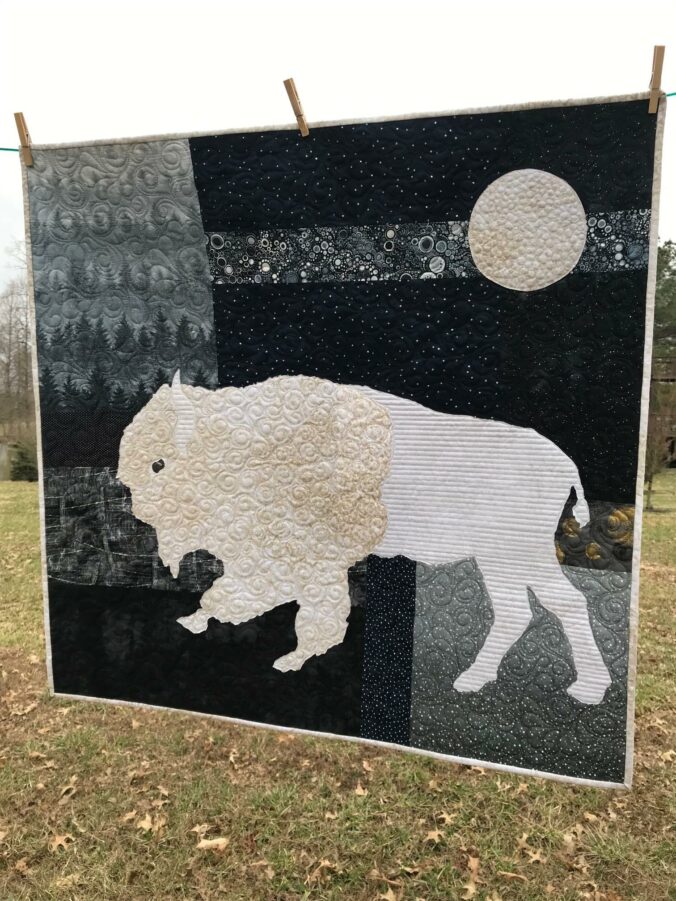
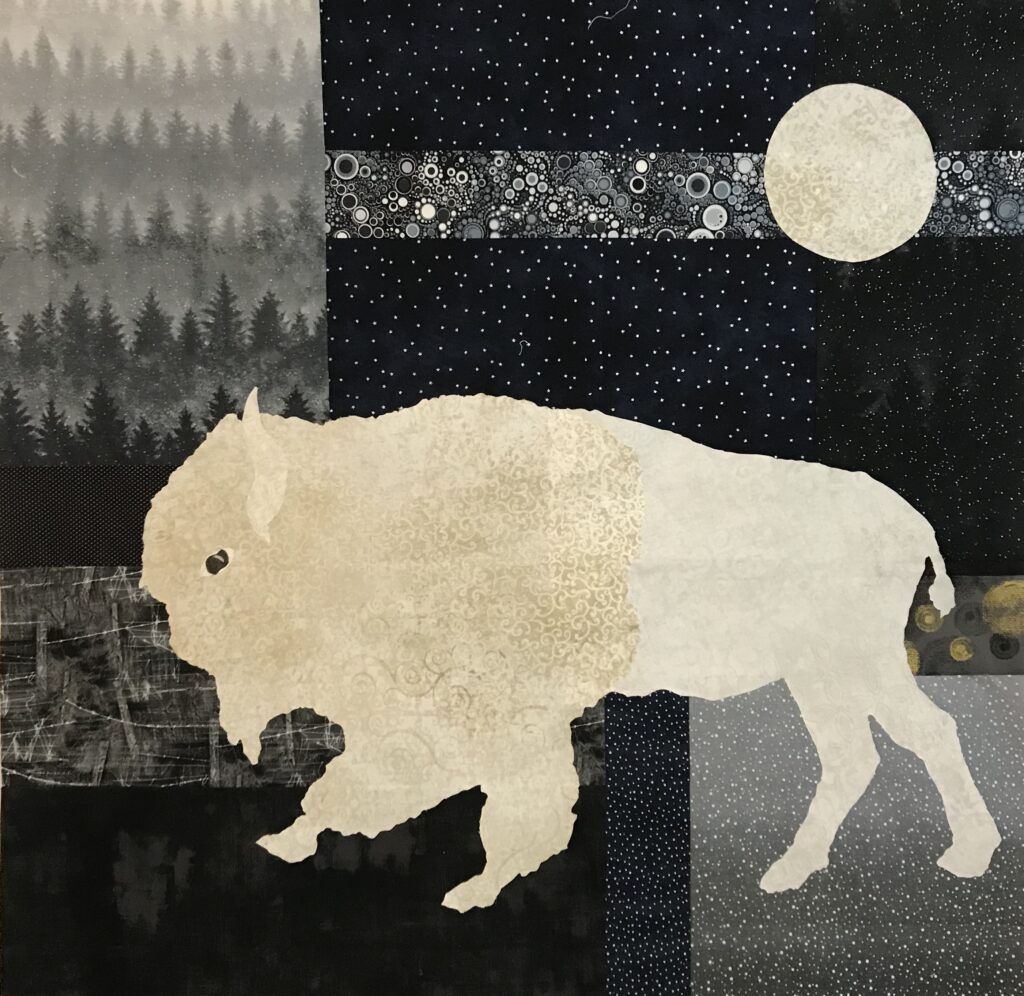
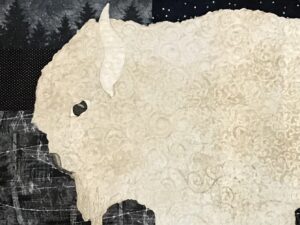
The quilt, Buffalo Moon, is made with both sides of a light focus fabric on a starry, night-time background!

This Buffalo Moon quilt is a creation that has a lot of meaning for me – which is interesting since I have never lived “where buffalo roam”!

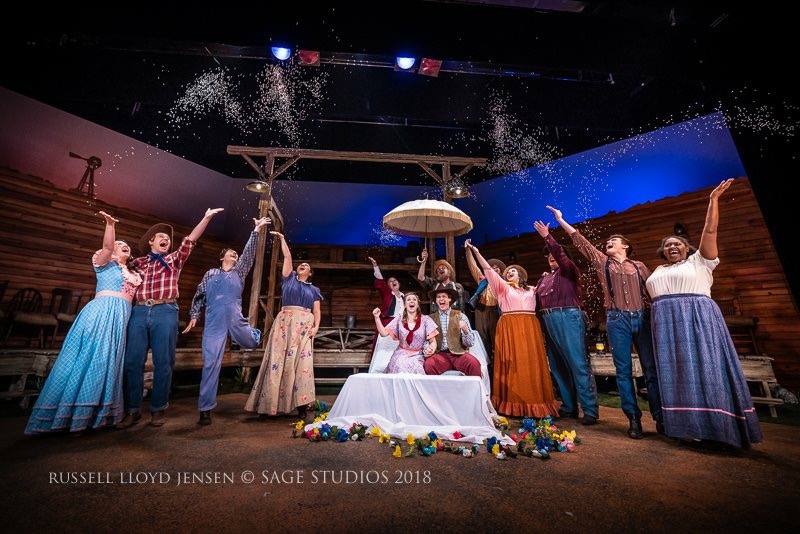
We enjoyed a visit to South Dakota for the first time the summer before I designed this quilt. Our youngest daughter was playing the role of Laurie in OKLAHOMA! at The Black Hills Playhouse in Custer, South Dakota. See South Dakota Quilts & More , OKLAHOMA! Backroads in South Dakota, and Quilting – Dakota Style.

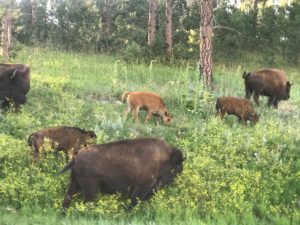
Image of Bison
The bison were aplenty as we first entered the park!
Image of Final Show Scene
OKLAHOMA! at the Black Hills Playhouse

Buffalo Moon is made using BOTH sides of a fabulous focus fabric (say that three times fast!) on a scrappy, nighttime background. Spotting the bison roaming the Black Hills was an incredible experience. Having also learned about the Legend of the White Buffalo, saying YES to this focus fabric was easy! Unlike most of my other patterns, the difference in value between the front and reverse of the focus fabric are subtle, but still noticeable. This motif that reads as moon craters makes one want to dance by the light of the moon! Choosing dark background fabrics was a change of pace from my previous designs and a lot of fun!

Notice the ombre trees, the twinkling stars and the barbed wire fence fabrics?

Image of Black Hills Playhouse

We got a second round in bison country the following season, when Jacq played Annelle in Steel Magnolias and, one of her bucket list roles,…Sophie in Mamma Mia!

Needless to say, she was quite excited to be able to work again in such a beautiful place–but, even more, she was very happy to be able to work at what she loved to do.

My husband and I watched both of our girls struggle to work at what is their passion – and wondered at times where they got such courage. Yes, I make jokes that we let them play too much dress up and not do enough science fair projects, but truly I am glad they had the will to give it a whirl…and, in this case, go where the buffalo roam.

Jacq as Violet Bick in It’s a Wonderful Life

Buffalo gals won’t you come out tonight…

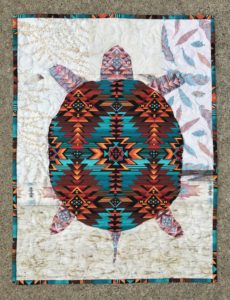
Image of Turtle Quilt
Dakota Quilt Pattern
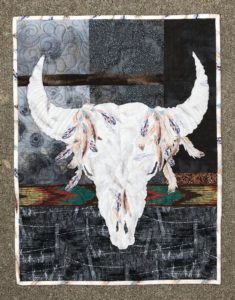
Image of Bison Skull Quilt
Tanka Quilt Pattern

Reach for the stars…lasso the moon, or

…maybe just dance by the light of the moon.

#usebothsides

Inspired Quilters Inspire

A couple of weeks ago I had the opportunity to share my quilting journey with a group of women whose enthusiasm for quilting was truly inspiring to me.

Image of Inspired Quilters Guild
Inspired Quilters of Warrensburg, Missouri

The Inspired Quilters of Warrensburg, Missouri invited me to speak during their guild meeting. It was a cold, wet, and somewhat icy night. I expected a lower turnout of members due to the weather. That was my first surprise.

One of the interesting things I see when speaking to quilt guilds is the uniqueness of each group.

Image of Guild Presentation

As quilters notably are, everyone was welcoming and helpful – helping my friend and me carry in 50 quilts, bins of patterns and fabric, and set up the power point.

After the presentation, Nancy and were overwhelmed by the enthusiastic quilters who lined up, waiting to purchase patterns and kits. It’s so fun to see people excited about something you’ve designed – and it is quite humbling.

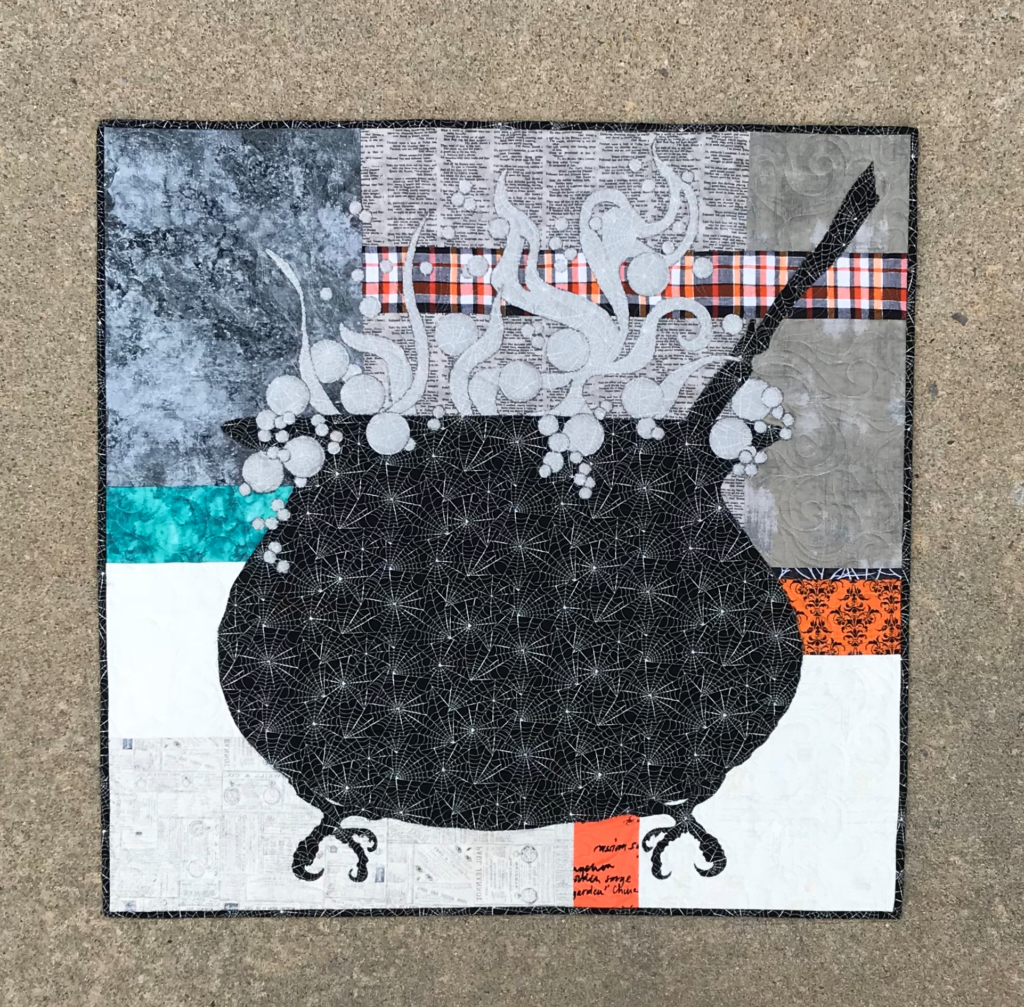
Image of Presentation with Something's Brewing quilt.

What I noticed next, while Nancy and I spent the next hour repacking quilts and patterns, was how excited and involved the quilters were in their guild meeting. I was wishing I could sit and watch, especially when it came time for Show and Tell. It seemed like each quilter did more than showed her quilt, she told the story behind her project – who or what it was for, how it came about…the details that make a quilt more than just a quilt.

These quilters truly inspire me – to tell the details, to let people know the stories behind the quilts.

Isn’t that what it’s all about? Whether the quilts we make are for special people in our lives, for hurting people we don’t even know, for veterans and service members to be honored, or even for learning something new alongside friends – it’s the people in the story that make quilting worthwhile.

A heartfelt thanks to the quilters in Warrensburg for sharing their quilting journey with me!

Quilt Fusible Web in a Pinch

Estimated reading time: 4 minutes

I first fell in love with light-weight fusible web when I used it with the Leaves Galore rulers.

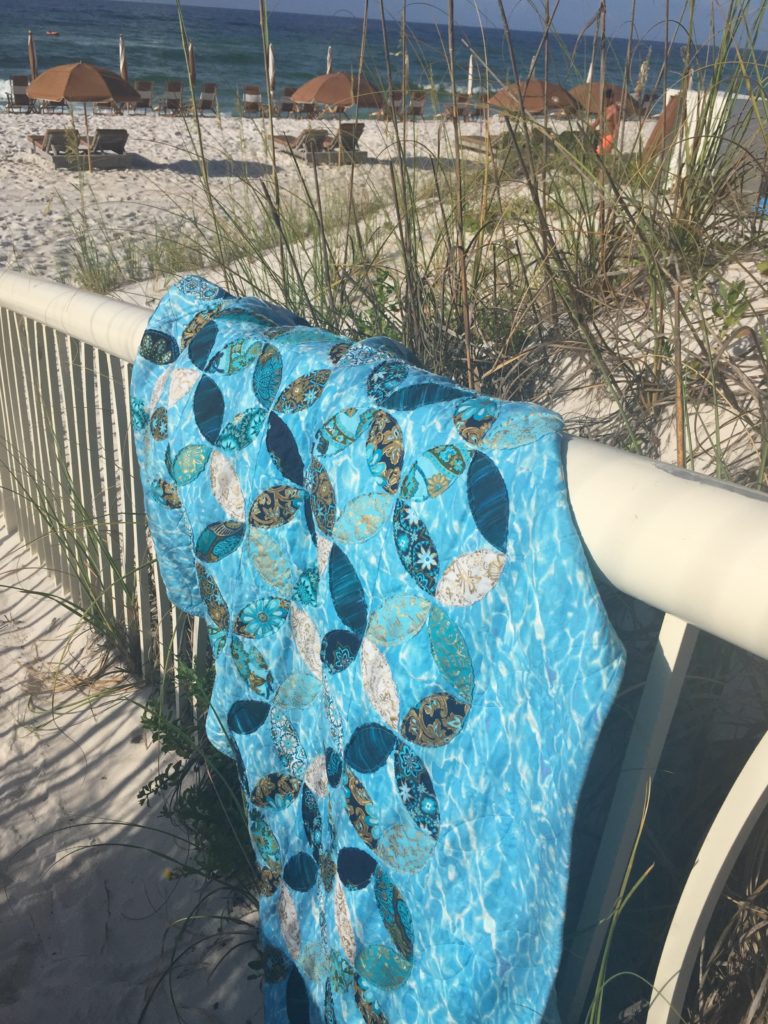
Water Colours was made with Misty Fuse, a nearly weightless fusible web.

Image of Quilt with fusible web
Water Colours

Misty Fuse is a paperless fusible web.

First, Misty Fuse is paperless. Like a thin spiderweb of glue, it is nearly weightless. It is so soft, your machine won’t even know it is there! Neither will the loved ones who snuggle in your quilt.

However, because there is no paper on this fusible, I feared it couldn’t be used for tracing templates. I do a lots of fusible applique which require tracing templates. In fact, about half of the more than 50 quilt patterns I’ve designed use templates.

Soft Fuse is my favorite paper-backed product.

Soft Fuse is a paper-backed fusible web that is also very lightweight. Although any lightweight fusible will work, I recommend Soft Fuse in my classes and workshops. Even with large applique, your quilt feels softs to the touch. In addition, with a light pressing, it is possible to remove and re-position your applique if needed.

Transferring Designs with Mistyfuse Fusible Web

If you’re in a pinch and caught without your trusty paper-backed product, here’s what you can do!

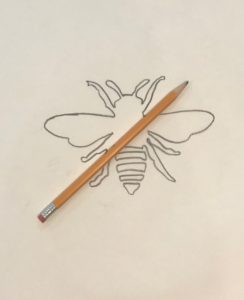
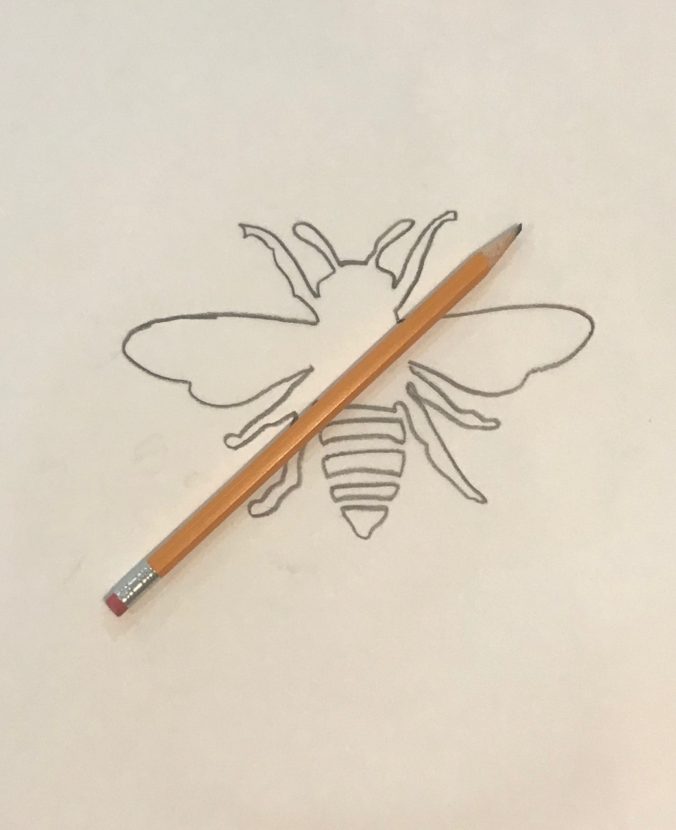
  • First, draw or trace your design with lead pencil on to parchment paper. You need to make your tracing dark. I use a #2 lead pencil.
  • Then cut a piece of Mistyfuse large enough to cover your design.
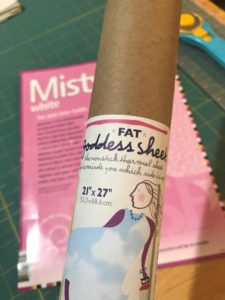
  • Using a protective sheet (I used a Goddess Sheet), press the Mistyfuse to the wrong side of your fabric. The Goddess Sheet gives the Mistyfuse a sheen so you can see where it is on your fabric.
  • After the fabric cools, place it with the fusible side up on a hard surface. Cover it with your, design side down, on your fabric and trace the design with a hard pointed object like a stylist tool.
  • Cut your design on the lines.
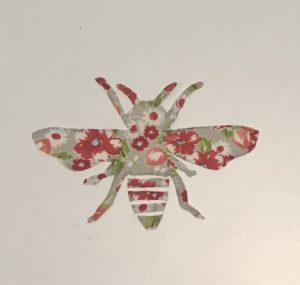
Image of Bee Tracing for Fusible Web
Image of pressing sheet for fusible web
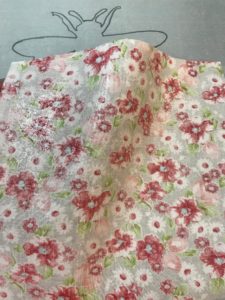
Mistyfuse on Fabric

Tips for use paperless fusible web.

Remember to trace onto the REVERSE side of your fabric (unless you are using BOTH beautiful sides).

The lead markings transfer much easier onto the Mistyfuse than they do directly onto fabric.  The finer your pencil, the finer your lines. A finer lead will give you a more precise drawing.

This is a great fusible alternative for tracing a template!!Image of Fabric Bee

Enjoy YOUR quilting journey!

Quilting-Dakota Style

Estimated reading time: 3 minutes

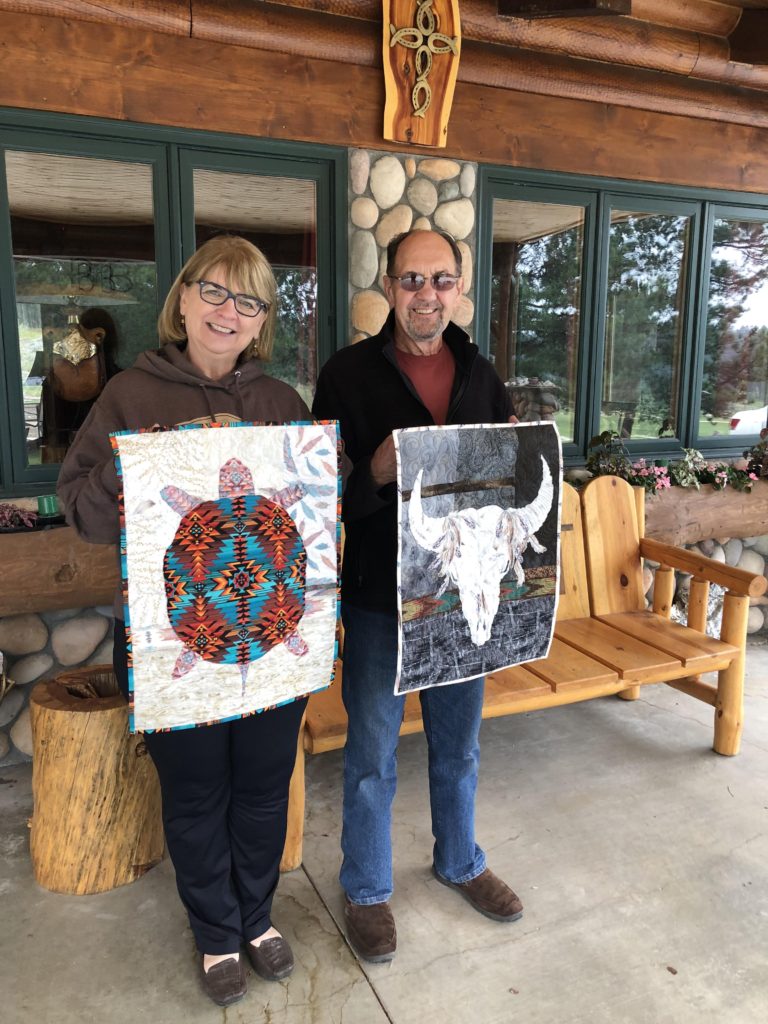
This little turtle quilt just made the trip to two of my favorite places in South Dakota!

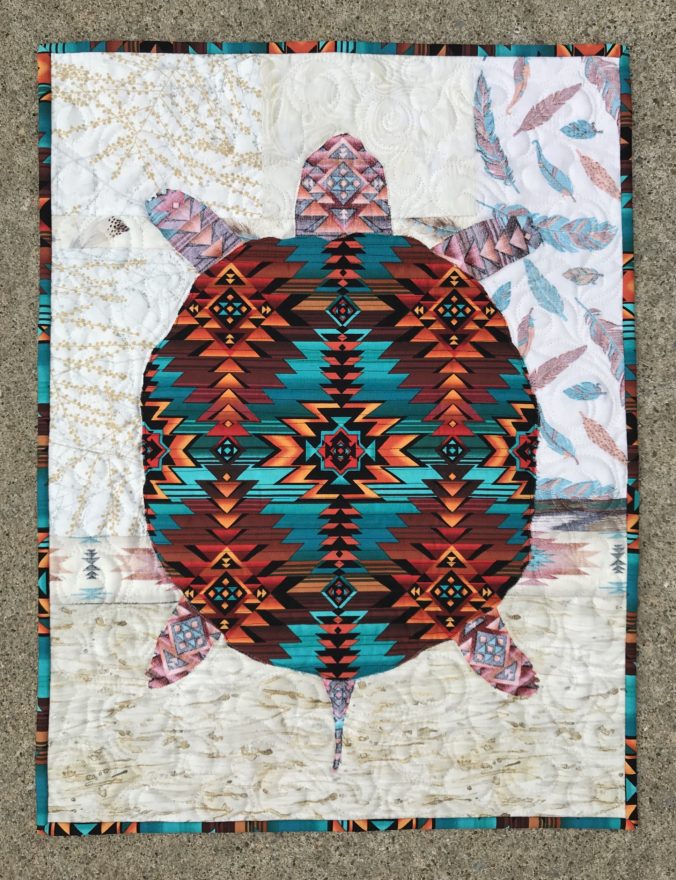
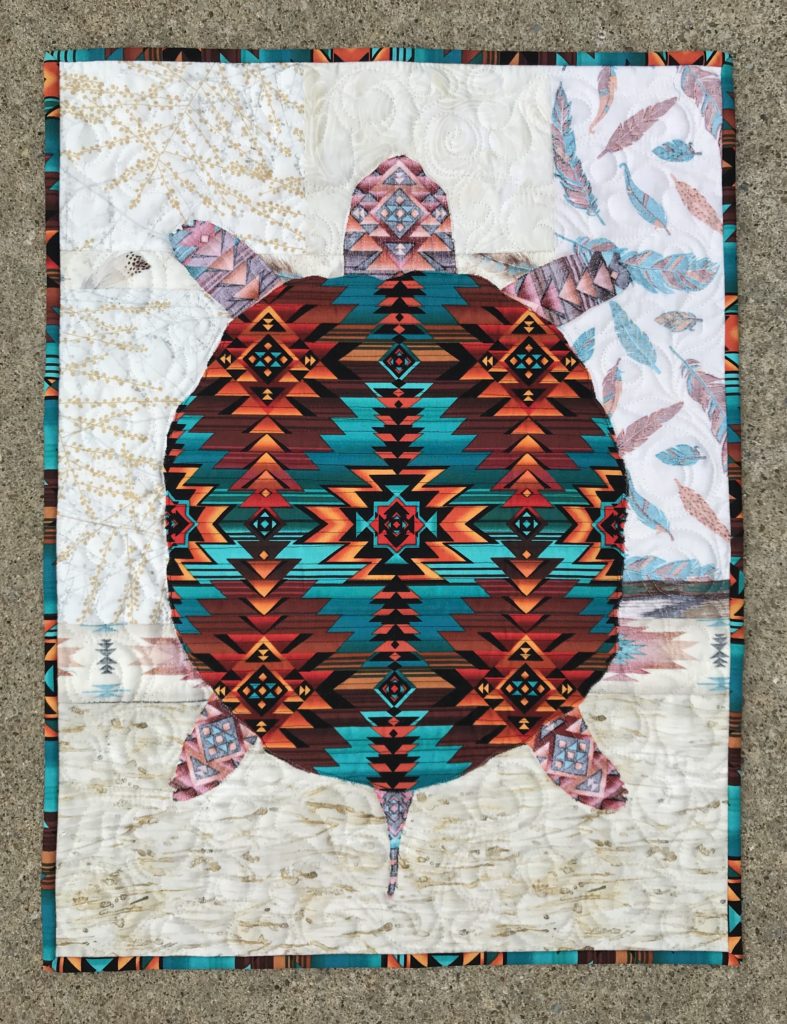
Dakota is a Southwest style turtle quilt made with both beautiful sides of fabric!

Image of Turtle Quilt

Choose a focus fabric that’s beautiful on BOTH sides.

Every Creative Bee Studios pattern, including this turtle quilt, comes with a guide for auditioning both sides of fabrics. First, start with your focus fabric. See how legs, head and tail of this turtle quilt (made from the REVERSE) are a lighter value but just as interesting as the RIGHT side?

Learn how to “remove” color to see only value.

Black and white photos are a great tool for auditioning both sides of fabric.

Pick a variety of background fabrics.

Secondly, audition possible background fabrics for your turtle quilt with both sides of your focus fabric. You’ll discover the nuances of value as you learn to audition both sides of fabric.

Why South Dakota?

To summarize, our daughter was working shows at the Black Hills Playhouse in Custer, SD for the summer. Our treat was to watch her play the role of Laurie in OKLAHOMA!

Black Hills Playhouse & Dakota Dream

We made new friends, Kathy and Ernie, in Custer SD. They are owners Dakota Dream Bed & Breakfast & Horse Hotel.  We highly recommend a visit to the Black Hills in Custer State Park and a stay with Kathy and Ernie. Image of Dakota Dream

The Quilt Shop

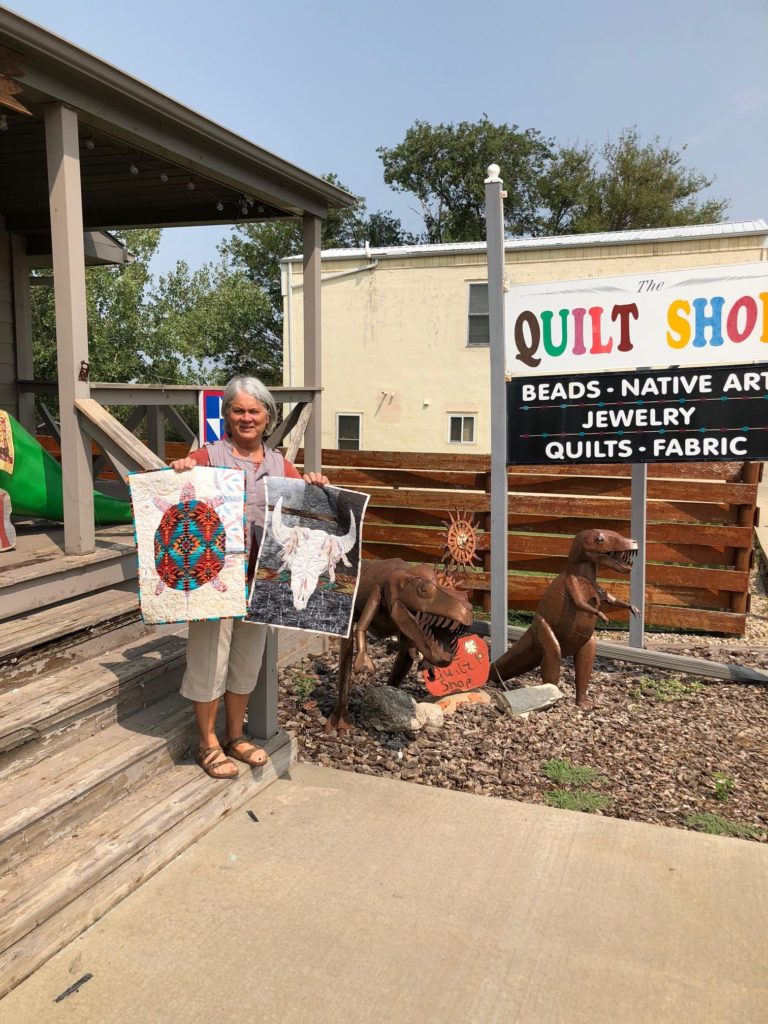
On our trip we visited The Quilt Shop, Inc. in Chamberlain, SD.  Owner, Sonya Kroupa is holding Dakota and Tanka quilts below. Creative Bee Studios patterns have been featured in her very cool shop! In addition to rooms and rooms of interesting and different fabric, kits, and patterns, she has local artwork, jewelry, and beads. Visit The Quilt Shop website HERE.Image of The Quilt Shop, Inc.

Also, see this post which shows more fun things to see in Custer and the Dignity statue in Chamberlain HERE.

This turtle quilt pattern is petite design, finishing at 18 x 24 inches. It’s a great “afternoon quilt” – quick and easy. Even after making more than twenty #usebothsides quilts, I can’t decide which is more fun, choosing the focus fabric or the background fabrics. Both are vital to the charm of the quilts!

Think outside the box!

Imagine all the different “turtle “fabrics you could use!  Your turtle could be playful with children’s motifs, realistic with mottled dotty fabric, or wild with large florals or geometrics! In conclusion, anything will work as long as the reverse passes the audition!

Image of Bison Quilt Closeup

Read about Tanka quilt pattern HERE!

Enjoy YOUR quilting journey!

Meet Jack-the Deer Quilt

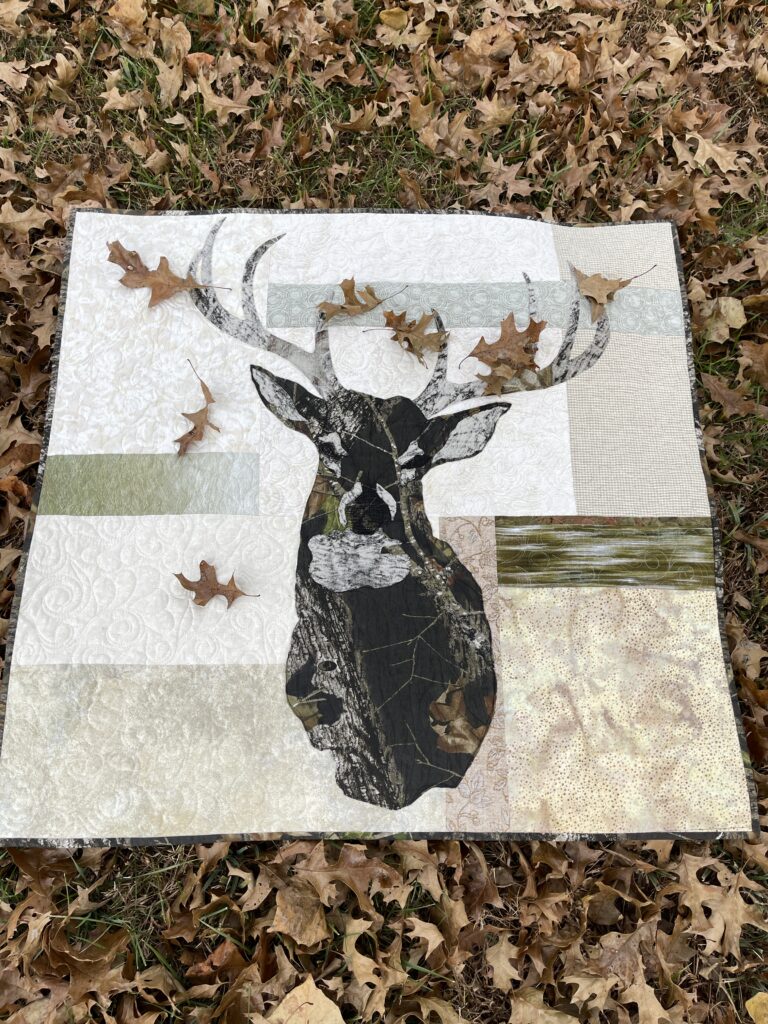
It’s a boy! Jack is a deer quilt made with BOTH camouflage sides!

Estimated reading time: 3 minutes

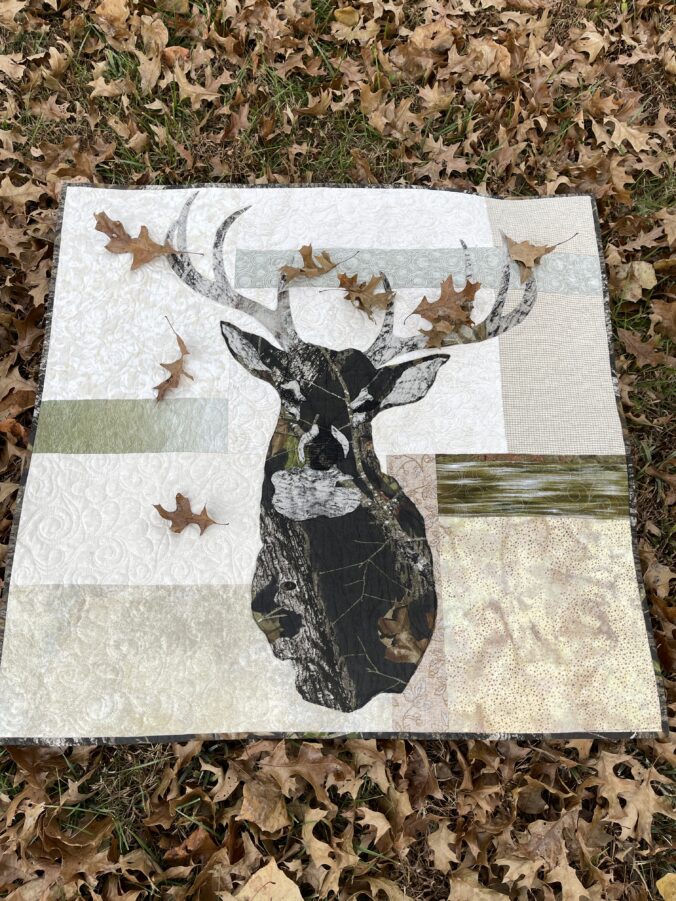
JACK (buck) is deer quilt wall hanging that’s made with both sides of one camouflage fabric on a scrappy background.

The focus fabric for this deer quilt is camouflage.

I found this Mossy Oak fabric at my local quilt shop. I tested the value of both sides, auditioning the fabric right there in the shop.

First, I made sure RIGHT side was plenty dark, so the deer head shape would be crisp. Next, I checked that the REVERSE was light enough to use as antlers and highlights for the ears, eyes, nose, and throat.

Fortunately, camouflage fabrics seem to be a staple in the fabric market every year.

Some camouflage fabrics aren’t the normal quilting quality. It’s okay for this type of quilt hanging. I thought this one was a stiff when I pulled it off the bolt, but after a quick wash and dry, it was great to work with! (I normally don’t laundry the fabric for a wall hanging.)

The backgrounds are scrappy.

Additionally, having a wide variety of background fabrics is key. This helps draw the eye through the quilt. Also, it adds an element of interest. This deer quilt sports a variety of fabric types including beige batik leaves, grassy geometric, beige stone, white on white floral, sandy batik, and painted grass.

Image of deer quilt
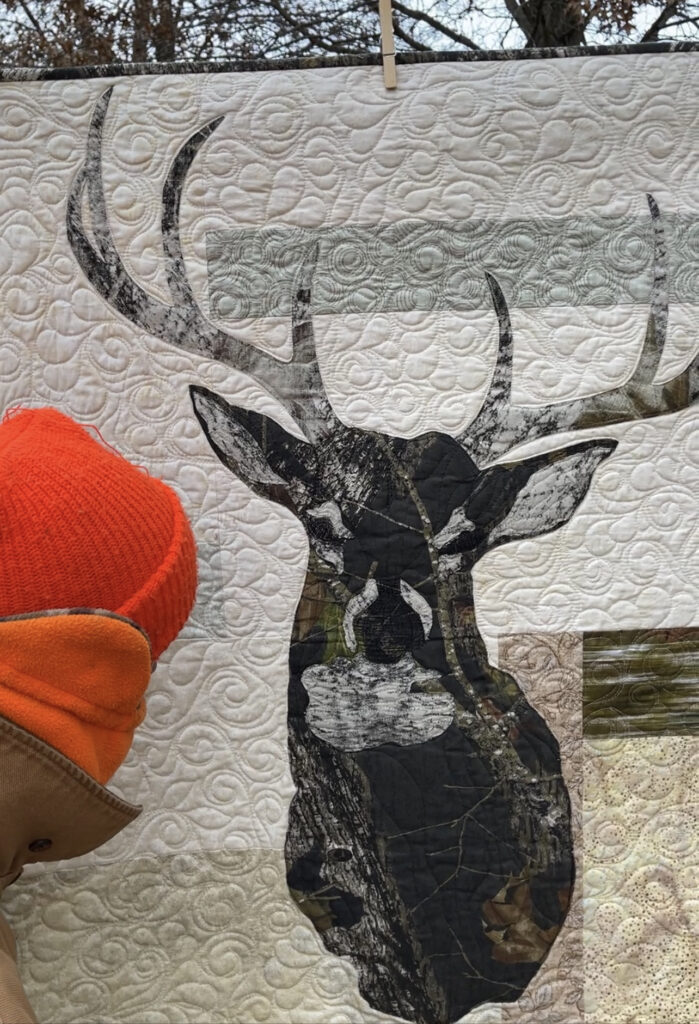
Hunter Orange spots JACK (buck)!

The deer quilt comes to life.

When quilting this deer quilt, I added “scribble” quilting with black thread to the eye areas. However, even before that, the features of his face just appeared, almost magically. VALUE is key for using BOTH sides of fabric, especially for JACK (buck)!

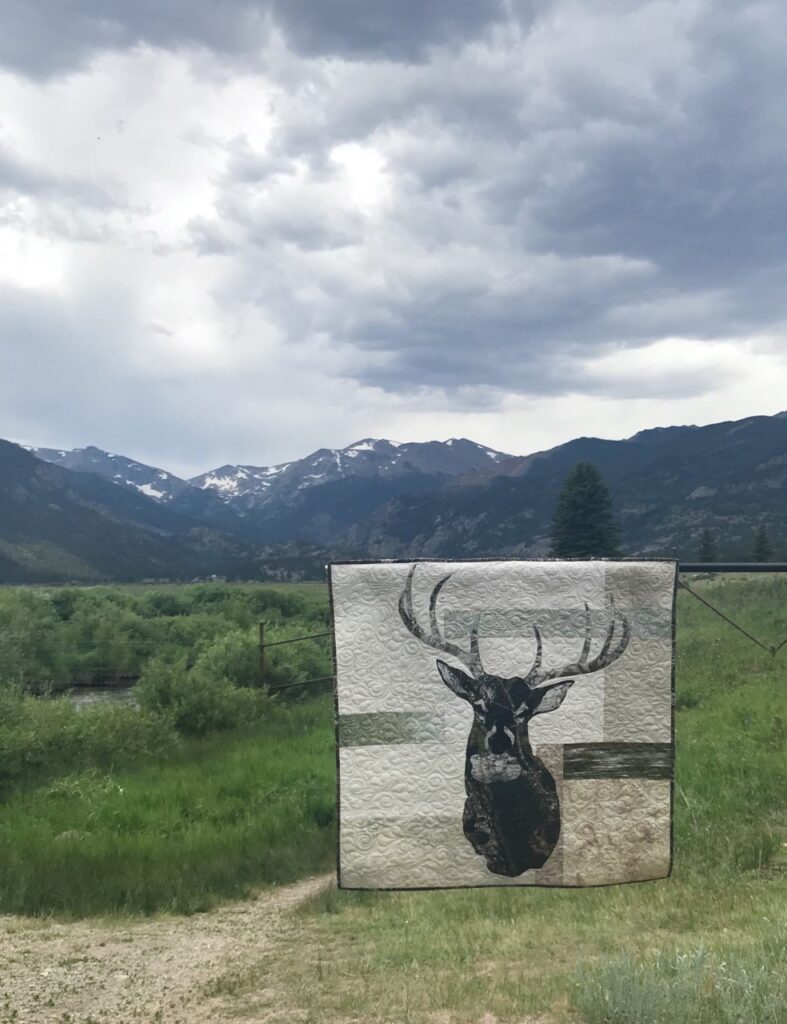
deer quilt in mountains
JACK in the Rocky Mountain National Park

See The Marine Behind the Quilts.

The Jack quilt pattern comes with:

  • Complete, detailed instructions.
  • Full-size paper template.
  • Guide for auditioning focus and background fabrics.
  • BONUS: Prairie Point Hanging Method.

SHOP JACK and more than 50 patterns that use BOTH sides!

Introducing…Bubbles & Bonus Tips

Choose background fabrics that add sparkle to your quilts!

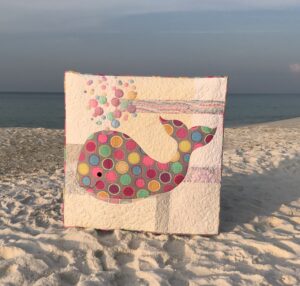
To take a look at background fabrics, first let me introduce you to (drum roll): The Bubbles Quilt Pattern!

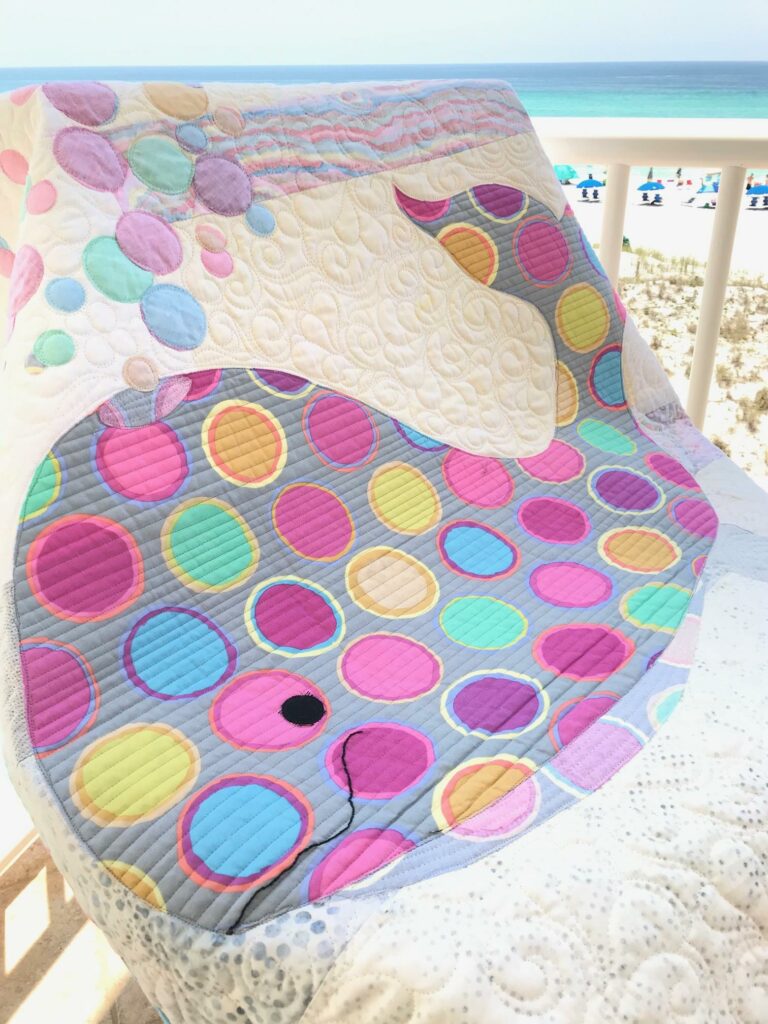
Notice the varied background fabrics in this quilt. The baby whale is made using both beautiful sides of Kaffe Fassett’s Paint Pots fabrics!

You might think that once you’ve chosen a good focus fabric, your work at auditioning fabric is done. But really, you’ve just begun to have fun!

Secondly, it’s important to know that background fabrics for #usebothsides quilts are what make the quilts really sparkle! When you attend one of my classes, you learn that there is a certain “feel” you are trying to achieve in the relationship between your focus and background fabrics.

First pick focus fabrics. Then background fabrics.

It DOES truly begin with your focus fabric choice – you have to pick that first and foremost. (I’ll discuss focus fabric auditioning in another post. Tips for choosing focus fabric are included in each pattern.) Once your focus fabric has been chosen, you want to achieve a balance between your focus fabric and your backgrounds.  I encourage using a mix of fabric styles and to use this quilt as an opportunity try something new. I figure, it is a fun quilt– so use fun fabrics  which may not be appropriate in your more “serious” quilt work. I’m going to use two quilts as examples. Below are Phoebee and Bubbles:

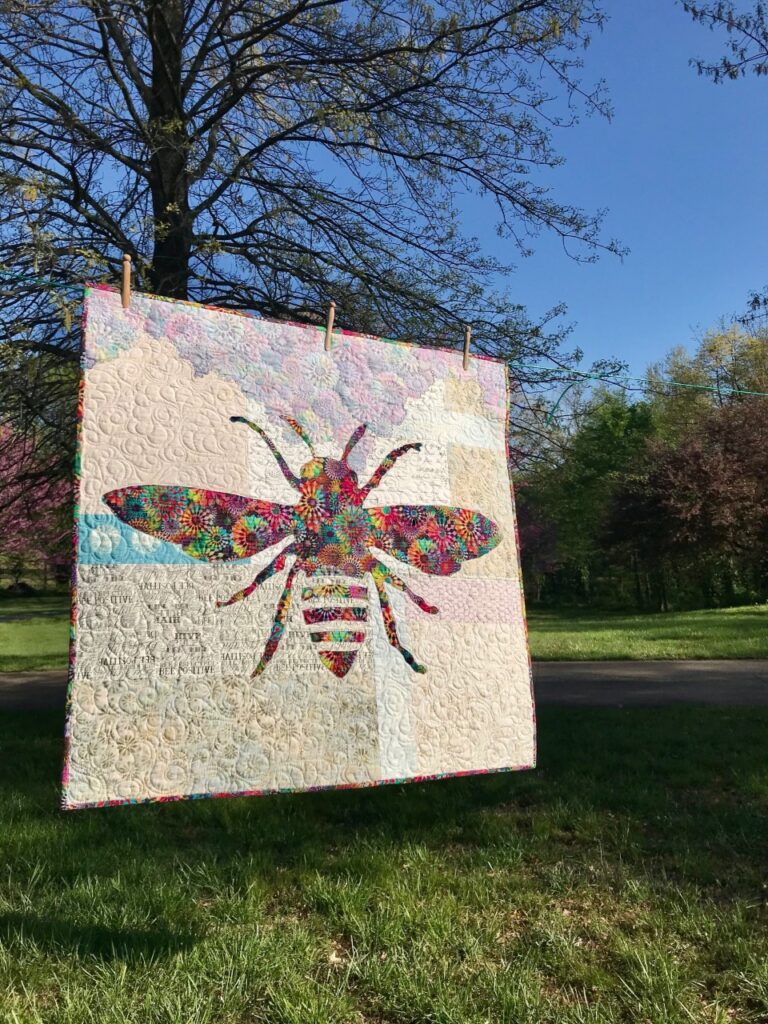
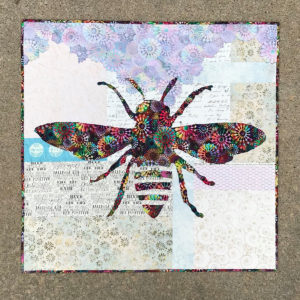
Image of Bee Quilt
Phoebee Quilt Pattern

Phoebee really makes a statement.

Notice that the bee is made from very bold fabric. She’s not one bit shy. The background fabrics can be bolder for her because her focus fabric and her character allow it. Some of the background fabrics are darker in value than I would use with my other patterns, depending not just on the focus fabric, but also the subject matter and what I want you to feel when you look at the quilt.

Now looking at Bubbles.

I hope you see a sweet, endearing “fellow”…youthful, happy, maybe adventuresome… maybe up to something. This baby whale can be a boy or a girl and you can change his or her attitude just by choosing a different focus fabric! What I am hoping you have noticed by now is that the background fabrics also have a different feel. In fact, most of the accent strips I used  are reversed to keep them from overpowering this sweet whale friend.

Once you’ve chosen your focus fabric, lay the fabric out, loosely shaped for the pattern you’re making– but with a twist. Literally, twist the fabric so that half of the fabric shows the reverse side. Audition BOTH sides of the focus fabric with your background possibilities. Each #usebothsides pattern gives detailed instructions for how to audition fabrics.

My husband and “silent” business partner just happened to name the two above quilts.

Next, compare the focus and background fabrics of these two quilts:

In conclusion, don’t want to get too serious about your fabric auditioning, because these patterns are designed to be fun, fast, and easy quilts. Plus, they make great quick gifts.

For more fabric auditioning fun, book a class or program for you next group event! Click here for more information.

SHOP more than 45 patterns HERE.


Introducing…Angelina

Estimated reading time: 4 minutes

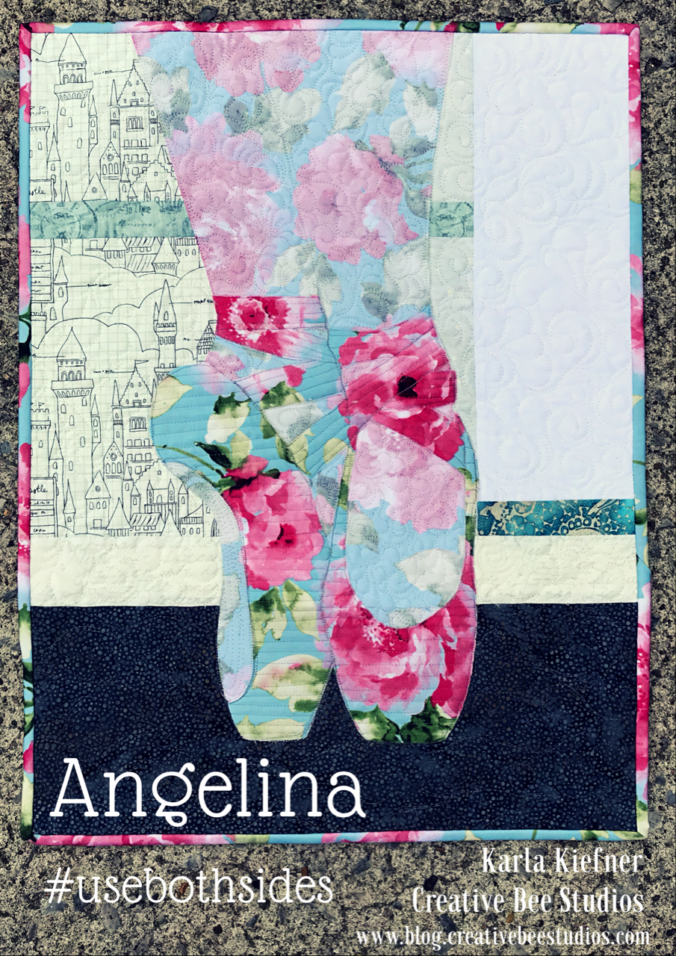
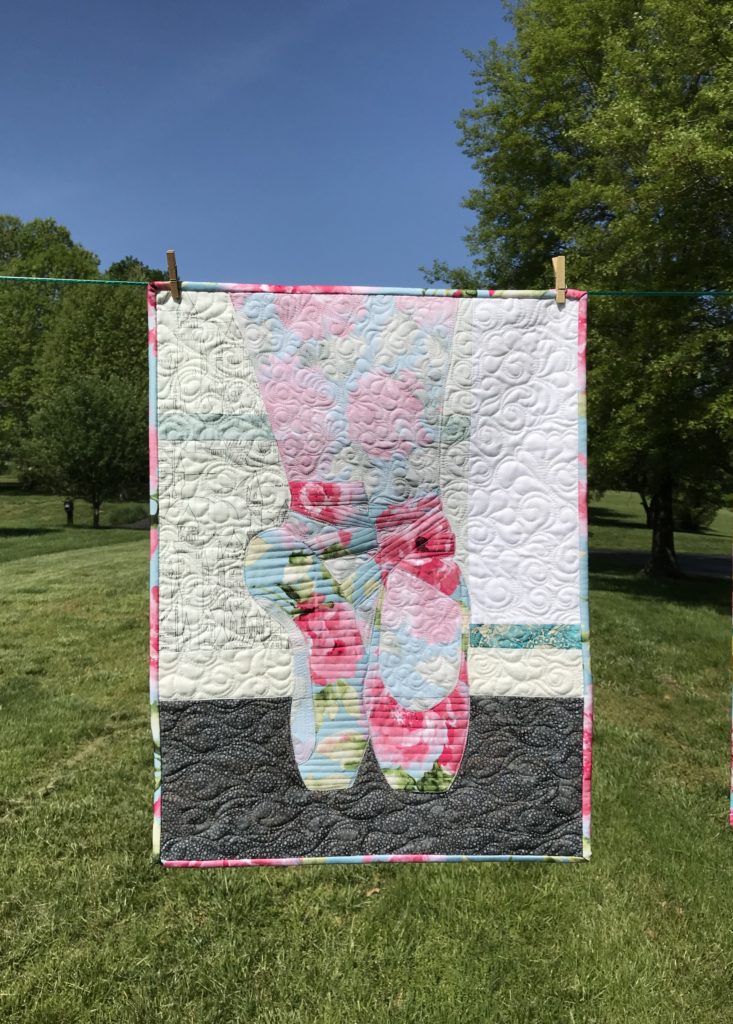
The Angelina (ballerina) quilt was designed from a photo I took of my daughter on pointe.

While her technical name is simply, “Angelina”, I call this quilt, “Angelina (ballerina)” for a reason.

To me, pointe shoes are just beautiful.

First, as a little girl, I always aspired to be a ballerina. However, in the small town in which I was raised, I only got to take dance lessons a few times. That’s how long the teachers stayed in town!

Moreover, both of our two daughters took ballet lessons for years (so I got to live out my dream through them). Of course, this explains why a ballerina quilt would be on my mind. Consequently, over the years, I have sewn countless elastics and ribbons to many pairs of pointe shoes. Keep in mind, most of the time, this was hurried and last minute, right before class. Therefore, most of the years, I didn’t WANT to be sewing ribbons and elastic to pointe shoes! I wanted to sew little pieces of fabric into bigger pieces of fabric, like the rest of my friends!

Pointe was the point!

Obviously, both of our daughters loved ballet. However, I’m not sure either of them would have stayed with it as long if they’d ever thought pointe shoes were off the table.

However, when I realized I was in the last few years of having pointe shoes in my life, I began to cherish those stitches.

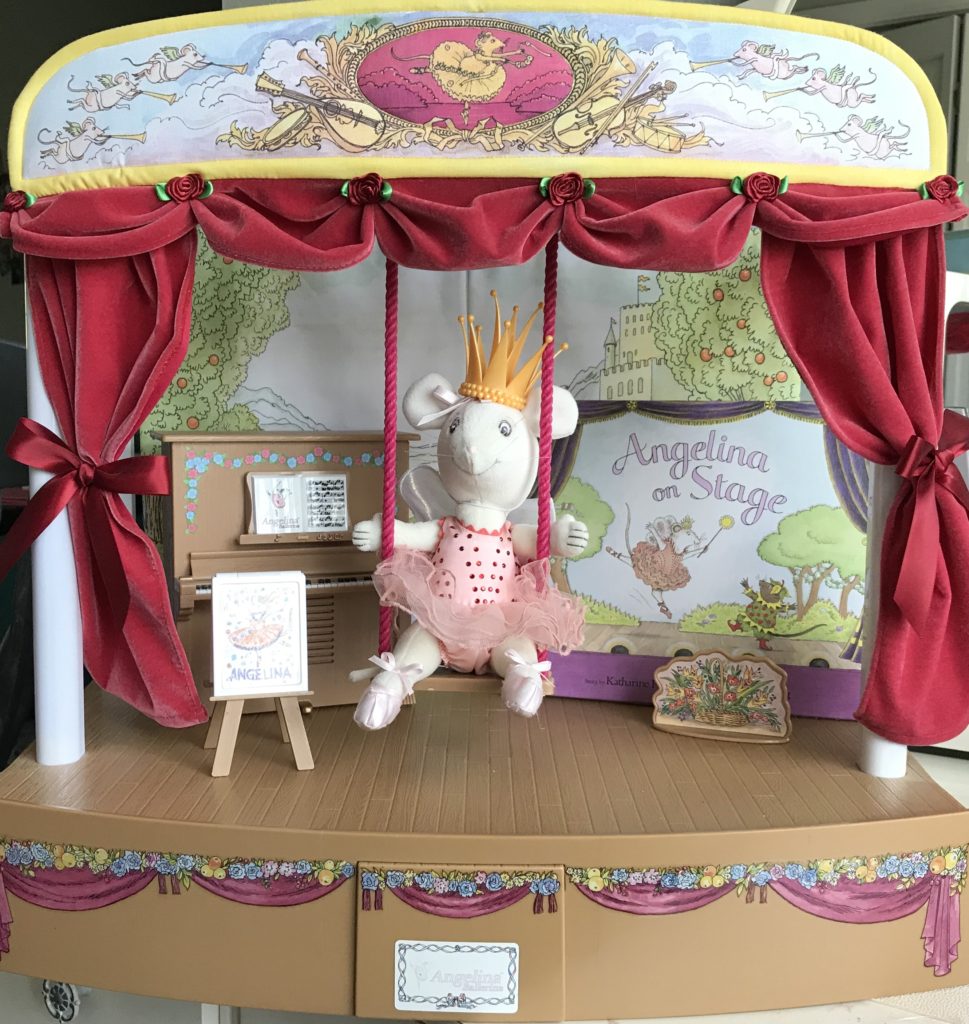
The Angelina (ballerina) point(e) of this story is from the American Girl spin-off of the little mouse with the same name. Angelina Ballerina is a cute little mouse who loves to go to ballet lessons. We still have her, along with her stage, costumes and props. Like most of the American Girl stash, she’s going to stick around. And, Angelina Ballerina wore pointe shoes!

Image of Angelina Ballerina

Now for this Angelina (ballerina) quilt pattern!

The Angelina (ballerina) quilt was also inspired by the fabric, which was originally used for the mason jar bouquet pattern, called Grace.

The RIGHT side of things.

The RIGHT side of the floral focus fabric is used to make the pointe shoes, ribbons and binding.

The REVERSE is key.

Angelina (ballerina)’s tights and the sole of her left shoe is made from the REVERSE of the same floral focus fabric.

It’s all about VALUE.

I knew I had to get things correct when drawing out this pointe shoe template. Having never been on pointe shoes myself, I checked with my daughters to make sure Angelina was standing properly on top of her shoes!

Background fabrics count, too!

Once you’ve chosen the perfect focus fabric for your ballerina quilt, you’ll want to choose background fabrics carefully, too. You learn how to audition both sides of focus and background fabrics in the pattern. Using a variety of background fabrics adds interest and sparkle to your quilt!

Image of Paige
Paige, 2011

Pointe isn’t all glamour and glory, though. Mom’s of pointe students are well aware of the time spent stitching in ribbons and elastic. Additionally, girls generally never outgrow point shoes because they break down too quickly and must be replaced often. They take special fittings and there are hundreds of options from which to choose.

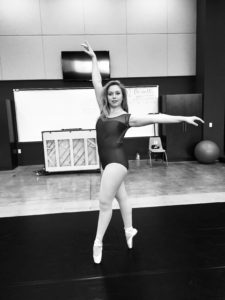
Image of Jacq on Pointe
Jacquelyn, 2018

For the young dancer, pointe shoes seem to be a right of passage. It takes determination, maturity, time, and skill…and the acceptance of bloody toes, ugly feet, and a large collection of expensive and eventually smell shoes!

Determined girls wouldn’t have it any other way.

Neither would Angelina Ballerina!

See more than 50 quilt patterns that use BOTH beautiful sides of fabric HERE.


Enjoy YOUR quilting journey!

« Older posts Newer posts »