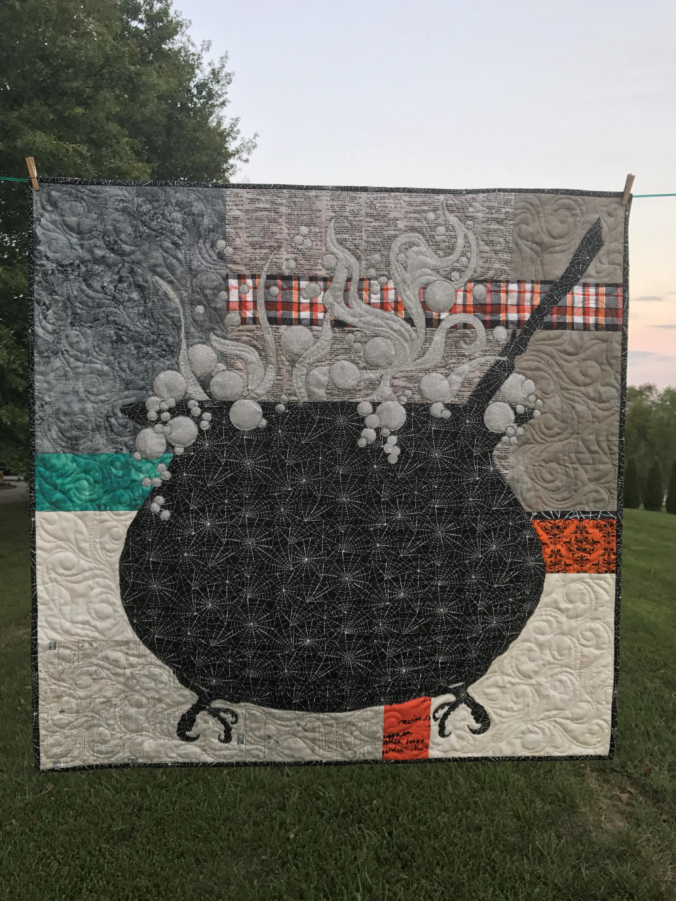
Something’s Brewing, all right, with this Halloween wall hanging!
This Halloween wall hanging is spooky fun to make.
What is this Halloween wall hanging quilt?
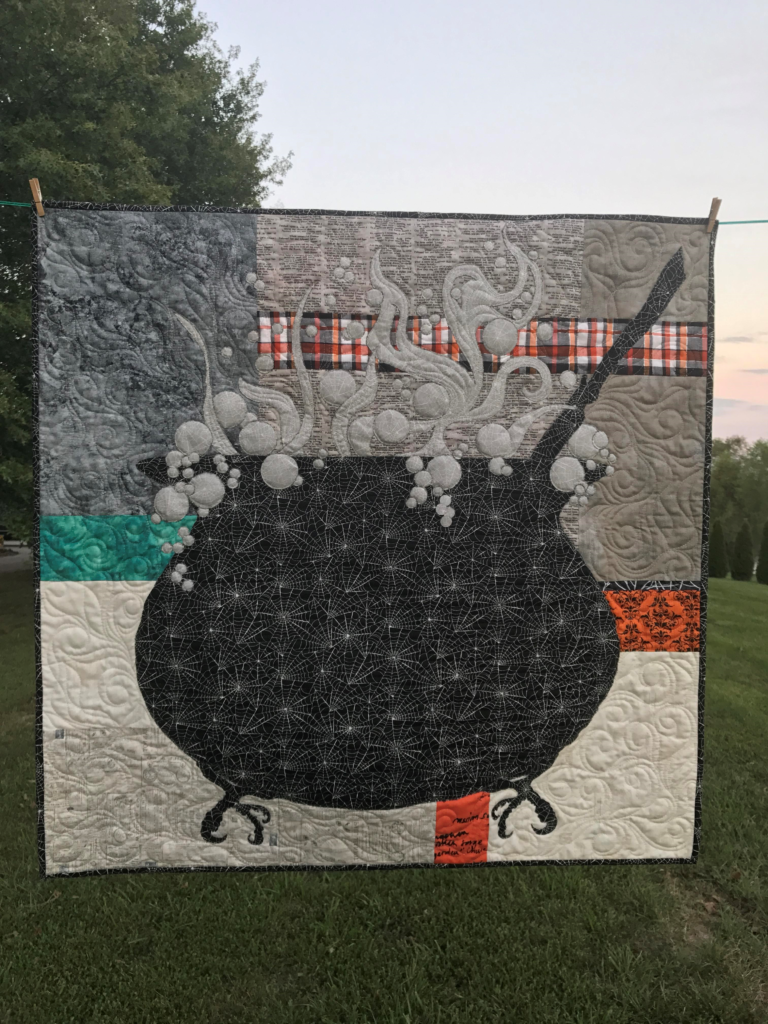
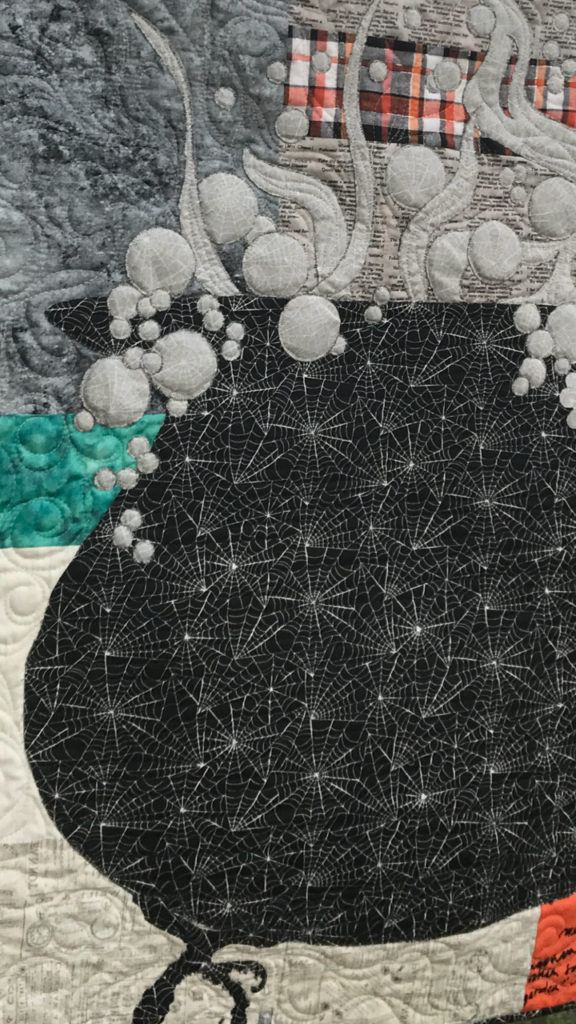
First, Something’s Brewing features a bubbling cauldron. The cauldron stands on two honey-buzzard claw feet. There’s even a broomstick to stir the pot! Bubbles and steam boil over the top and edges onto the fun background fabrics!
Most importantly, this quilted Halloween wall hanging is made using both SPOOKY sides of one focus fabric. The cauldron is shown made from the RIGHT sides of a black fabric with white spider webs. However, the bubbles and steam are made from the REVERSE of the same focus fabric. Make the binding with the same fabric, as well.
The pattern comes complete with a full-size paper template.
Secondly, make the quilt using easy and fast fusible applique techniques.
Value is the key to unlock the magic of this Halloween wall hanging.
Discover the nuances of value as you learn how to audition BOTH spooky sides of fabric! Begin with the focus fabric. Once you’ve chosen that, start auditioning both sides of possible background fabric options.
The scrappy background fabrics.
Make your quilt sparkle by choosing a variety of background fabrics. Something’s Brewing is shown here with an eclectic mix:
My favorite fabric in this quilt: text from MacBeth!
See all the Halloween patterns and shop more than 50 designs that use BOTH beautiful sides of fabric HERE!
Finally, I have to share how fun it was to design and make this quilt, especially the honey buzzard claw feet and broomstick. Also, I love to see the creative cauldrons that customers and students make! There are LOTS of fun Halloween fabrics out there (and maybe in your stash) that would make a great cauldron.
Hope you’ll be stirring up something spooky soon!
Enjoy YOUR quilting journey!
Patterns available at etsy.com/shop/CreativeBeeStudios
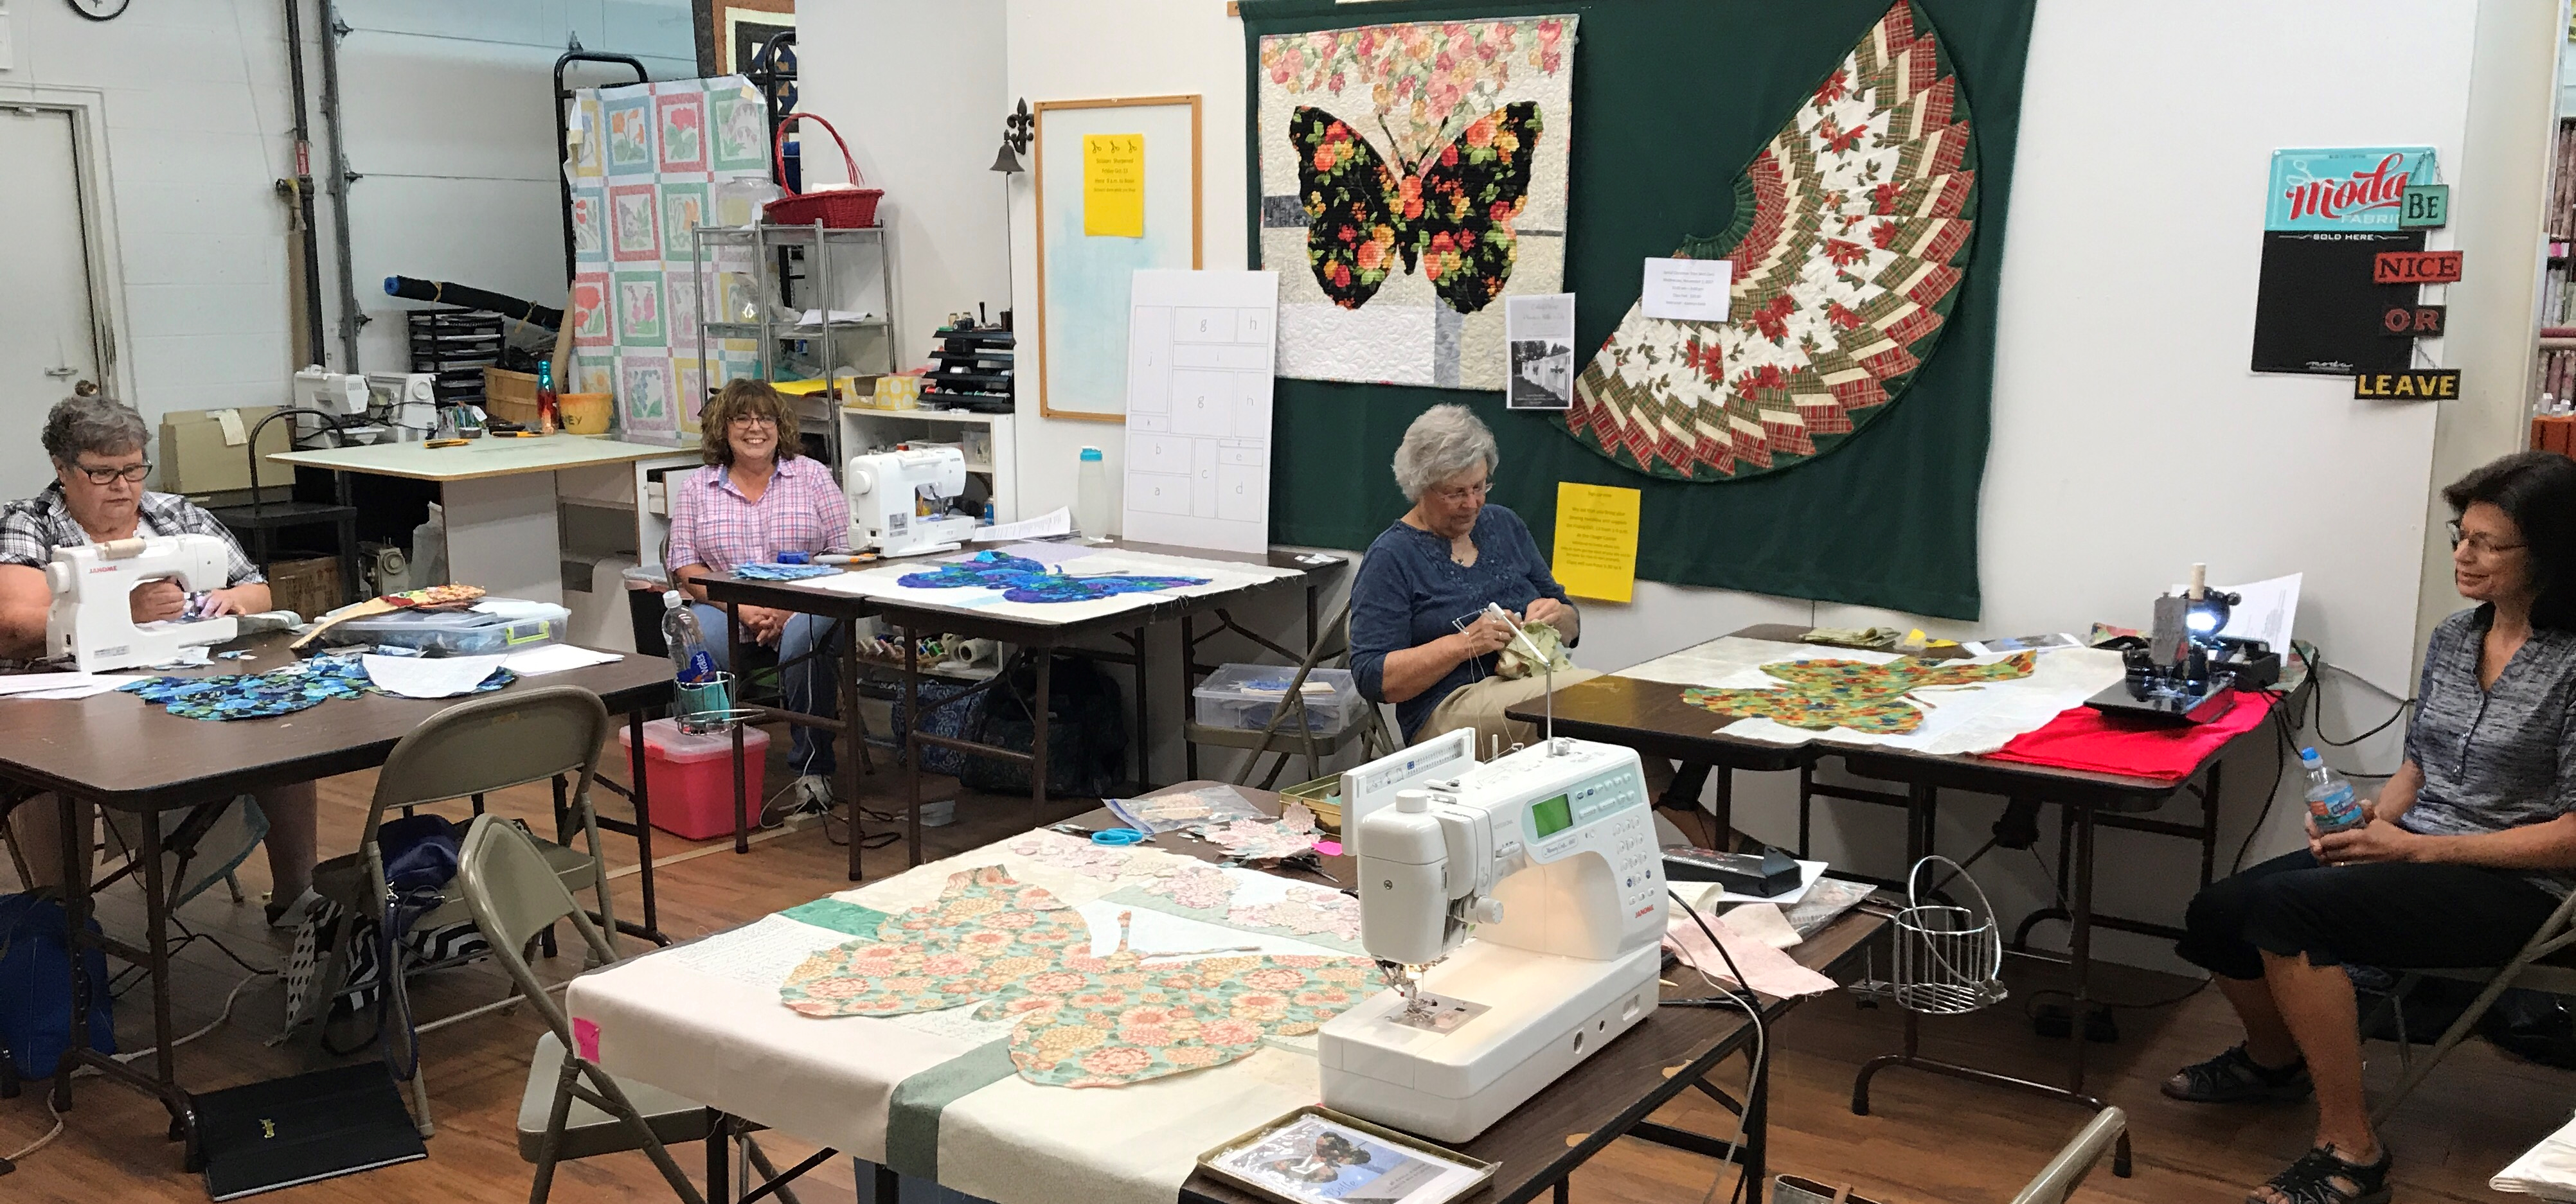
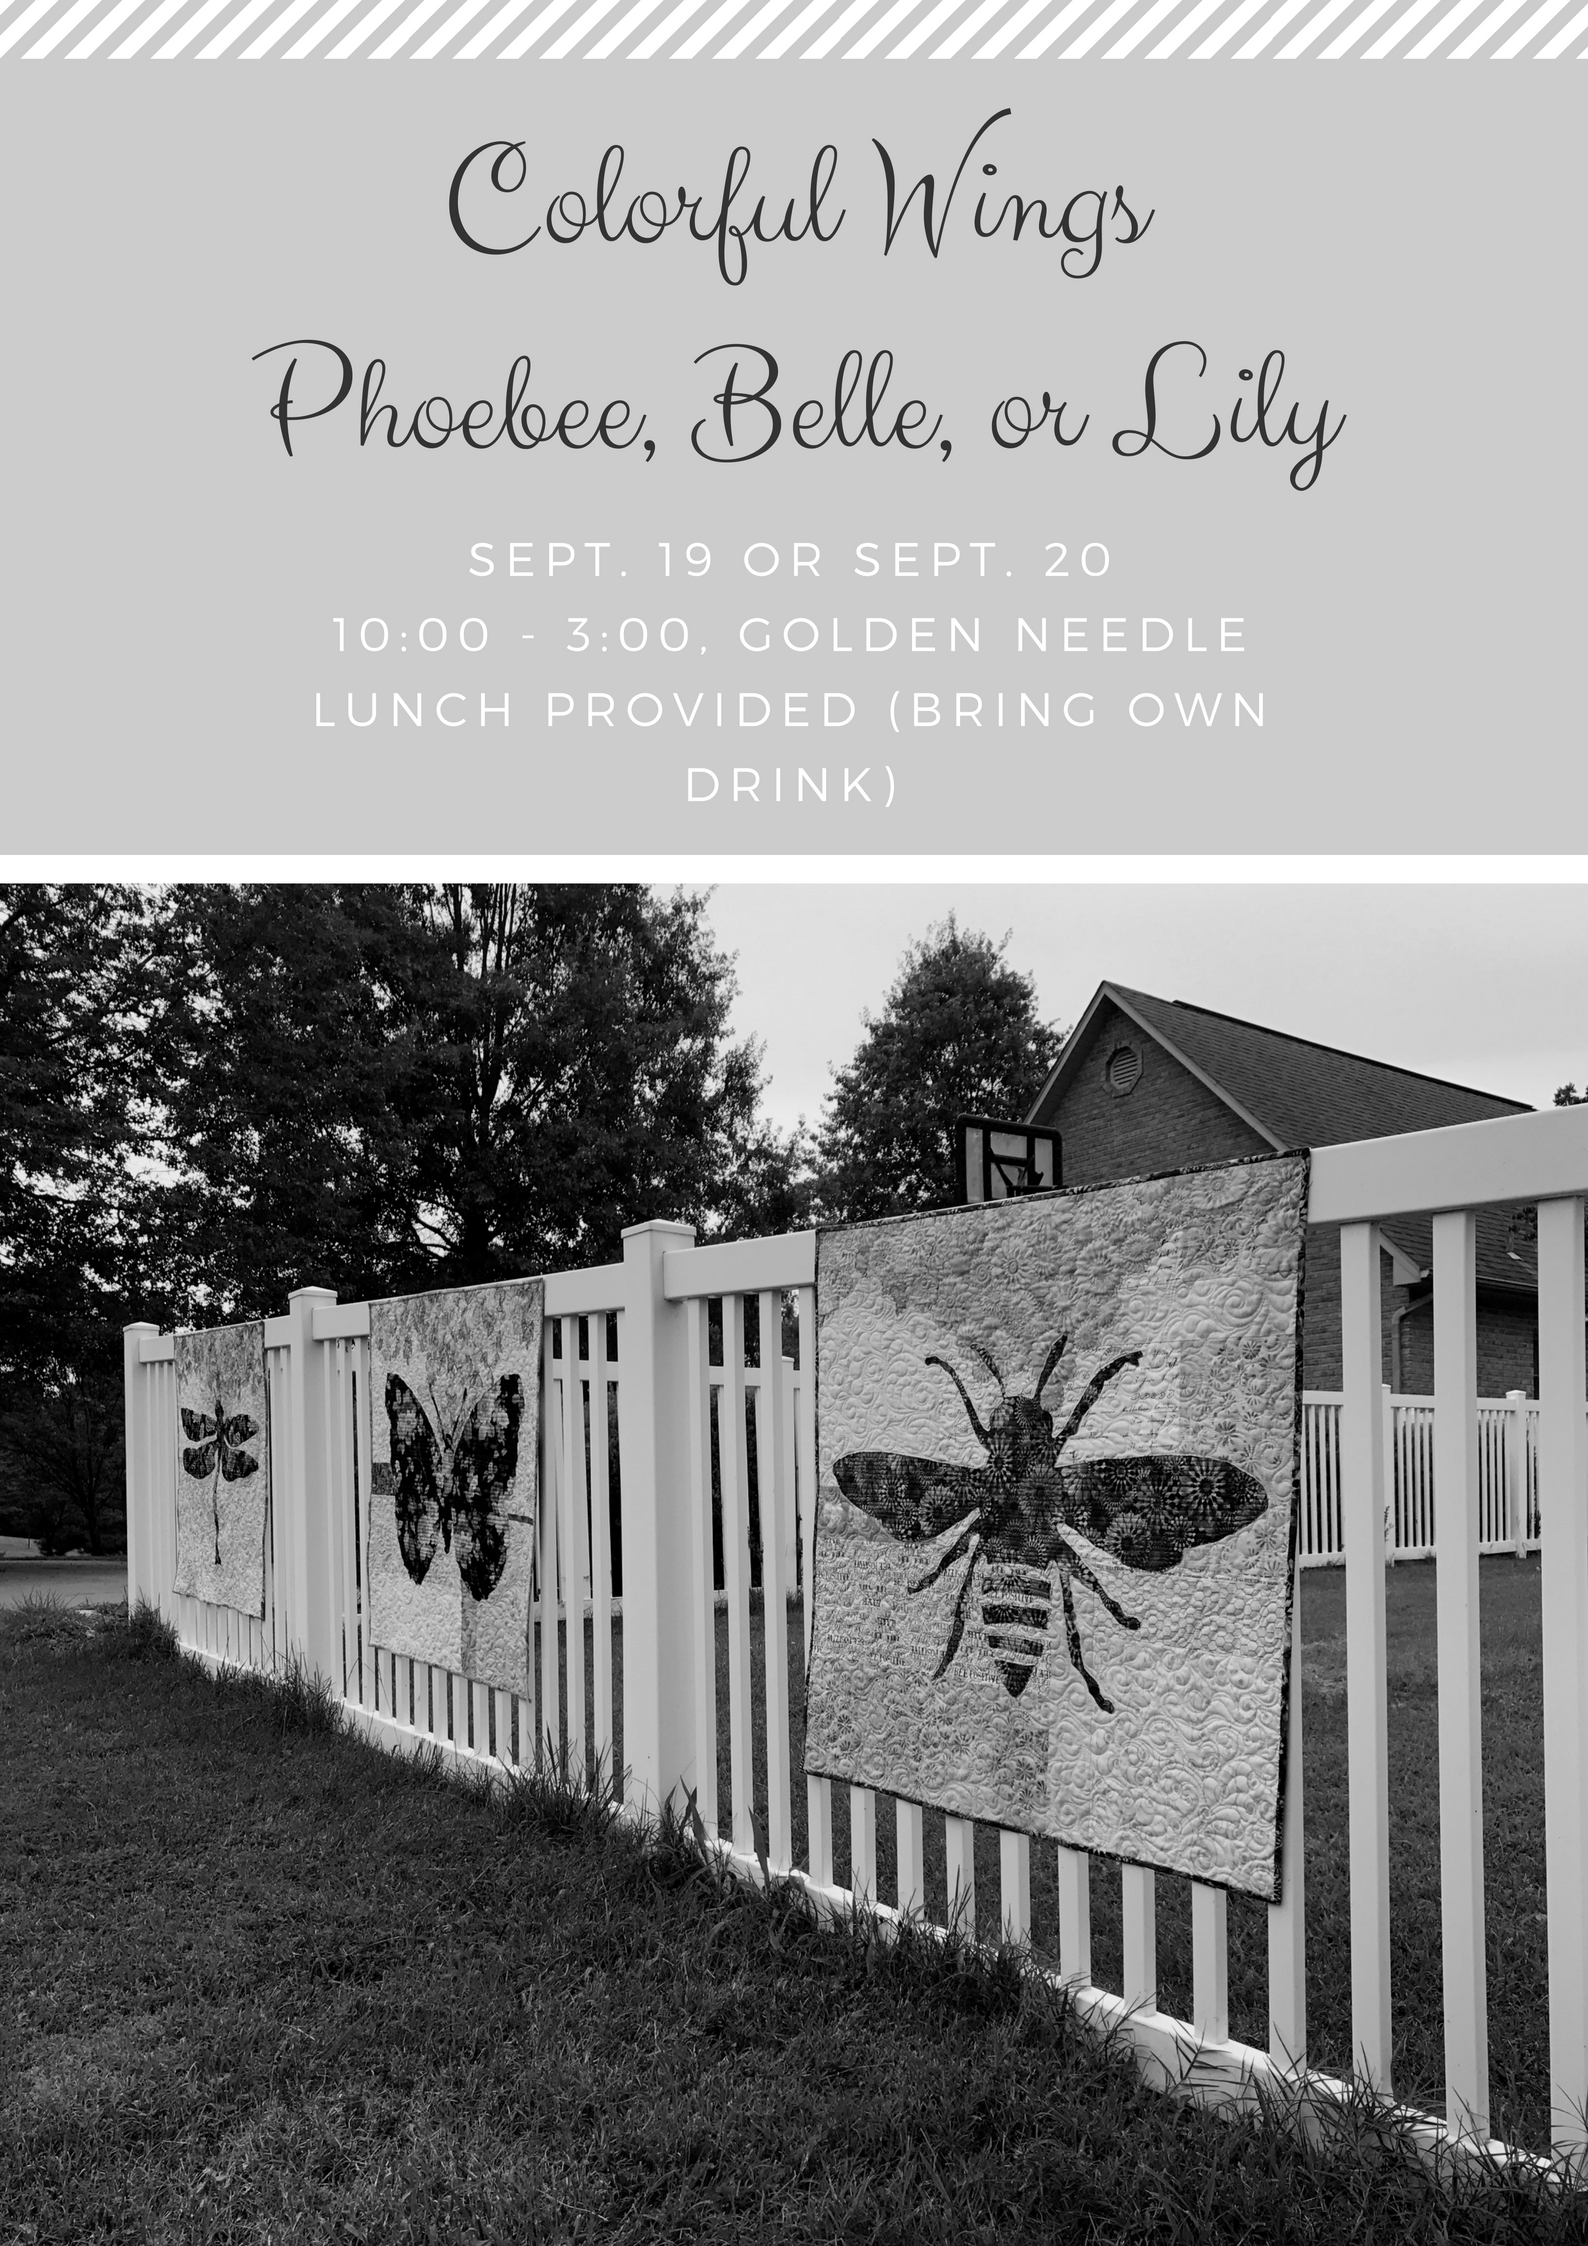
There’s something really fun about watching eleven ladies take one pattern (Phoebee, Belle, or Lily) and make it their own. The trick to these patterns is auditioning the fabrics – which can actually take more time than putting the top together! They did a fantastic and creative job of fabric selection and color/value placement of all the elements (background pieces, accent strips, and both sides of the focus fabric).
In addition to making these beauties, we had tips, door prizes, a mini-trunk show and lunch.
To not reveal their quilts before completion, I’m just going to give you an “in-progress” peek at the variation in these winged-girl quilts:
Great job, friends!
Now let’s get looking to #usebothsides of your focus fabric to make some beautiful bouquets!
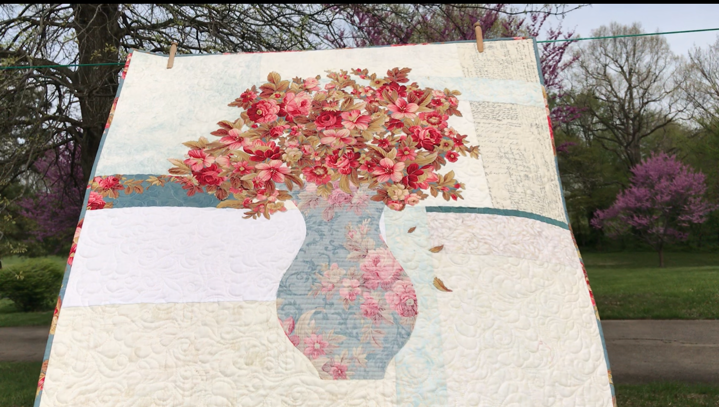
Rose uses the reverse of her focus fabric for the vase and the front for the bouquet and binding.
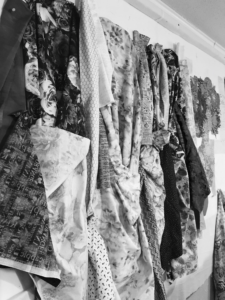
When you pin fabrics to your design wall, you can step back, get perspective, see how a fabric reads at a distance, and most importantly observe the values.
Granted most quilters don’t audition fabrics for four quilts all at the same time, but in this case, having four new designs waiting to be created made me realize how much more I like auditioning fabric on the wall rather than on the table or floor.
Plus, it’s much easier to take that black and white picture for observing value when the fabrics are in front of you! See The Tricky Traits of Value.
This past week was the kickoff of classes for Colorful Wings (click here for patterns) and I can’t wait to see the eleven finished quilts. In the meantime, my next post will give you sneak peek on how completely unique each of these winged-girls (and boy – yes, we had one boy) are!
A big thanks to all of the eleven students who took the challenge to #usebothsides!
Shop for Phoebee, Belle, and Lily from the Colorful Wings pattern series and Rose from the Colorful Petals series at www.etsy.com/shop/CreativeBeeStudios.
How do you audition your fabrics? Do you use a design wall? Please comment below.
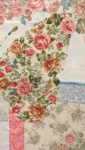
The rose bouquet quilt shown here is appropriately named Rose.
This Rose bouquet quilt was the first made in a series of bouquet quilts. Each quilt was as different and distinct as the focus fabric from which it was made!
Rose is made with both beautiful sides of one focus fabric!
First, the focus fabric for this Rose bouquet quilt is Bed of Roses by Geri Robinson by Red Rooster Fabrics. It is used for the vase (REVERSE), the bouquet, and binding. Unlike other similar quilts, one accent strip in the background is featured in this quilt to demonstrate the contrast between the right and reverse sides.
The scroll work on the focus fabric for the Rose bouquet quilt doesn’t appear on the right side, but it makes a beautiful design on the vase when you use the reverse!
The key to making a Rose bouquet quilt is learning how to audition both sides of fabric. Value is the key! First, you will discover the nuances of value as you learn to audition both sides of focus fabrics. Likewise, once you choose your focus fabric, you’ll apply the same principles (tips) to audition background fabrics. It’s easy to audition fabrics when you know what to look for.
Basically, the Rose bouquet quilt is made using fusible applique and broderie perse techniques. Simply put, you’ll trace and cut the vase from a full-size paper template. Next, you’ll cut flowers and leaves from the motifs on the fabric. It’s as simple as fusing them onto the background fabrics. Finally, the applique can be secured during the quilting process, making this a truly fast project to make.
Phoebee, Belle & Lily
In conclusion, just like the quilts shown above, Rose is a fast, fun wall hanging which makes it a great gift or decoration for your home.
Choosing fabrics for quilts isn’t hard, but it can be tricky.
Choosing fabrics for quilts involves auditioning the color, size of motif, and value of the fabrics. I have long thought I understood the value of fabric values. Value is what makes, say, a simple, two-color quilt have bold areas of light and dark. Value also makes those cool secondary patterns in your multi-color quilt design appear like magic.
Easy, right? I thought so. However, a few years ago (actually about 20 now), Blended Quilts became popular. I became mesmerized by blended quilts. I bought the books and studied them, reading about fabric choices and how to combine fabric values to work together, while not being too obvious. Turns out, I never did really “get” it. It was too hard for me to look past the floral motifs and colors. Thankfully, our guild had a program presenter who sold blended kits! Problem solved (for the moment).
Turns out, choosing fabrics for quilts based on value can be tricky!
For the record, I love all kinds of quilts.
Karla
My Grandma Emma Wichern’s lavender and white embroidered quilt is precious to me. Simple, clearly defined values. But I also love those wild “crazy-quilts” which practically shout in all dark values. Modern is fun, bright, and happy…or sometimes calming and simple. I have a passion to some degree for all types of quilts. But what really gets me excited about a quilt is when it is successfully splashed with all kinds of rich, colorful and different fabrics…and it works! Value is what makes the magic happen in those quilts.
To truly know the value of fabrics, you have to remove the color.
You can do this numerous ways, but the simplest trick for me is to take a picture of fabric choices or my blocks on my design wall with my phone and change the picture to black and white (mono or noir). Colors and motifs can fool you. For us quilters, fabrics aren’t just fabrics. They evoke emotion (usually happiness). I used to fall in love with a fabric, or line of fabrics, and be determined to use it because of my emotional connection. Consequently, I’ve made some quilts that turned out okay, but had the potential to be brilliant.
When choosing fabrics for quilts, remember that values change depending one their surroundings.
That’s the tricky part! A quilter once said, “My Light looks too dark when I use that light of Medium.” Okay, that was me who said that, but it’s true! And, it can be tricky.
Light. Medium. Dark.
The fact that my neat little piles of lights, mediums, and darks can change their values, depending on what is around, them was a “V8” moment for me!
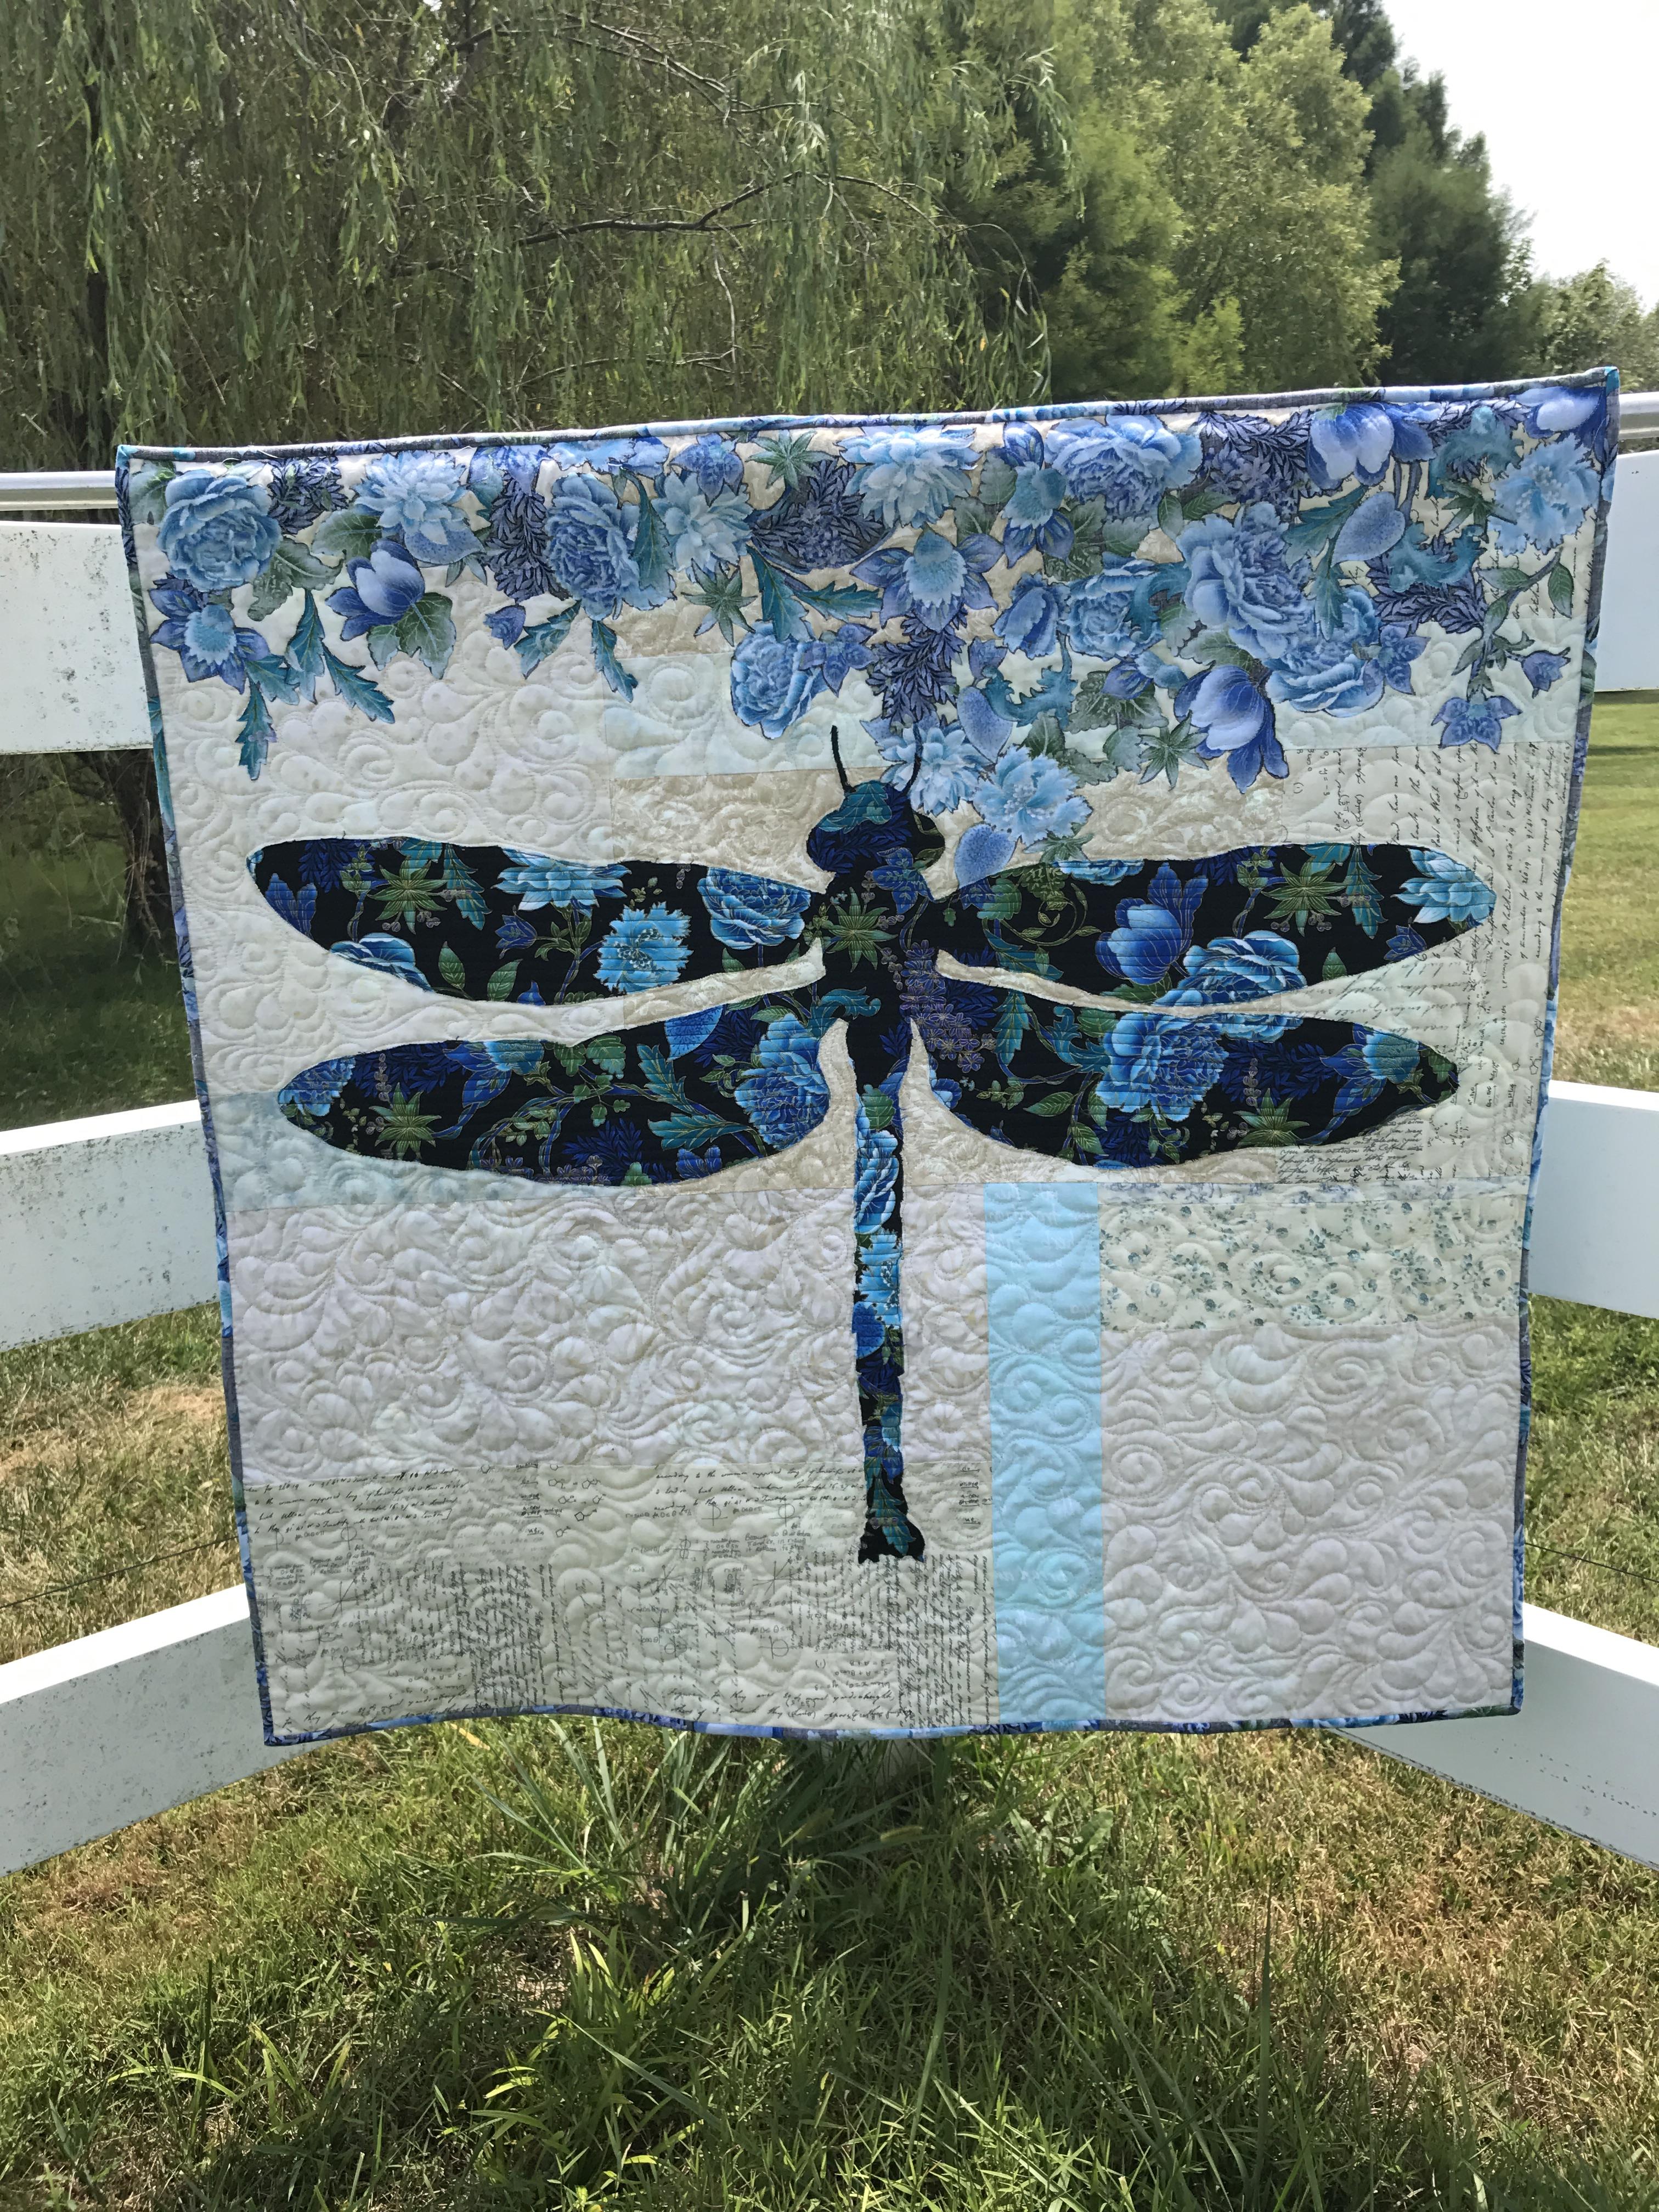
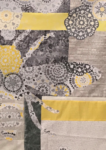
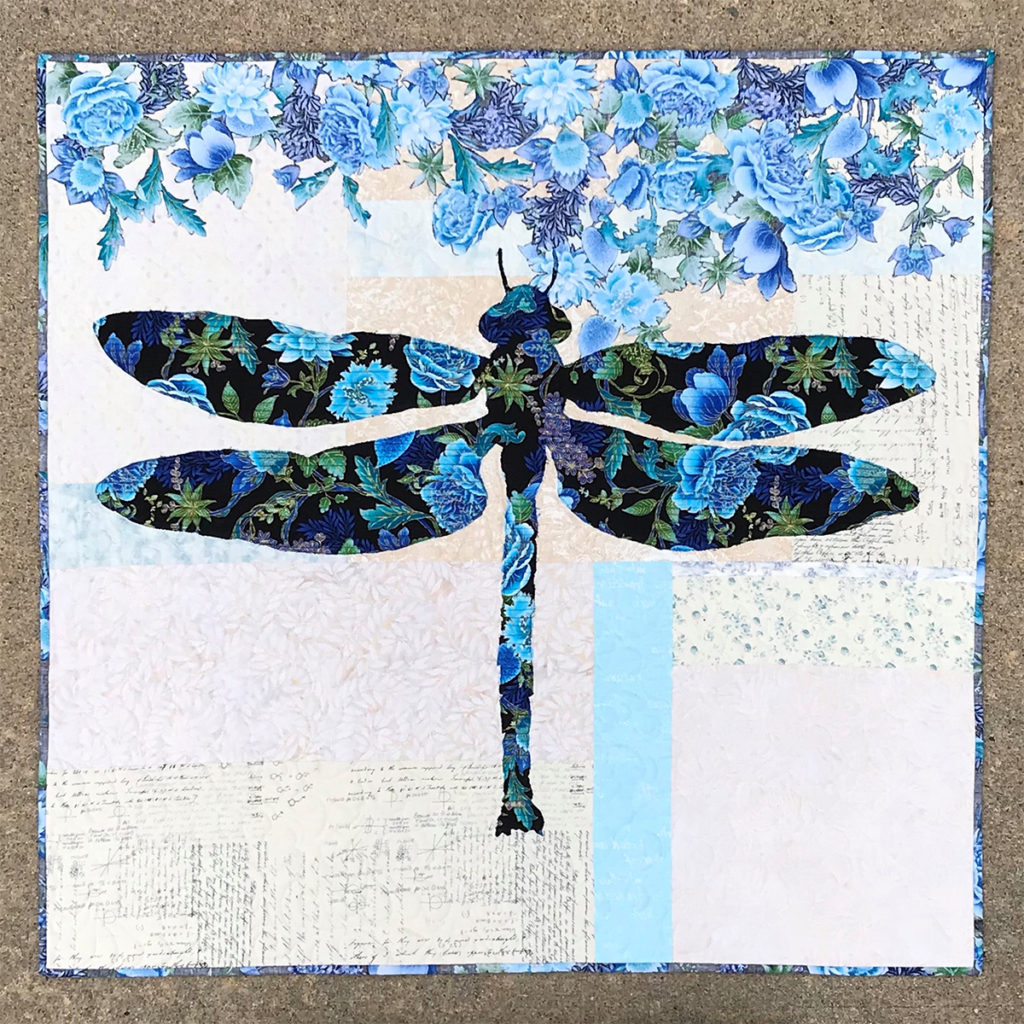
Let’s look at this dragonfly quilt for an example.
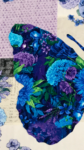
Lilly’s background is made of scrappy, light neutrals with a couple of colorful accent strips. The background is light when compared to the dragonfly focus fabric. The flowers at the top of the quilt are made from the reverse side of focus fabric. The flowers “read” as a medium value. Clearly the dark value of the dragonfly is what you notice first. The flowers are secondary. The various background fabrics catch your eye last and allow your eyes to linger on them.
When you are just working on your background, those strips of color can look quite bold and may seem too dark to be part of the background. But when looking at those same fabrics in black/white WITH the focus fabric laying across them, they all fall into the light category and they work!
Even the colorful accent strips disappear in this black and white photo.
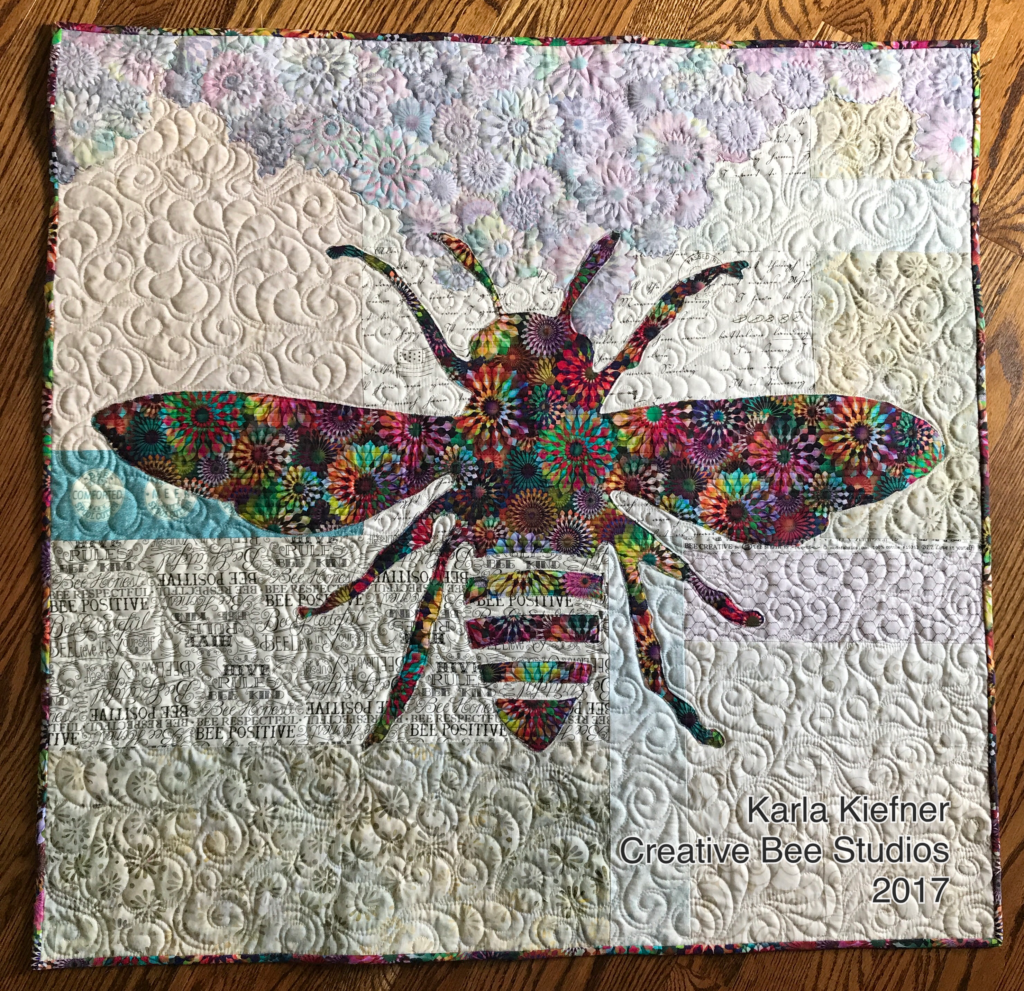
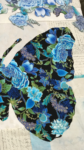
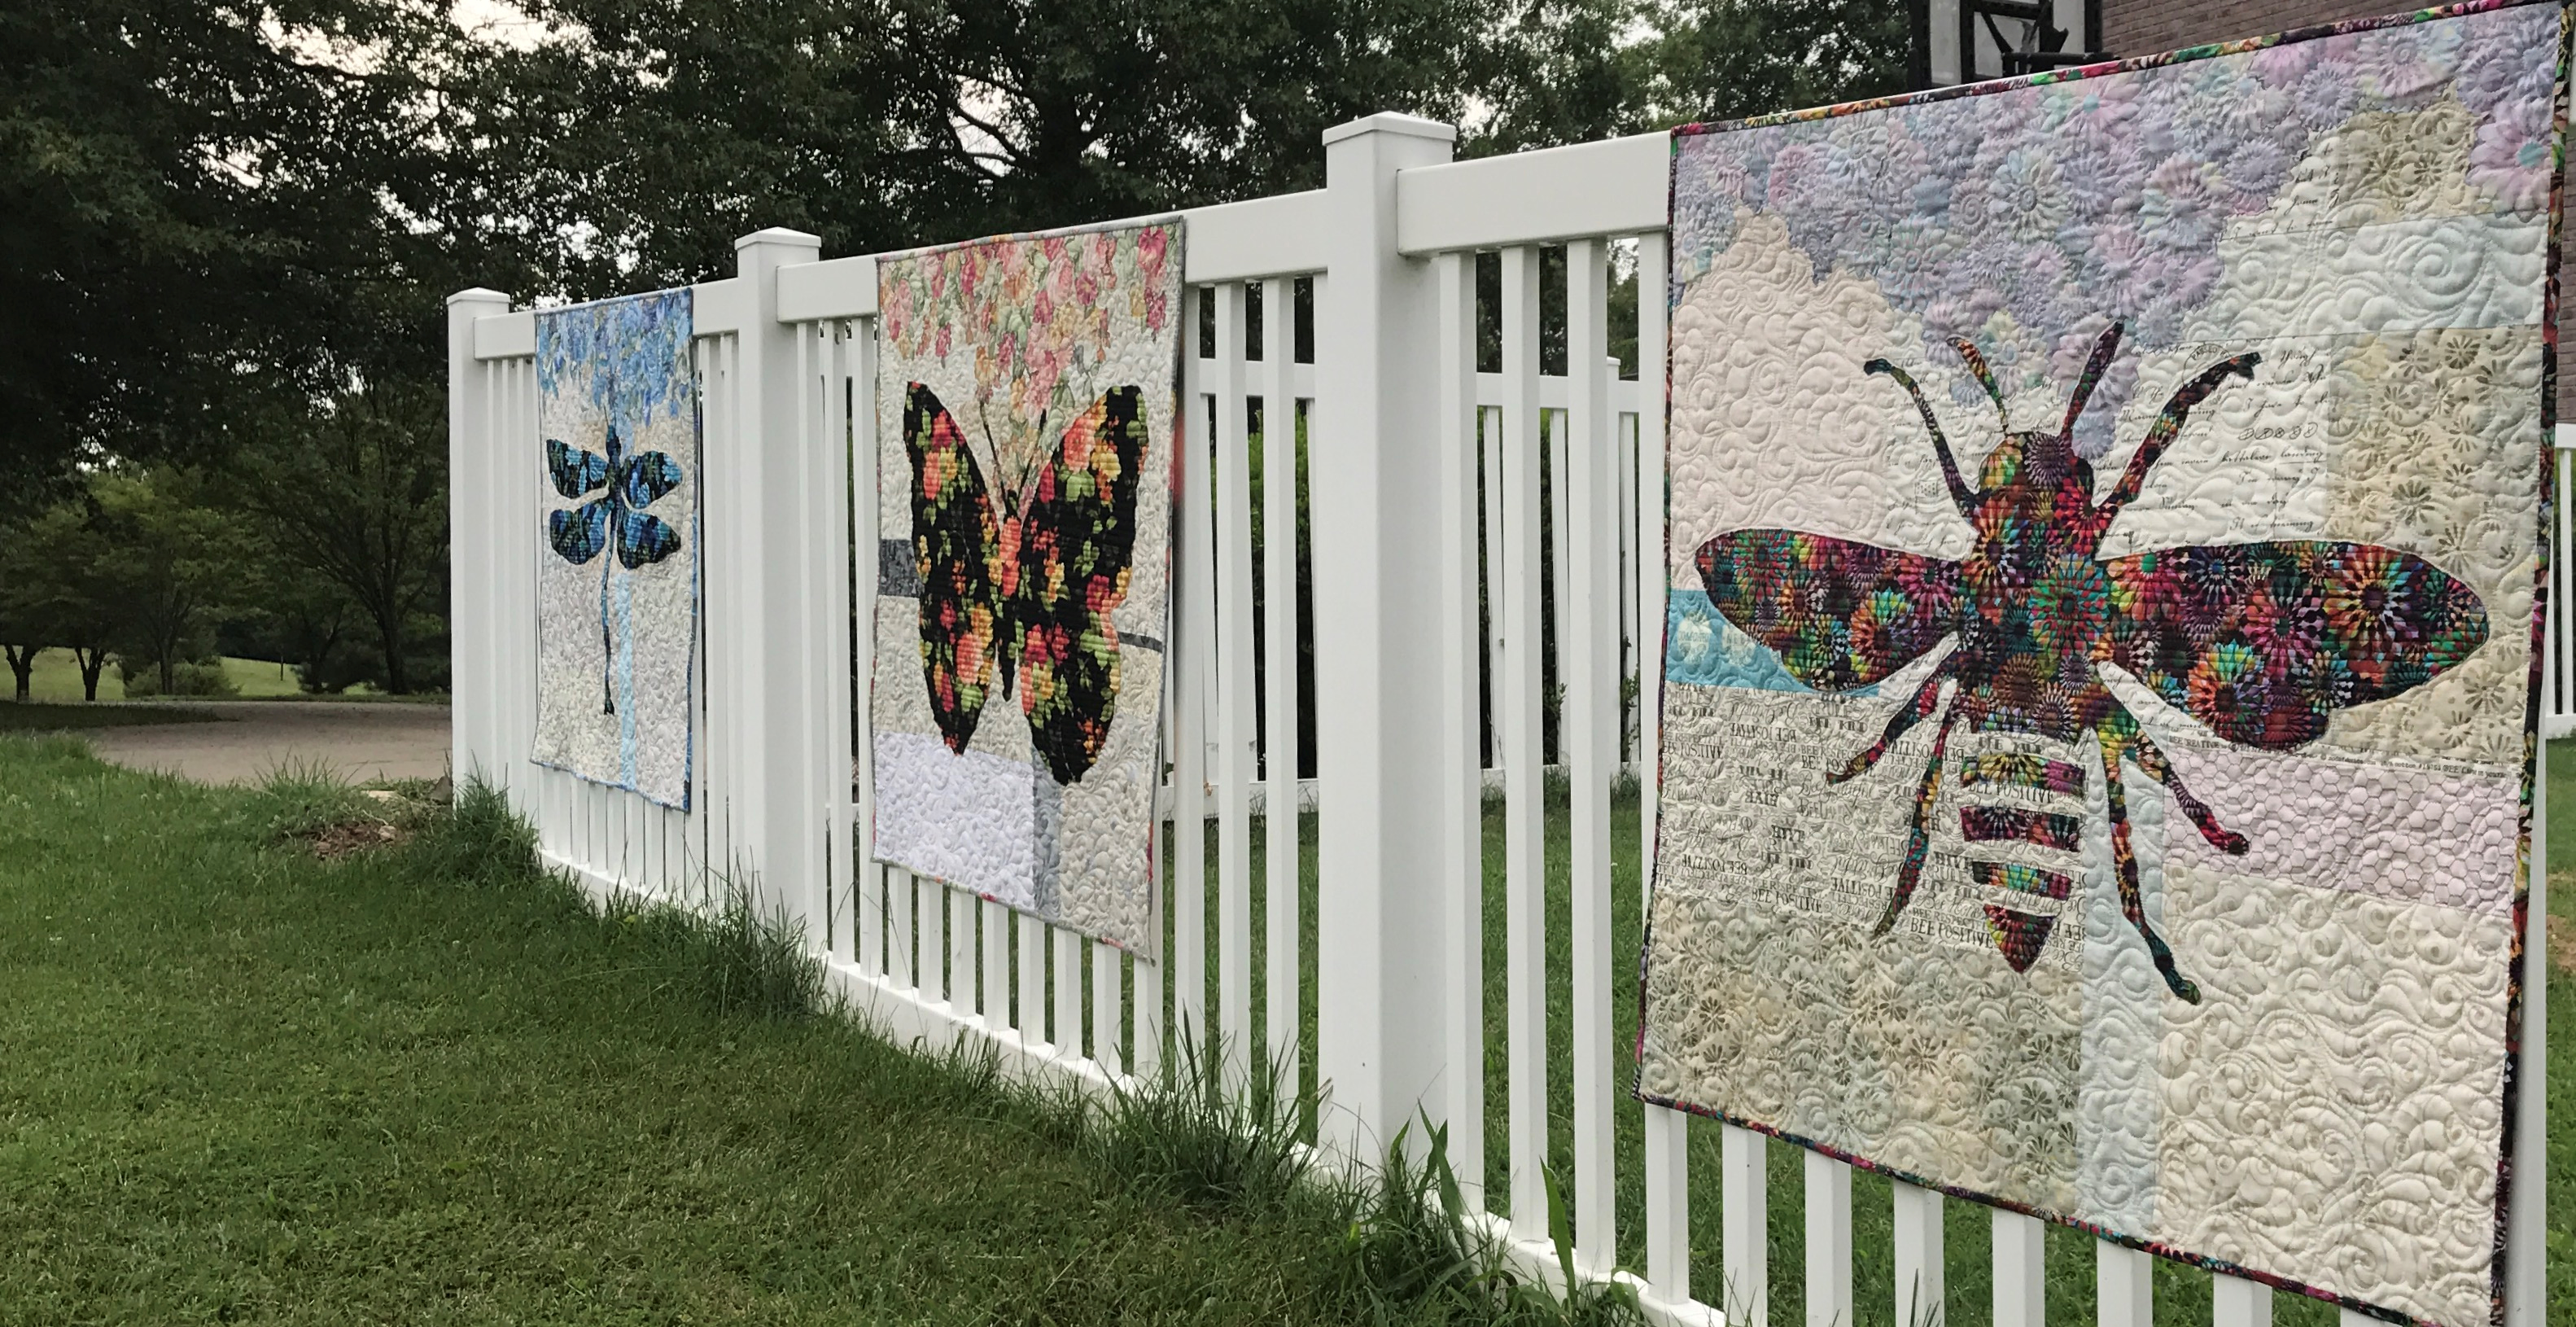
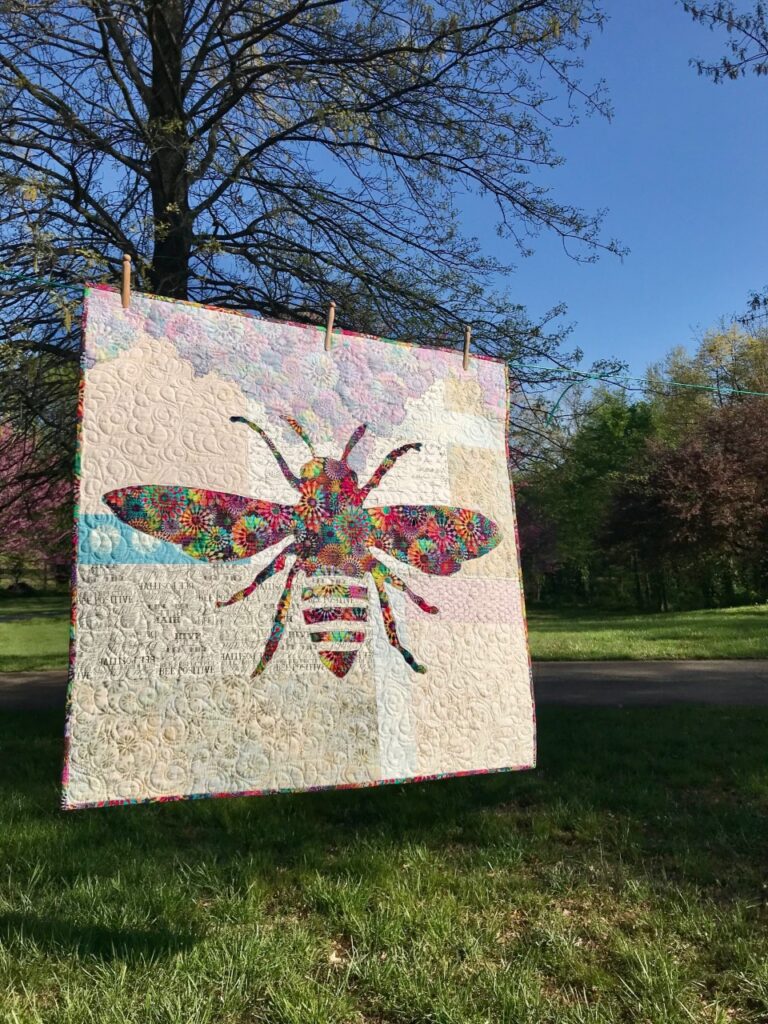
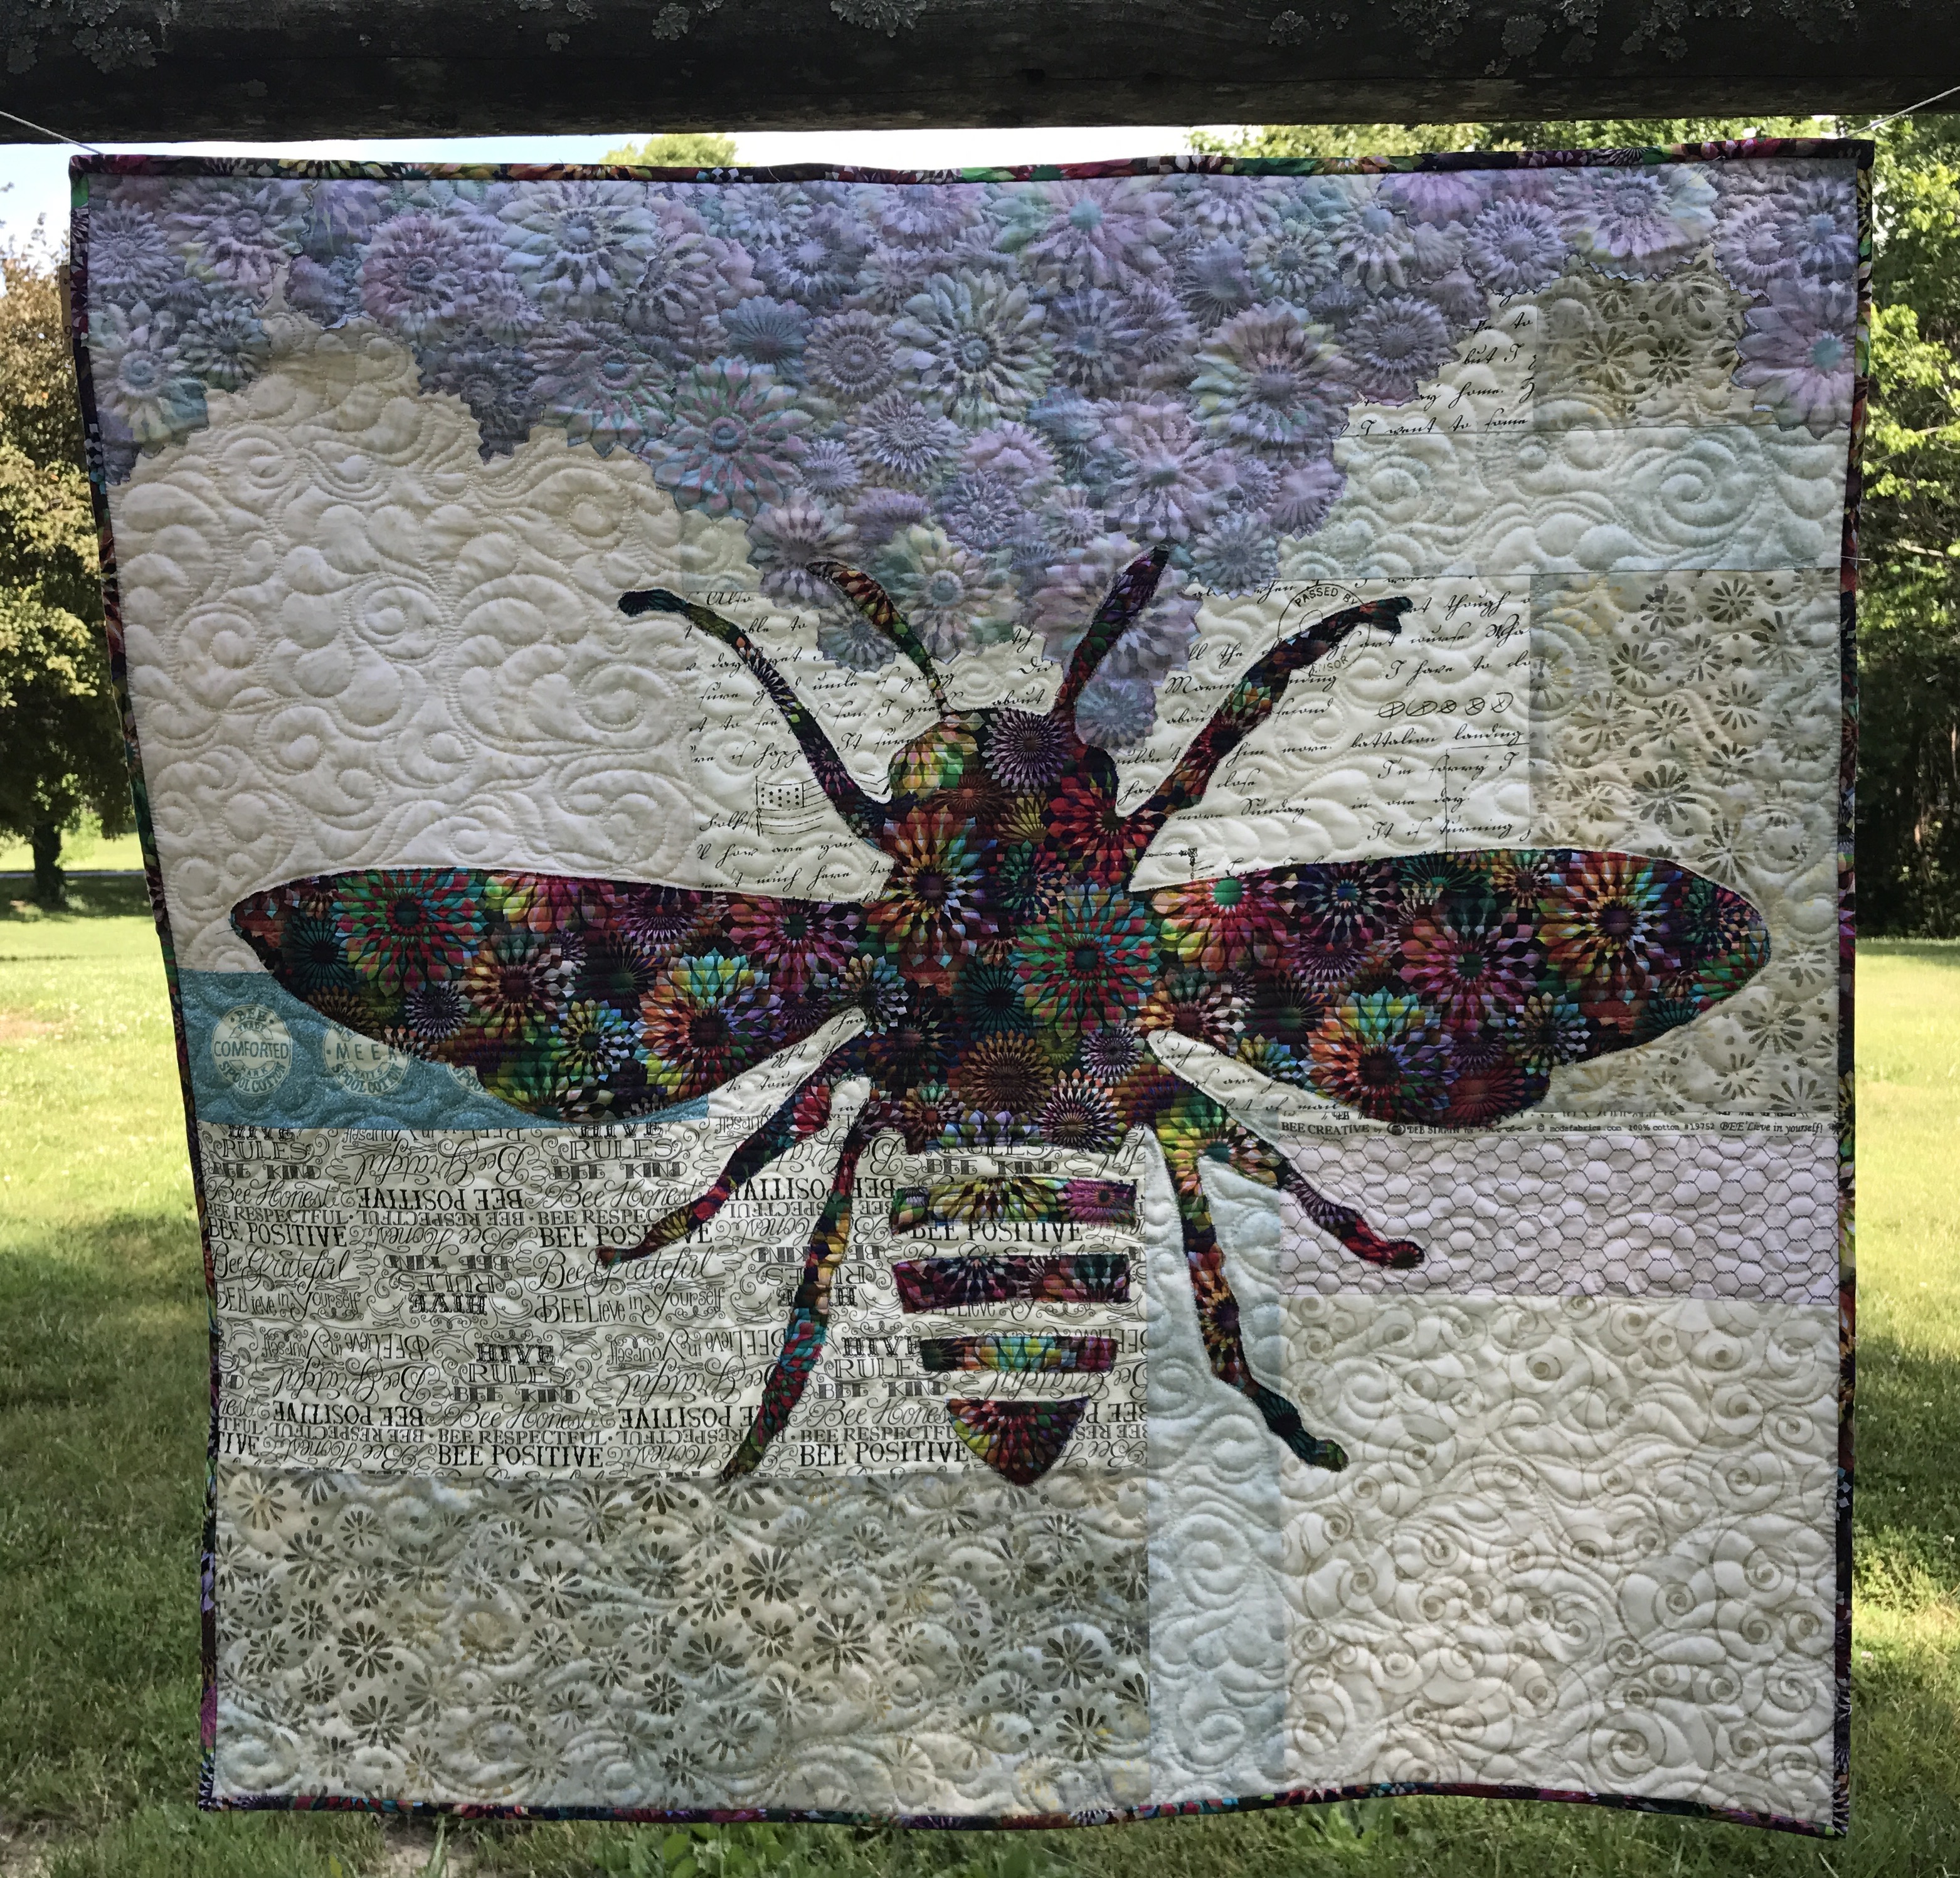
Phoebee is made with both sides of one focus fabric on a scrappy background. Choosing fabrics for this quilt is how I first learned the nuances of value. Using both beautiful sides of fabric taught me that lesson.
Notice that the boldness of Phoebee’s focus fabric allowed for a variety of values in the eclectic background. Phoebee is clearly the “buzz” of this quilt!
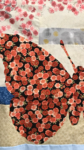
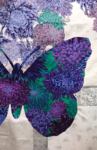
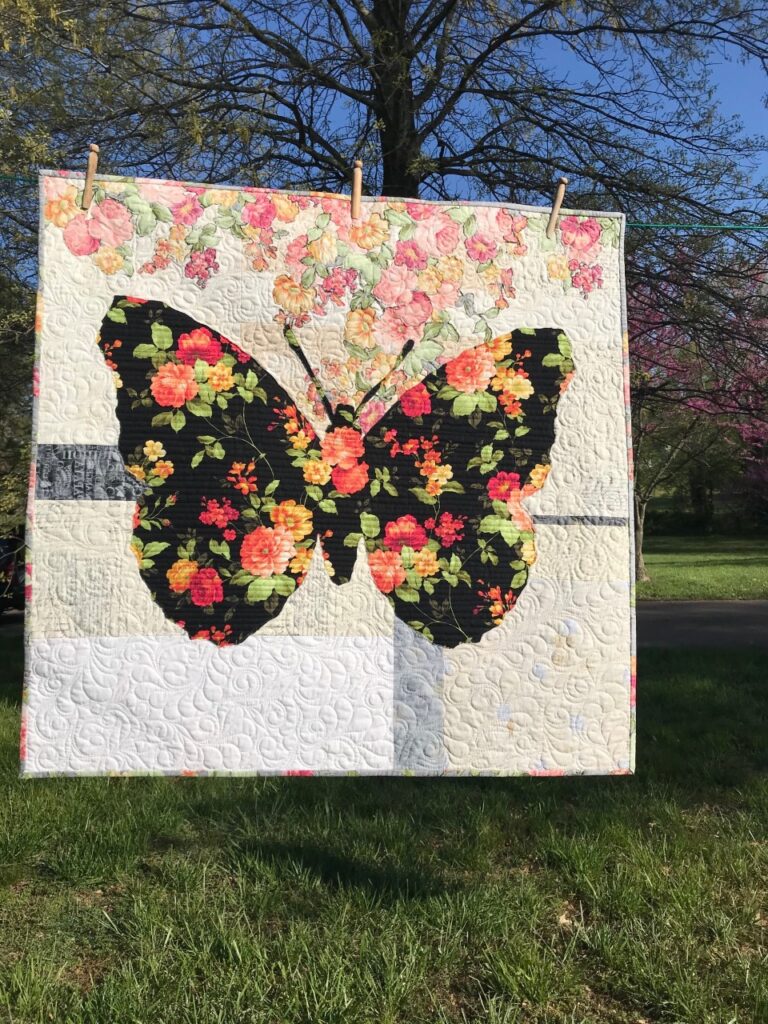
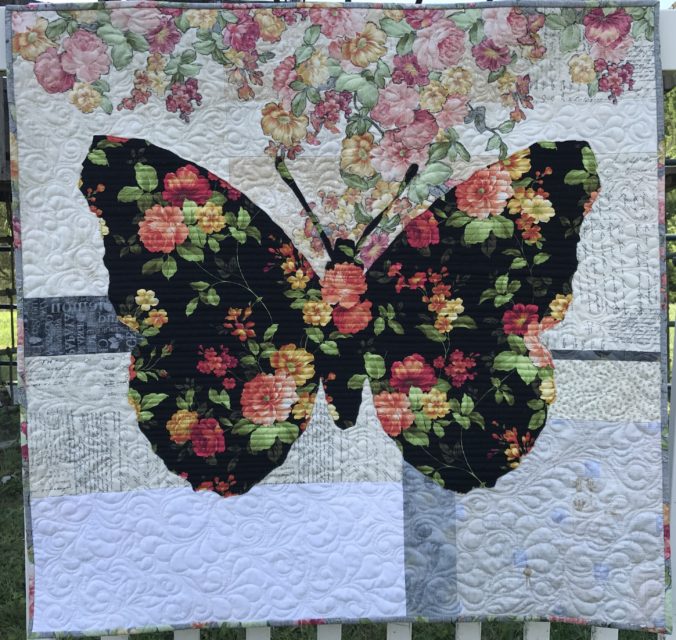
Next, lets look at Belle, the butterfly quilt.
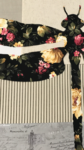
Again, the RIGHT side of the butterfly focus fabric has a dark enough value that it can “handle” a lot from any background fabrics, including the accent strips. However, the REVERSE of the flowers made from the same background fabric are medium to light in value. Some of those flowers might have been lost if the value of the background fabrics were too similar.
In conclusion, choosing fabrics for these quilts might be a little out-of-the-box for some quilters, because they call for mixing so many colors of background fabrics. But if you follow this guideline it’s easy: If the value is right and you like the fabric, use it. It’s freeing to combine lots of “styles” of fabrics, like miniature prints, batiks, grunge and more! I encourage you to combine a variety of fabrics in your quilts. Remember, it can be fun choosing fabrics for quilts, when you take the guess work out of it.
It’s the combination of background fabrics that make these quilts sing!
Classes starting in September. Patterns available now.
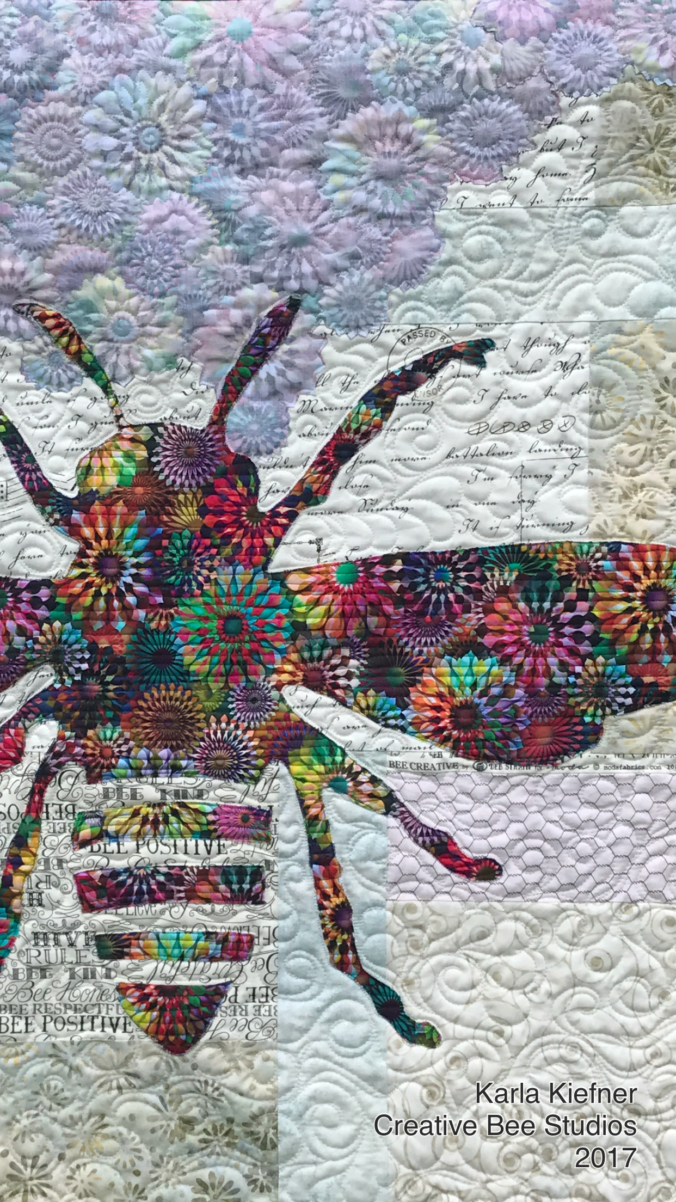
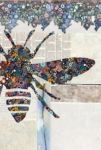
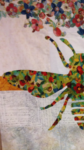
After being inspired at quilt market (See Six Favorites from Quilt Market), I knew I wanted to mix lots of different fabric types to make a bee quilt. While I thought the shape of the bee would be “in the mix”, the background is actually where I used a variety of styles of fabrics:
chicken wire fabric from the 90’s, inherited from my mother-in-law, Pat, (love)
My Crystalia fabric became my bee. Her flowers I made from the “wrong” (such a harsh word) side of the same fabric.
I guess you could call the flower technique a “modern broderie perse” (thank you, Kelly). They are made with simple, fusible applique and are cut without fussing about the edges – in fact, I encourage letting background show through as it ties the two sides of the fabric together in the quilt.
In my classes and in my patterns, I point out that all reverse sides of fabric are not alike — audition your front AND back sides with your background fabrics.
The best way for me to describe a good reverse side is to say that it should “sing” just as much as the front, just with lesser value.
Phoebee
One thing I liked most about Phoebee was that she seemed to be getting her life and beauty from the flowers. Thanks to the hubby for her name–which in Greek actually is spelled with two “e’s” at the end and means “bright, pure”.
Next came Belle. She’s a French butterfly. Belle means “beautiful” (I NEVER got that about Beauty and the Beast – blush).
I found Belle’s fabric, Estate Gardens by Andover at my local quilt shop, The Golden Needle. I used similar neutrals in her background, but stayed with different shades of gray (some reversed) for the accent strips. Her binding is made with the reverse side out.
Note: I like to mix all shades of neutrals – white whites, beiges, off-whites- and all types of fabrics like tiny prints with batiks and novelties.
Last but not least, meet Lily.
Lily is a sweet dragonfly made from Tree of Life fabric by Chong A Hwang for Timeless Treasures, also found at my local quilt shop. Her background accent strips are in aqua because a) that’s my favorite color and b) I wanted to connect her to the water locales dragonflies love.
Visit my Etsy page or The Golden Needle for patterns. If you are interested in weekend or evening classes, let me know in the comments below.
Next up is a review of value, very helpful for auditioning fabrics for Colorful Wings quilts! Don’t miss a post – sign up below for email notification! Thanks so much for following. Karla
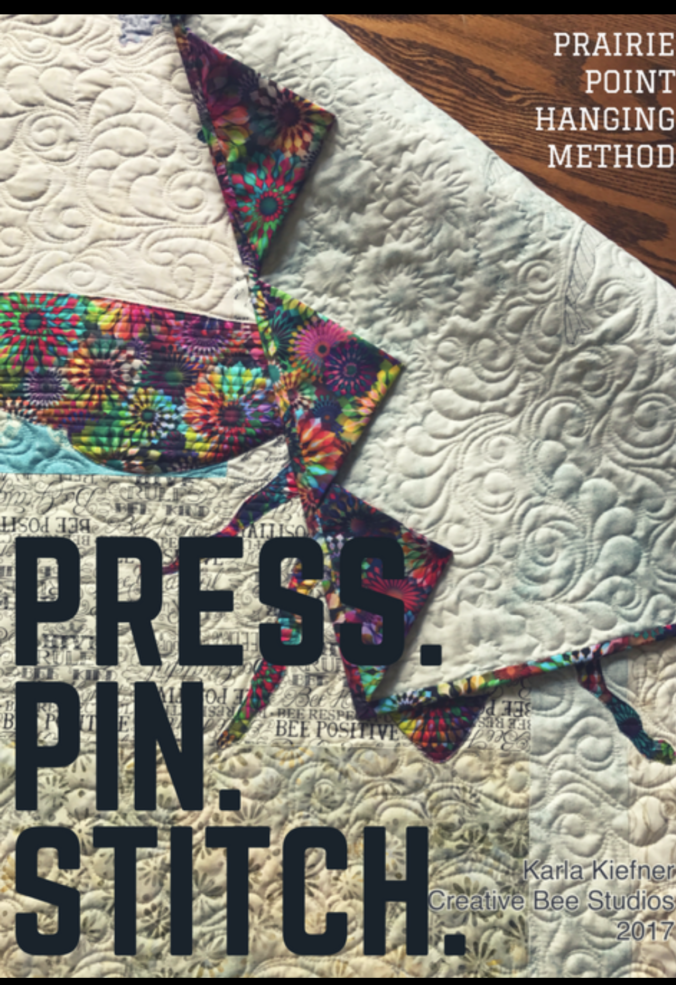
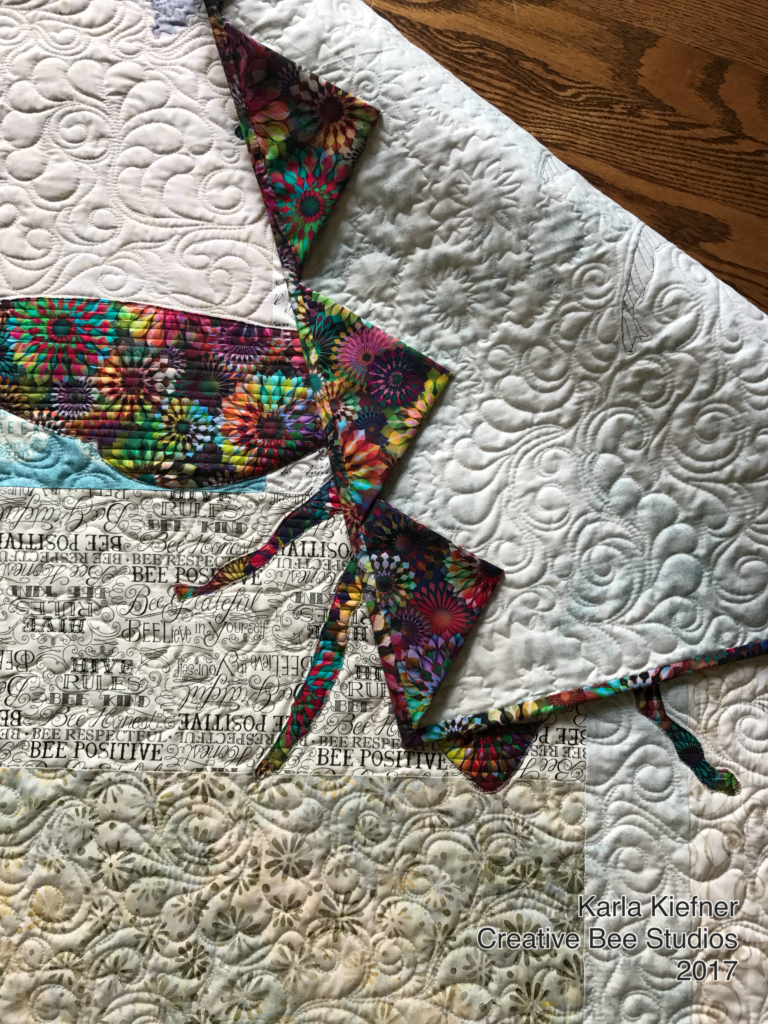
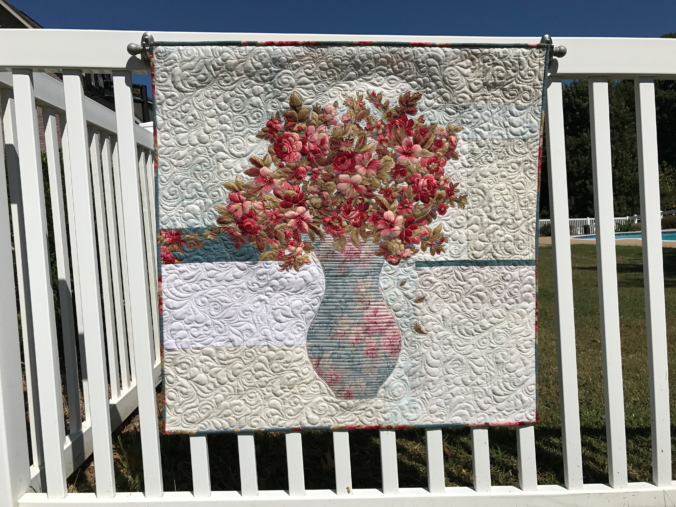
Use pretty prairie points and just a couple of hand-stitches to hang your quilts.
The Prairie Point Hanging Method is as easy as 1, 2, 3…4 stitches!
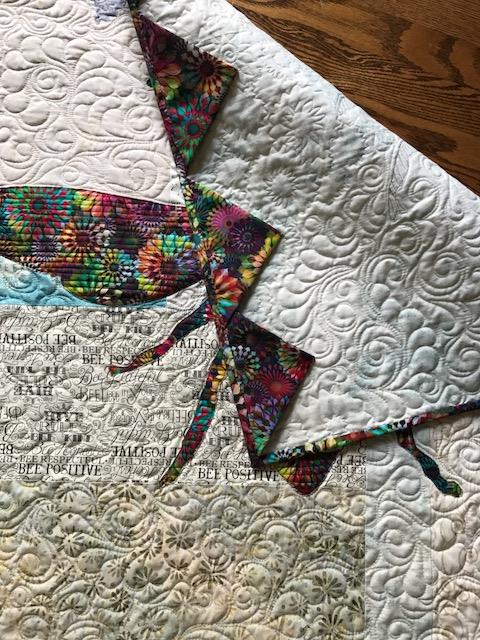
1. Fold and press fabric squares diagonally, twice, just like you would when making prairie points.
2. Pin the raw edge of the prairie points (triangles) at the top edge of the back of your quilt, spaced evenly.
3. Baste across the top of the quilt by machine and make four stitches by hand (with doubled thread) on the points of each triangle, making sure you only stitch through the backing and batting.
It’s EASY, FAST, and PRETTY! Click here to see this quilt.
Prairie Points Hanging Method
Adjust the size and number of your squares based on the width of your quilt. For example:
Four 7-inch squares make prairie points for a 24-inch wide hanging.
Four 16-inch squares work well for a 48-inch quilt and easily accommodates the largest requirements for our quilt show standards. Simply add more of the same size prairie points for a bed-size quilt.
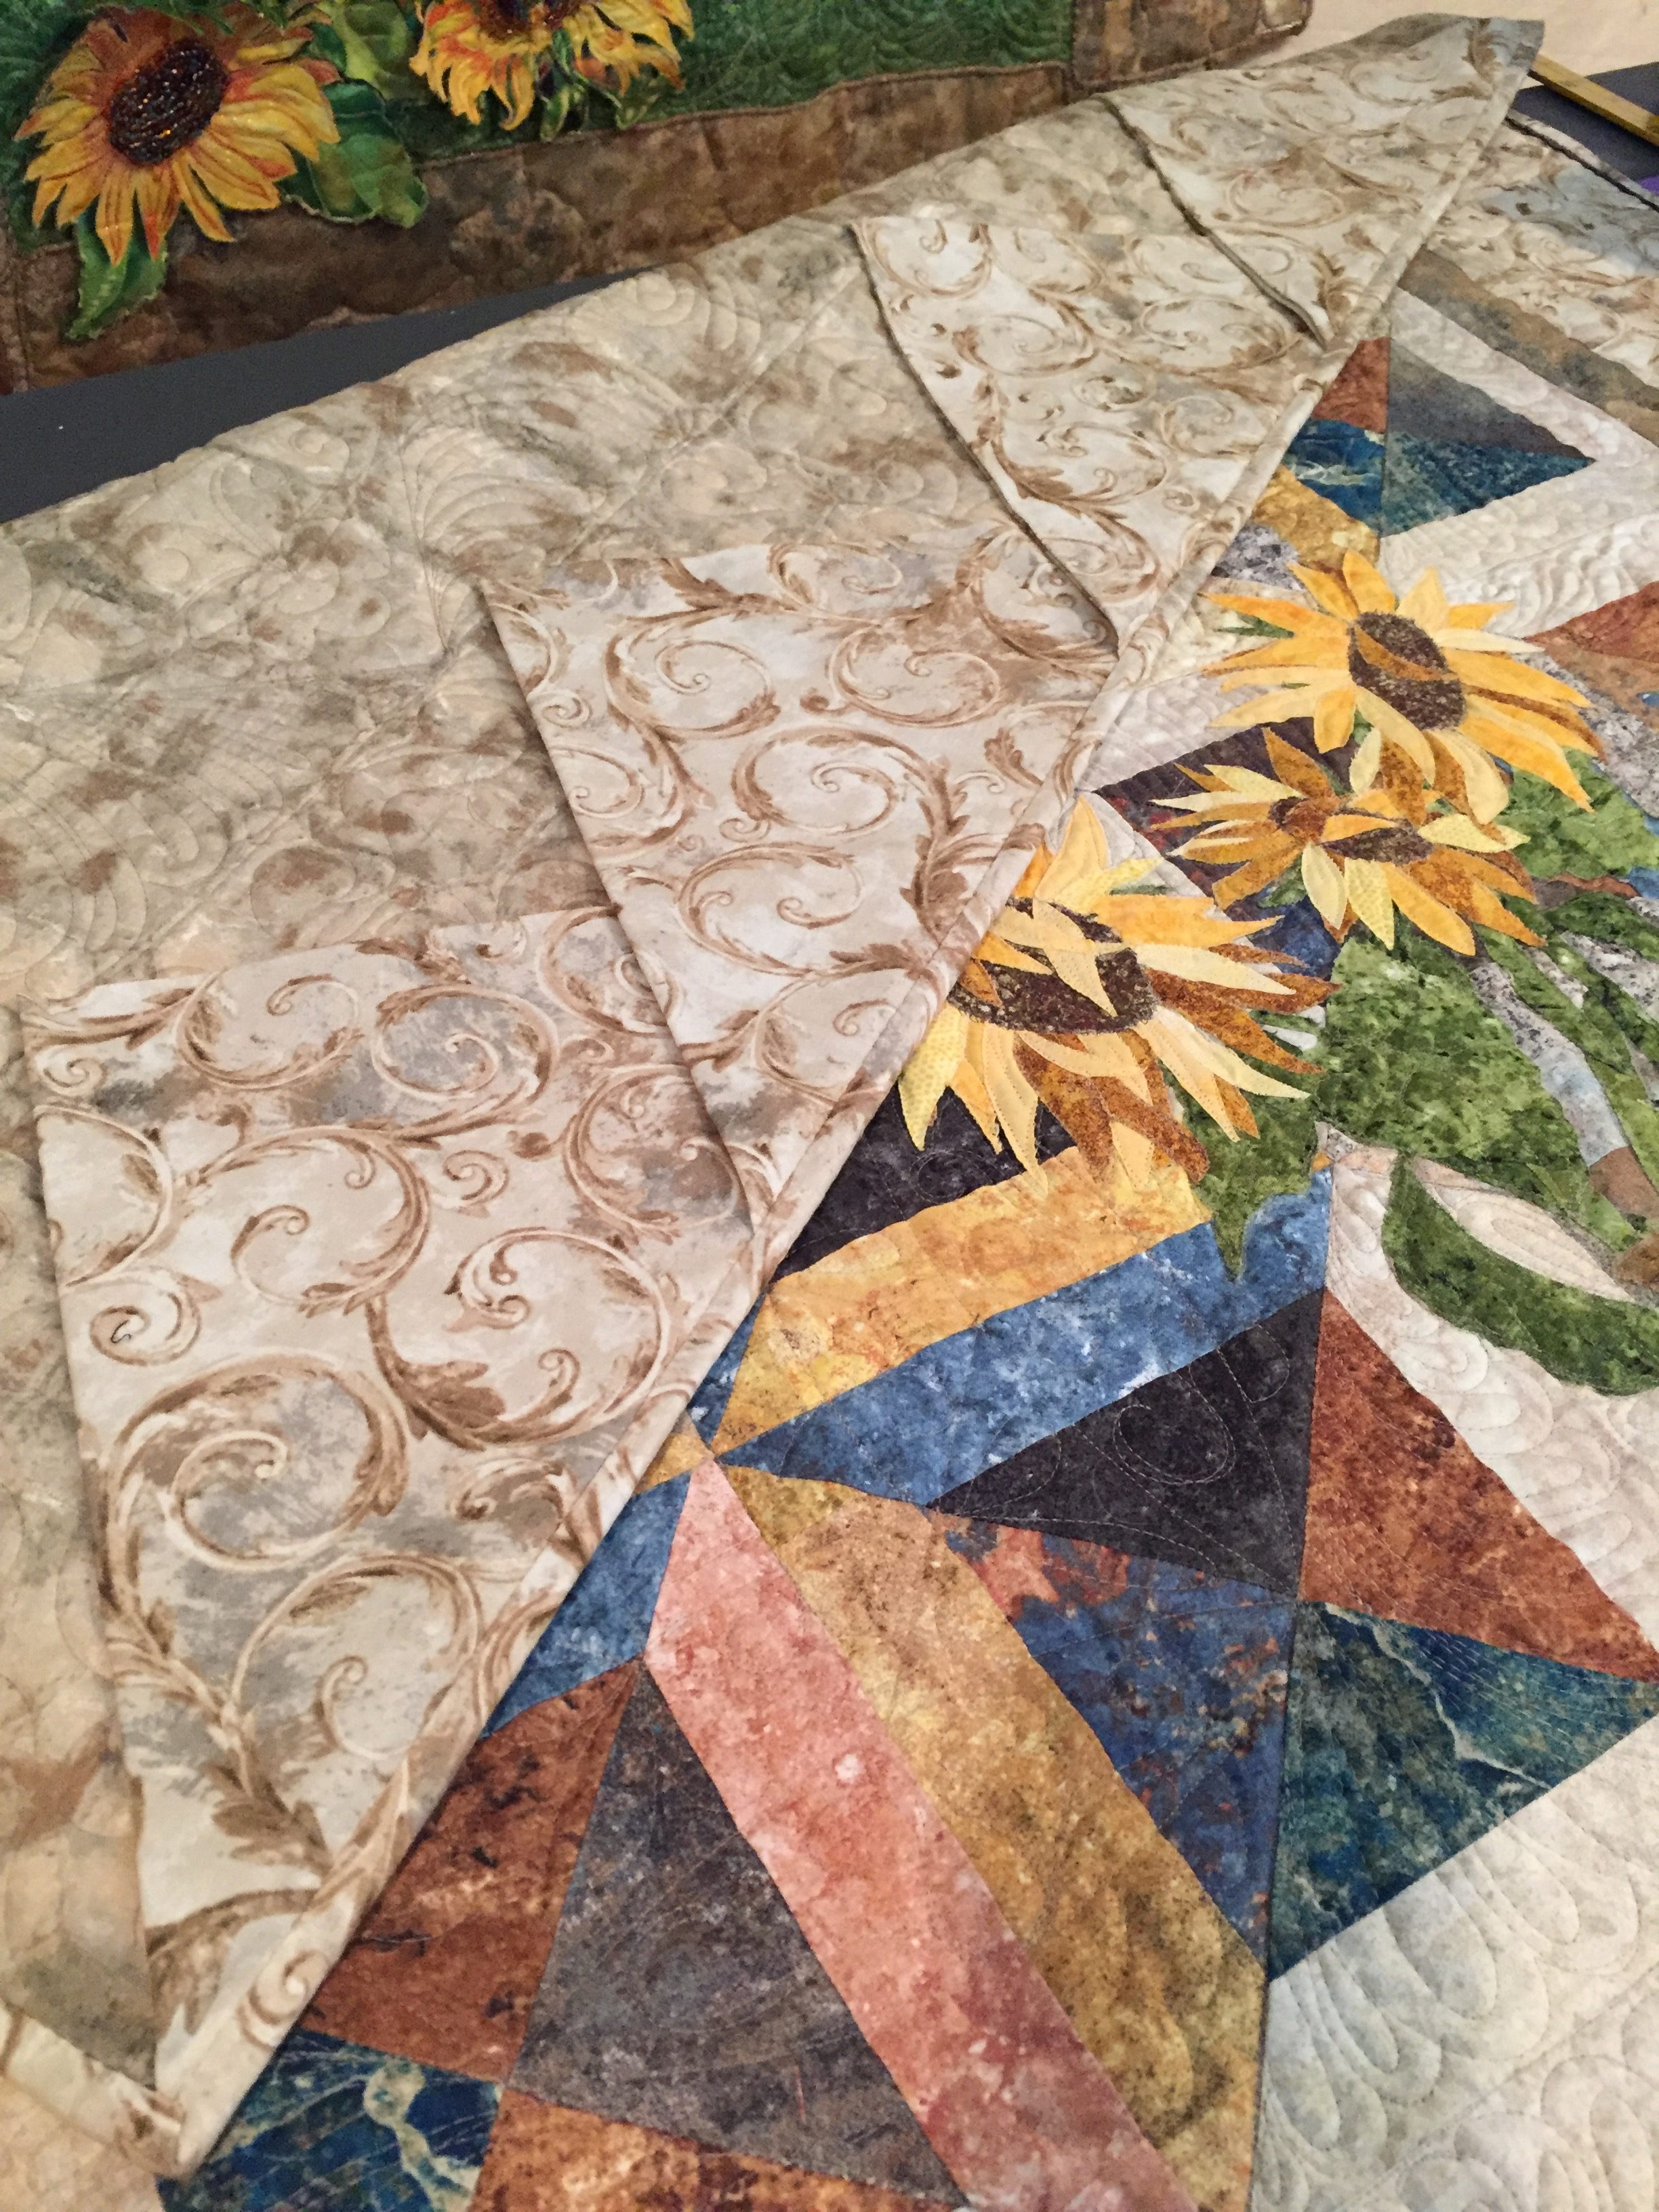
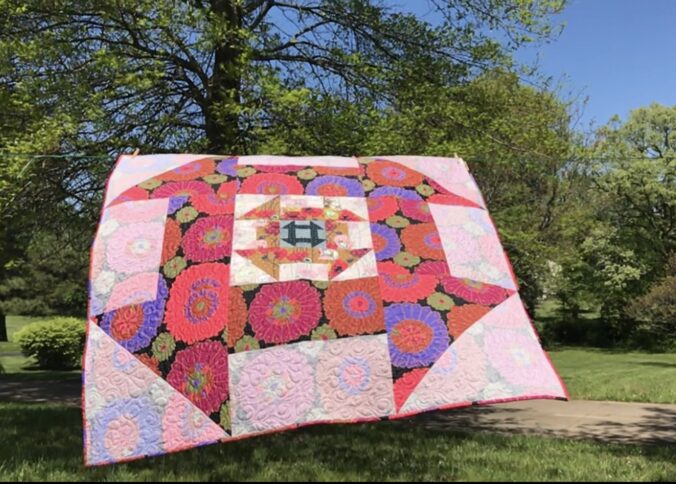
Bella Piastrella with Prairie Points Hanging Method
TIP: For small wall hangings, use an even number of prairie points and you can hang your quilt from a single nail or hook instead of leveling it between two points.
How do you hang your quilts? Share in the comment box below.
Scroll down to sign up for email notification and you’ll get a notice when a new post goes live (about once a week).
Thanks for checking out by my blog. Please share, pin, and tell your friends!
Phoebee was designed using both sides of a focal fabric.
In this quilt, I used the front AND reverse side of its focal fabric.
How do you design a quilt? Do you use graph paper and draw out the design with exact proportions? Do you use color pencils or do you label the drawn areas with the colors of fabric or values you’ll use? Do you use a quilt design software or a tablet quilt design app?
Yeah…not me. A quilt often comes to life in my head… very vaguely, kind of like a mystery unfolding. I ponder the idea until I start to pull fabrics from my stash and start cutting, drawing, and stitching. At least, that’s how Phoebee came to life.
Phoebee was designed using both sides of a focal fabric.
Phoebee began with a vague idea to use pieced scraps from my stash for the background and use a bee as the main design. That’s about all I knew. I thought I wanted to use multiple fabrics for the bee as well. I knew the shape I wanted to draw out for my bee, but I wanted to get my background set first for size.
I did use graph paper in my process, but it was after I stitched my pieces together and decided I liked the look. That’s when I wrote down the dimensions and drew the shapes out, labeling which fabrics I used. I used a pencil because my drawings and placement of fabric changed several times in the process.
Once I was happy with the background, I made all my notes and could hardly wait to grab fabrics to design the bee.
NOTE: I don’t clean up ANYthing while I’m in creating mode — I just let it flow and fabric is everywhere!
So here I was, sitting on my floor (because my design wall was {and still is, truth be told} full of a bed-size quilt in progress), trying out fabrics, figuring out how to combine them to make an interesting bee, when one fabric just kept jumping out at me. I finally gave in and decided to use it alone for my bee. That fabric looked really good against the pieced background.
But something was missing. I liked the bee. I liked the background. There needed to be another element – something of surprise or interest and something to “ground” the bee somehow. I moved the extra fabrics aside and accidentally turned the “bee (focal) fabric” upside down — now THAT was interesting! To use the reverse side of the focal fabric for the flowers the bee was pollinating was exactly what this quilt needed to make sense, be unique, and complete the “story”.
Phoebee means bright, pure in Greek.
Phoebee means BRIGHT, PURE in Greek and she is both! I happened to use a color-dense Hoffman Spectrum Digital floral print for the bee, the flowers and the binding, but any floral, big or small would work which makes this a great stash-busting quilt.
I like the idea that Phoebee is vibrant and the flowers are softer in value as the bee is getting its life from the flowers.
I’m excited to finish writing this pattern and I have hazy plans in my head brewing of additional designs using pieced backgrounds and one floral focal fabric.


 Great job, friends!
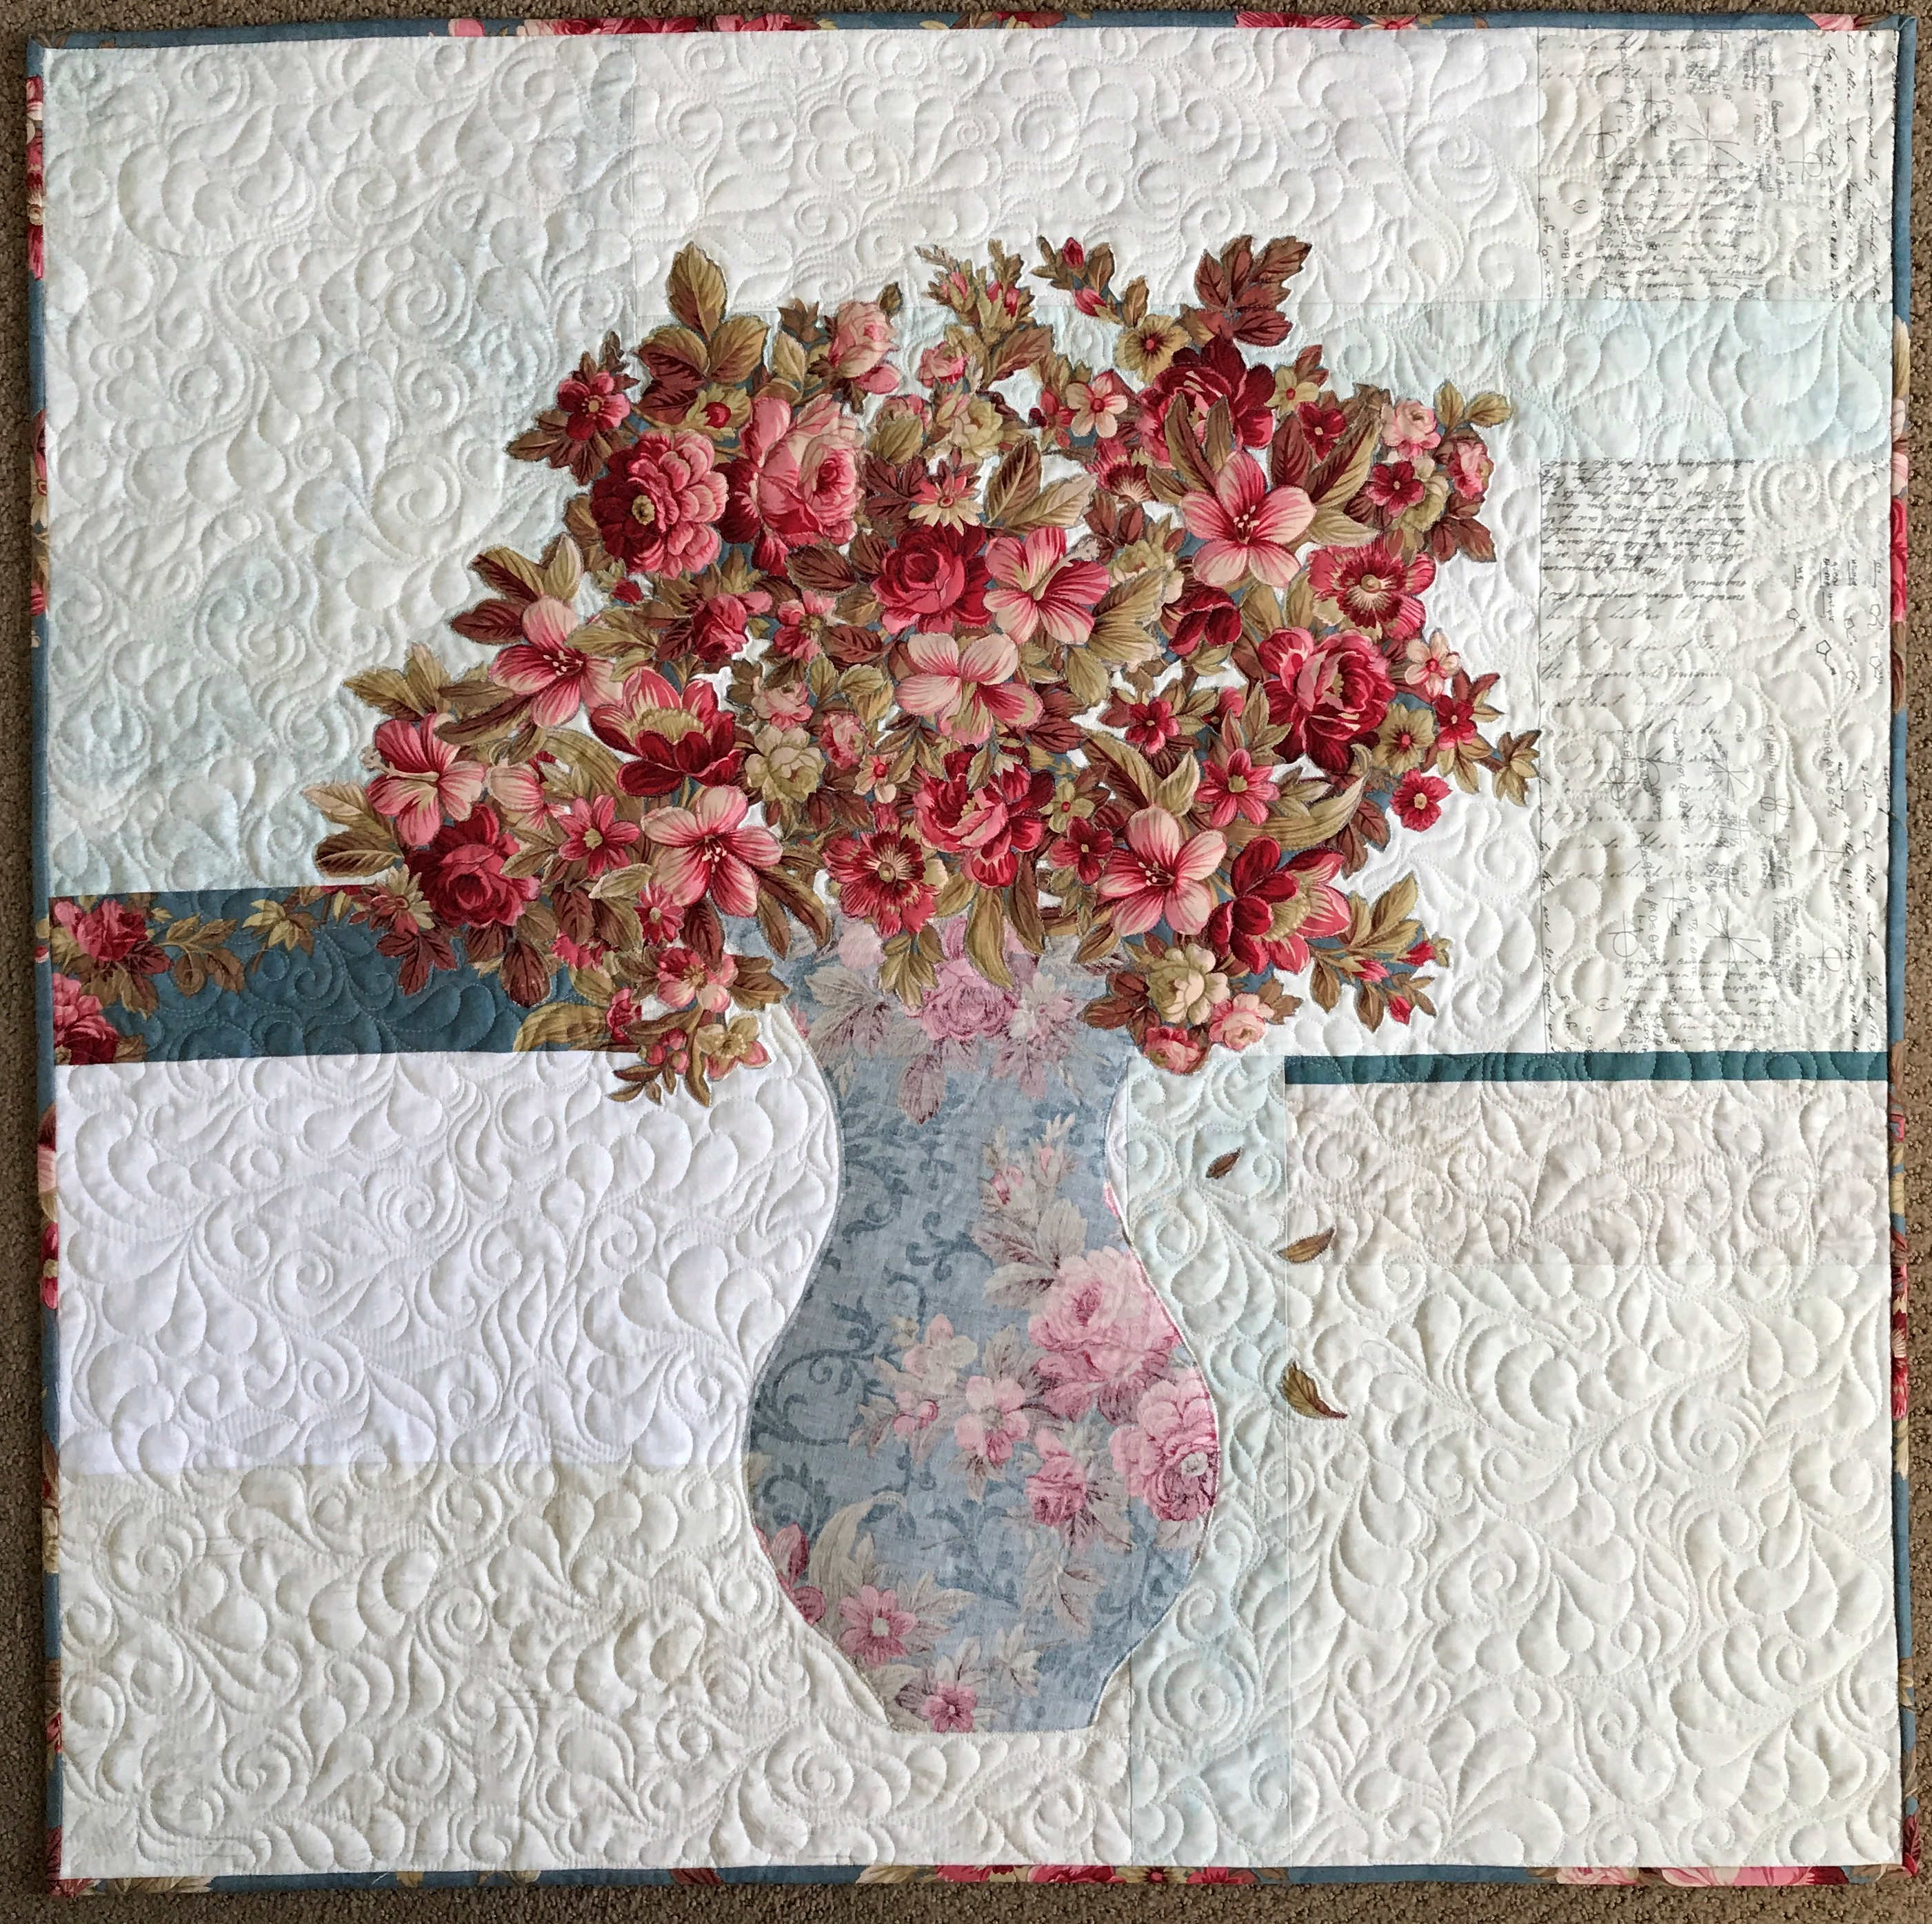


 Next came Belle. She’s a French butterfly. Belle means “beautiful” (I NEVER got that about Beauty and the Beast – blush).