Category: Free Designs (Page 1 of 3)

Here you’ll find free designs for fun craft and sewing projects as well as the River Heritage Mystery Quilt patterns.
Image of Mystery Quilt Reveal

Firstly, many of  these free designs are pdf downloads in individual blog posts. You’ll discover a variety of crafting projects as well as a full mystery quilt pattern.

Free Designs in Wool, Fabric, and Thread

There’s a sunflower pillow made with wool, burlap, and lace. Another wool project is a winter candle “cozy” with a cotton fabric snowflake.

Additionally, you’ll find a number of punch needle embroidery ideas.

Moreover, there are Valentine’s Day projects that include both wool applique and punch needle designs.

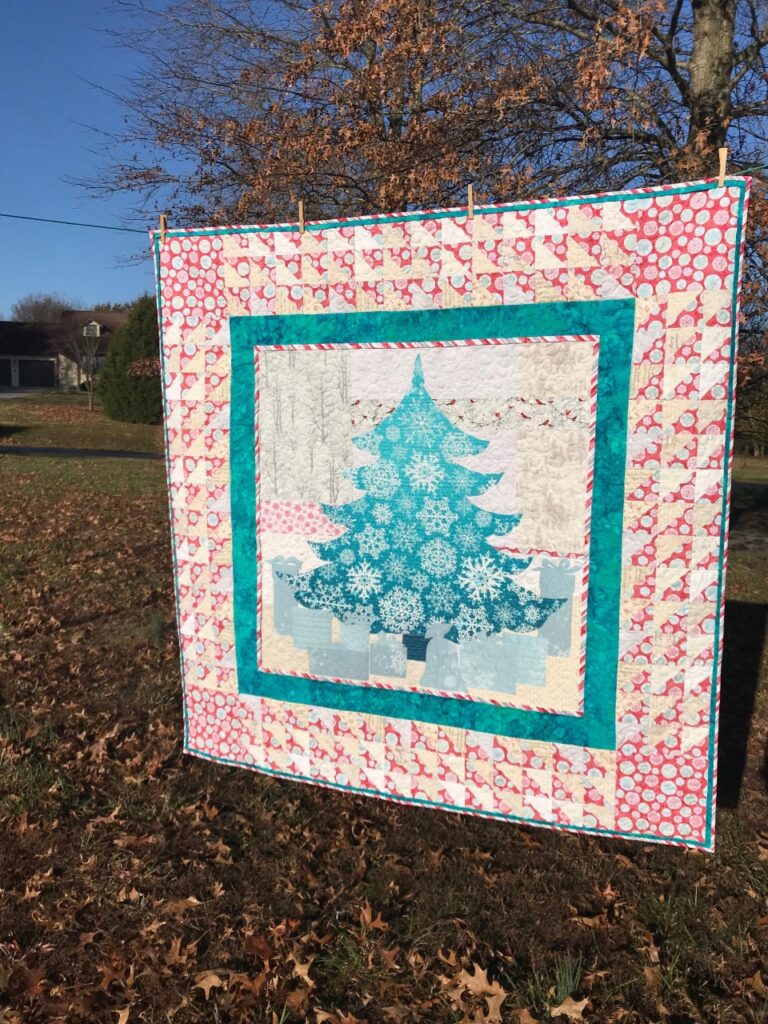
One of the free designs is a miniature version of the “JOY” quilt pattern that you can use to decorate simple bags for Christmas gifting. It’s another way to use BOTH beautiful sides of fabric!

Finally, get all the blog posts and downloads for the River Heritage Mystery Quilt. Karla designed this quilt for her local guild, River Heritage Quilters’ Guild. It features blocks that depict life on and around the mighty Mississippi River. There are nine free block designs plus setting instructions with links to the next step at the bottom of each post.

Add a Little Joy

Estimated reading time: 3 minutes

Use both sides of Christmas scraps to add a Little Joy to your gifts!

I think every stitcher has a Christmas stash. You might have leftover fabric from a quilt, stockings, or napkins. Personally, I don’t keep a lot of Christmas stash, just two cubbies (!). However, you don’t need much to add a little joy to your gift decorating.

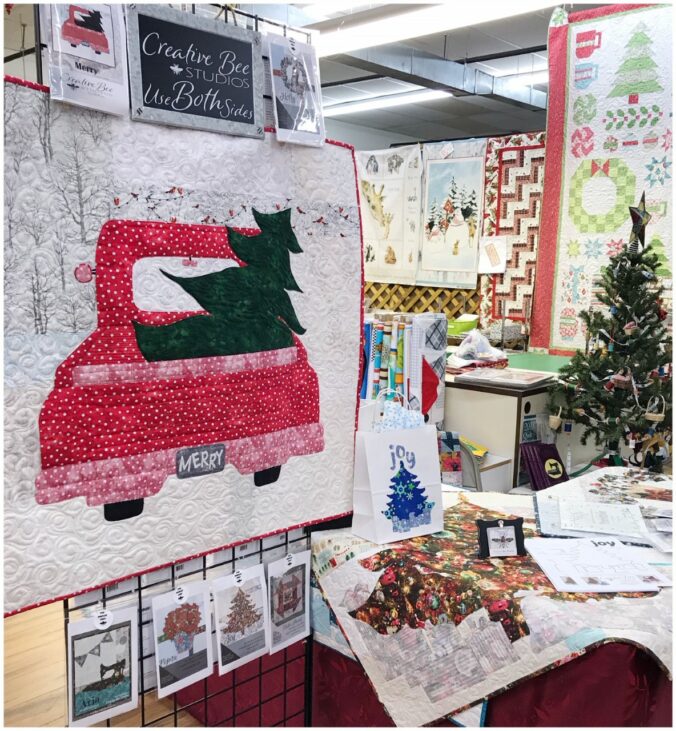
About a year ago today, I was part of my local quilt shop’s Christmas Open House. See the sample gift bag with Little Joy. Download the free pdf (further below) on gift bags using your Christmas scraps. Consider adding Little Joy to craft paper covered boxes as well.
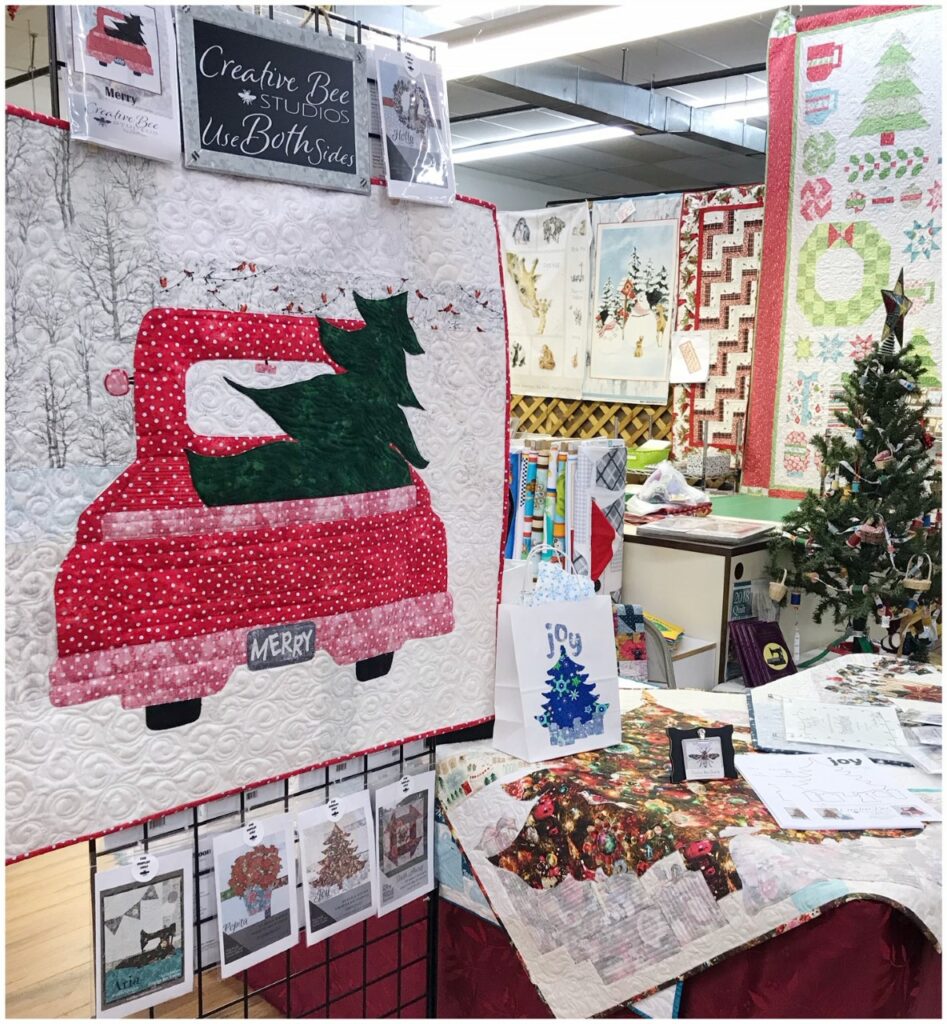
Image of Little Joy at the quilt shop

This mini pattern mimics the JOY and Joyful quilt patterns which both use the large template of JOY.

You can see that the tree is made with the front side of a Christmas motif and the gifts under the tree are made from the reverse.

Like all my patterns, it requires auditioning BOTH sides of fabric to test their values. You’ll want to see the tree first, then notice the gifts under the branches. In the quilt patterns, you’ll also audition your background fabrics and try to pull a fun variety of fabric styles together to give the quilt an added interest.

Of course, for your gifts, just choose a surface with the contrast you desire. If you choose blue bags and have blue fabric, your design will be subtle. Use white bags for a high contrast.

It’s just a simple and fun way to use up some fabric scraps and get a little playtime in!
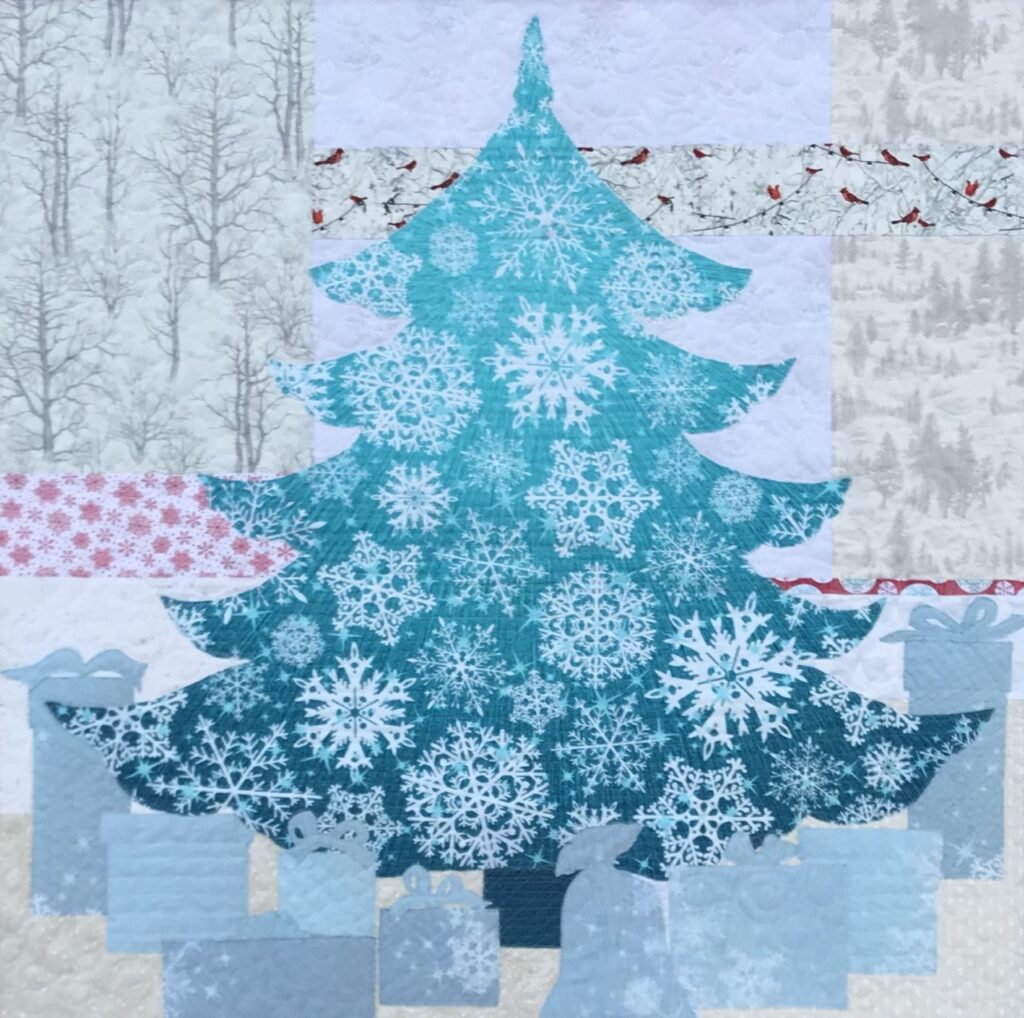
Image of Joy
Joy Quilt Pattern
Image of Joyful Quilt Pattern
Joyful Quilt Pattern

Shop #usebothsides quilt patterns in my Etsy Shop: CreativeBeeStudios
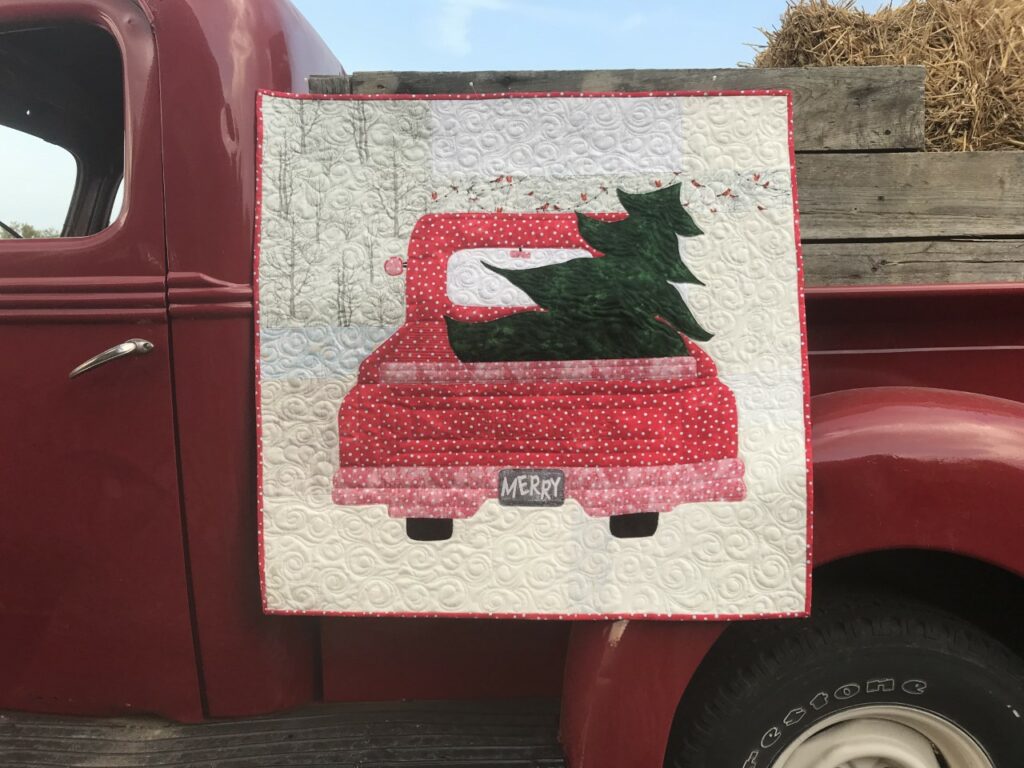
Image of Red Truck Quilt
MERRY Quilt Kit

See the new products on Red Bubble by clicking the button above! Read A Christmas Passed HERE and Christmas (Quilts) in July HERE.

Wishing you JOY and MERRYiment this Christmas season and God’s blessing throughout the New Year!

Find more Christmas quilting fun at Traditional Christmas Colors or NOT for Quilting and Christmas and Quilts and JOY!

Prepping for fall? Check out this Sweet Pumpkin Applique project!
Mr. Snowman Punch-Needle

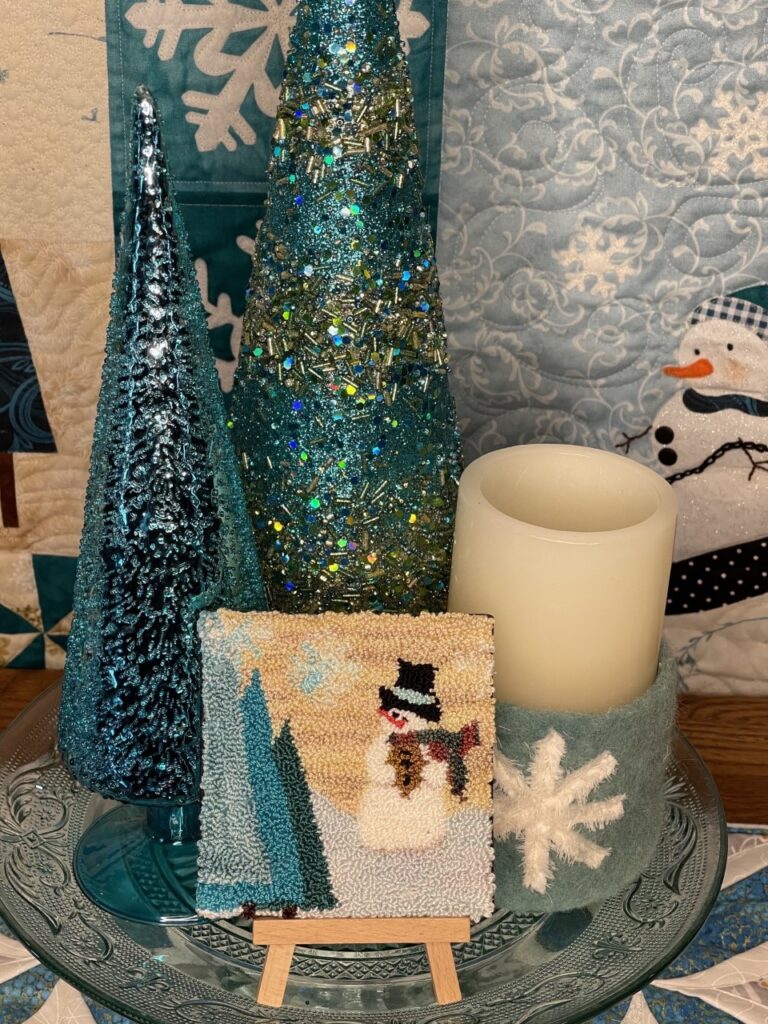
Meet Mr. Snowman!

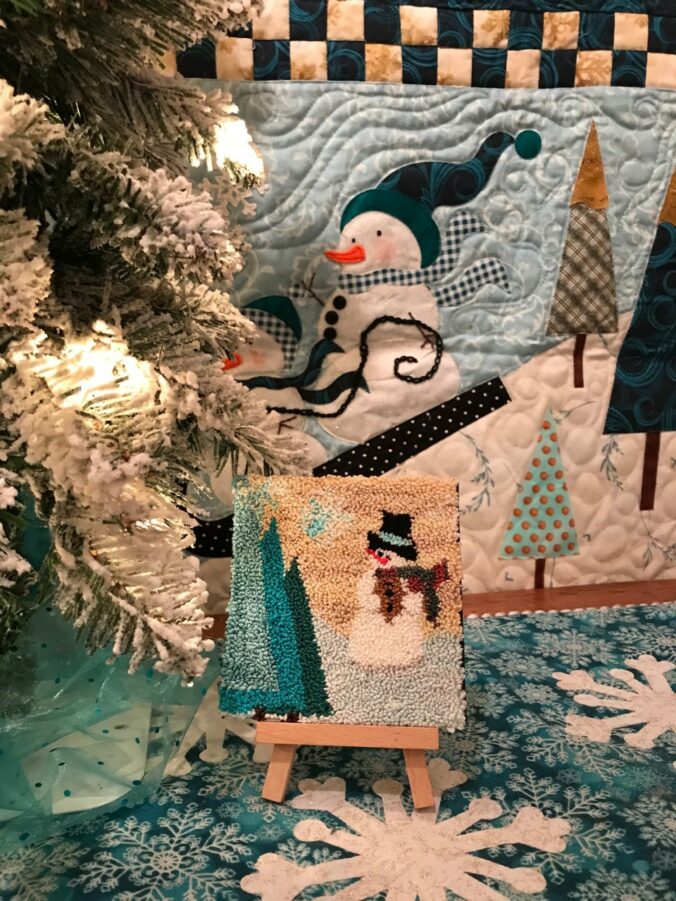
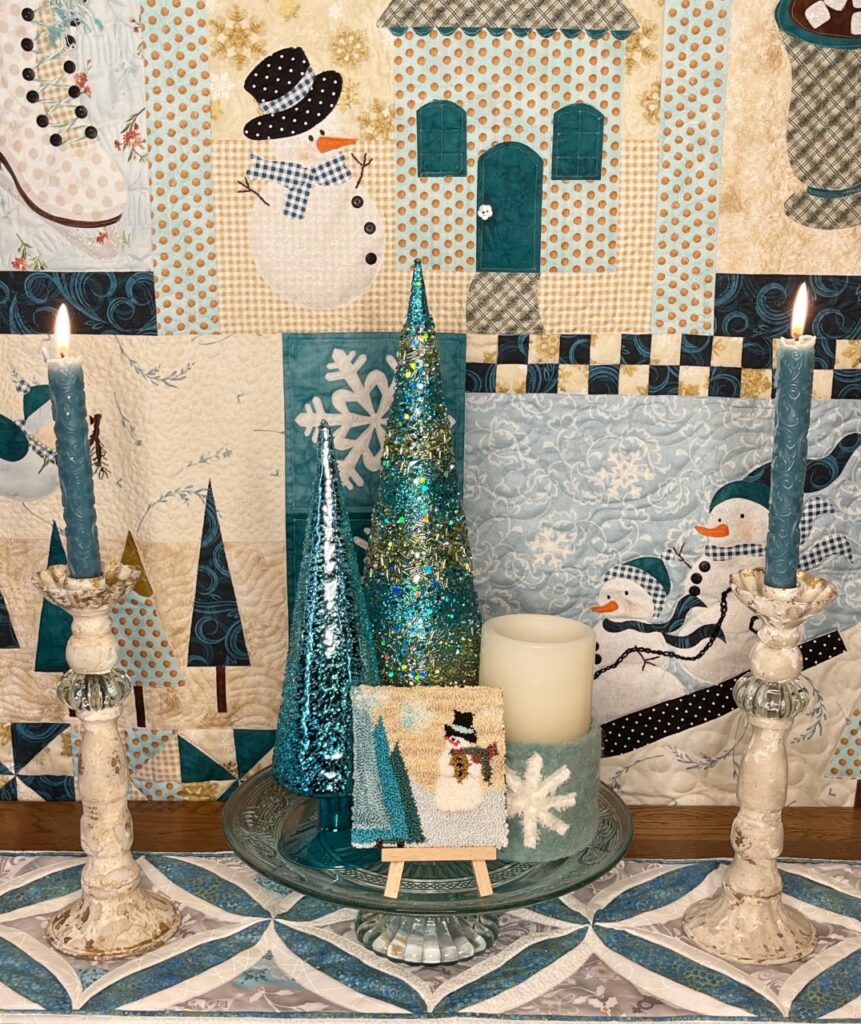
Mr. Snowman is a fun, little punch-needle design. He’s hitting the slopes of trees and swirls in colors to match the quilt you see in the background.

Image of Mr. Snowman with quilt

This design is fast and easy. It’s slightly less than four inches square. The cute size fits perfectly on a mini art canvas. Add the little easel to display your mini stitched artwork.

Since punch-needle is a compact, hand-held craft, Mr. Snowman is easy to pack for travel. You can even work it while you ride. If you aren’t familiar with punch-needle, check out the many tutorials on Pinterest and Youtube. Click HERE for an introductory tutorial on Pinterest. There are also numerous books and patterns on the subject.

Image of Mr. Snowman

Generally, punch needle requires a good hoop that tightens well. You’ll want your surface tight like a drum at all times. That makes it easy for your needle to punch into the cloth.

Next, when you make a punch-needle stitch, the need head is punched downward through the back side (top) of your hooped cloth. When you pull your needle back up, it leaves a tiny loop on the front (underneath) side of your hoop. The size of the loop depends on the size of your needle punching length and thread.

You’ll work Mr. Snowman punch needle from the back side of your hoop. You can turn the hoop over periodically to see your progress.

You might want to practice getting your punches evenly spaced, but the learning curve for learning punch needle is quite easy to achieve.

See Love Notes Punch Needle

Subscribe to The BUZZ below or follow on BlogLovin! Shop CreativeBeeStudios on Etsy! Follow on Instagram, Pinterest, and Facebook!

Sweet Pumpkin Applique Pillow

Need a little fall stitching fun? How about a free wool applique pattern?

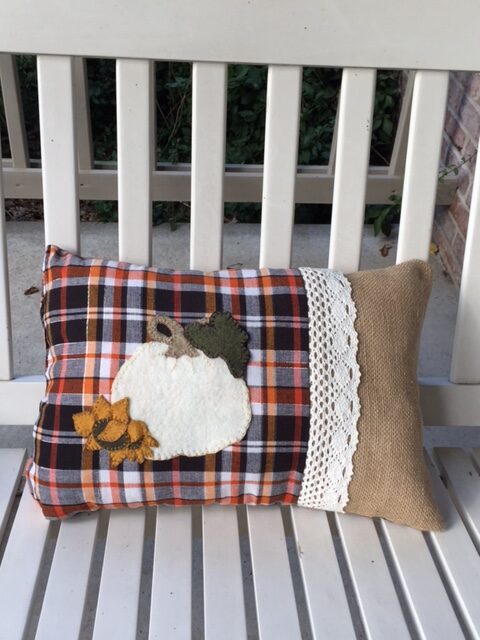
Take a little burlap, add a little lace…toss it with plaid, a pumpkin, and sunflowers to make yourself this little fall pillow! This free wool applique pattern pdf link is below.

Pic of Free Wool Applique Pattern Pillow
Sweet Pumpkin Applique

This free wool applique pattern is just a little thank you for your support and friendship. Our creative world can get sidetracked by “life” and sometimes we need just a little something to do. (Or I do anyway.) These kind of projects are just little things I like to sneak into a day (when I’m supposed to be working on something…more serious).

Sometimes small is big.

We can’t always be making big things, right? And by “big”, I mean, time consuming! For instance, I have a very small hand stitching project that’s WAY to big to think about sometimes! I find comfort in a “get ‘er done” project from time to time. I hope you do, too!

This little accent pillow takes just a little fabric and wool, and a scrap of lace and burlap. So make a cup of tea, warm up your favorite fall scents and make yourself a little pillow!

Just find a bit of fall fabric. You’ll need a bit of lace and burlap (or use a coordinating fabric from your stash). Use wool scraps or make yours with fused fabric if you’d like. I use simple stitches (imperfect), but you can jazz yours up if you want – here’s one of my favorite stitching artists: Sue Spargo! Check it out!

I created this little pillow a few years ago (before I knew our cat was allergic to wool) but I still get it out each fall. I miss working with wool – and it’s not entirely the cat’s fault! These days, with more than 40 of my own pattern designs to keep up with, I find I cherish these little projects even more. They are a rare treat. I hope you have some special projects that give you a break from the “everyday”…just now and then.

I hope you have a wonderful day today!

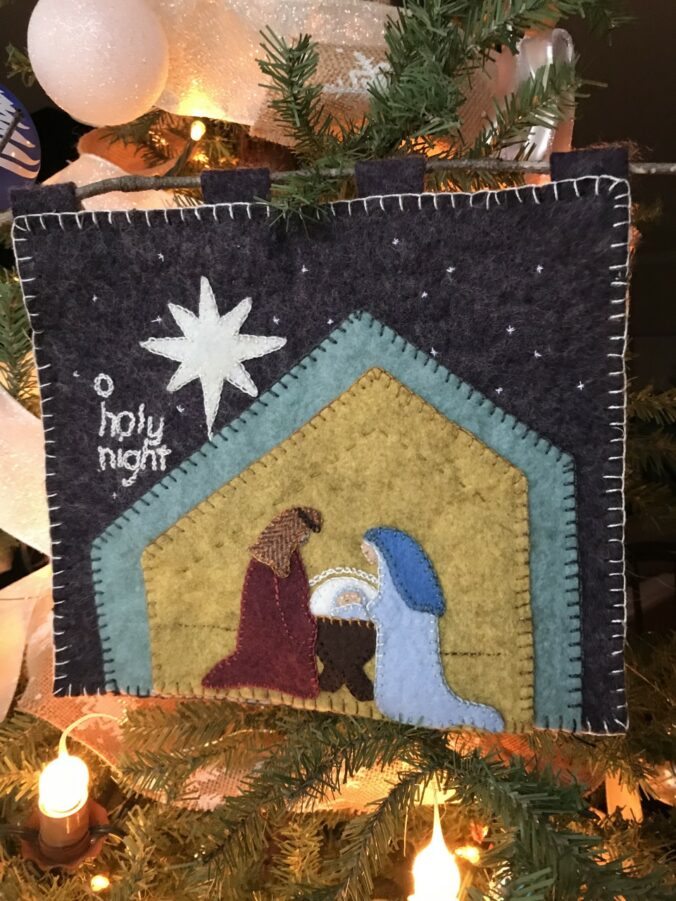
Image of O Holy Night Nativity

See O Holy Night Wool Applique for another free wool applique pattern.

Subscribe below to get an email from me showcasing my latest posts with a link for easy access.

Follow Creative Bee Studios on Facebook, Instagram, and Pinterest!

O Holy Night Wool Applique

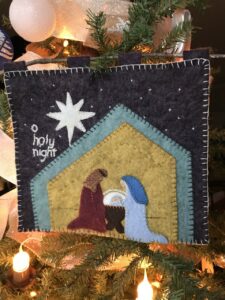
Take a little time out of the bustle of the season to stitch up a primitive wool nativity scene.

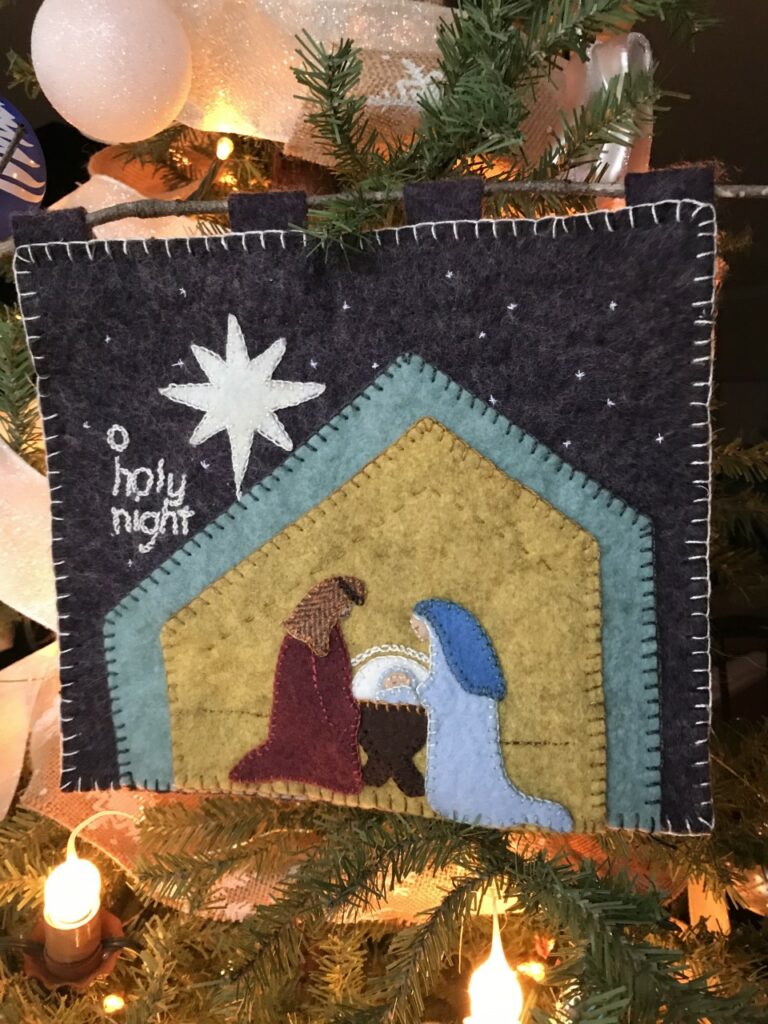
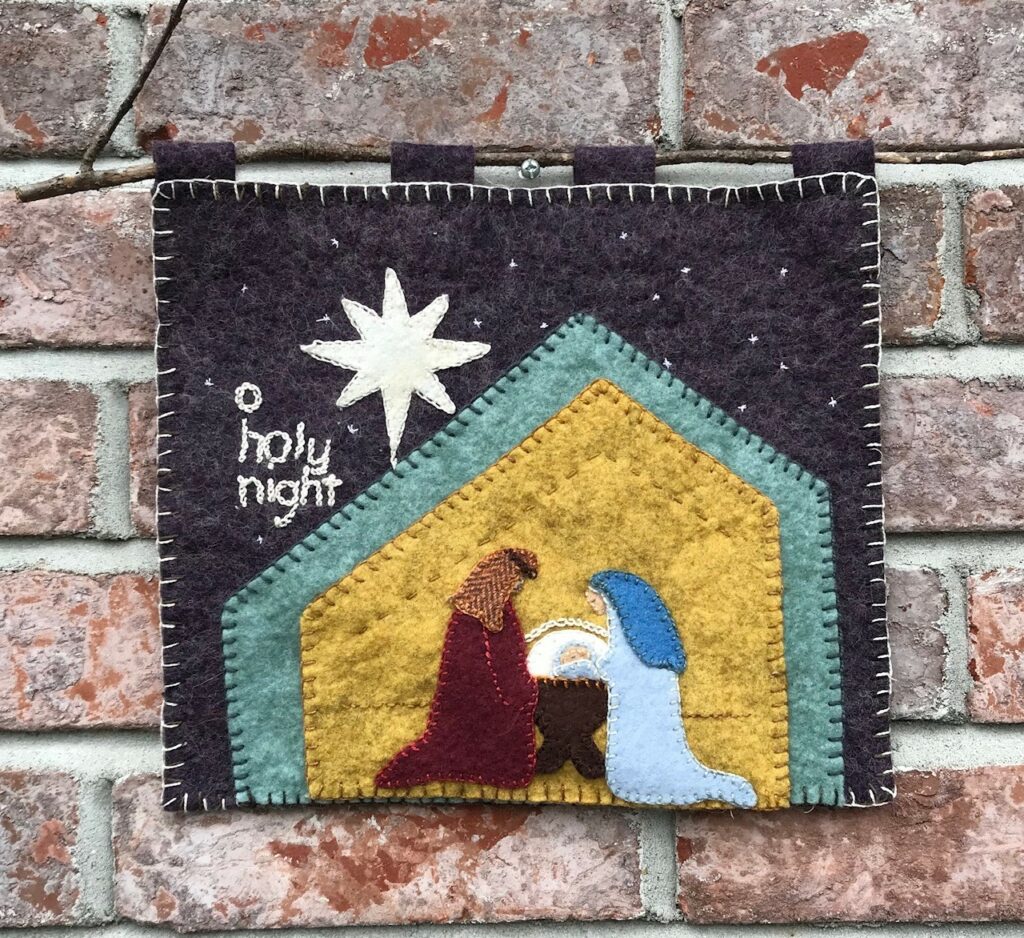
O Holy Night is a simple wool wall hanging. It features Mary, Joseph and the babe in a nativity scene on a starlit night.

O Holy Night, the stars are brightly shining. It is the night of our dear Savior’s birth.

Image of O Holy Night Nativity
O Holy Night

Both of our daughters sang for Christmas Eve church services when they were younger. After the early service, we hosted family for a meal and then we’d all head back to town for the candlelight service. O Holy Night, Mary, Did You Know, and Silent Night (to guitar) are the ones I remember most.

Read about other Christmas family traditions in Wild Goose Chase Quilt Under the Tree.

Click on the download below for the templates and head outside to find the perfect hanging stick!

Image of Nativity Wool Applique

This O Holy Night nativity scene starts with a dark purple wool for the nighttime background. Choose any color for your stable. The gold wool depicts the glow of light, from the star and the presence of the Christ child. While I chose more traditional colors for Mary and Joseph, herringbone or other textured wools would add interest. Chain stitches add details the holy family. Blanket stitches finish the edges. I went outside to find the perfect stick for hanging this wool art.

For more Christmas projects, click HERE.

Image of Diplay at Shop

Wishing you and yours a happy, healthy Christmas filled with joy and blessings.

River Heritage Mystery Quilt Reveal

Estimated reading time: 6 minutes

River Heritage Mystery Quilt Reveal!

The long awaited mystery quilt reveal for the River Heritage Block of the Month Quilt is here!

image of river heritage reveal
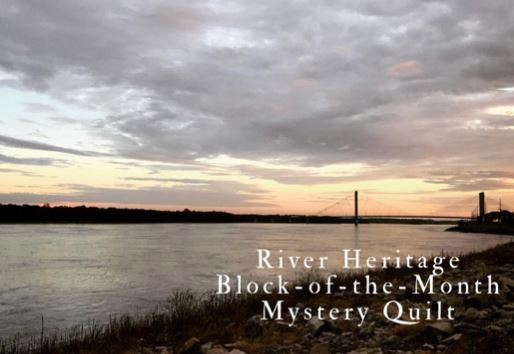
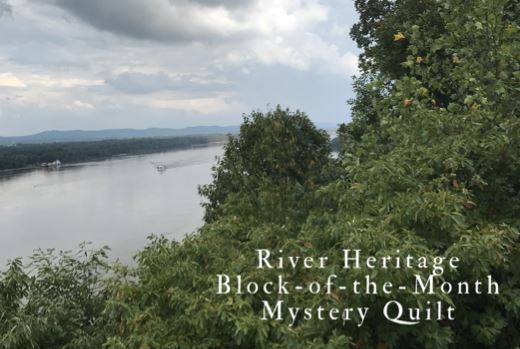
The Mighty Mississippi River at dusk. Photo by Anastasia Gonzales.

The sunset over the Mississippi River is your final clue that the mystery has ended.

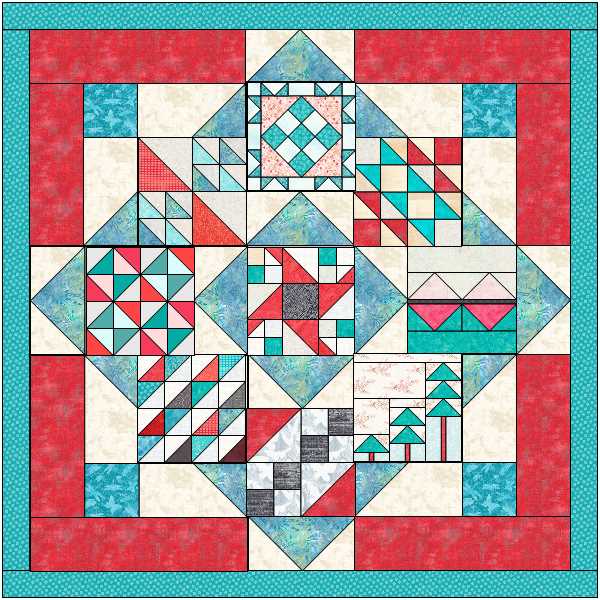
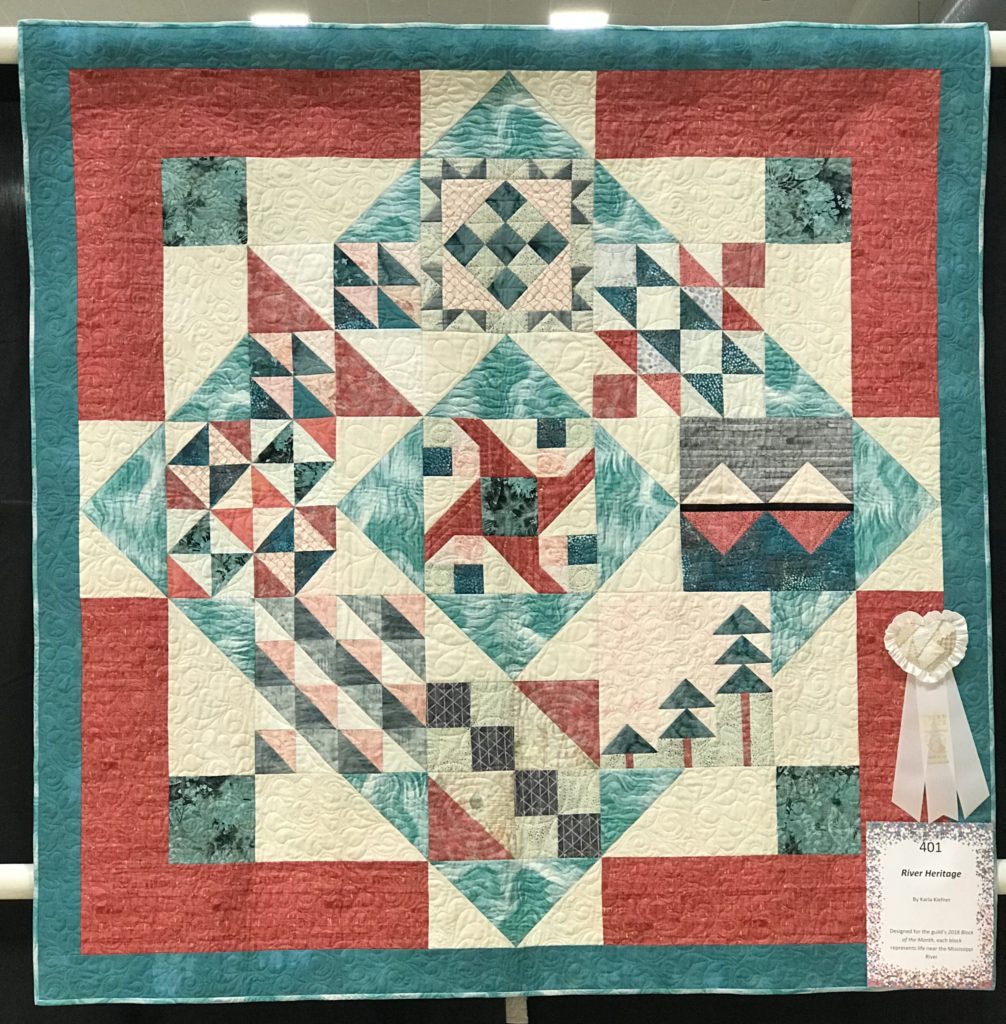
First, let’s take the mystery out of this right away. Here is a digital photo of the grand layout of this quilt. As you know, the monthly block patterns have each had a connection to life by the river. Finally, it’s time to take all of those wonderful blocks and set them in this really fun, fast design.

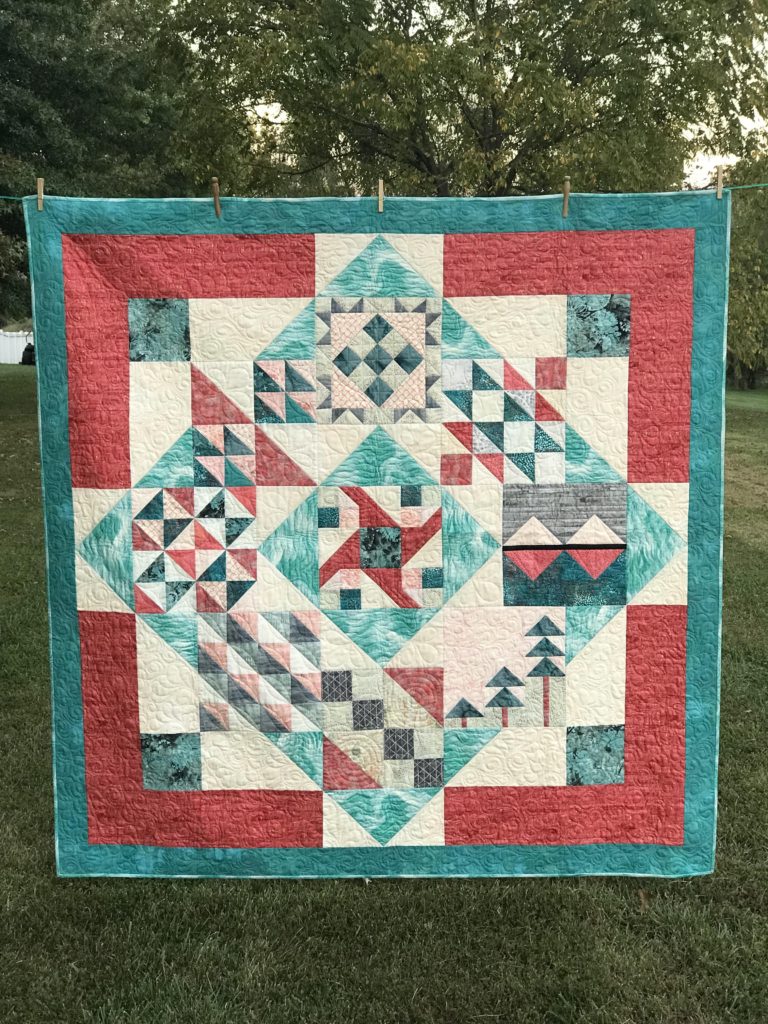
Image of Mystery Quilt Reveal
River Heritage

In addition, Watch for the River Heritage quilt on YouTube! SUBSCRIBE today!

Most importantly, be assured as you look at this mystery quilt reveal, that this quilt goes together quickly and easily! It’s sew much fun.

Firstly, let’s review the blocks you’ve made starting at the center top and moving clockwise.

The nine blocks.

  • Eagle’s Nest
  • Hovering Hawks
  • Lighted Bridge
  • Tree Line
  • Railroad Crossing
  • Trail of Tears
  • Port and Starboard
  • Flock of Geese
  • The center-most block is Paddle Wheel
Image of Mystery Quilt Reveal River Heritage

Click here for printer-friendly River Heritage Setting Instructions: River Heritage Setting Instructions

Image of Eagle's Nest Block
Eagle’s Nest/North
Image of Rail Road Crossing Block
Railroad Crossing/South
Image of Port and Starboard/West
Port and Starboard/West
Image of Lighted Bridge Block
Lighted Bridge/East

In addition to getting the full pdf instructions, browse through these images of the mystery quilt reveal. You’ll see how simply and easily this quilt goes together.

Image of Flock of Geese block
Flock of Geese/Northwest
Image of Hovering Hawks block
Hovering Hawks/Northeast         
Image of Trail of Tears block
Trail of Tears/Southwest
Image of Tree Line Block
Tree Line/Southeast

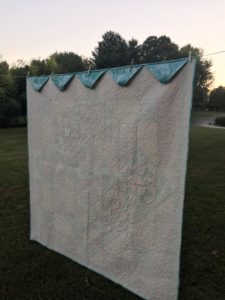
Image of Back of Quilt
Prairie Point Hanging Method

Furthermore, the Prairie Point Hanging Method is included in the quilt finishing instrucitons.

Obviously, I used the Prairie Point Hanging Method for this wall hanging. It’s the best kept secret and a mystery quilt reveal of its own! However, instructions for this wonderful hanging method are included in all 50+ of my Creative Bee Studios patterns!

River Heritage Takes a Ribbon!

Image of Quilt with Ribbon
River Heritage takes Third Place at the show!

In conclusion, I hope you’ve enjoyed making River Heritage! I was pleasantly surprised to find a beautiful ribbon on my quilt this weekend at our local quilt show!

Of course, I’d love to see your finished quilt! Please share your quilt pictures on Facebook and Instagram using the hashtag: #riverheritage in your post!

Last but not least, most of the blocks in this quilt are classics, found in many books and other sources. I created Paddle Wheel, Tree Line, and Lighted Bridge are blocks to fit our theme and the setting. Moreover, the setting is adapted from the book, Circle of Nine by Janet Houts & Jean Ann Wright. I love this book and recommend it (available on Amazon)!

This has truly been an adventure! From coming up with a theme, choosing and creating blocks, traveling to get photos and learning about my river heritage, it’s been quite a journey.

Karla

Finally, thank you all for joining me on this journey. I hope you love your River Heritage!

River Heritage – Tree Line

A tree block is in store for the final piece in the River Heritage Block-of-the-Month Mystery Quilt.

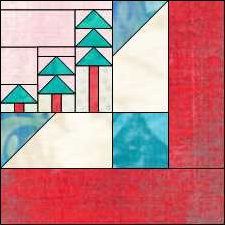
Called Tree Line, this tree block features three trees of varying heights, making a diagonal line. Similar to a tree line along the river, these guys will take a side roll in your finished quilt.

Image of Tree Line on river
Month Nine Tree Line

The River Heritage Mystery Quilt Block Review

First, we began with the Paddlewheel block, made from a traditional block with mostly a dark paddlewheel on a light background. Next, came the Railroad Crossing and Flock of Geese blocks. These, too, are both classic blocks which fit our river theme beautifully. After that came Lighted Bridge. I designed this block based on the Bill Emerson Bridge stands over the mighty Mississippi, connecting Cape Girardeau, Missouri to East Cape, Illinois.

My favorite adventure in designing River Heritage was taking the ferry ride across the Mighty Mississippi. See the photos in Port and Starboard block post.

Karla Kiefner

More River Heritage Quilt Blocks

In addition to learning about the next block, Trail of Tears, I also learned much about the history of the trail in our local museum at the Trail of Tears Park. Another classic block followed called Port and Starboard. Getting photos for this block involved a ferry ride across the river!

Eagle’s Nest was another fun block to plan because we hiked up to a look-out for those photographs. This block will land high on your quilt! Your last block was Hovering Hawks. For this block I learned that hawks generally don’t hover – at least not in groups!

Month Nine Tree Line Block

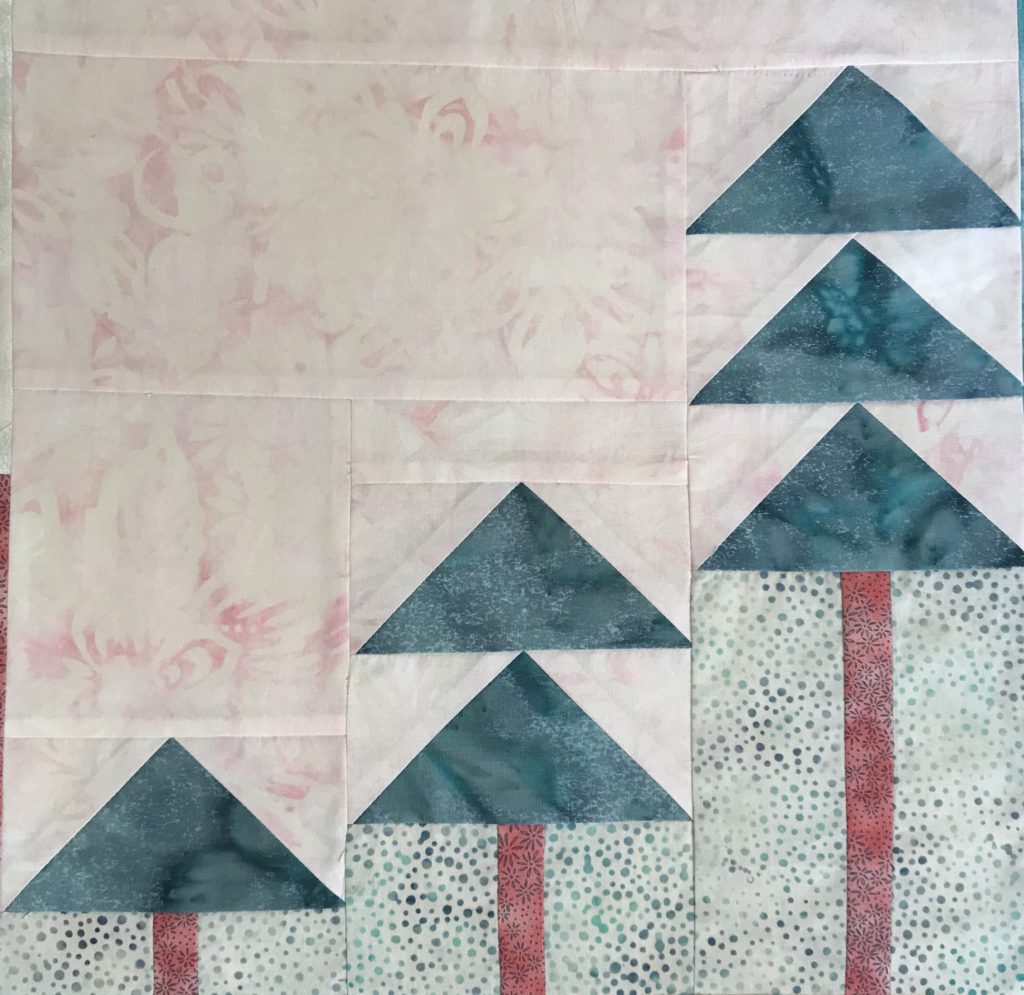
The Tree Line block was designed with it’s placement in the overall quilt in mind. With the shortest tree to the left and the tallest on the right, a diagonal line is formed.

This block is made with six flying geese units to make the three trees.

You’ll start by making the trunks for each tree and then add the tree tops and sky to make three columns. Use your own color scheme – your trees don’t have to be green and sky doesn’t have to be blue! Remember to check your values by taking a black and white picture of your fabric choices.

Tree Line Quilt Block PDF

Image of Tree Quilt Block

Click here: River Heritage Month 9 Tree Line for a printer-friendly version!

Share your block using #riverheritage on Facebook and Instagram!

Finally, the River Heritage Setting Reveal is HERE!

Enjoy YOUR quilting journey!

River Heritage – Hovering Hawks

Estimated reading time: 4 minutes

The Hovering Hawks quilt block is another classic quilt block that’s been around a long time.

Variations on the history of this quilt block.

Of course, it’s easy to understand why hawks would be commonly seen along the river. But the meaning of this block has numerous variations. Some accounts simply say the block pays homage to the common bird of prey scene in everyday life.

Additionally, the Hovering Hawks quilt block is considered to be from the family of the Jacob’s Ladder block variations.

Finally, another explanation of this block relates it specifically with the Civil War. It is said that the facing triangles symbolize the foraging soldiers on each side of the war.

There’s an interesting history lesson by Barbara Brackman HERE about the block and it’s symbolic meaning with the civil war.

The past months of the River Heritage Mystery Quilt has given you seven blocks that each have some connection to life along the river. Such is the case with this one. Image of Hovering Hawks Month

I think you’ll find this quilt block is fun to make. 

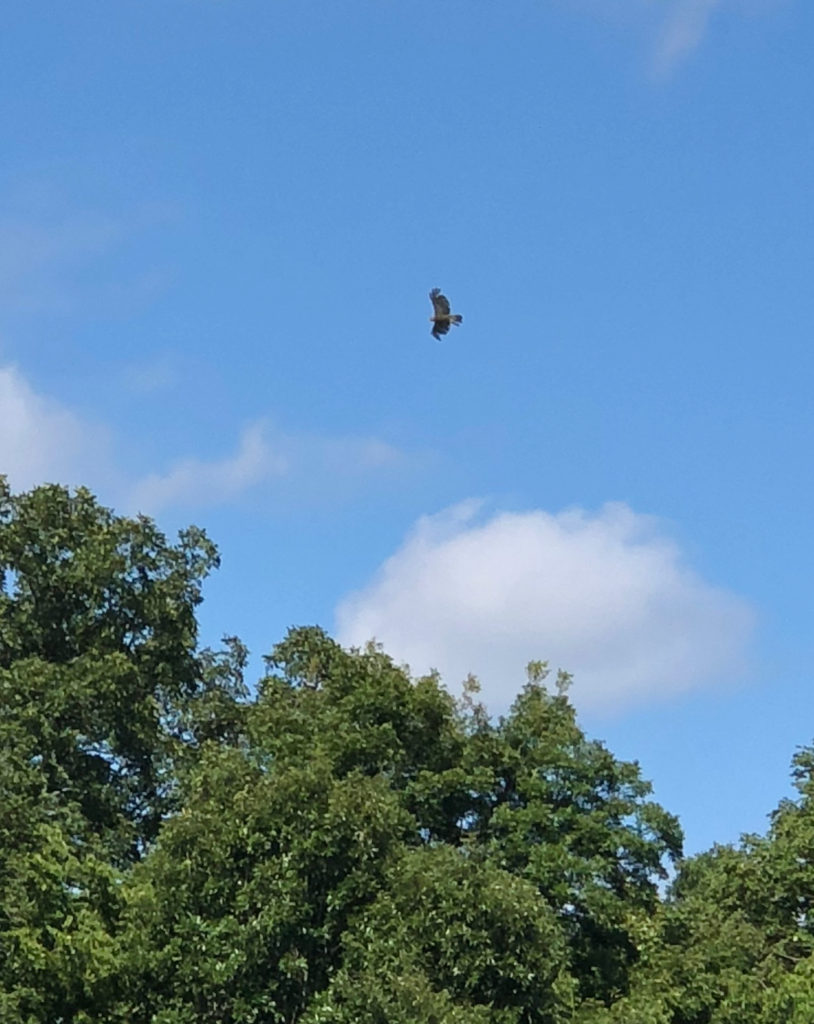
Photographing actual hovering hawks proved to be quite a challenge!

First, the red-tailed hawk (which is likely what lives here) doesn’t actually hover, according to the experts. They may appear to do something similar, but experts say it isn’t actually a hover.

Furthermore, the hawk is usually a loner, not flying in groups like turkey buzzards. I’ve learned a lot on the adventure through the River Heritage quilt! I hope you have, too!

 Image of Hawk

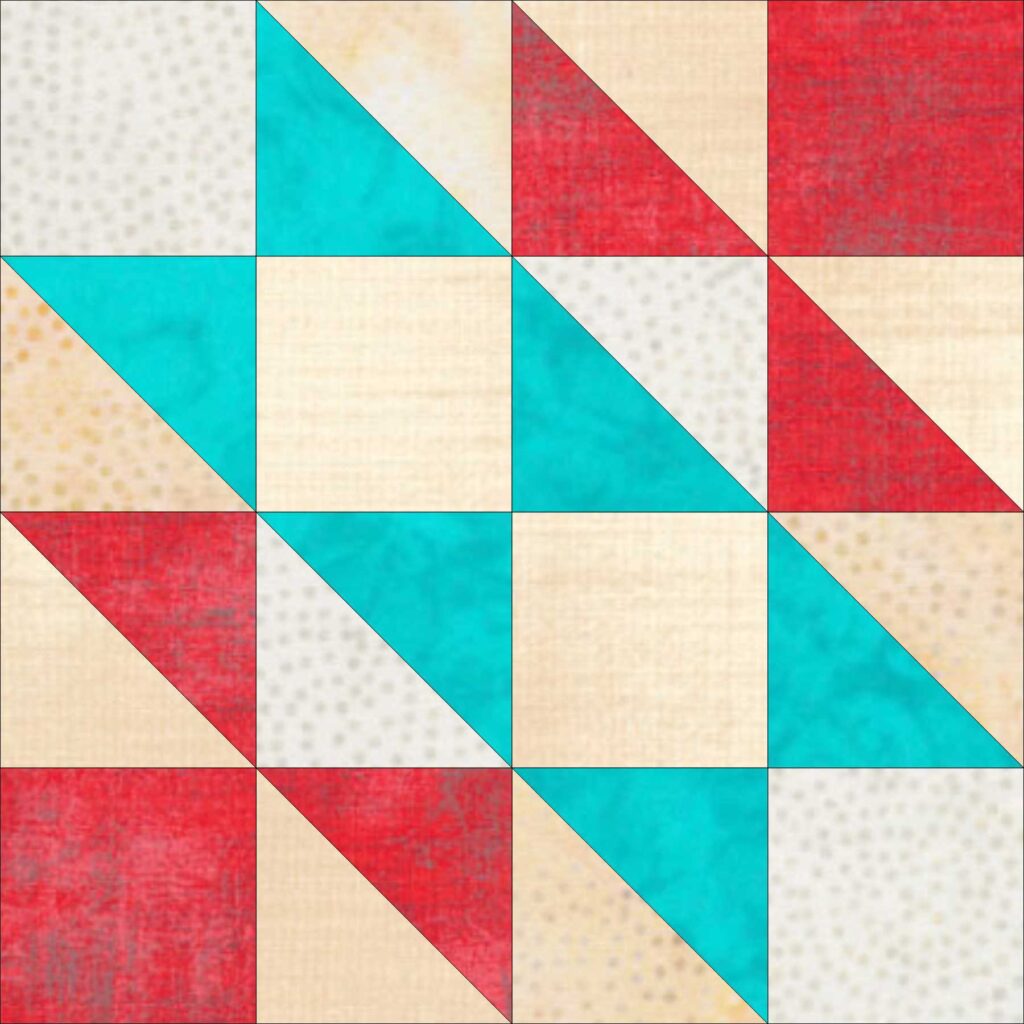
Here’s the overall description of the Hovering Hawks quilt block.

Hovering Hawks is made from sixteen squares, ten of them made from half-square triangles. This block has been made over the years using lots of different fabric and value combinations. I played with my fabrics quite a while before making my final choices for this block.  Use your own color scheme to make your block. Remember to check your values by taking a black and white picture of your fabric choices.

Image of Hovering Hawks Quilt Block
Hovering Hawks

First, you’ll arrange half-square triangle blocks with single blocks. Therefore, the piecing is easy and familiar.

Use your value tests to help determine placement of fabrics.

The challenge for me was deciding where to place my fabrics. However, testing the values really helped me have confidence in my fabric choices.

Click here for printer-friendly version: River Heritage Month 8 Hovering Hawks

Share your block using #riverheritage on Facebook, Instagram, and Twitter!

In summary, like the glimmer of “river” in my “Eagle’s Nest” photos, we’re gonna say that the bird shown above is a hawk and it is hovering!

Most importantly, have fun making this Hovering Hawks quilt block!

River Heritage Month Nine

SHOP more than 50 patterns that use BOTH beautiful sides of fabric HERE!

River Heritage – Eagle’s Nest

Estimated reading time: 5 minutes

The Eagle’s Nest quilt block gives you a bird’s-eye view!

The Eagle’s Nest quilt block took us to high places! We traveled to a look-out called Inspiration Point. See photos from our adventure below.

Month Seven of River Heritage is the Eagle’s Nest quilt block.Image of Month Seven Ad

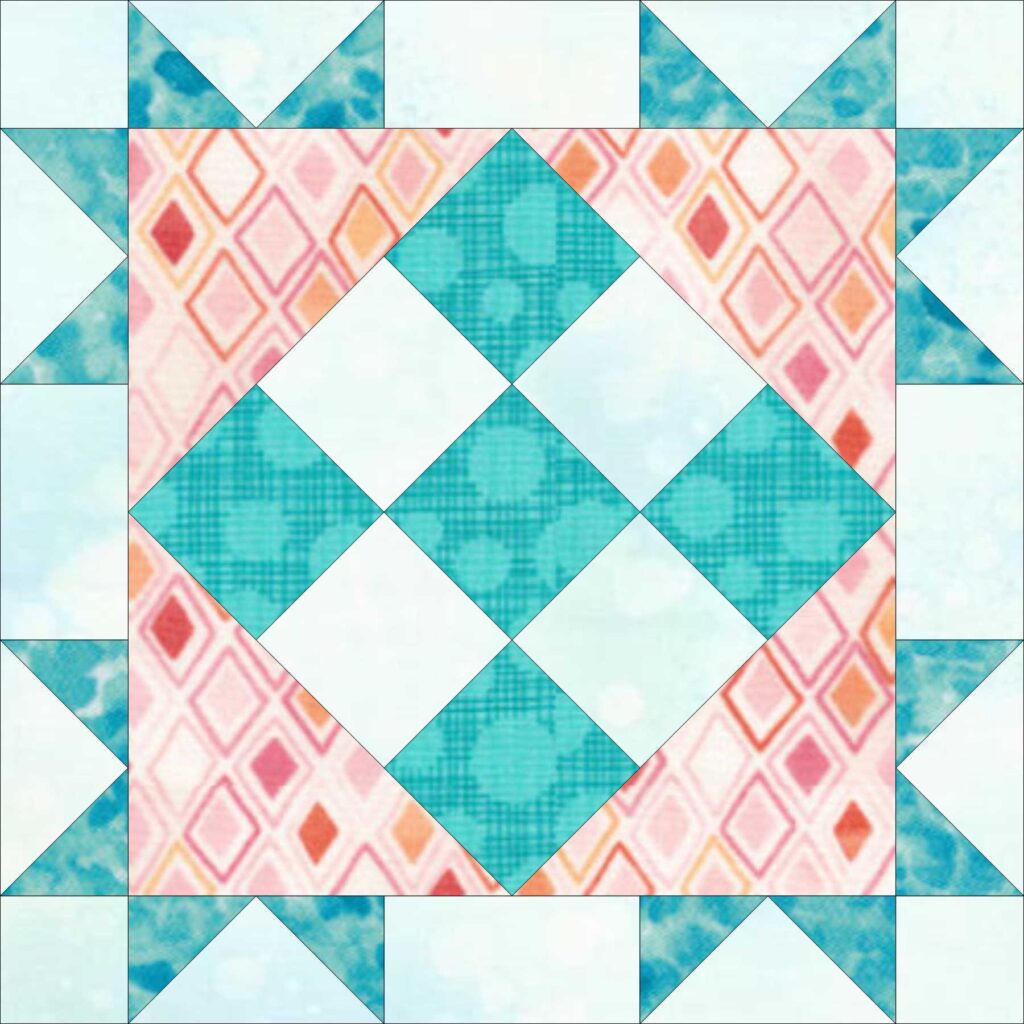
Firstly, here is an overview of the Eagle’s Nest quilt block.

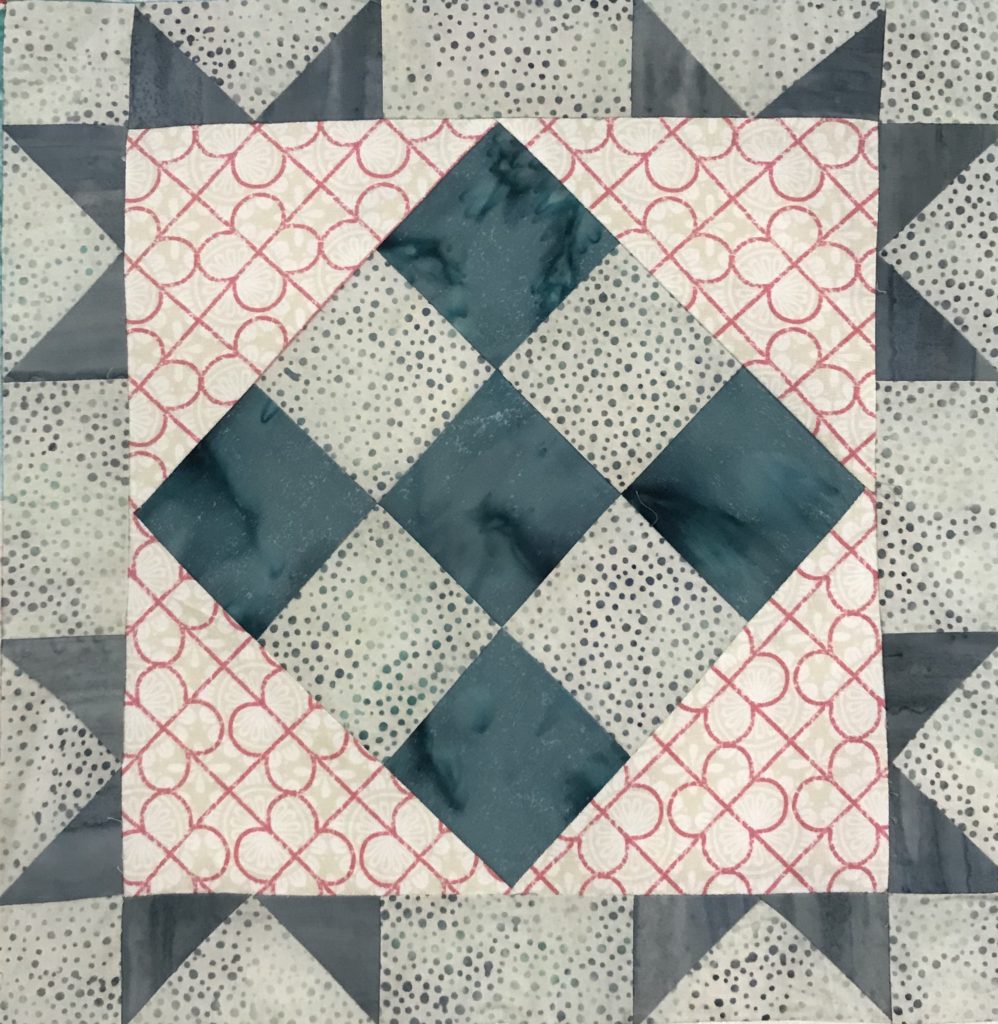
This block has a few more pieces and variety than the last two months’ blocks. This block has a nine-patch in the center which is set on-point and is surrounded by flying geese sections. However, like the “inspirational” pictures accompanying this post, this block will have a high perch in the River Heritage quilt setting!

Here is a digital view of the block.

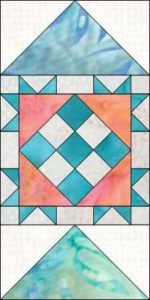
Image of Eagle's Nest quilt block
Eagle’s Nest

The Eagle’s Nest quilt block for Month Seven of the River Heritage Mystery Quilt has more pieces in it than our previous blocks. However, they are not difficult to make.

One step at a time.

If you work with one section at a time, you’ll master what might appear to be the most difficult block in the quilt. My guess is you’ll get it right the first time around!

Check values for the Eagle’s Nest quilt block fabrics.

Follow the instructions for value (light, medium, and dark) and use your own color scheme to make your block. Remember to check your values by taking a black and white picture of your fabric choices.

Learn more about VALUE here: The Tricky Traits of Value.

Image of Eagle's Nest Quilt Block

River Heritage Month 7 Eagle’s Nest (printer-friendly version)

From the eagle’s view.

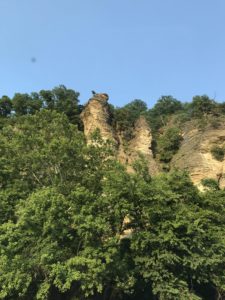
Image of Rock Cliffs
Approaching Inspiration Point
Image of View from Inspiration Point
Love the reflection of the tree below.
Image of Adjacent Rocks
Image of Rocks

We ventured to Inspiration Point, in the rolling hills of the Shawnee National Forest. We found a breathtaking panoramic view of the Mississippi River valley. Inspiration Point is located about 30 miles from Cape Girardeau, MO, near Wolf Lake, Illinois.

First, the hike to the viewing rocks is short and pleasant from the upper lot. (The lower lot looks like a pretty tough climb.) However, if we hadn’t seen other people on the outer rocks, I’m not sure we would have ventured onto them ourselves! Fortunately, the path isn’t as treacherous as it looked from the trail.

Image of Matt and View
My darling hubby taking me on another adventure to get pictures for River Heritage.
Image of View from Inspiration Point

The mighty Mississippi must be there somewhere for this Eagle’s Nest quilt block photo!

Somewhere in the distance, one of those glimmers of water is the mighty Mississippi River, I am SURE of it! Since we made the trip and the climb to get these pictures for the Eagle’s Nest quilt block, despite a bit of fear on my part (snakes and heights), we are going to go with that assumption!

Share your block using #riverheritage on Facebook, Instagram, and Twitter!

River Heritage Month Eight

Be sure to Catch The BUZZ and join this blog!

SHOP more than 50 quilt patterns that use BOTH beautiful sides of fabric HERE!

SUBSCRIBE to my YouTube Channel!

River Heritage – Port and Starboard

Port and Starboard

Estimated reading time: 6 minutes

The Port and Starboard block is our newest design for Month Six of the River Heritage Mystery Quilt!

Quilts Ahoy!

I knew from my Girl Scout canoeing days that “port” means LEFT and “starboard” means RIGHT. It’s easy to remember that the words “port” and “left” both have four letters. The same is true when looking out the front of your boat, vessel, ship, or even kayak, I guess.

Image of Port and Starboard Photo
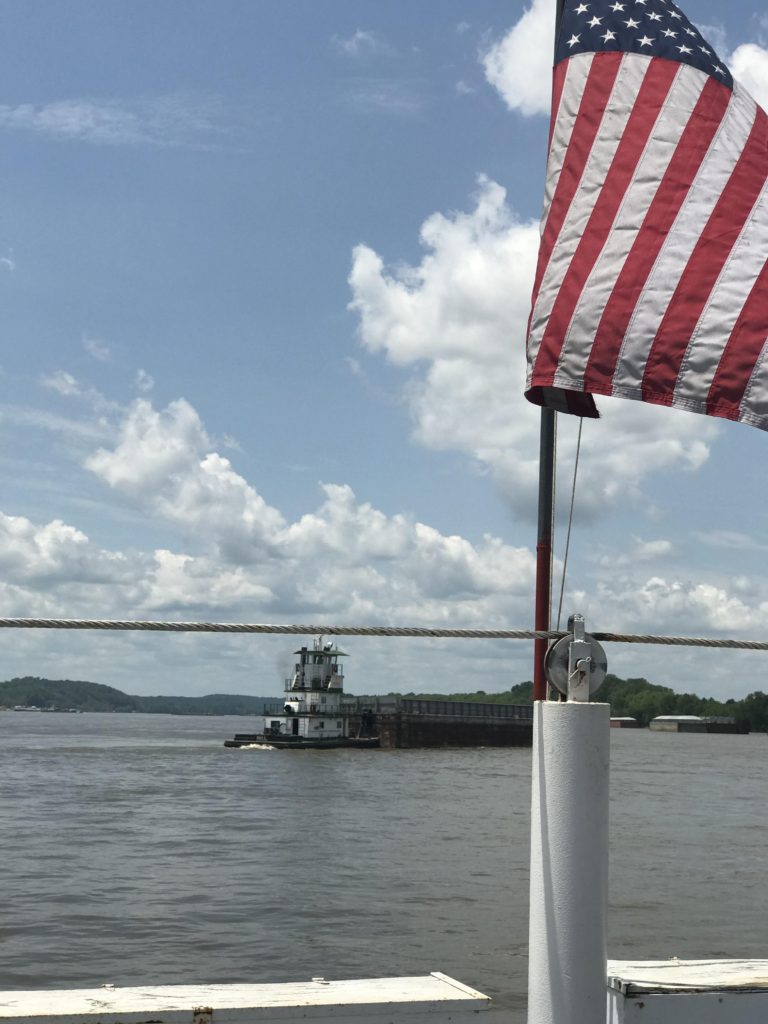
View from the ferry ride across the Mighty Mississippi for River Heritage!

How Port and Starboard came to be.

What I didn’t know was how those terms came to be.  Here’s what I found out:

Starboard

Initially, boats were controlled by a steering oar (before the rudder was centered on the boat) which was usually on the right side of the stern. Sailors would call that side the “steering side”. Eventually, the two Old English words “steor”  and “bord” combined, which mean “steer” and “side of the boat”. 

Port

The opposite, or left side, of the boat was usually used for docking and loading the boat. Therefore, it was known as the “larboard”. Apparently, “larboard” was too easily confused with “starboard”, so the term “port” was adopted to refer to the side that faced the porters who loaded (ported) supplies onto the boat.

So there you have it! Port and Starboard.Image at Ferry Dockign

Now for the ferry ride!

While brainstorming for ways to photograph the river for this fun mystery adventure, I thought of the ferry crossing in Ste. Genevieve. I have vague memories of crossing the ferry as a kid and I remembered that my Uncle Elmer piloted the ferry for a number of years. My cousin, Bonnie, shared with me that he and 4 other men purchased the ferry in 1975 to keep it running for farmers who lived in Ste. Genevieve and farmed in Illinois. He would pilot the boat on the weekends during his retirement. 

Uncle Elmer loved the river and spent a lot of time there. If my Aunt Alice didn’t know where he was, she could find him at the river talking to fishermen and farmers. Before he married Aunt Alice, he was a river boat pilot pushing barges from St. Louis to New Orleans. Now his grandson, Jeff, pushes barges from Tower Rock in Ste. Gen. down the river as far as New Orleans.

Image of Elmer Wichern
Uncle Elmer piloting the ferry.
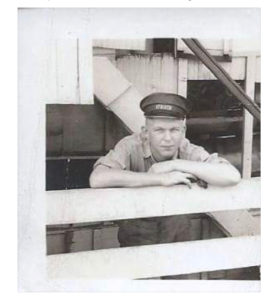
Image of Young Man Working the River
My dad.

Elmer’s younger brother, Bill (my dad), also worked the river as a young man. The only story I remember from my dad about working on the river is that once while in New Orleans he got an anchor tattooed on his arm. Apparently, this brought a lot of trouble from his siblings when he got home! I loved tracing that anchor with my fingers.

Watching the maneuvers of the ferry first hand made me realize just how important are Port and Starboard!

Image of Orville Wichern
My dad.
Image of River Crossing

The Port and Starboard quilt block is really fun to make!

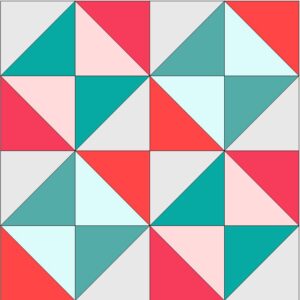
Similar to the Trail of Tears block, this block is made from sixteen half-square triangle blocks. The difference is the layout.

River Heritage Month 6 Port and Starboard Printer-Friendly

image of quilt block

Remember to check your values.

Here you see both the color and black and white versions of my block. This is how I check the values before stitching my block together.

Image of Black and White Port and Starboard Block
Image of Port and Starboard block

Additionally, you’ll continue with your own color scheme for your fabric choices.

Image of river in Port and Starboard
View from the ferry.
Image of Vehicle on Ferry

Share your block using #riverheritage on Facebook, Instagram, and Twitter!

SHOP more than 50 quilt patterns that use BOTH beautiful sides of fabric HERE!

River Heritage Month Seven

SUBSCRIBE to my YouTube Channel HERE!

River Heritage – Trail of Tears

Estimated reading time: 4 minutes

The Trail of Tears quilt block is Month 5 in the River Heritage Block-of-the-Month Mystery Quilt.

The Trail of Tears quilt block is a classic block depicting a rich, though sad history. However, as the Mississippi River definitely play a part in this story, it had to be included in our quilt. Thankfully, I can share with you what I learned about this beautiful park while learning about this dark trail.

Image of River at Trail of Tears State Park

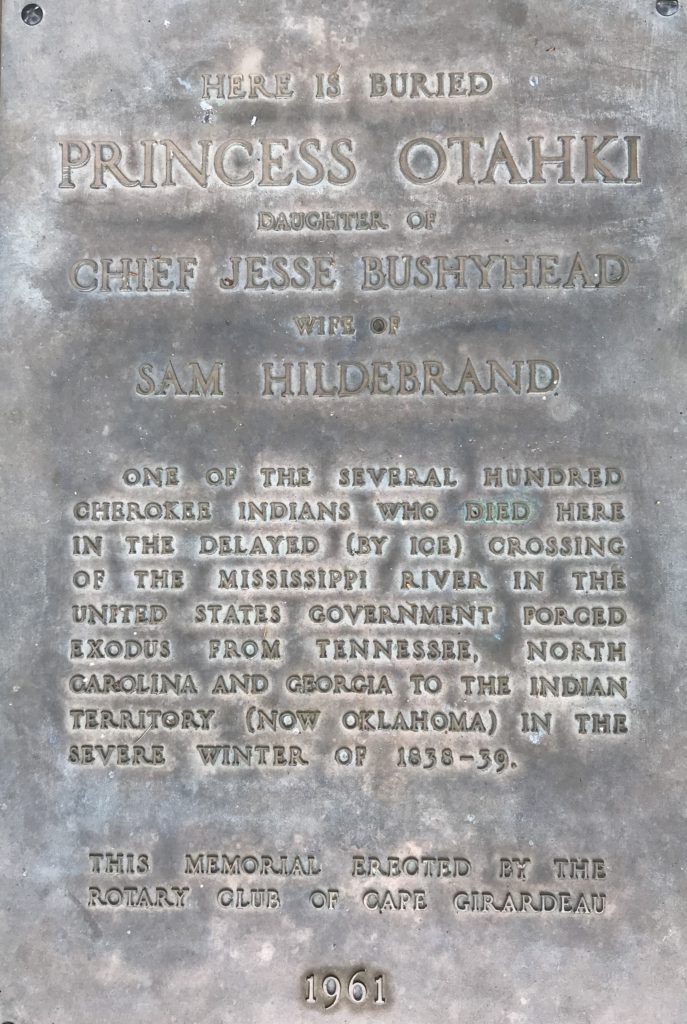
The Trail of Tears State Park, located on the Mississippi River, in Cape Girardeau County, Missouri, is a beautiful park with four trails, three river overlooks, a lake, campsites, picnic areas, and a visitor’s center. It  also is a burial site which commemorates the tragic deaths and hardships of the forced relocation of the Cherokee.

Image of River View
View of the Mississippi River from Trail of Tears State Park.

The Trail of Tears State Park

The visitor’s center is filled with information including audio recordings, video presentations, books, and static displays about the Trail of Tears, plus information about wildlife found in the area.

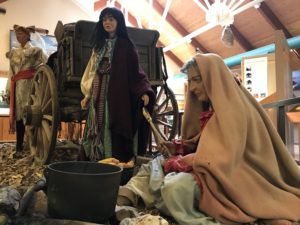
Image of Cherokee on Trail of Tears

It is difficult to read, see, and hear about the struggle of these people at the hands of our government and, consequently, our country.  Still, it is wonderful to have the history and beauty of the state park right here in our own “backyard”.  I highly recommend a visit to the state park for the views and the history lesson.Image of Trail of Tears SignImage of Mississippi River

The Trails

Choose from a variety of trails to hike at the park. They range in distance and difficulty to suit just about everyone.

Image of stone
Later found to have inaccuracies, this covered stone still stands to honor all those who endured the march of relocation on the Trail of Tears.

The Quilt Block

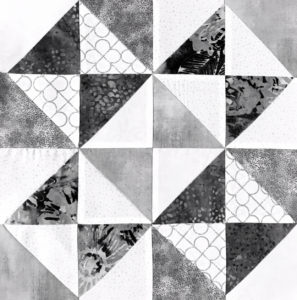
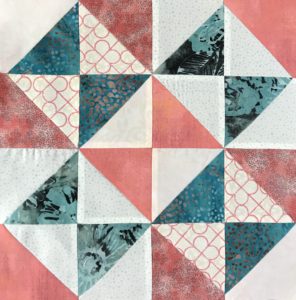
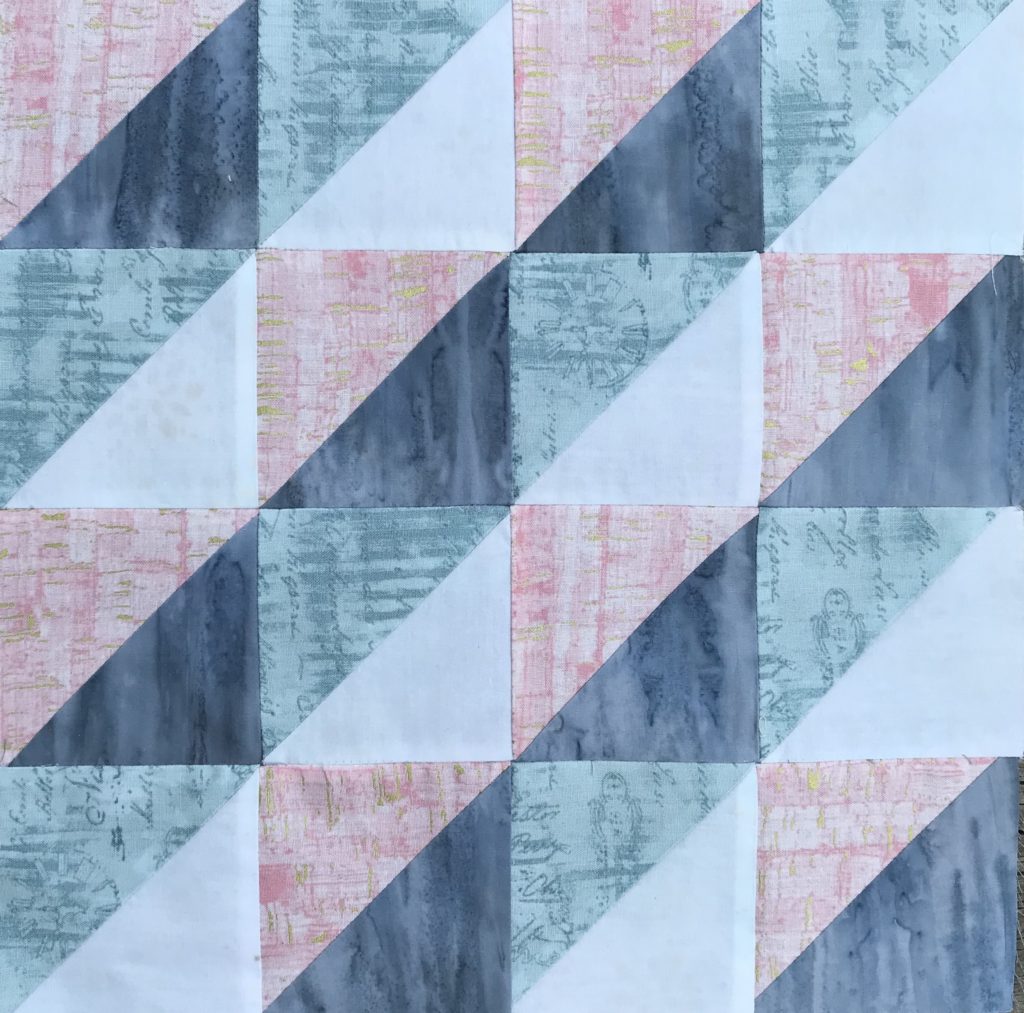
The Trail of Tears quilt block is made from sixteen half-square triangle squares. Make eight from a dark/light combination. Make another eight from a medium/light combination.

Image of Trail of Tears Block
Trail of Tears Quilt Block

Follow the instructions for value (light, medium, and dark) and use your own color scheme to make your block. Remember to check your values by taking a black and white picture of your fabric choices.  I look forward to seeing the variety of blocks you make!

River Heritage Month 5 Trail of Tears (Printer Friendly Version)

River Heritage Month Six

SHOP more than 50 quilt patterns that use BOTH beautiful sides of fabric in my Etsy shop HERE!

« Older posts