Tag: Patterns (Page 3 of 3)

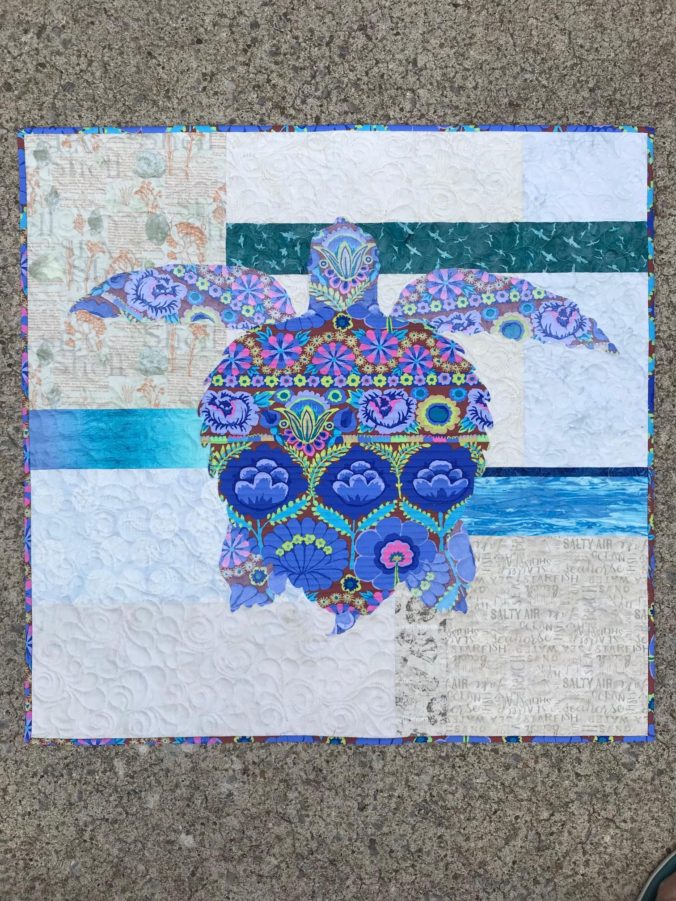
Meet Sandy, the Sea Turtle Quilt

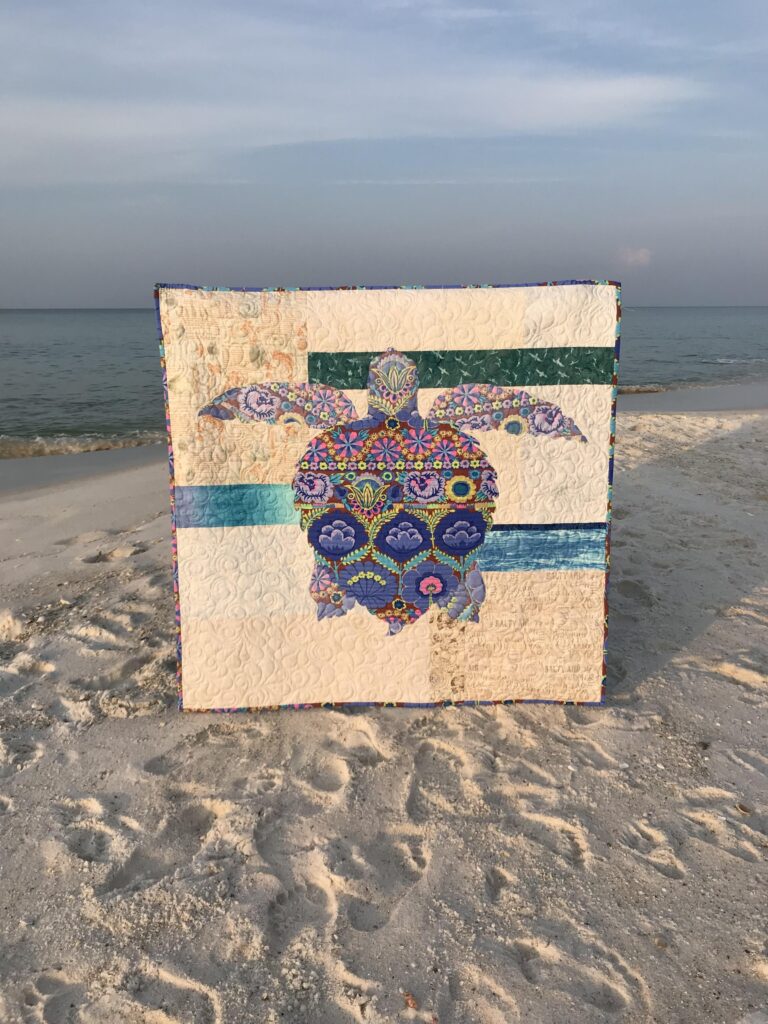
Sandy, the sea turtle quilt, is super fun to make!

Estimated reading time: 3 minutes

This sea turtle pattern is for those who love summer and salty air, the sound of sea gulls and crashing waves. And, of course, sea turtles!  

Sandy the sea turtle quilt is made with BOTH beautiful sides of fabric.
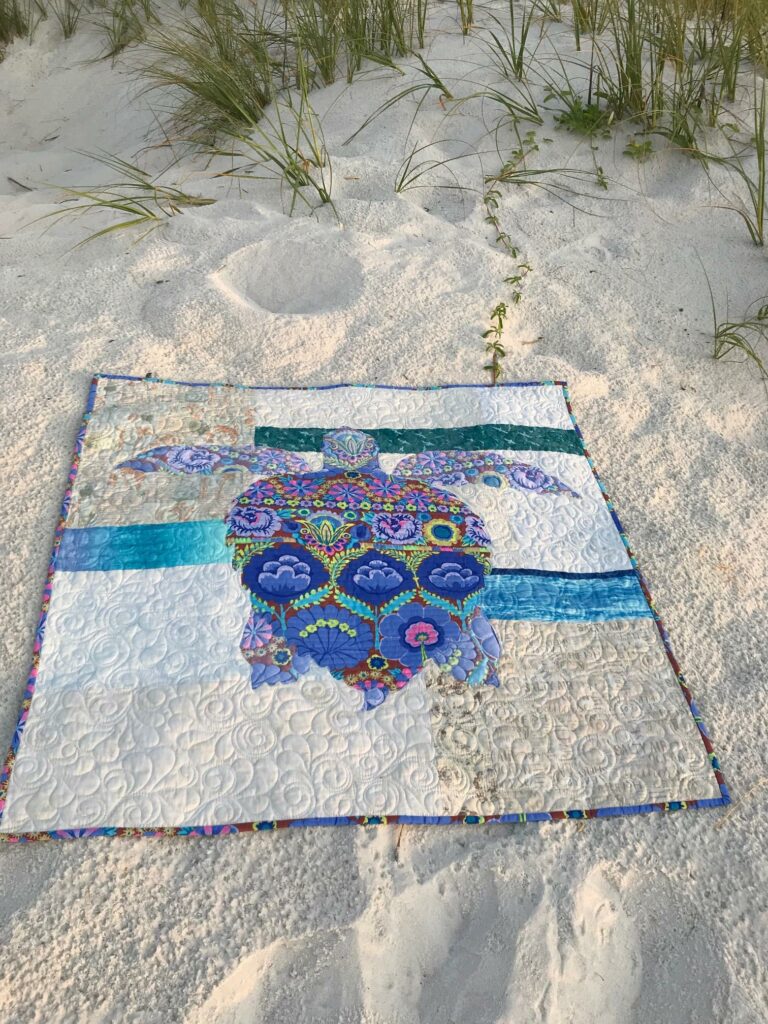
Image of sea turtle quilt
Sandy the Sea Turtle Quilt Pattern

The first reason Sandy is so fun and easy to make is the focus fabric! You only need to pick ONE. The RIGHT sides makes her shell and the binding. The REVERSE makes her legs, tail and head.

Add a fun, scrappy background.

Secondly, the background fabrics can be bold and fun. A variety of background fabrics can make this quilt sparkle with interest!

Audition BOTH sides of fabric.

Furthermore, you learn HOW to audition BOTH side so fabric. You’ll start with your focus fabric. Next you’ll audition your background fabrics with BOTH sides of your focus fabric. The guide in the pattern tells you what to look for and how to use value to make your choices. See How to Use Both Sides.

About Sea Turtles

Did you know? Cooler sand temperatures produce more male and warmer sand produces more female sea turtles.

The sea turtle eggs hatch almost simultaneously, making the sandy nest look like boiling water. Instinctively, the babies find their way to the water with the help of the slope of the beach and the moon and star reflections on the water.

The large number of turtles hatching and moving to the sea all together helps protect them from predators. That’s why its a good idea to remove chairs and umbrellas and fill all holes at night during hatching season so they have a better chance at making it to sea safely.
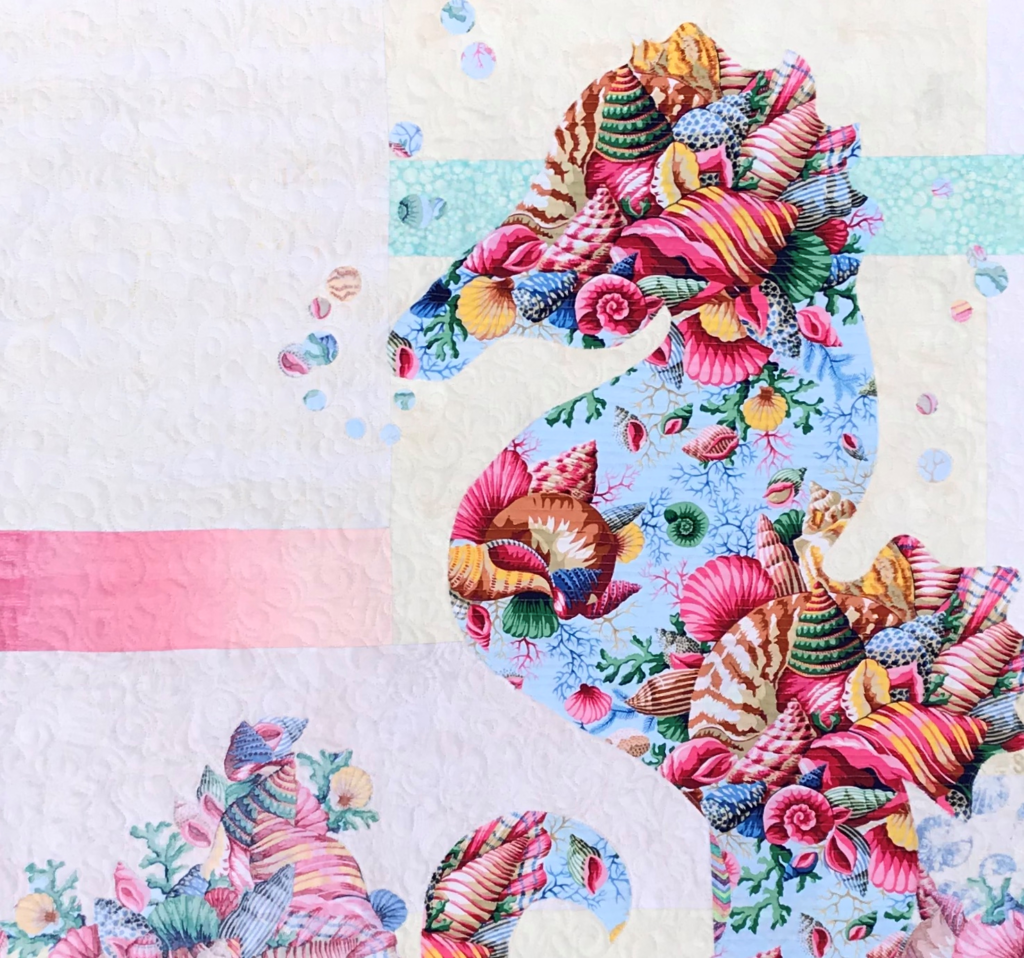
Image of Seahorse Quilt Closeup
Learn about the Sally Quilt Pattern.

Shop for Sandy on www.etsy.com/shop/CreativeBeeStudios

Enjoy YOUR quilting journey.

River Heritage – Trail of Tears

Estimated reading time: 4 minutes

The Trail of Tears quilt block is Month 5 in the River Heritage Block-of-the-Month Mystery Quilt.

The Trail of Tears quilt block is a classic block depicting a rich, though sad history. However, as the Mississippi River definitely play a part in this story, it had to be included in our quilt. Thankfully, I can share with you what I learned about this beautiful park while learning about this dark trail.

Image of River at Trail of Tears State Park

The Trail of Tears State Park, located on the Mississippi River, in Cape Girardeau County, Missouri, is a beautiful park with four trails, three river overlooks, a lake, campsites, picnic areas, and a visitor’s center. It  also is a burial site which commemorates the tragic deaths and hardships of the forced relocation of the Cherokee.

Image of River View
View of the Mississippi River from Trail of Tears State Park.

The Trail of Tears State Park

The visitor’s center is filled with information including audio recordings, video presentations, books, and static displays about the Trail of Tears, plus information about wildlife found in the area.

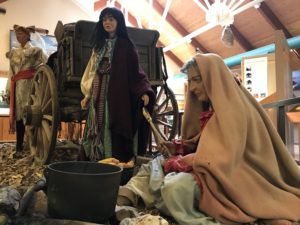
Image of Cherokee on Trail of Tears

It is difficult to read, see, and hear about the struggle of these people at the hands of our government and, consequently, our country.  Still, it is wonderful to have the history and beauty of the state park right here in our own “backyard”.  I highly recommend a visit to the state park for the views and the history lesson.Image of Trail of Tears SignImage of Mississippi River

The Trails

Choose from a variety of trails to hike at the park. They range in distance and difficulty to suit just about everyone.

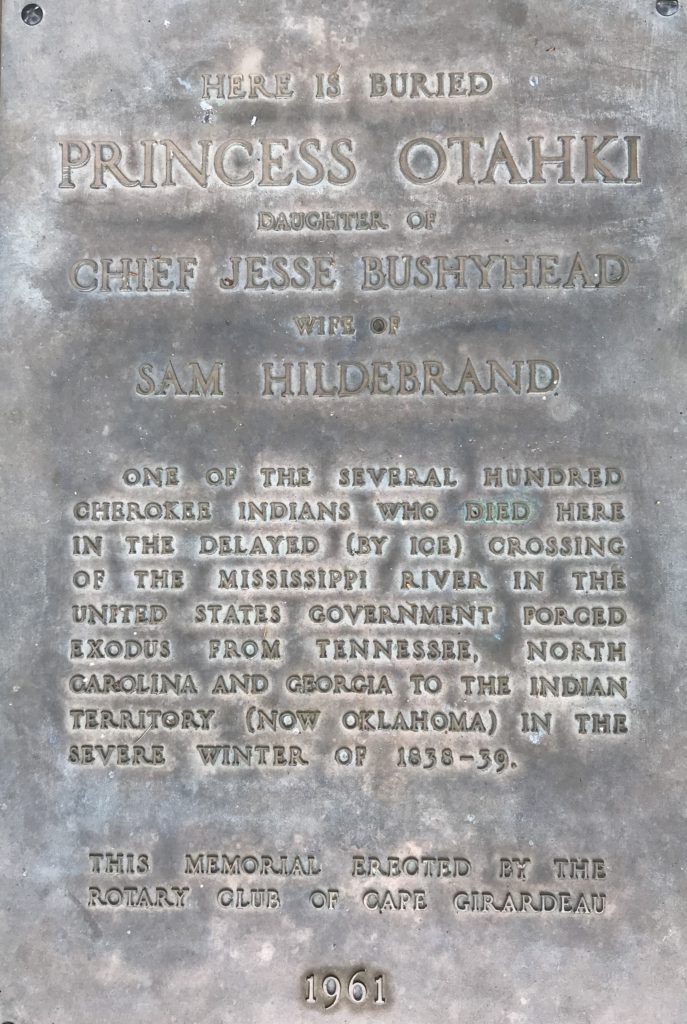
Image of stone
Later found to have inaccuracies, this covered stone still stands to honor all those who endured the march of relocation on the Trail of Tears.

The Quilt Block

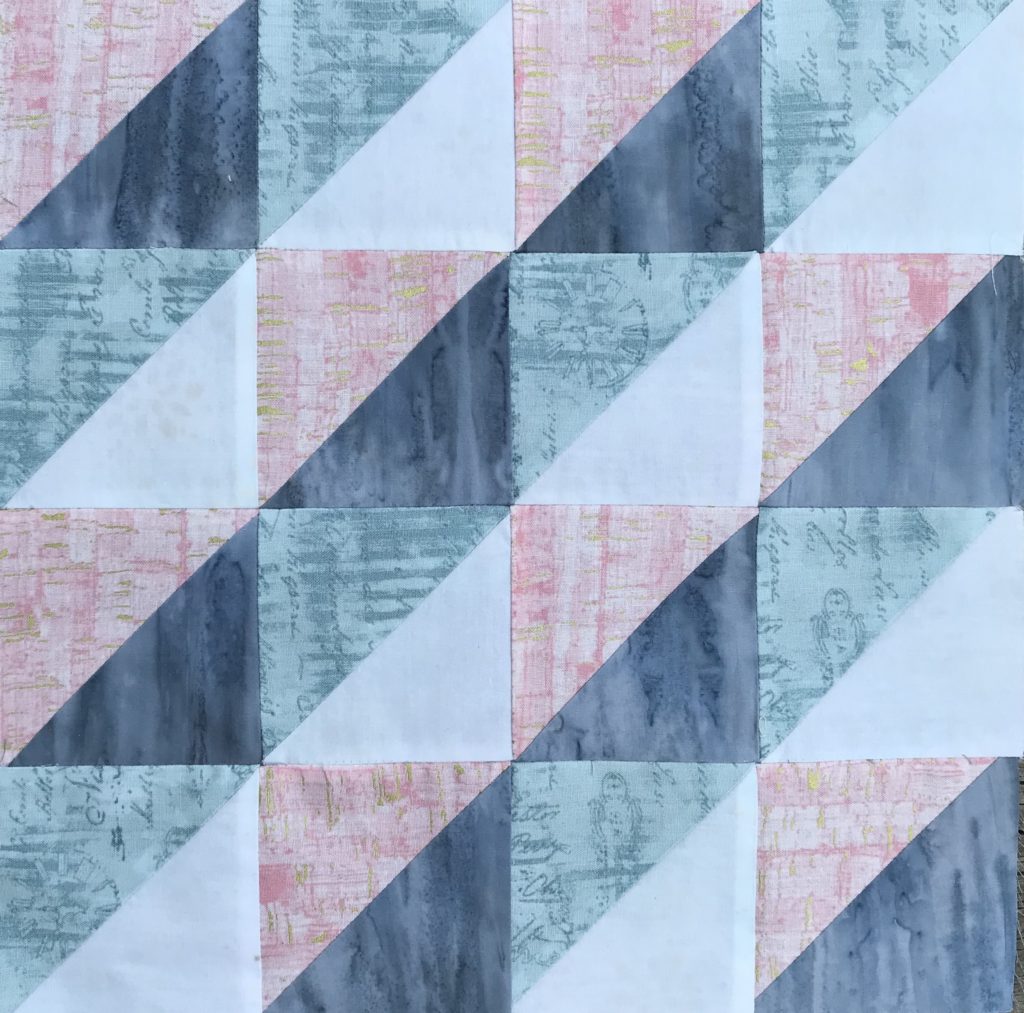
The Trail of Tears quilt block is made from sixteen half-square triangle squares. Make eight from a dark/light combination. Make another eight from a medium/light combination.

Image of Trail of Tears Block
Trail of Tears Quilt Block

Follow the instructions for value (light, medium, and dark) and use your own color scheme to make your block. Remember to check your values by taking a black and white picture of your fabric choices.  I look forward to seeing the variety of blocks you make!

River Heritage Month 5 Trail of Tears (Printer Friendly Version)

River Heritage Month Six

SHOP more than 50 quilt patterns that use BOTH beautiful sides of fabric in my Etsy shop HERE!

Lighted Bridge Quilt Block

Estimated reading time: 3 minutes

The Lighted Bridge quilt block is revealed here as Month Four of the River Heritage Mystery Quilt!

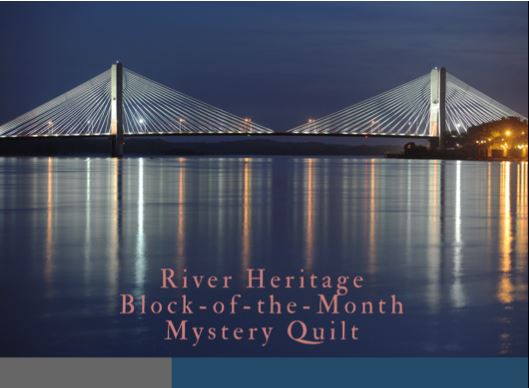
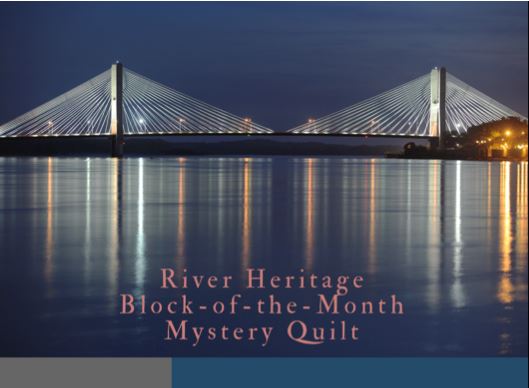
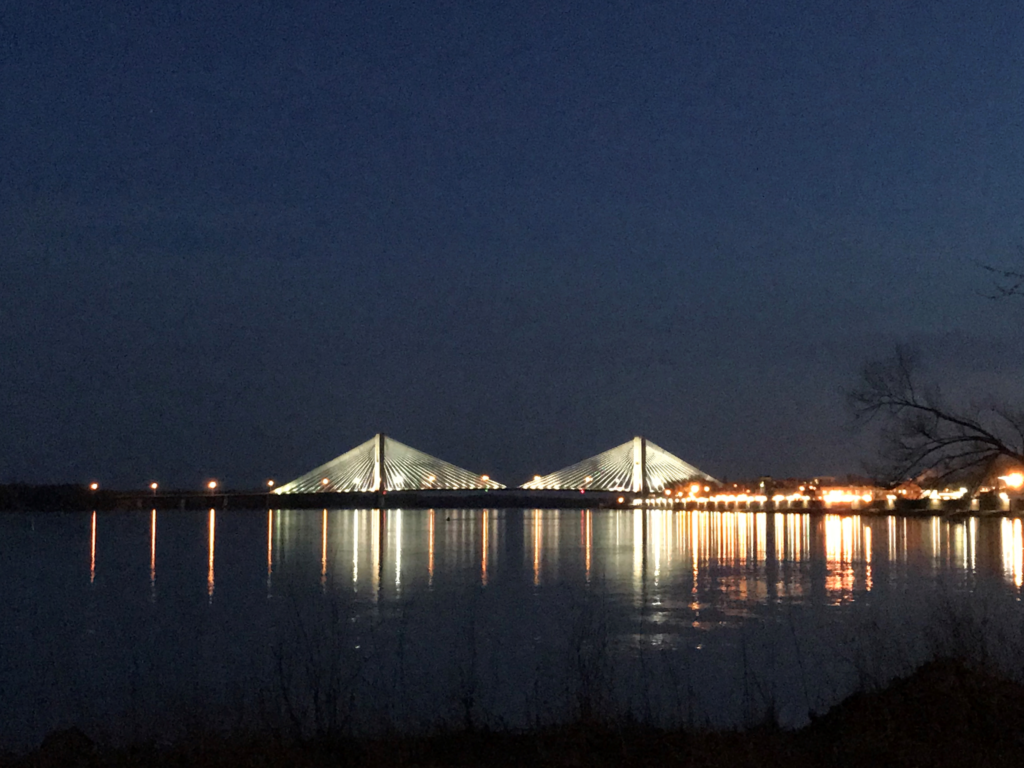
Firstly, the Lighted Bridge quilt block was designed directly from the night time view of the Bill Emerson bridge that connects Cape Girardeau, Missouri to East Cape, Illinois.

Lighted Bridge on the River.

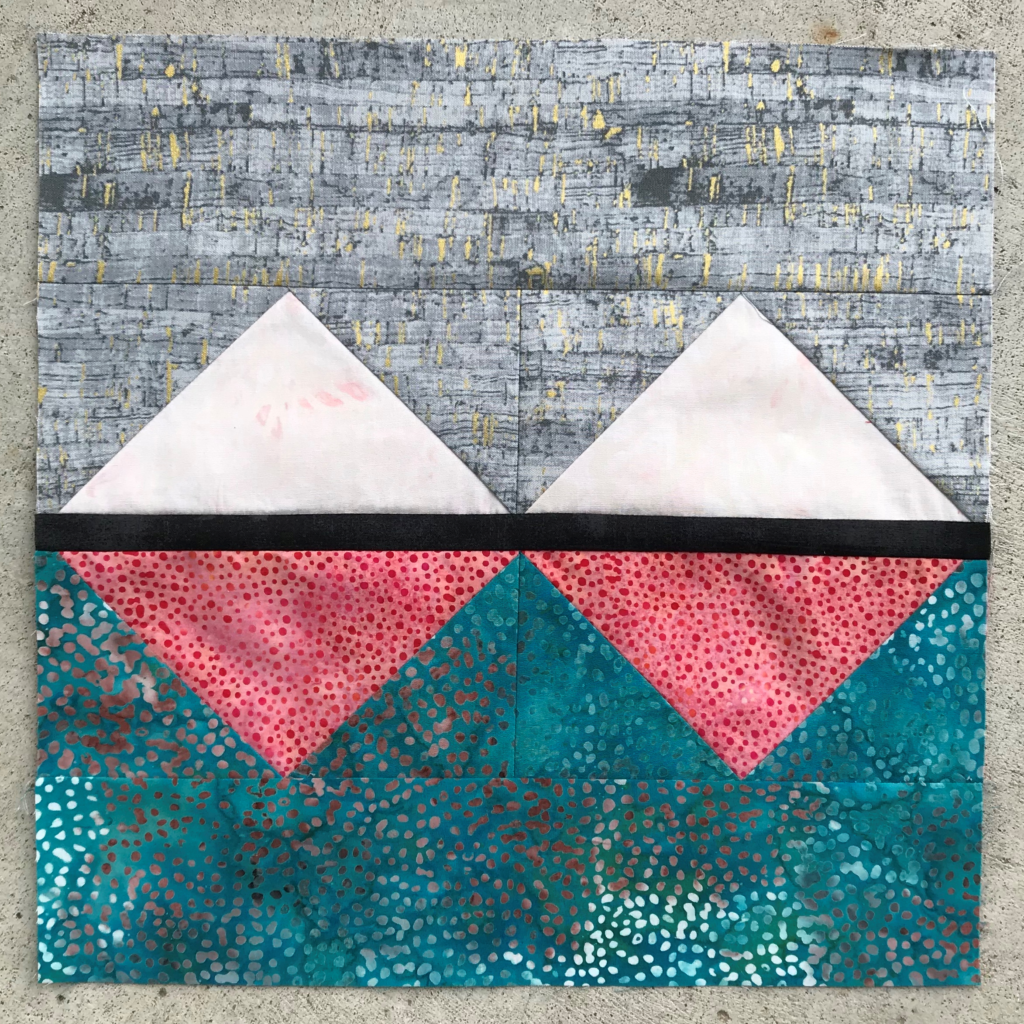
Lighted Bridge Quilt Block Photo
Month Four – Lighted Bridge Quilt Block

Notably, this bridge was opened in 2003 when it replaced an old two-lane bridge near the same location. The Bill Emerson bridge is a beautiful landmark which thousands of people cross each day. I designed this block to depict this nighttime view of the bridge, with its reflection in the Mississippi River. The bridge is 4,000 feet long, 100 feet wide, and is illuminated with 140 lights.

Lighted Bridge

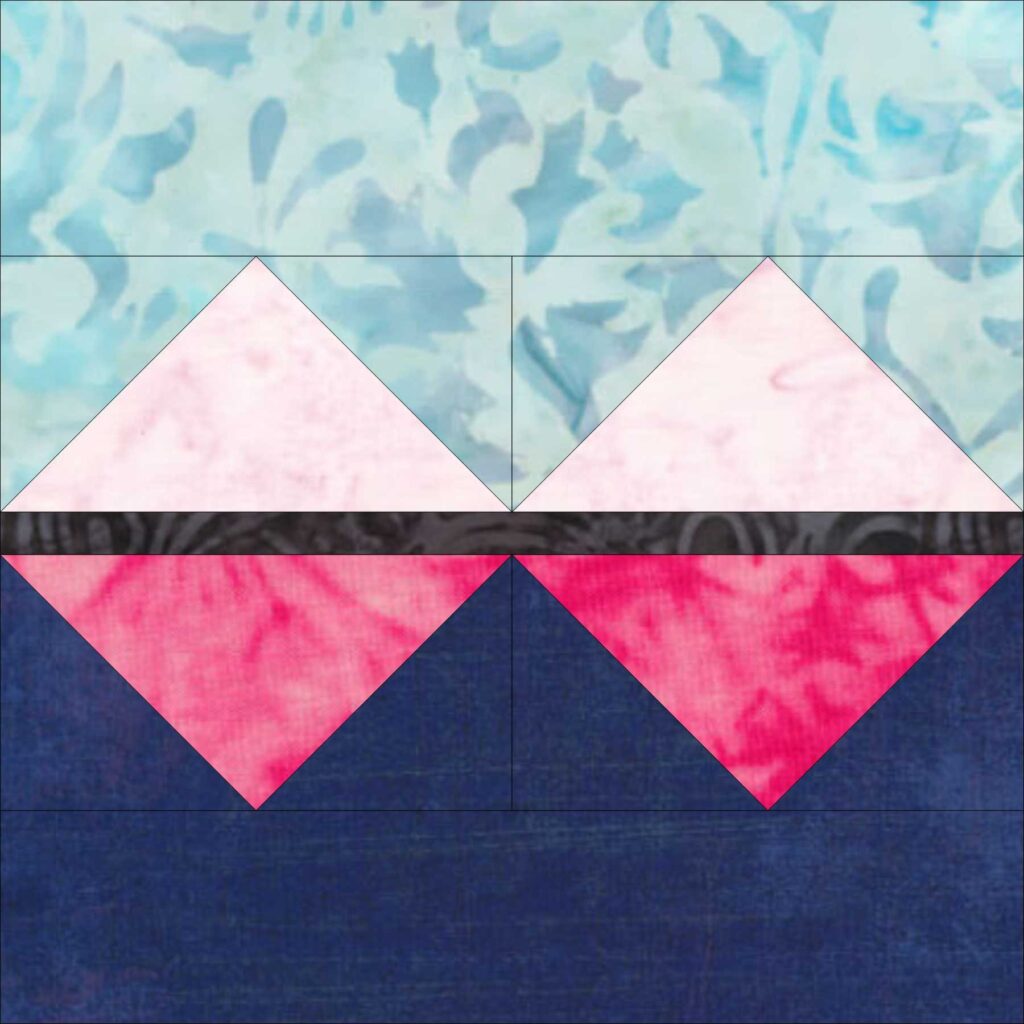
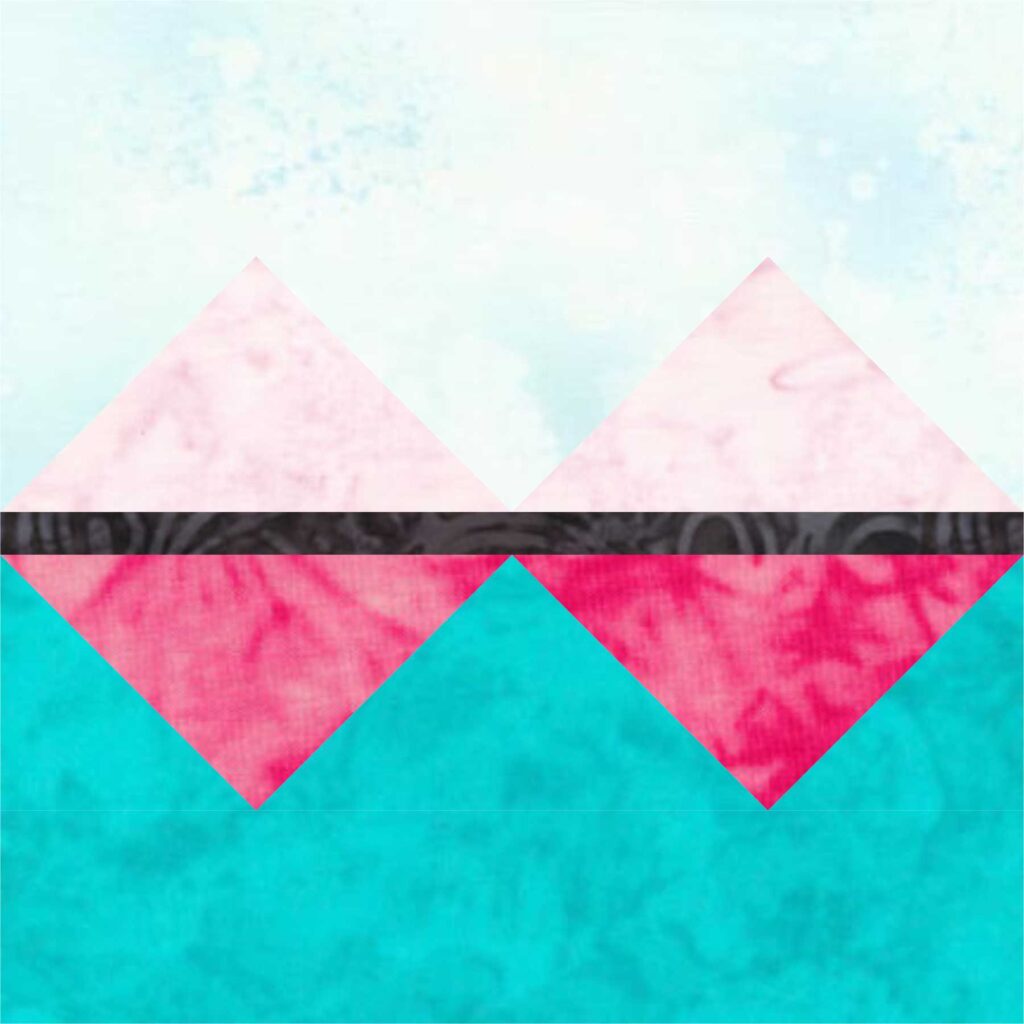
Four flying geese units make this bridge and it’s reflection. The design depicts the lighted cables of the bridge and their reflection in the river. Accordingly, the three stripes of color indicate the sky, the bridge roadway, and the water.

Image of Lighted Bridge Quilt Block
Lighted Bridge Quilt Block
Digital Image of Quilt Block

Overview of the Quilt Block

Lighted Bridge uses light fabric for the two bridge cables, medium for the lighted night sky and reflected cables, and dark for the bridge roadway and water.

Definitely, you’ll want to watch the placement of values in your fabric choices. Naturally, water is often depicted with a dark value. The reflection and above water could be in the same color family, but with differing values. Finally, take care that the bridge lights and sky have enough contrast between them. Learn more about VALUE HERE.

Printer Friendly Version

Another coloration of the Lighted Bridge Quilt Block

Similarly, this version has good contrasting values.

Image of quilt block

Another beautiful view!

Image of Lighted Bridge
View from Red Star Boat Ramp

Finally, share your block using #riverheritage on Facebook, Instagram, and Twitter!

Want to start at the beginning? Here’s the Introduction to River Heritage Mystery Quilt Pattern.

River Heritage Month Five

Visit Creative Bee Studios on YouTube!

SHOP more than 50 quilt patterns that use both beautiful sides of fabric!

Yakity Yak – Let’s Talk Backs

Quilt backing doesn’t have to be boring.

Lots of quilters use leftover fabrics from their stash to piece together a quilt backing. Initially, that was my intention with this pieced backing. I needed to add enough random fabrics to “stretch” the gray Stonehenge backing!

Afterthoughts.

By and large, quilt backing is an afterthought for me. Until now, all of my excitement and energy is focused on the quilt top. My brain can’t handle more decisions while I’m mastering the creation on the front of the quilt! However, when the top is finished, I want to quilt it immediately.

Something’s Brewing

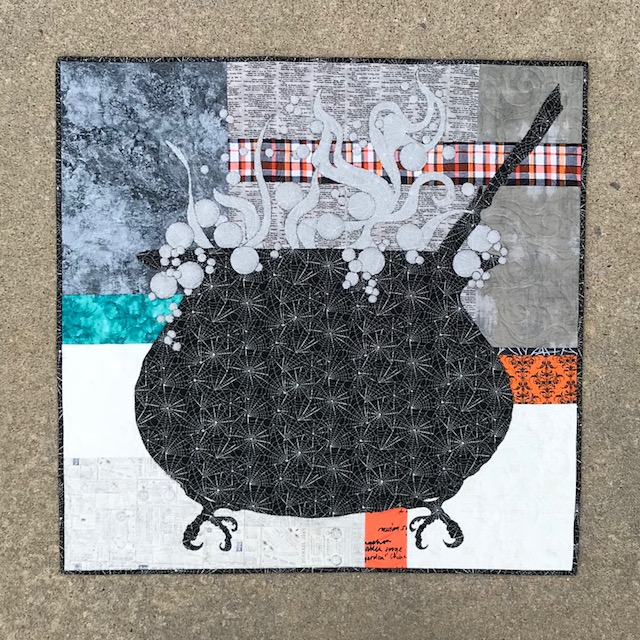
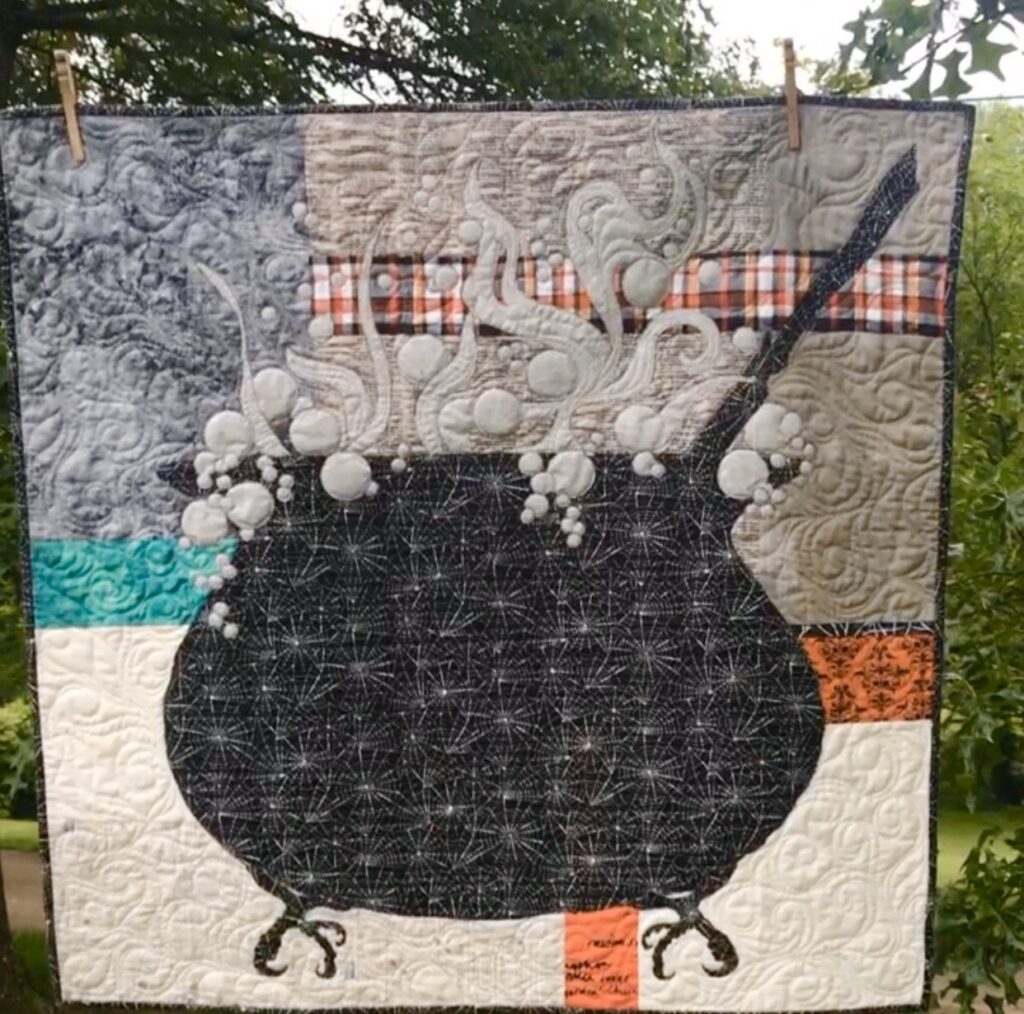
Incidentally, such was the case with Something’s Brewing. This quilt features a huge cauldron that has bubbles and steam simmering over it’s sides. Also, there’s a crooked broomstick and, my favorite, honey buzzard claw feet. Moreover, one focus fabric makes all of these things, plus the binding! That is to say, it is made with both spooky sides of one focus fabric! See How to Use Both Sides for more info!

image of something's brewing quilt

Various spooky background fabrics.

Furthermore, notice the very VARIED background fabrics in this quilt. This background is made from eleven radically different fabrics, including batik, Stonehenge, glitzy plaid, spiderweb, and more. Moreover, there’s even a fabric with William Shakespeare’s Macbeth! It’s such spooky fun!

Why should the front have all the fun?

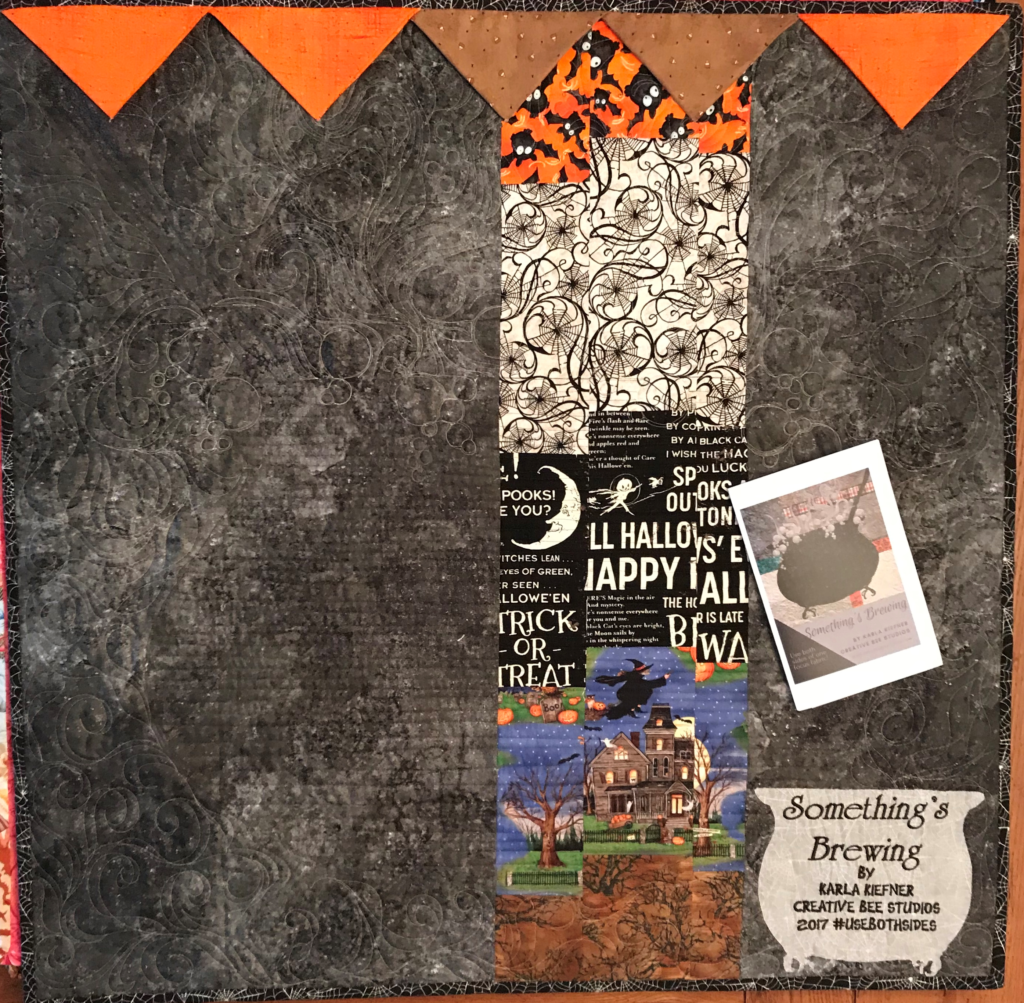
Although I had pieced my quilt backings before, it had never dawned on me to “instant bargello” my backing! While searching for a single Halloween print to add to my yardage, I found numerous smaller cuts of very fun fabric.

Image of Quilt Back

Instant Bargello to the quilt backing rescue!

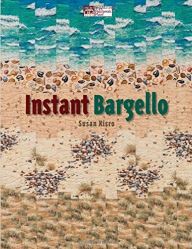
Instant Bargello by Susan Kisro is one of my favorite quilting books.Image of Book I’ve made several fun and fast quilts using this book as a guide. I decided this technique would allow me to use small pieces of fabric to make a fun quilt backing. I grabbed some scraps and did three little columns of that technique which gave me enough width for the backing. It was fun and fast!
Prairie Point Hanging Method

Even the Prairie Point Hanging Method got a splash of Halloween fun! The two brown ones have tiny candy corn on them. This was some old Debbie Mumm fabric which I’d inherited from my mother-in-law. I love using little bits of her fabric in my quilts.

Label Fun

Finally, when preparing this quilt to hang in Hancock’s of Paducah for AQS Quilt Week, I brewed up another little cauldron for the label. Incidentally, this cauldron was made from the REVERSE!


Have fun with your backs!

To summarize, if you have to make a quilt back, why not make it fun?

Enjoy YOUR quilting journey!

SHOP more than 50 quilt patterns that use both beautiful (or spooky) sides of fabric!

Simple Designs for Stunning Quilts

Image of Grace Quilt Pattern

Introducing…Grace, a simple design for a stunning quilt.  First, take a mason jar shape. Next add a broderie perse bouquet. Finally, construct a fun, scrappy background to make a sweet quilted wall hanging.

You first pick your floral focus fabric for the mason jar (reverse), bouquet, and binding! Add scrappy background fabrics and you’ll be set. 

You’ll discover the nuances of value as you learn to audition BOTH sides of fabric! Each #usebothsides patterns teaches you how to audition your fabrics. Value is the key to success! Learning to measure value is a skill you can apply to all your future quilt projects.

Your focus fabric determines the style of your bouquet. 

I’ve had a large room full of quilters make this design at their annual retreat and the results were, well, stunning! Each quilter had a guide for how to choose both focus and background fabrics before the retreat. They also brought extra fabric for last-minute changes. This pattern is a great classroom or workshop project because the results are incredibly different. Even if two quilters choose the same focus fabric, their background fabrics and bouquet arrangement makes their quilts unique. It truly is a simple design for a stunning quilt.

How do you know if a fabric has a great reverse? You learn through the auditioning process. After looking a few reverse sides, you’ll soon have a good feel for those fabrics you can audition. It’s also a great conversation starter at quilt shops when they see you looking at BOTH sides. Some of my friends say they never look at one side of fabric anymore. In a way, it’s like doubling your stash without losing any space!


Learn more about modern Broderie Perse! 

Image of Simple Design Stunning Quilt
Image of Four Grace Bouquets
SHOP Creative Bee Studios Quilt Patterns HERE
Image of Kate's Bouquet Simple Design Stunning Quilt
Kate’s Bouquet is another way to use BOTH sides of fabric!https://www.etsy.com/listing/720564306

Subscribe to The BUZZ below and I will email you when new posts are published. Thank you for your interest and support!

Meet Rose…a Quilted Beauty

Estimated reading time: 3 minutes

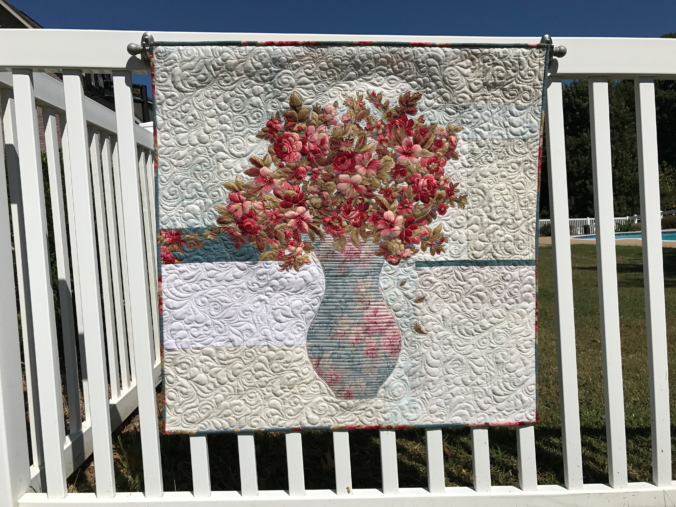
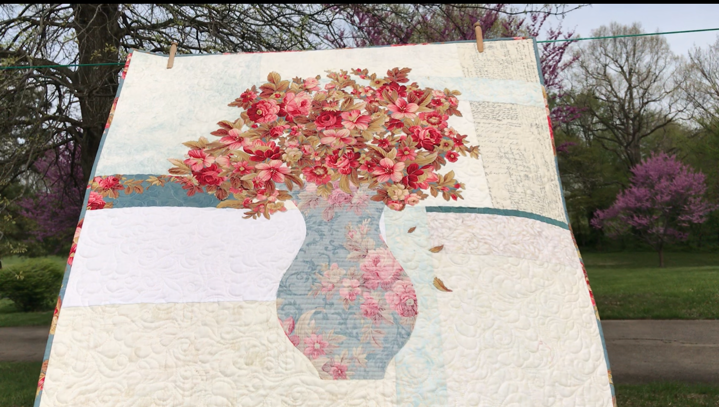
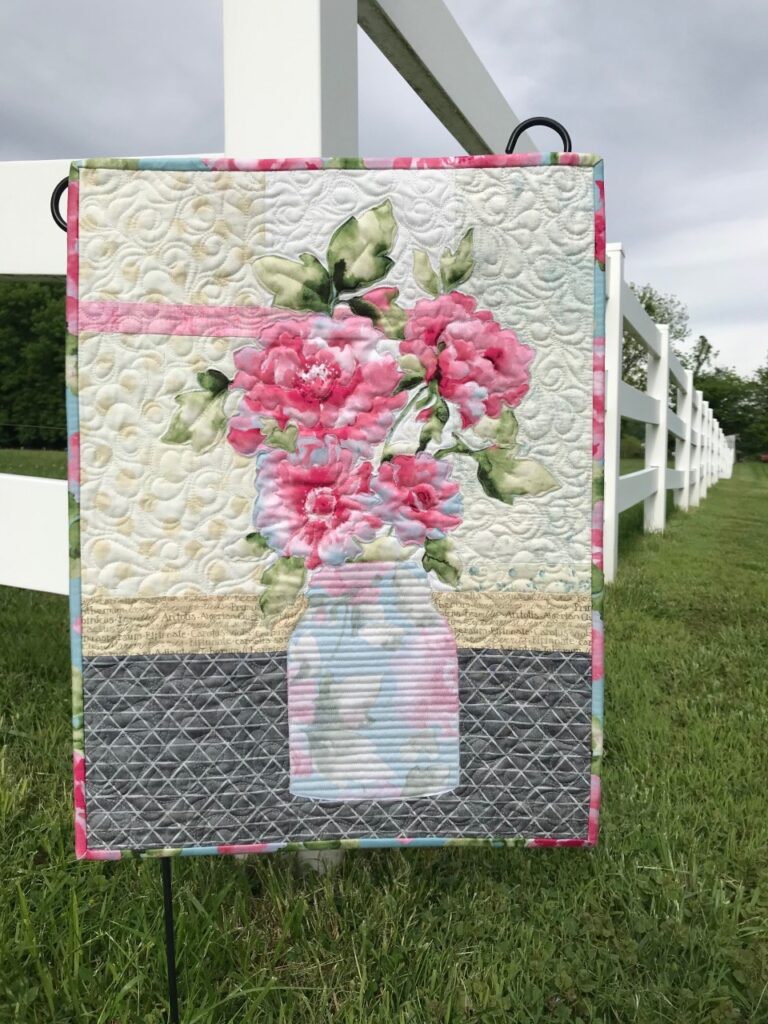
The rose bouquet quilt shown here is appropriately named Rose.

This Rose bouquet quilt was the first made in a series of bouquet quilts. Each quilt was as different and distinct as the focus fabric from which it was made!

Rose is made with both beautiful sides of one focus fabric!

First, the focus fabric for this Rose bouquet quilt is Bed of Roses by Geri Robinson by Red Rooster Fabrics. It is used for the vase (REVERSE), the bouquet, and binding. Unlike other similar quilts, one accent strip in the background is featured in this quilt to demonstrate the contrast between the right and reverse sides.

The scroll work on the focus fabric for the Rose bouquet quilt doesn’t appear on the right side, but it makes a beautiful design on the vase when you use the reverse!

The key to making a Rose bouquet quilt is learning how to audition both sides of fabric. Value is the key! First, you will discover the nuances of value as you learn to audition both sides of focus fabrics. Likewise, once you choose your focus fabric, you’ll apply the same principles (tips) to audition background fabrics. It’s easy to audition fabrics when you know what to look for.

Additionally, see The Tricky Traits of Value.

Easy Techniques

Basically, the Rose bouquet quilt is made using fusible applique and broderie perse techniques. Simply put, you’ll trace and cut the vase from a full-size paper template. Next, you’ll cut flowers and leaves from the motifs on the fabric. It’s as simple as fusing them onto the background fabrics. Finally, the applique can be secured during the quilting process, making this a truly fast project to make.

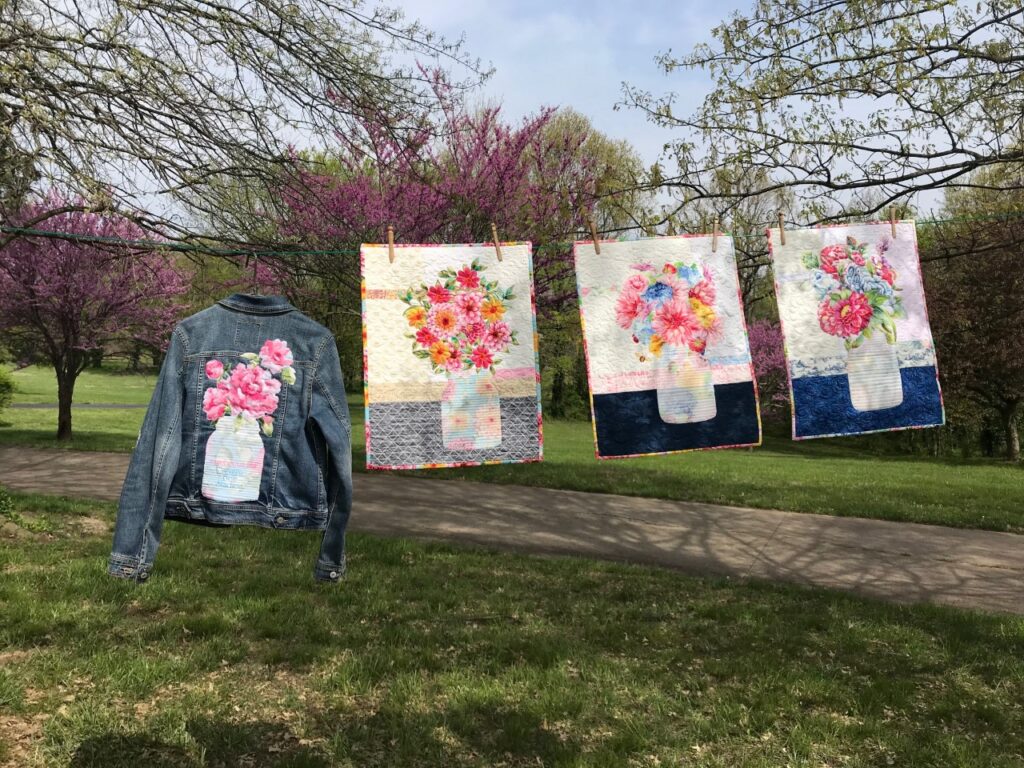
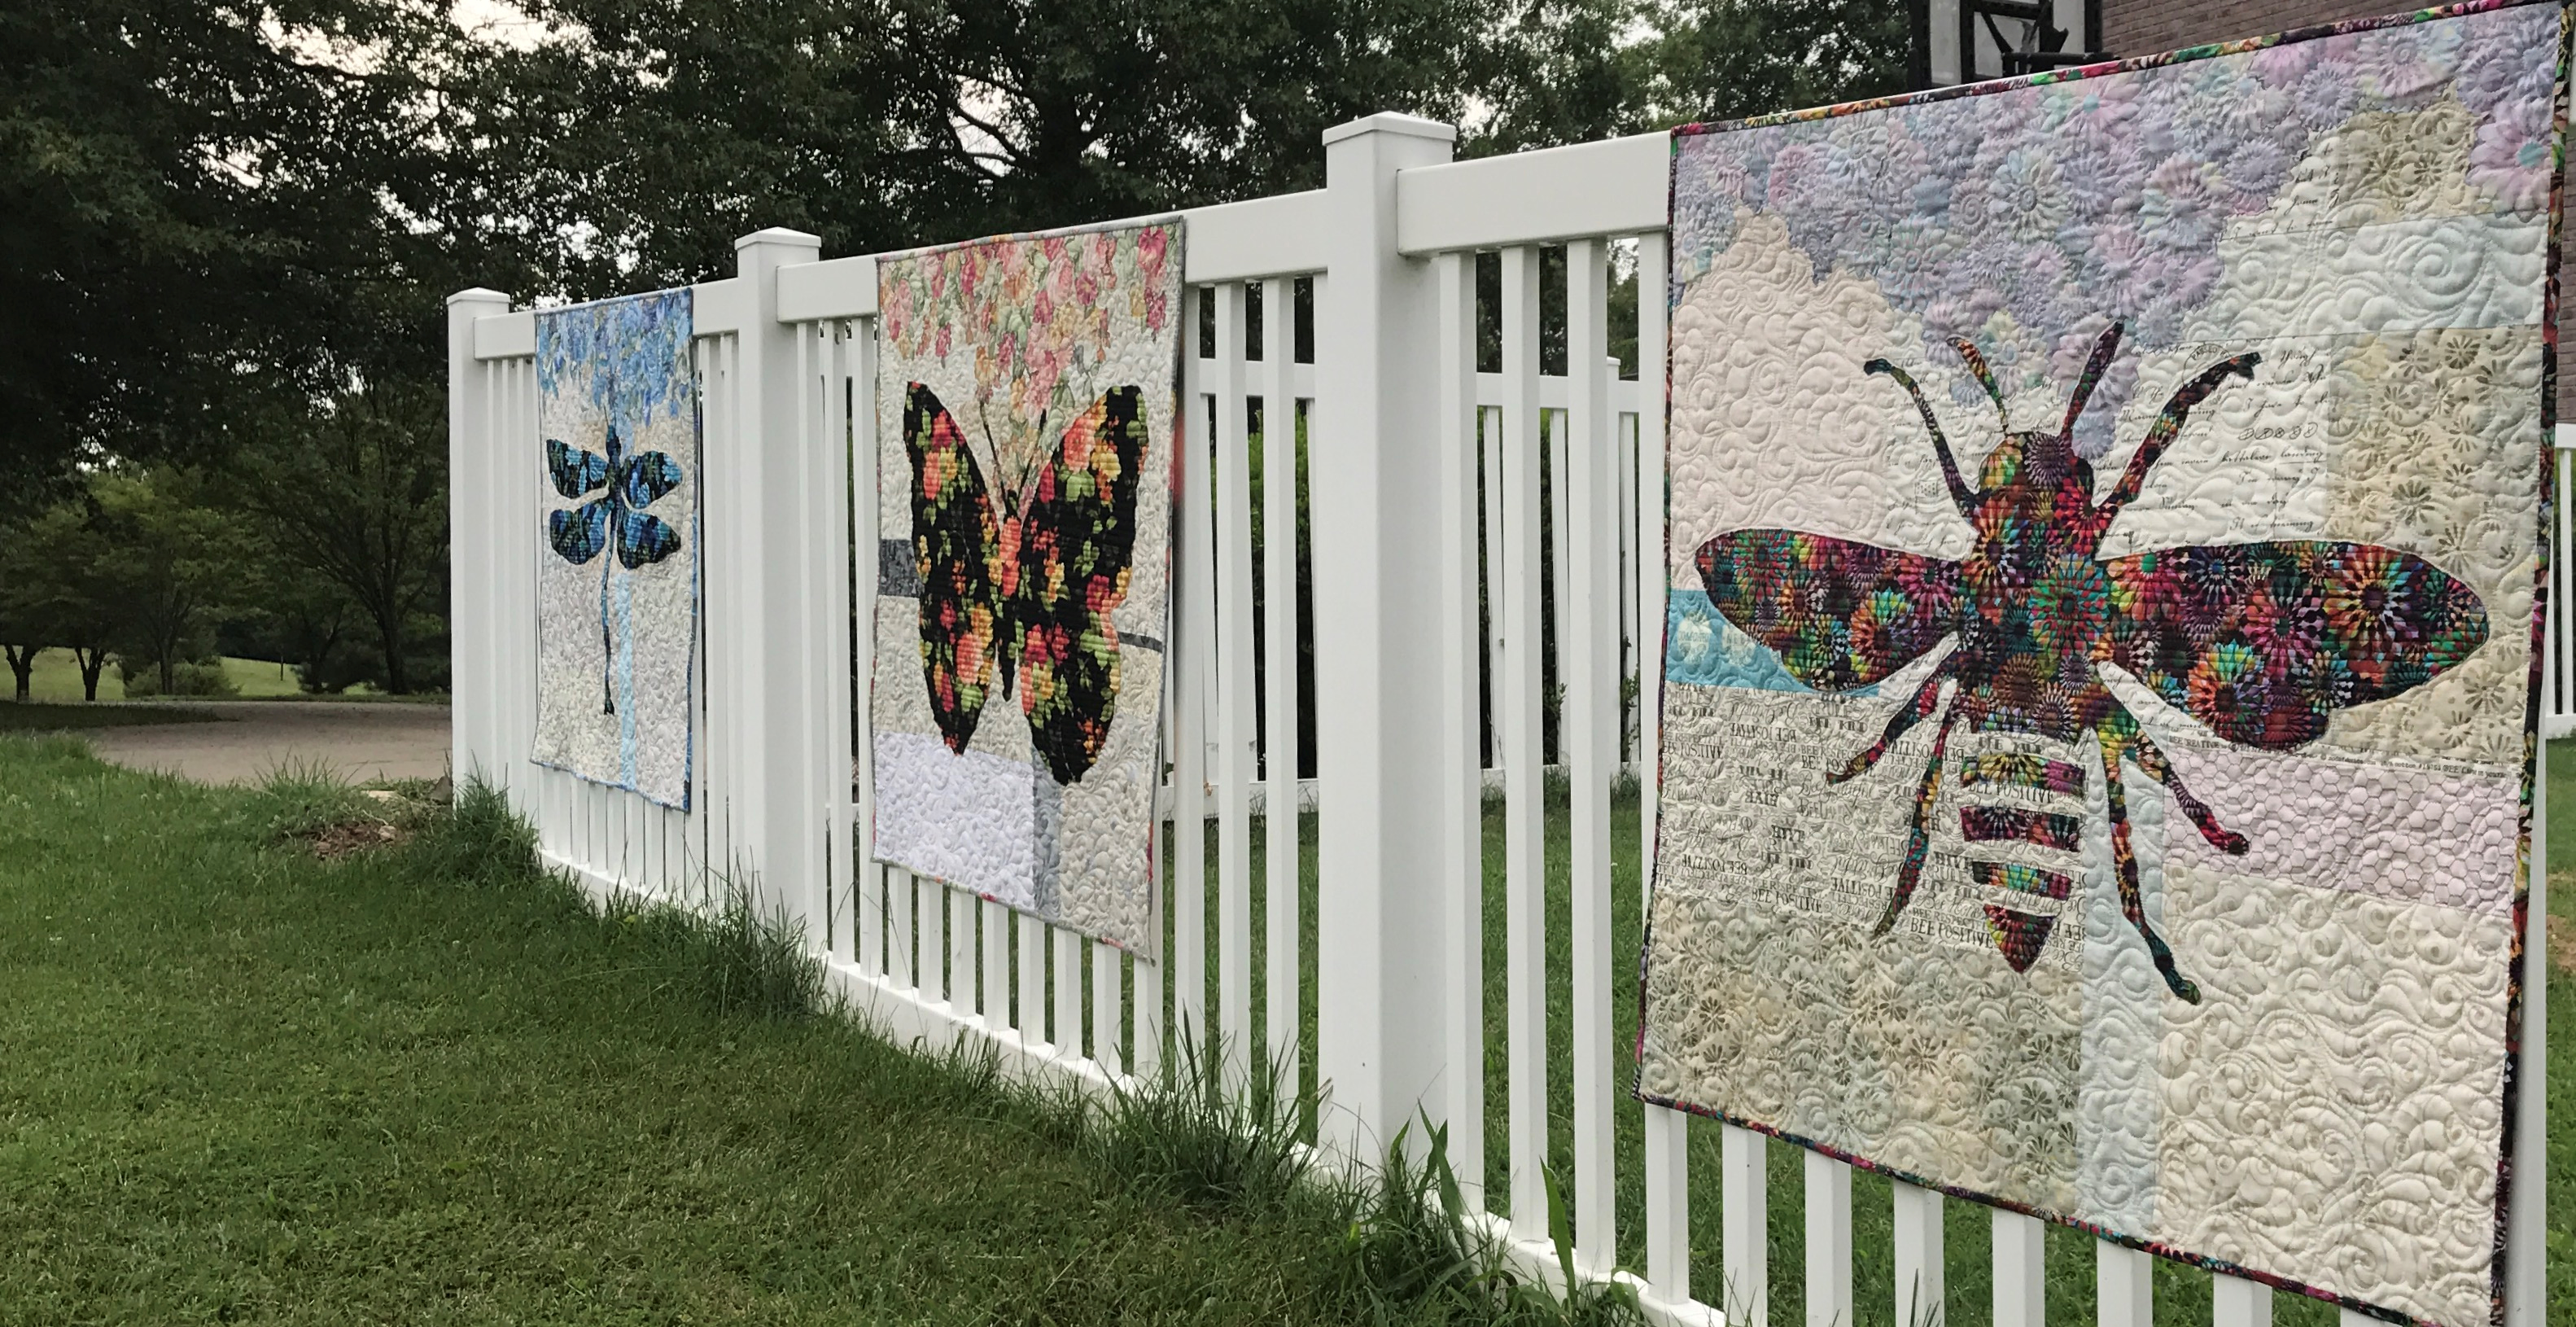
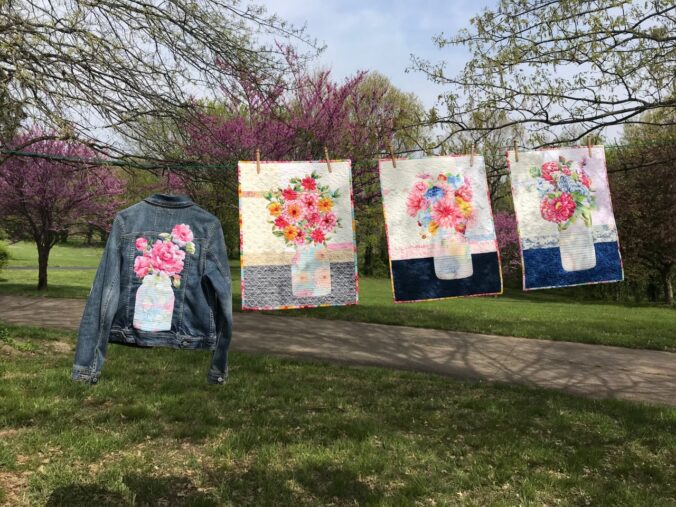
Image of Three Quilts on Fence
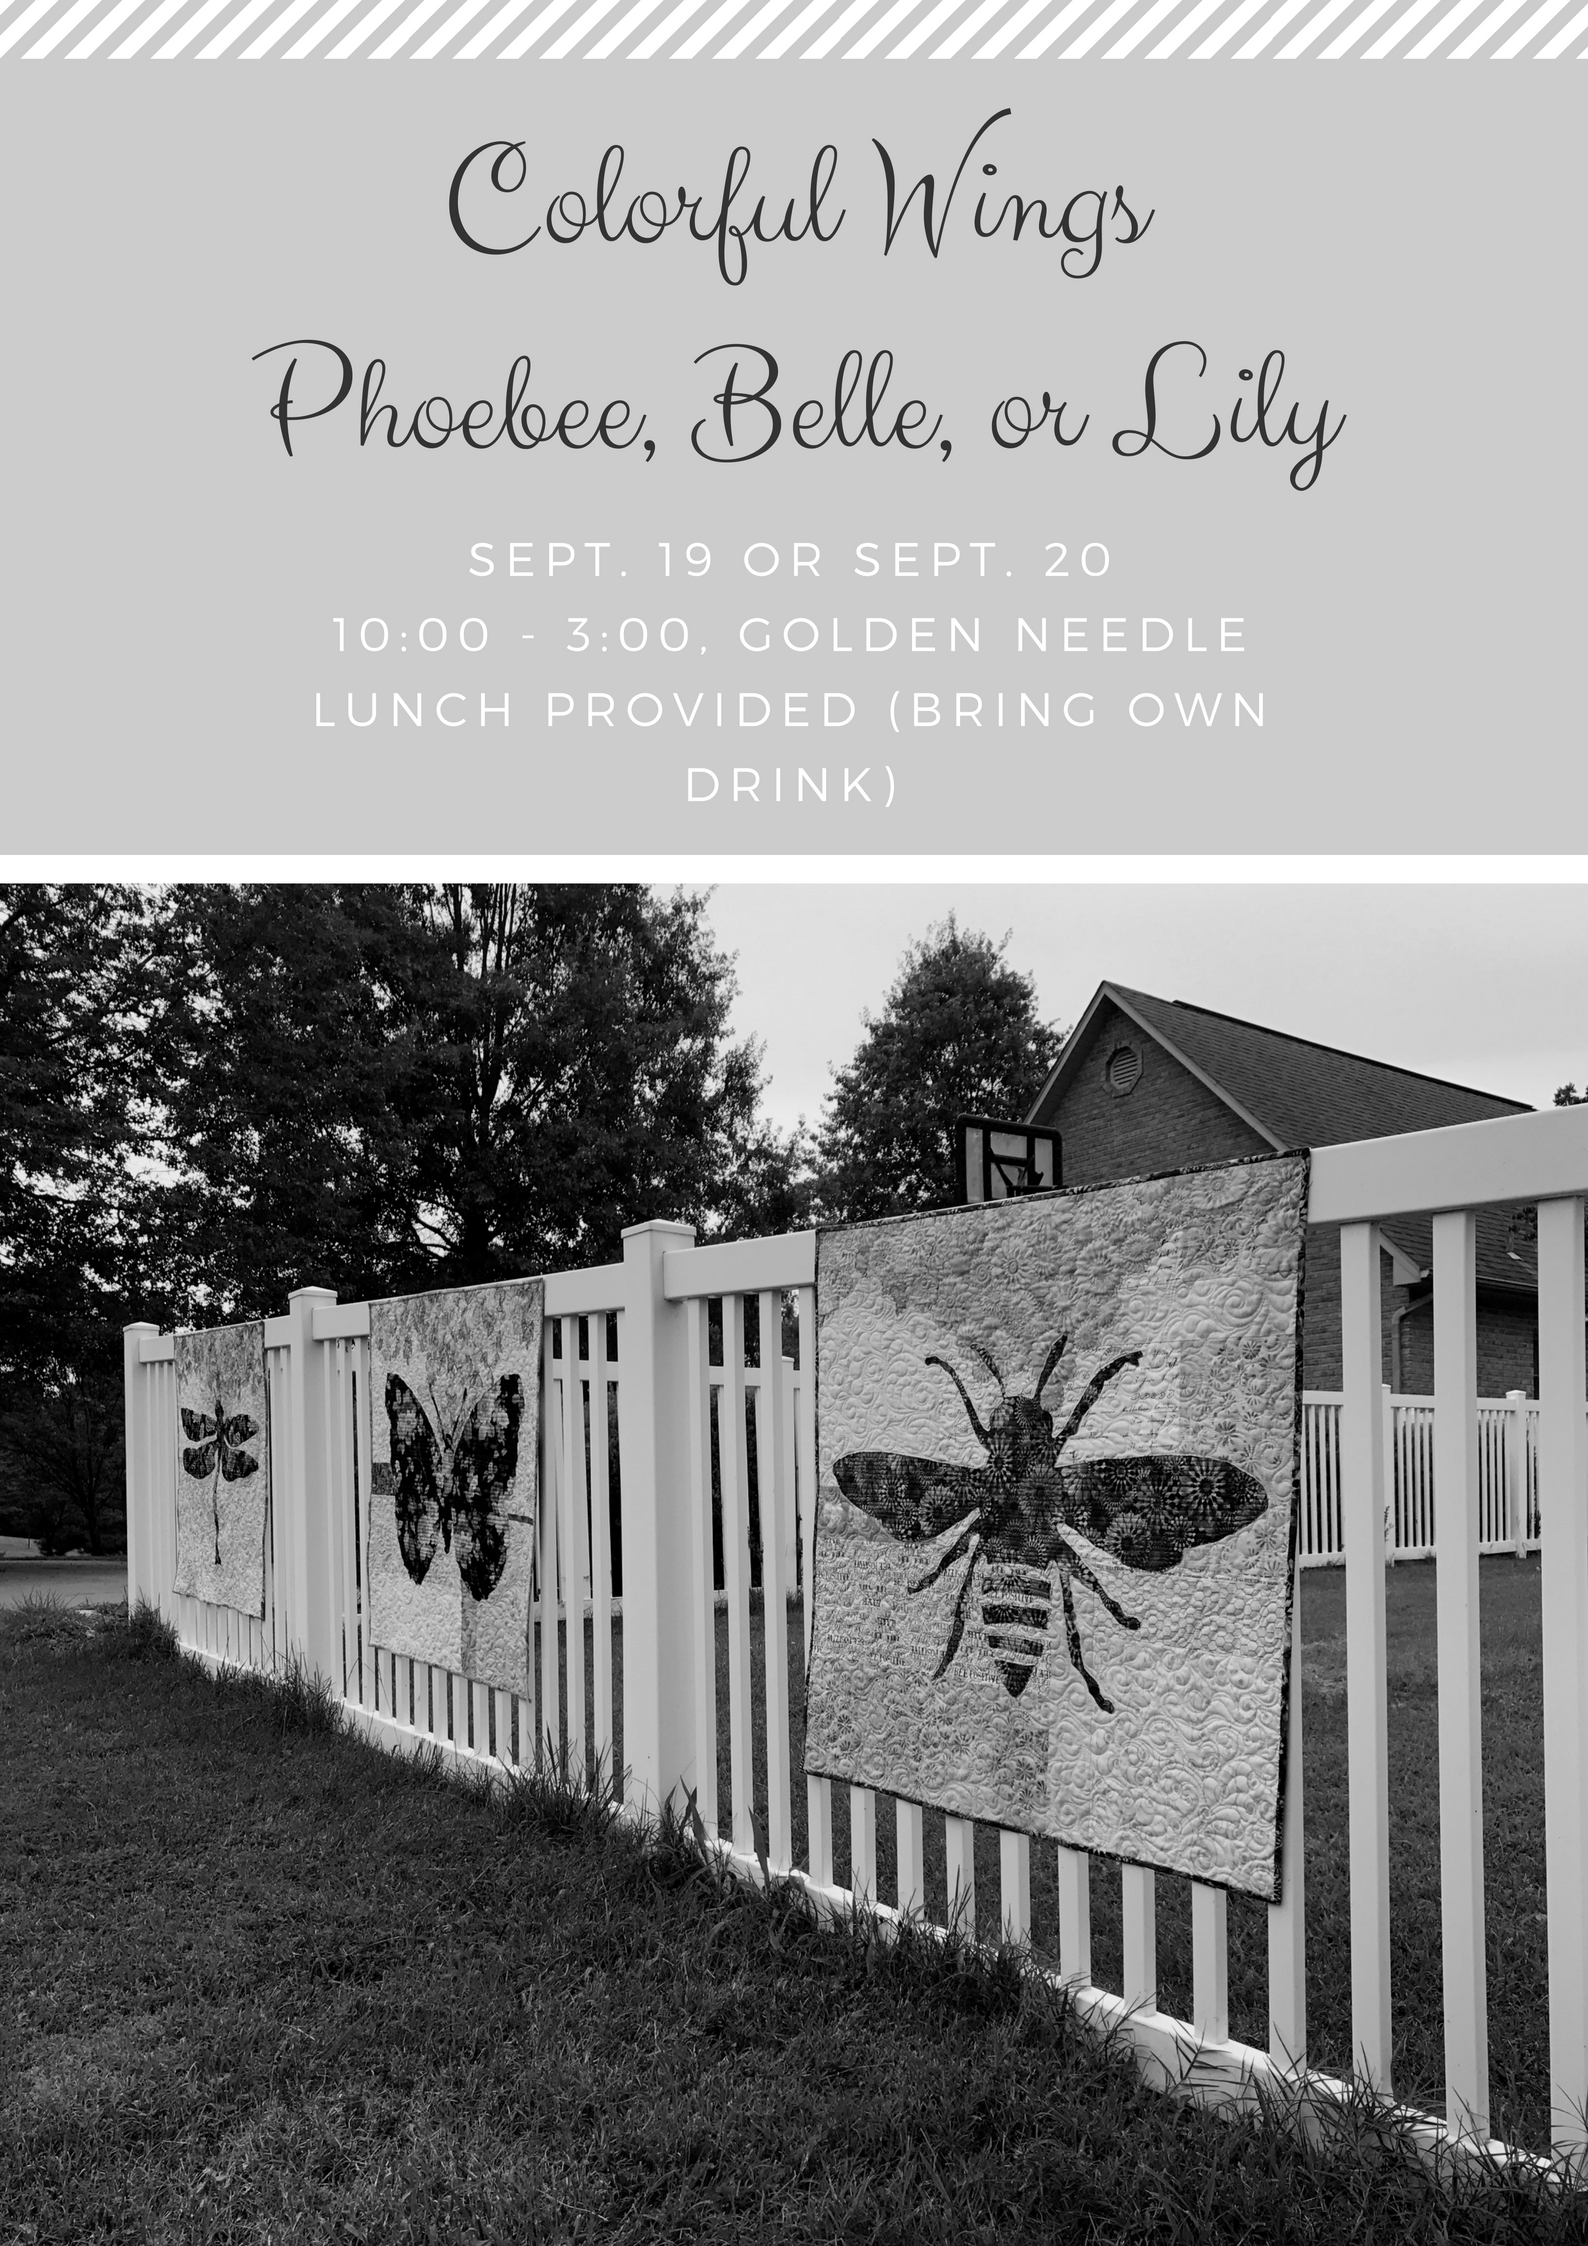
Phoebee, Belle & Lily

In conclusion, just like the quilts shown above, Rose is a fast, fun wall hanging which makes it a great gift or decoration for your home.

SHOP for more than 50 quilt patterns that use BOTH beautiful sides of fabric!

Watch Creative Bee Studios on YouTube! Subscribe today!

Colorful Wings – Three New Quilt Patterns

Introducing three quilt designs using BOTH sides of your focus fabric.

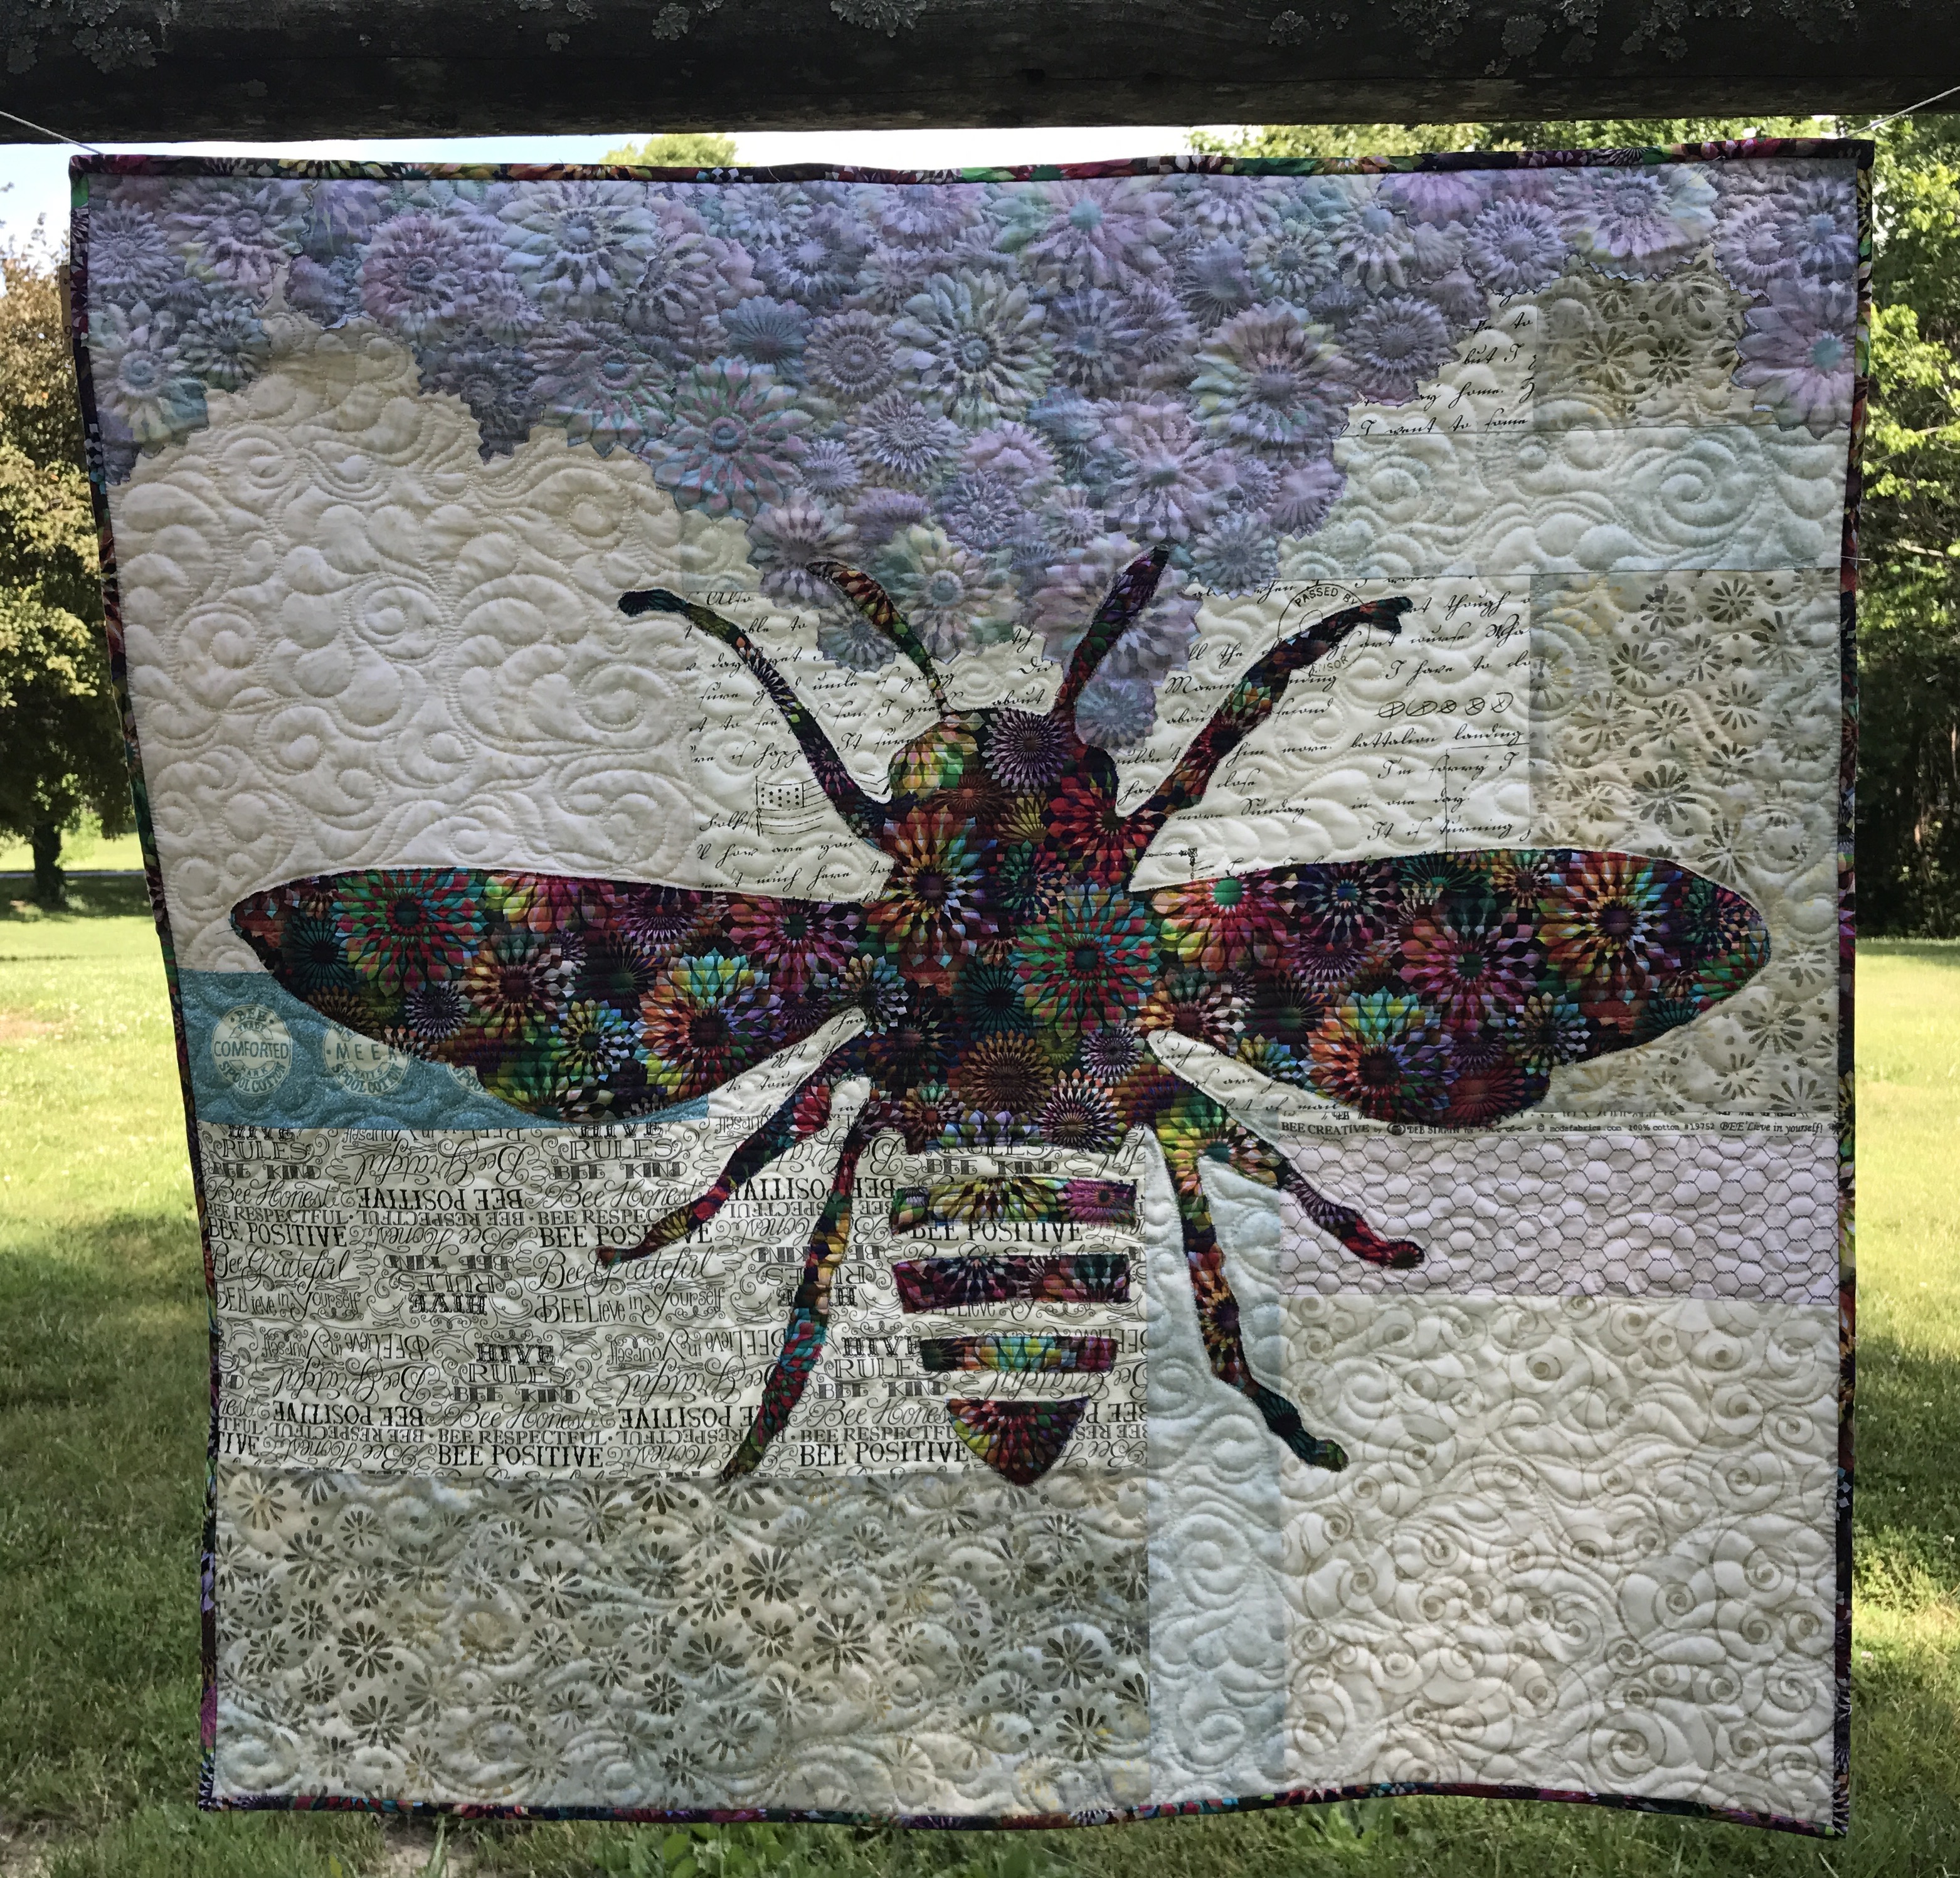
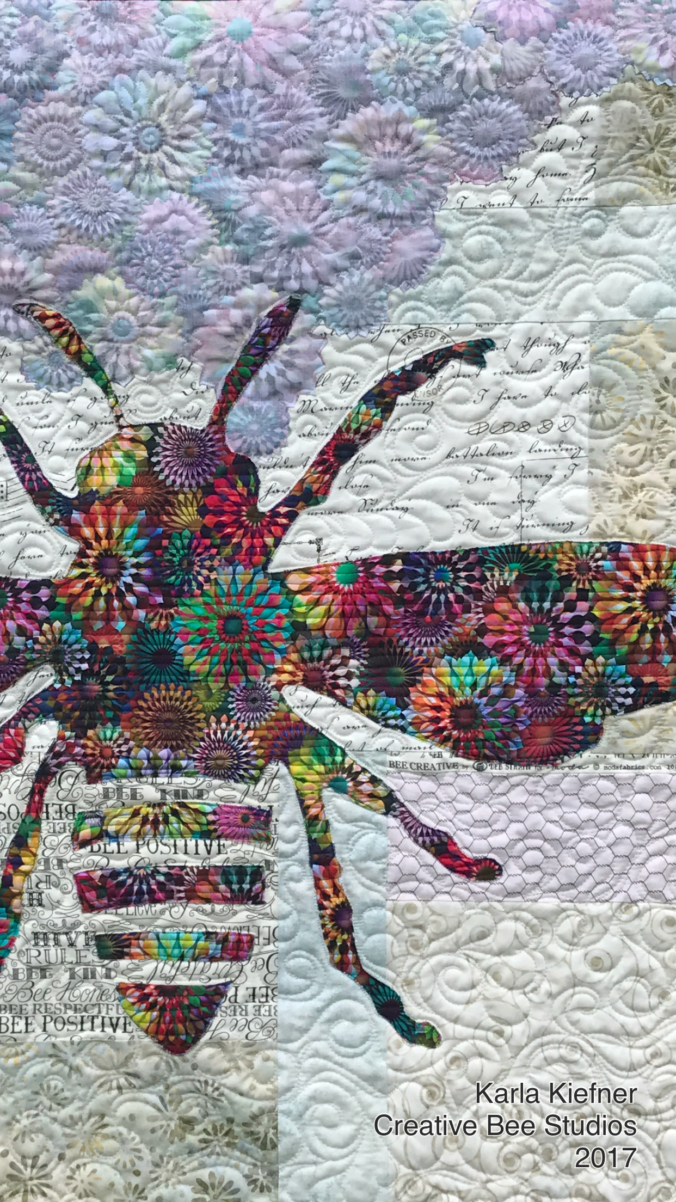
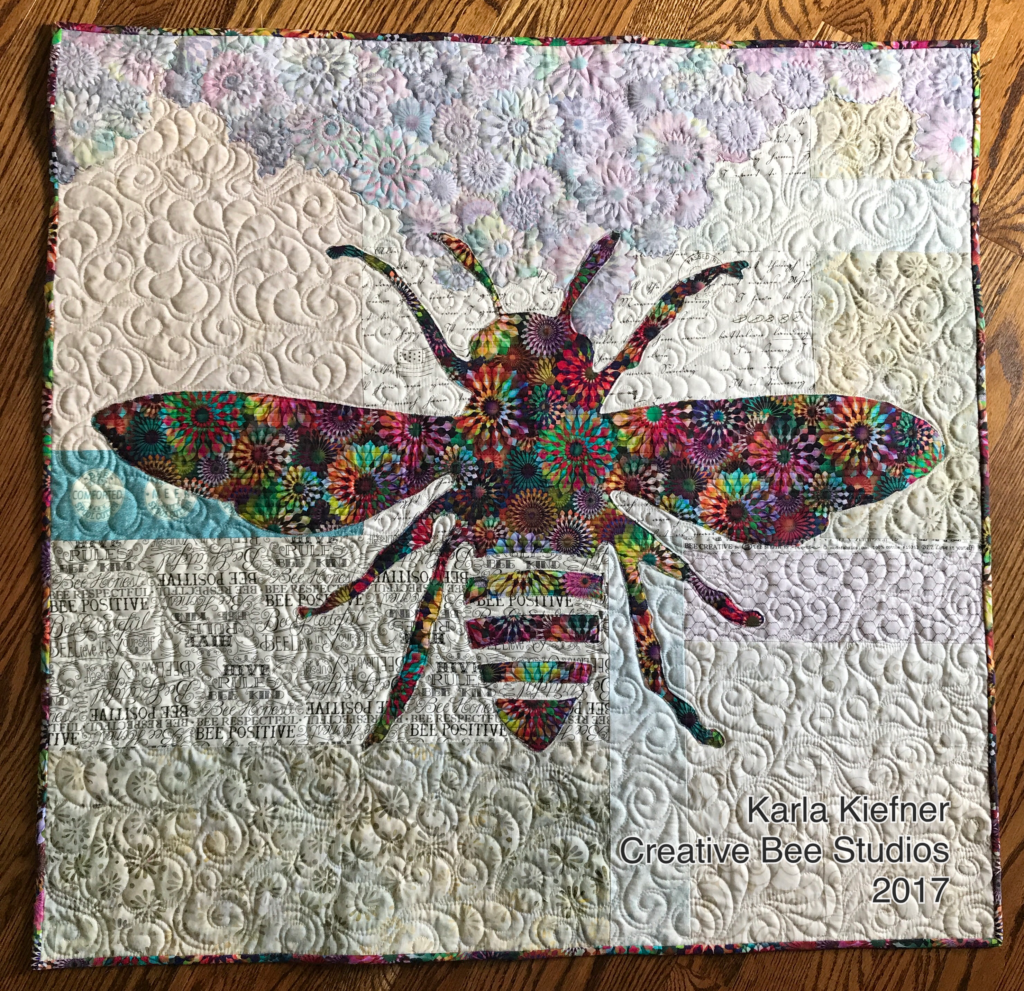
It all started with Phoebee (See Designing Quilts by Chance) and yardage of a Hoffmann Digital Spectrum print named Crystalia Rainbow.

Classes starting in September. Patterns available now.

After being inspired at quilt market (See Six Favorites from Quilt Market), I knew I wanted to mix lots of different fabric types to make a bee quilt. While I thought the shape of the bee would be “in the mix”, the background is actually where I used a variety of styles of fabrics:

chicken wire fabric from the 90’s, inherited from my mother-in-law, Pat, (love)

modern word fabric,

batiks,

and pieces of selvage…

with a few accent strips of color.

Patterns available in my Etsy shop: https://www.etsy.com/shop/CreativeBeeStudios

My Crystalia fabric became my bee. Her flowers I made from the “wrong” (such a harsh word) side of the same fabric.

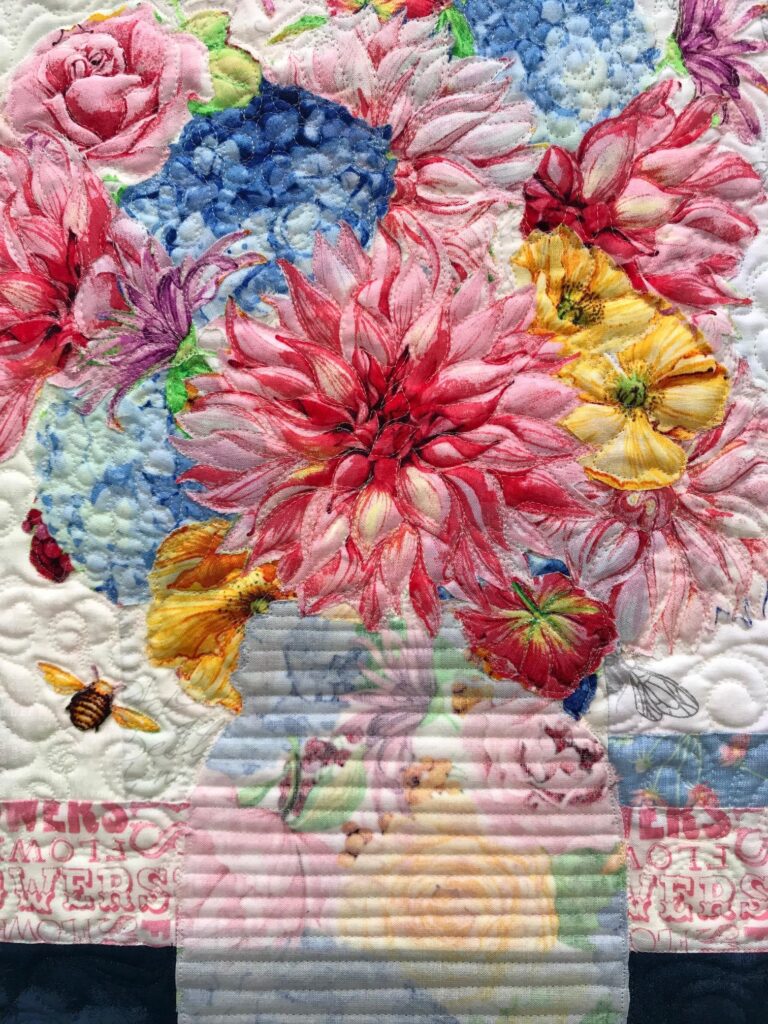
I guess you could call the flower technique a “modern broderie perse” (thank you, Kelly). They are made with simple, fusible applique and are cut without fussing about the edges – in fact, I encourage letting background show through as it ties the two sides of the fabric together in the quilt.

In my classes and in my patterns, I point out that all reverse sides of fabric are not alike — audition your front AND back sides with your background fabrics.

The best way for me to describe a good reverse side is to say that it should “sing” just as much as the front, just with lesser value.

Image of Bee Quilt

Phoebee

One thing I liked most about Phoebee was that she seemed to be getting her life and beauty from the flowers. Thanks to the hubby for her name–which in Greek actually is spelled with two “e’s” at the end and means “bright, pure”.

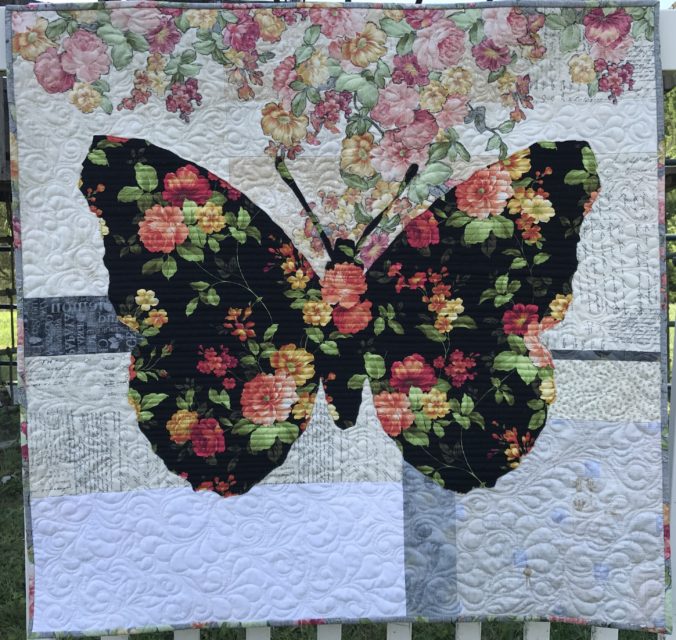
Image of Class FlyerNext came Belle. She’s a French butterfly. Belle means “beautiful” (I NEVER got that about Beauty and the Beast – blush).
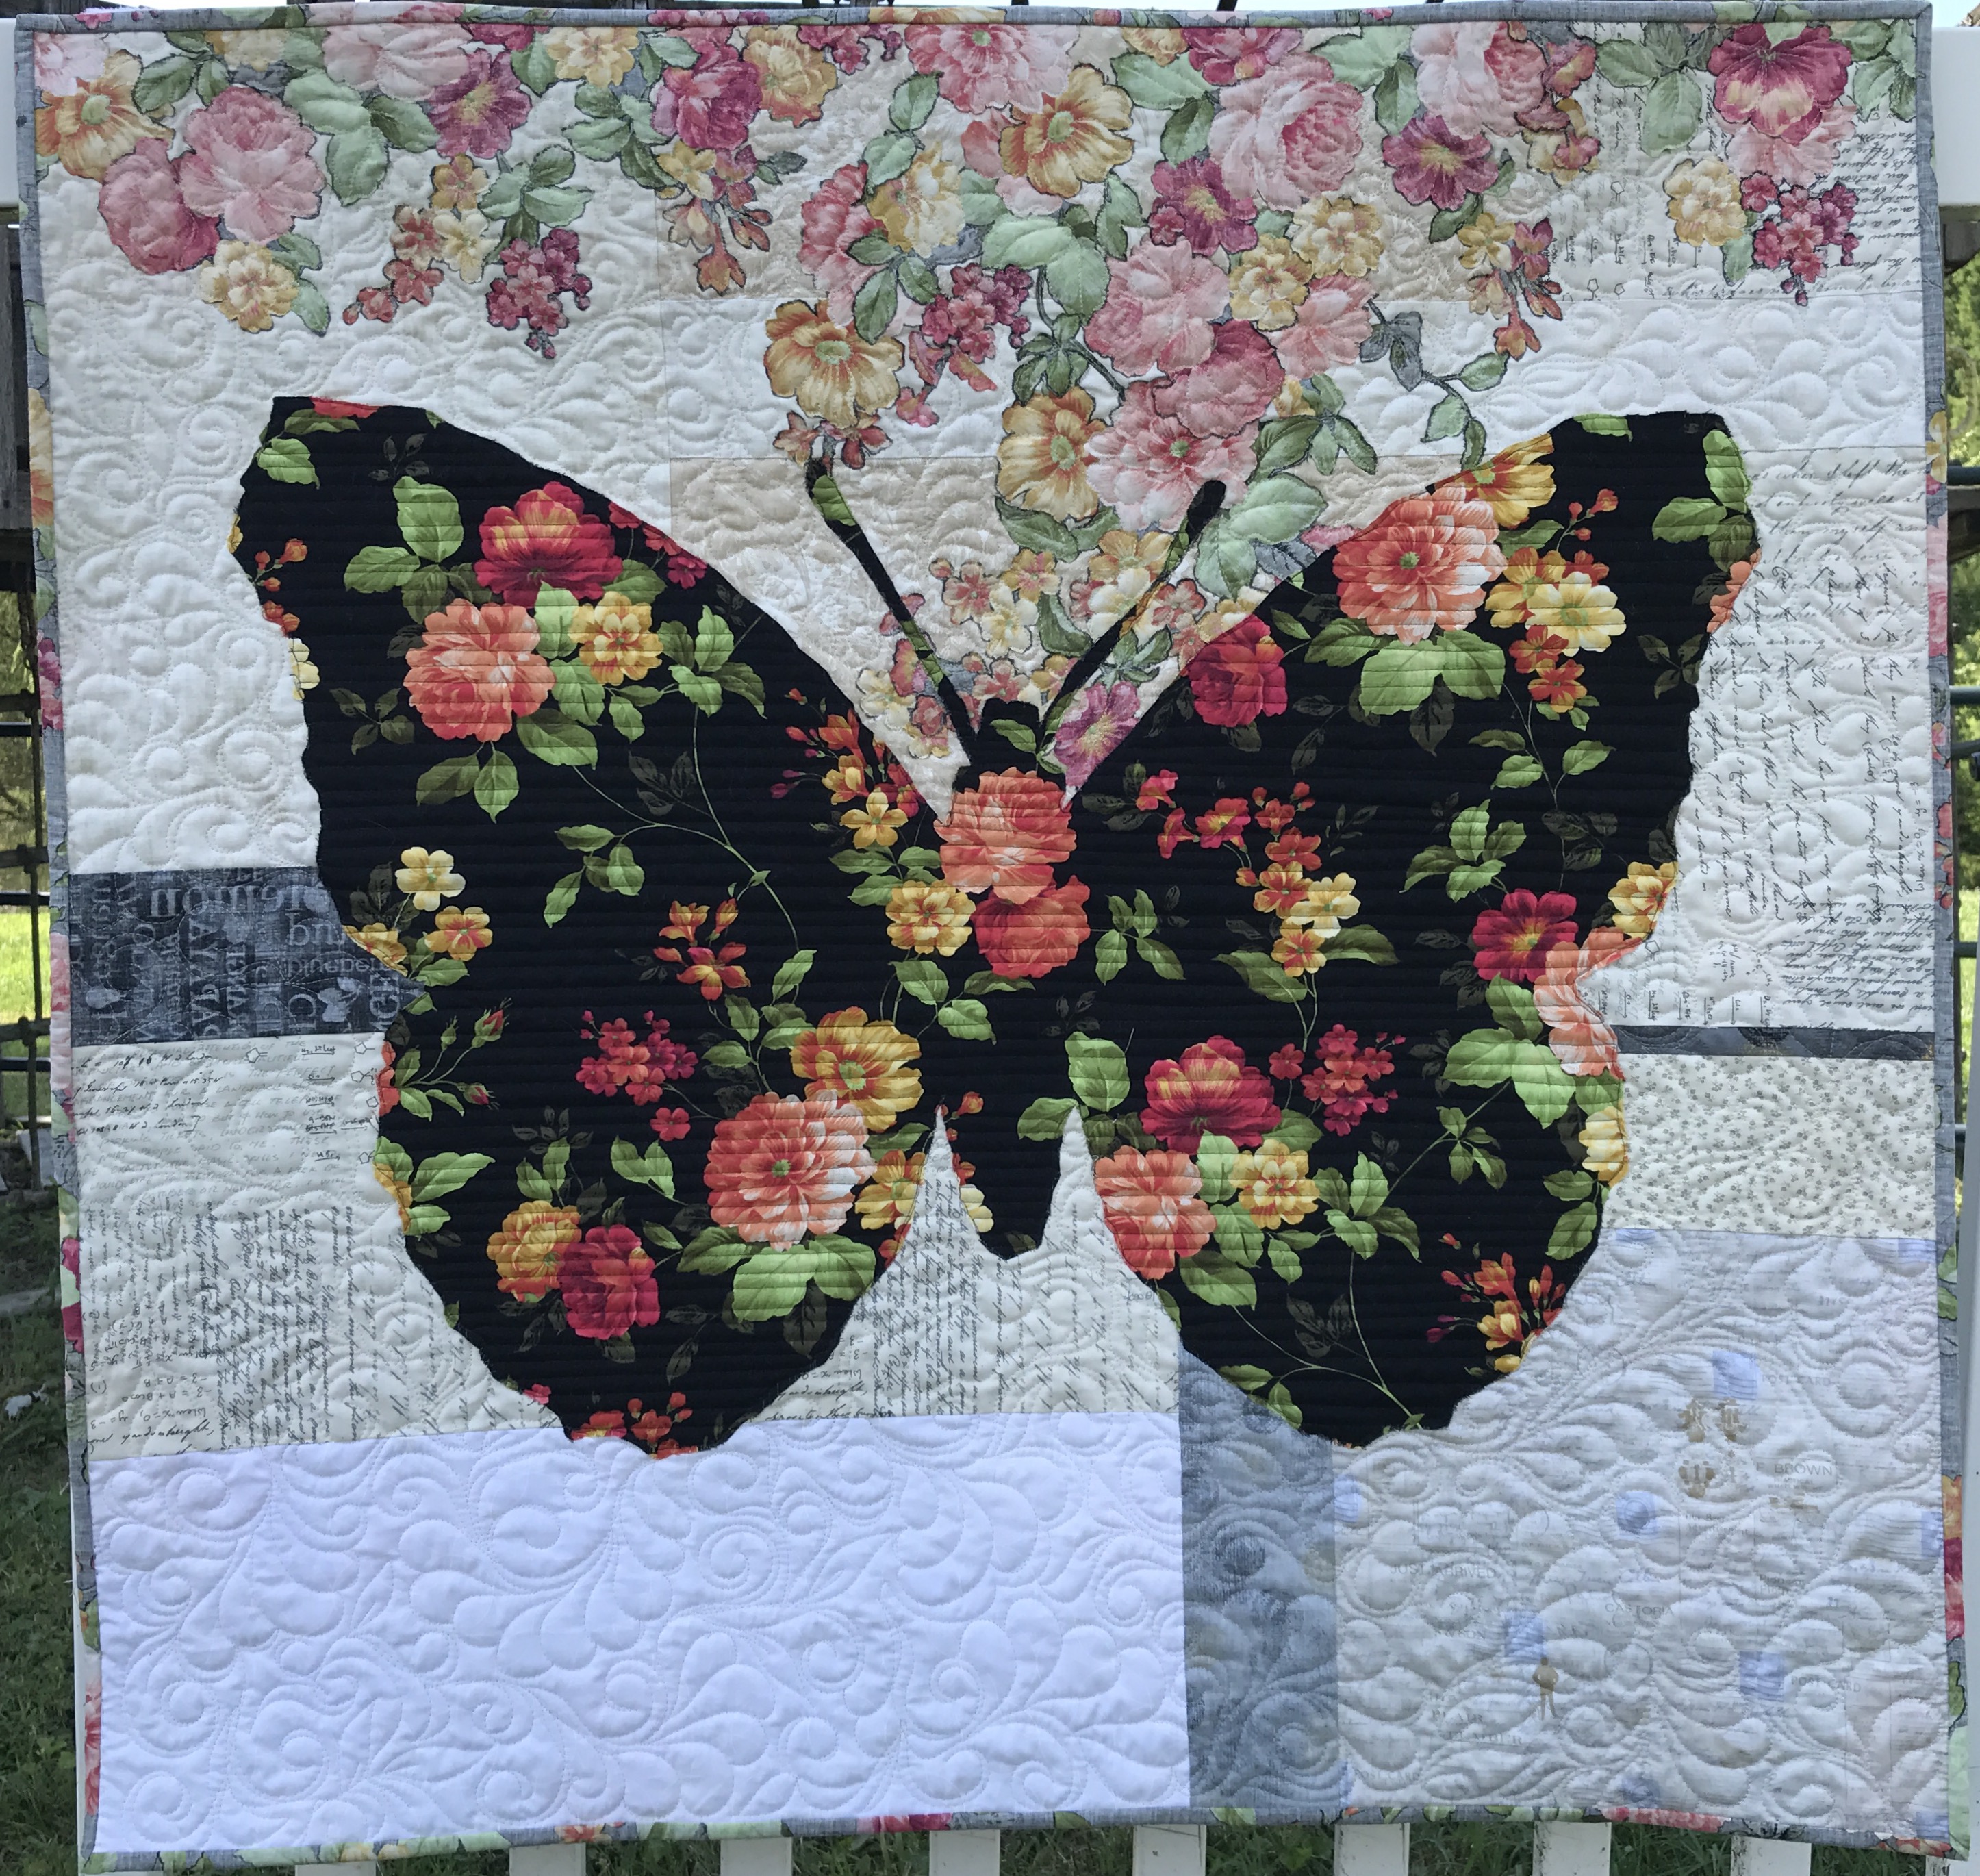
I found Belle’s fabric, Estate Gardens by Andover at my local quilt shop, The Golden Needle. I used similar neutrals in her background, but stayed with different shades of gray (some reversed) for the accent strips. Her binding is made with the reverse side out.

Note: I like to mix all shades of neutrals – white whites, beiges, off-whites- and all types of fabrics like tiny prints with batiks and novelties.

Image of butterfly quilt

Last but not least, meet Lily.

Lily is a sweet dragonfly made from Tree of Life fabric by Chong A Hwang for Timeless Treasures, also found at my local quilt shop.  Her background accent strips are in aqua because a) that’s my favorite color and b) I wanted to connect her to the water locales dragonflies love.Image of dragonfly quilt

Visit my Etsy page or The Golden Needle for patterns. If you are interested in weekend or evening classes, let me know in the comments below.

Next up is a review of value, very helpful for auditioning fabrics for Colorful Wings quilts! Don’t miss a post – sign up below for email notification! Thanks so much for following.  Karla


Designing Quilts by Chance

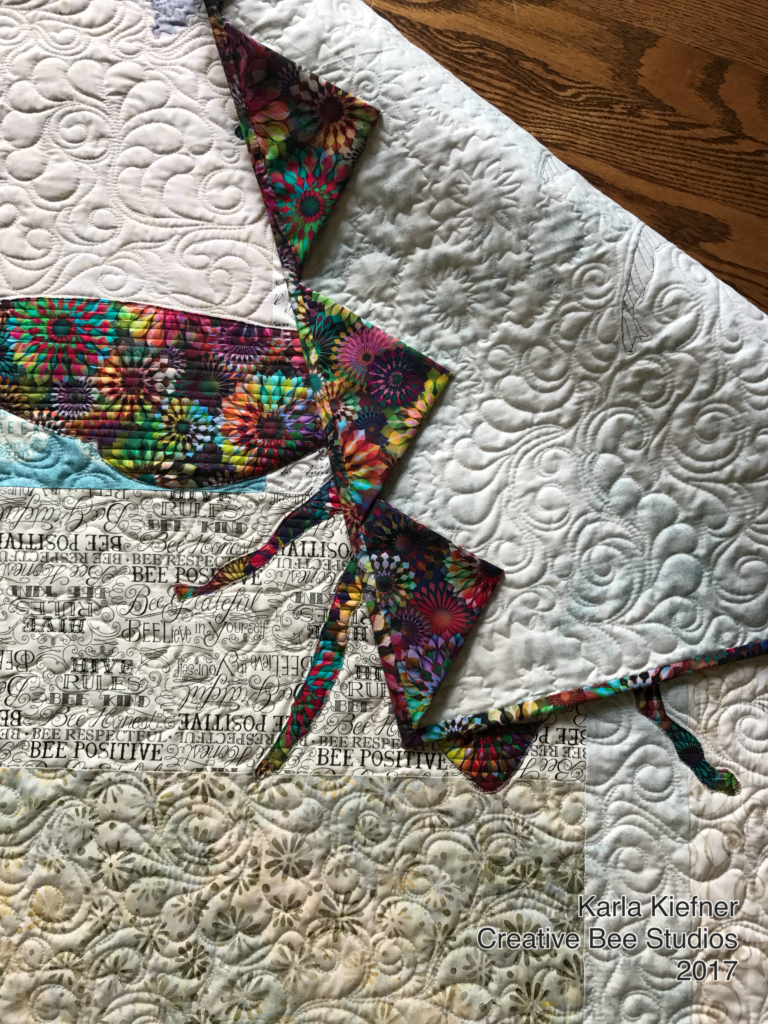
In this quilt, I used the front AND reverse side of its focal fabric.

How do you design a quilt? Do you use graph paper and draw out the design with exact proportions? Do you use color pencils or do you label the drawn areas with the colors of fabric or values you’ll use? Do you use a quilt design software or a tablet quilt design app?

Yeah…not me.  A quilt often comes to life in my head… very vaguely, kind of like a mystery unfolding.  I ponder the idea until I start to pull fabrics from my stash and start cutting, drawing, and stitching. At least, that’s how Phoebee came to life.

Image of Quilt with Bee.

Phoebee was designed using both sides of a focal fabric.

Phoebee began with a vague idea to use pieced scraps from my stash for the background and use a bee as the main design. That’s about all I knew.  I thought I wanted to use multiple fabrics for the bee as well. I knew the shape I wanted to draw out for my bee, but I wanted to get my background set first for size.

I did use graph paper in my process, but it was after I stitched my pieces together and decided I liked the look. That’s when I wrote down the dimensions and drew the shapes out, labeling which fabrics I used. I used a pencil because my drawings and placement of fabric changed several times in the process.

Once I was happy with the background, I made all my notes and could hardly wait to grab fabrics to design the bee.

NOTE: I don’t clean up ANYthing while I’m in creating mode — I just let it flow and fabric is everywhere!

So here I was, sitting on my floor (because my design wall was {and still is, truth be told} full of a bed-size quilt in progress), trying out fabrics, figuring out how to combine them to make an interesting bee, when one fabric just kept jumping out at me. I finally gave in and decided to use it alone for my bee. That fabric looked really good against the pieced background.

But something was missing. I liked the bee. I liked the background. There needed to be another element – something of surprise or interest and something to “ground” the bee somehow. I moved the extra fabrics aside and accidentally turned the “bee (focal)  fabric” upside down — now THAT was interesting! To use the reverse side of the focal fabric for the flowers the bee was pollinating was exactly what this quilt needed to make sense, be unique, and complete the “story”.

Image of Full Quilt with Bee

Phoebee means bright, pure in Greek.

Phoebee means BRIGHT,  PURE in Greek and she is both! I happened to use a color-dense Hoffman Spectrum Digital floral print for the bee, the flowers and the binding, but any floral, big or small would work which makes this a great stash-busting quilt.

I like the idea that Phoebee is vibrant and the flowers are softer in value as the bee is getting its life from the flowers.

I’m excited to finish writing this pattern and I have hazy plans in my head brewing  of additional designs using pieced backgrounds and one floral focal fabric.

Image of Prairie Point Hanging Method

Prairie Point Quilt Hanging Method

Notice the Prairie Point Hanging Method (click here for details)

Sign up and get an email when my next post goes live!

For more information about free-hand stylized quilting, visit my The Quilting Bee page.

Sweet Pumpkin Applique

Sweet pumpkin is in the air!

Autumn brings the best of pumpkin to our senses. You might have already enjoyed your favorite seasonal coffees. Maybe you’ve lit some sweet-scented candles. Are you anticipating that first bite of sweet pumpkin pie?

It’s true, this time of year, pumpkin touches almost all our senses. Now you can add the cozy touch of wool and the unique look of the combination of plaid, lace, and burlap to make your fall seasonal experience complete!

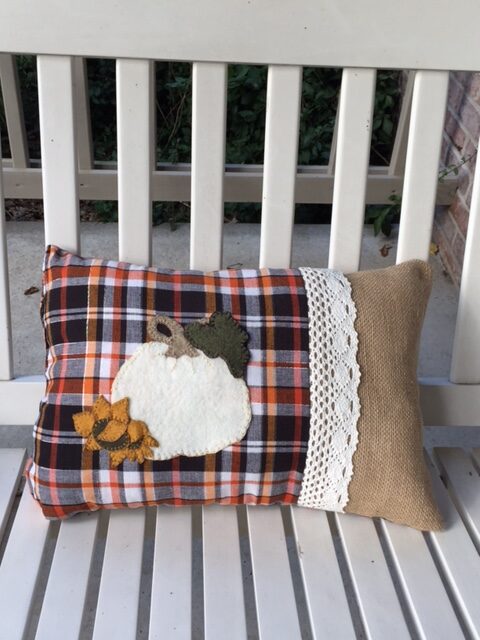
Here is the Sweet Pumpkin Applique pillow.

Sweet Pumpkin
Sweet Pumpkin Applique

First, download the free template here.

Use the template for your own pumpkin project or make the pillow as shown.

Sweet Pumpkin Applique

Accent Pillow Size: 12 x 17 inches

First, trace the template designs onto the paper side of fusible. Cut loosely around each. Press onto back of wool. Cut on lines.

Next, baste one 12-inch piece of 2 1/2-inch lace onto the left edge of 6 1/2 x 12-inch burlap. Pin, right sides together, one 11 x 12 inch plaid fabric and burlap together; stitch.

Then place applique pieces from back to front in order as listed and numbered: Pumpkin, Stem, Leaf, Small Sunflower Center (slip petal ends beneath center), Large Sunflower Center (slip petal ends 5, 6, 7, 8, and 9 beneath center; add petals 10 and 11 on top). Press to fuse pieces in place.

Hand stitch the wool applique using the blanket stitch and/or running stitch. I suggest these Valdani threads, size 8: Pumpkin: Easter; Stem: PT4; Leaf: P11 Aged Black; Sunflowers: P5.

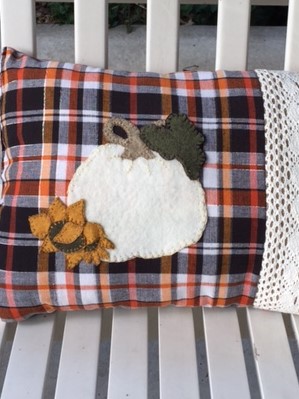
Sweet Pumpkin Closeup

When handwork is complete, align and pin 12 x 17-inch backing with top, right sides together. Mark a 4-inch area for turning on fabric end of pillow. Machine stitch. Trim corners and turn. Use fingers to gently push out corners in burlap. Fill with small tuffs of polyester fill. Turn ends of opening inward and stitch.

Lastly, add a decorative blanket stitch (optional) across the end with a thick thread to make a nice edge.

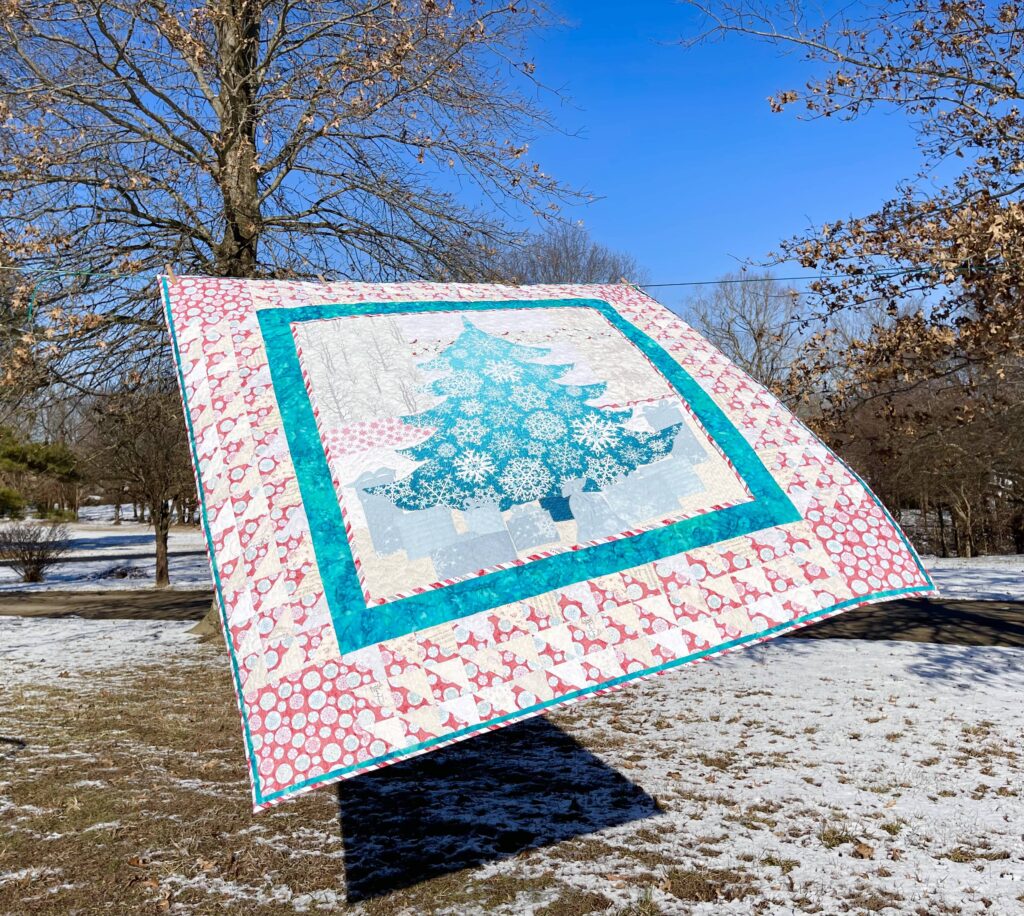
 Looking ahead to Christmas cheer, here’s JOYFUL, made with BOTH beautiful sides of fabric!

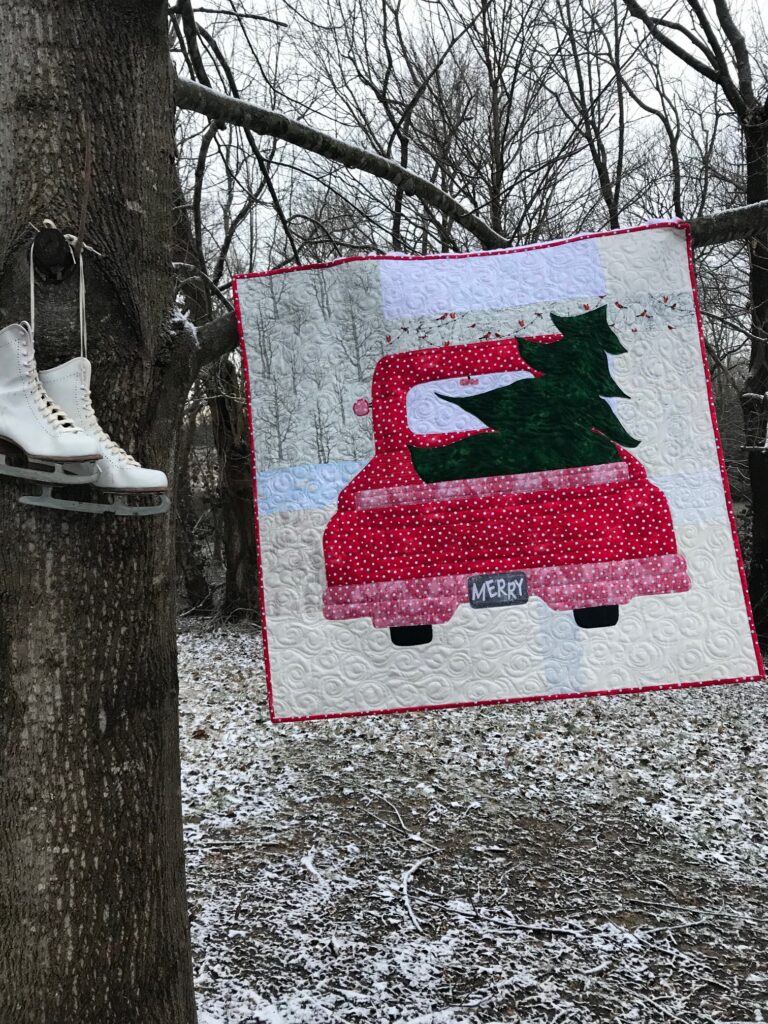
Image of MERRY
MERRY Quilt Pattern

Shop easily-use the blue Easy-Link Blue SHOP buttons HERE!

Newer posts »