Estimated reading time: 3 minutes
Table of contents
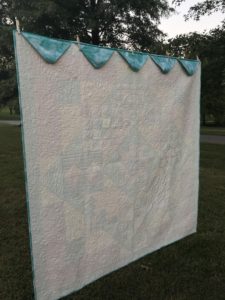
Use prairie points to easily hang your quilts.
Use simple prairie points instead of a long fabric tube to hang your quilts. The number you need will depend on several things: the size of the quilt and how you will hang it.
First, fold a few squares.
To make prairie points, cut squares. Fold them in half, diagonally and press. Fold them again, diagonally and press. That’s it! You just made them! The size and number you will need depend on your quilt size and how you will hang it.
For best results, run a stitch about 1/8th inch from the raw edges of the prairie points to hold them together.
Next, baste the prairie points onto your quilt.
Align your prairie points across the top edge of the back of the quilt. Distribute them evenly, with the outer points at least an inch from the sides.
Baste the points, using a seam allowance smaller than your binding seam allowance.
Finally, make a few hand stitches.
Lastly, you will stitch the points to your quilt by hand, with a doubled-tread. Take care not to stitch through the front of your quilt. About four stitches in each is enough to secure your points.
When your binding is complete, your quilt is ready to hang!
For sizes and to review the complete method, see Hang Quilts Using Prairie Points and Prairie Point Hanging Method
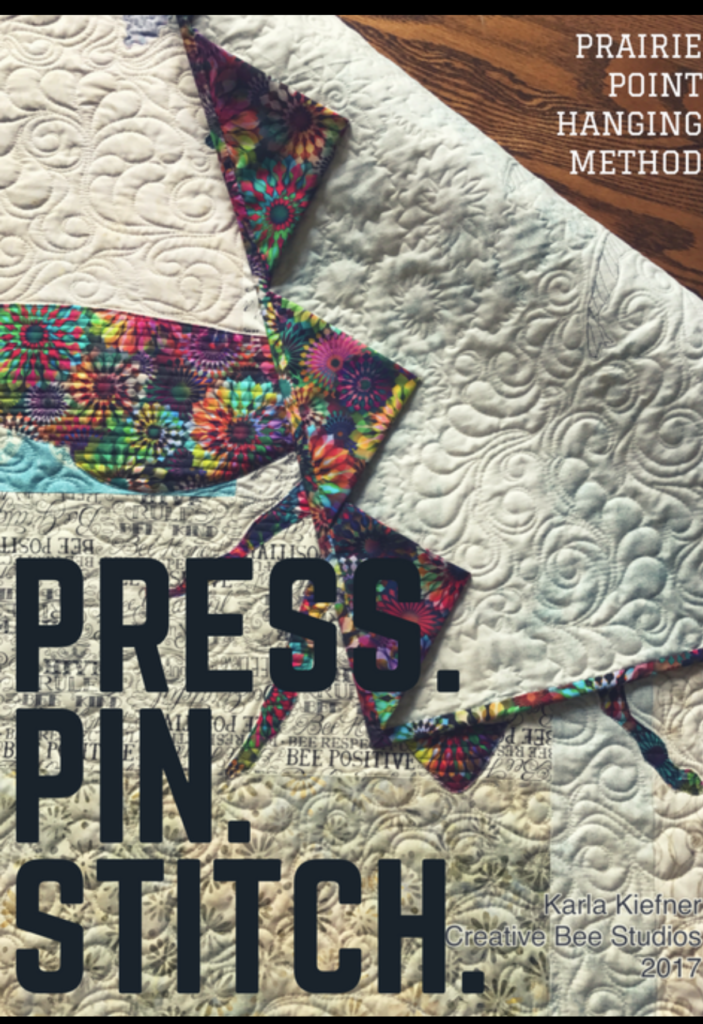
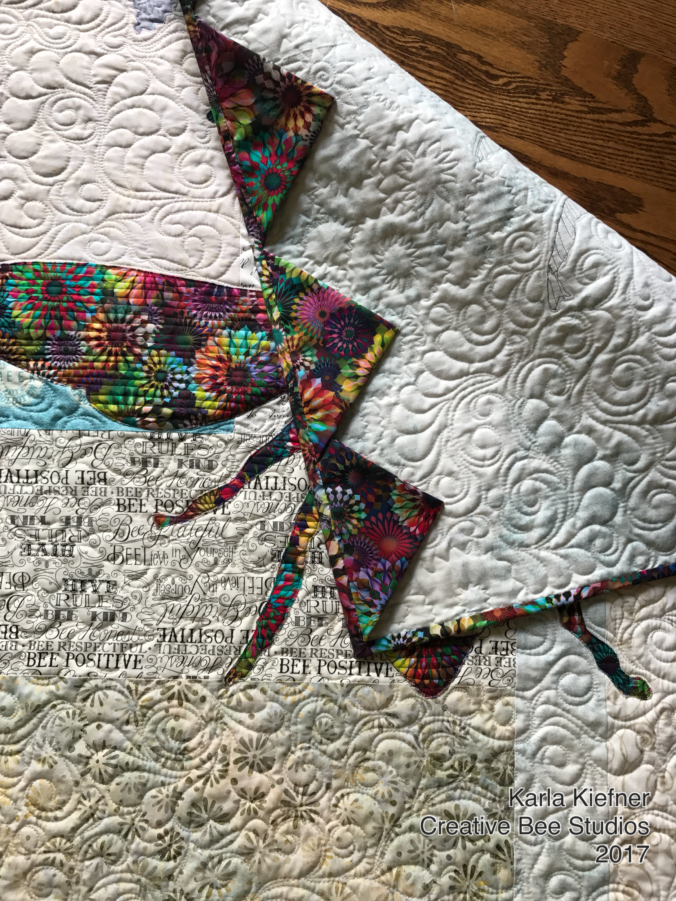
- Use an even number of prairie points to hang a quilt from a single point.
- Generally, consider 8- inch squares. Try larger ones for larger quilts and vice versa.
- All the Creative Bee Studios patterns provide the size and number of points needed for each pattern.
- Pressing well helps keep the points orderly.
- Trim any uneven edges before attaching the points to your quilt.
- For use with unusually large rods (like in a quilt show), hand stitch your points about an inch higher than they reach when flat. This will allow some added room for the large rod and help the quilt hang flat.
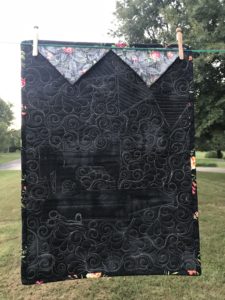
In addition to using scraps for Prairie Points, I like to use the REVERSE side!
Try using the reverse side to tone them down or provide interest on the back of your quilt! #usebothsides
Follow on Facebook and Instagram and pin on Pinterest!
Enjoy your quilting journey!
0 Comments
1 Pingback