Tag: Patterns (Page 2 of 3)

Step Inside the Yellow Door Quilt Store

Estimated reading time: 4 minutes

In the heart of Indiana is a bright yellow door. Inside is a quilt store.

Enter the Yellow Door Quilt Store to find a cute little quilt shop filled with fun, beautiful fabric (and some cool patterns)!
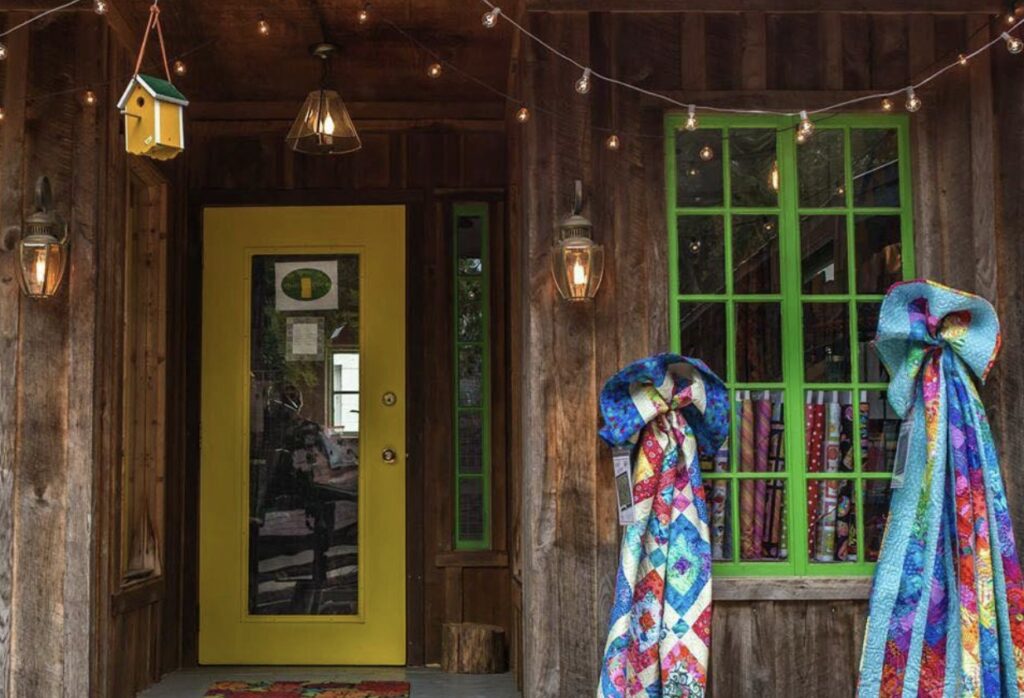
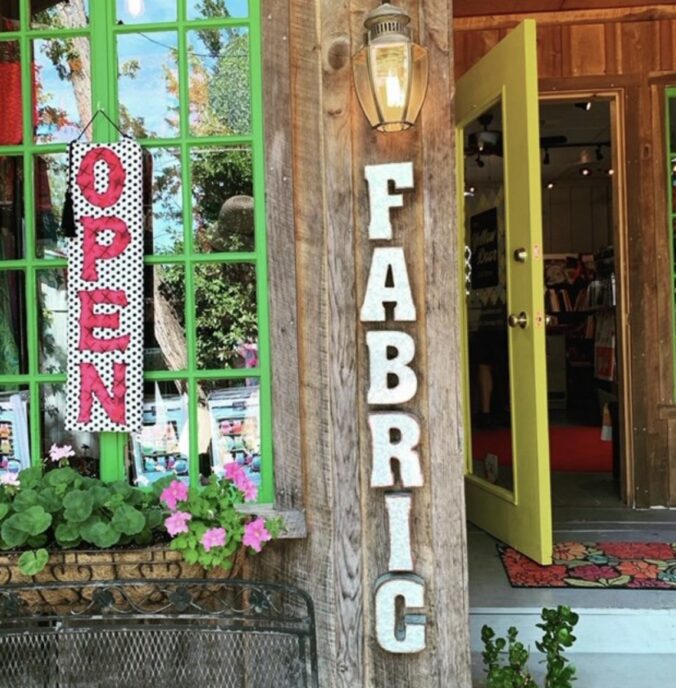
Image of front of Yellow Door Quilt Store

Take a peek inside the Yellow Door Quilt Store!

Located south of Indianapolis, in Nashville, IN, the Yellow Door Quilt Store carries unique and bright fabrics. They might have a modern flare, but there’s definitely something for everyone!
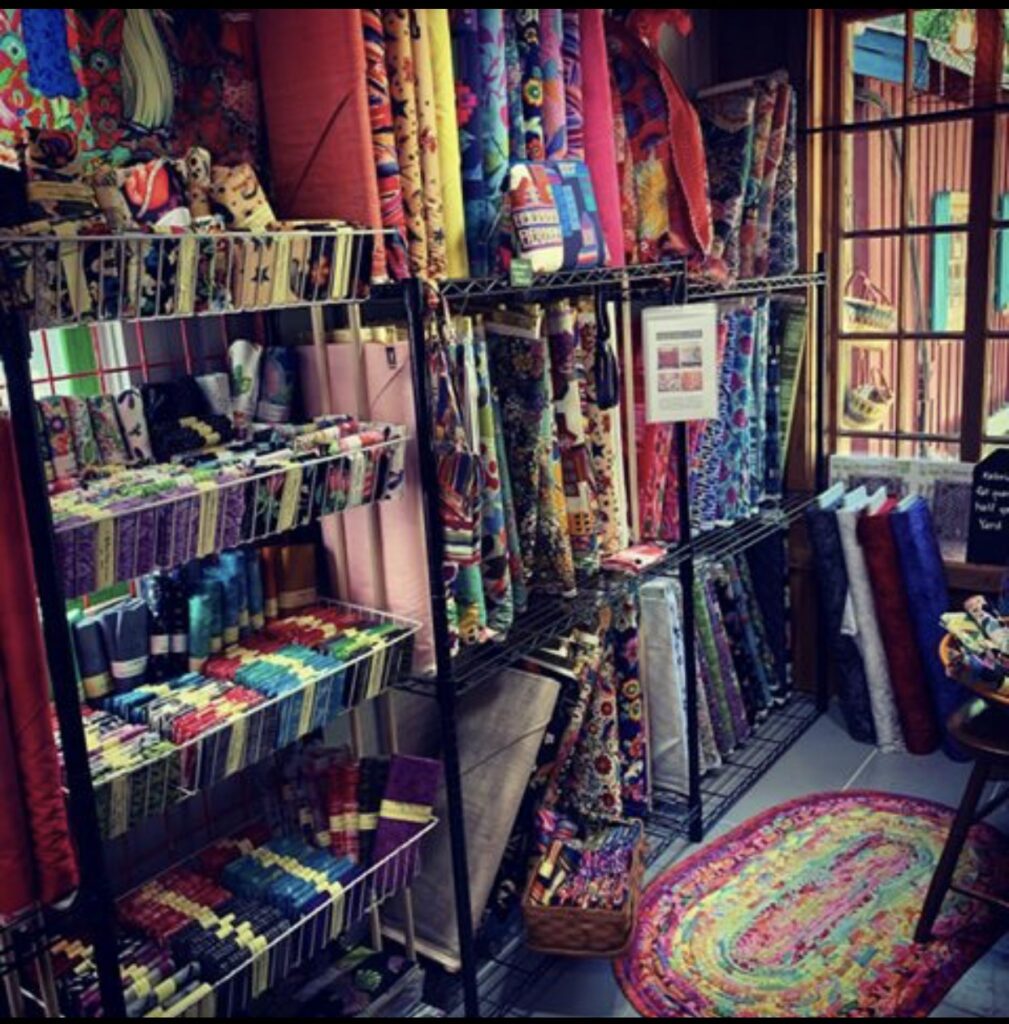
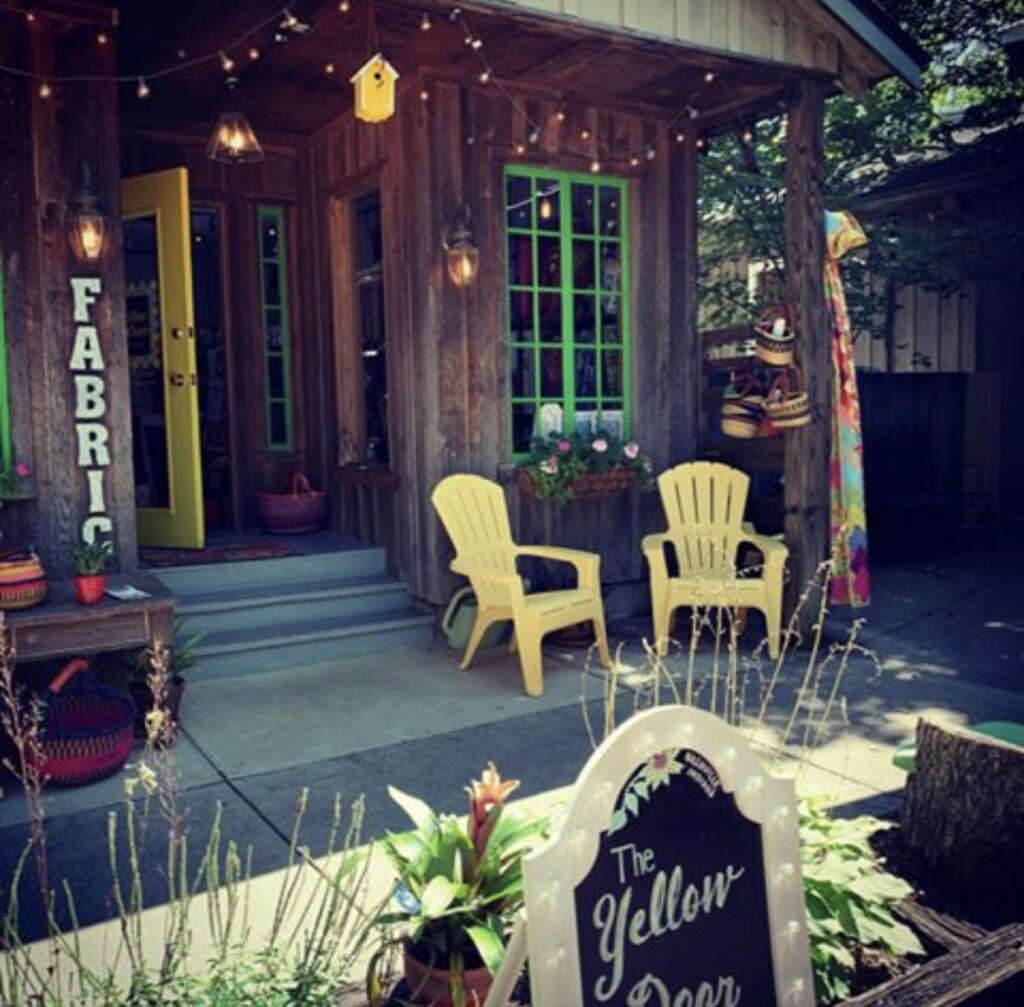
Initially, I met the owner, Mary Beth, when I popped in to her booth at the Paducah quilt show. I think she noticed I was looking at both sides of her fabrics. As usually happens when I’m auditioning both sides, a lively conversation ensued. I knew right away her fabrics would work beautifully with my patterns.

We hit it off and Mary Beth now offers a number of my designs in her booth and shop!

You’ll likely find bright, bold, and interesting fabrics at the Yellow Door Quilt Store which might include Kaffe Fassett Collective, Marcia Derse, Kathy Doughty, Jane Sasseman, and Alexander Henry. Regardless of your favorite quilting and fabric style, I’m certain everyone will enjoy a visit to the Yellow Door!

Additionally, it was Mary Beth’s who suggest I make a sugar skull pattern using both sides of one focus fabric.

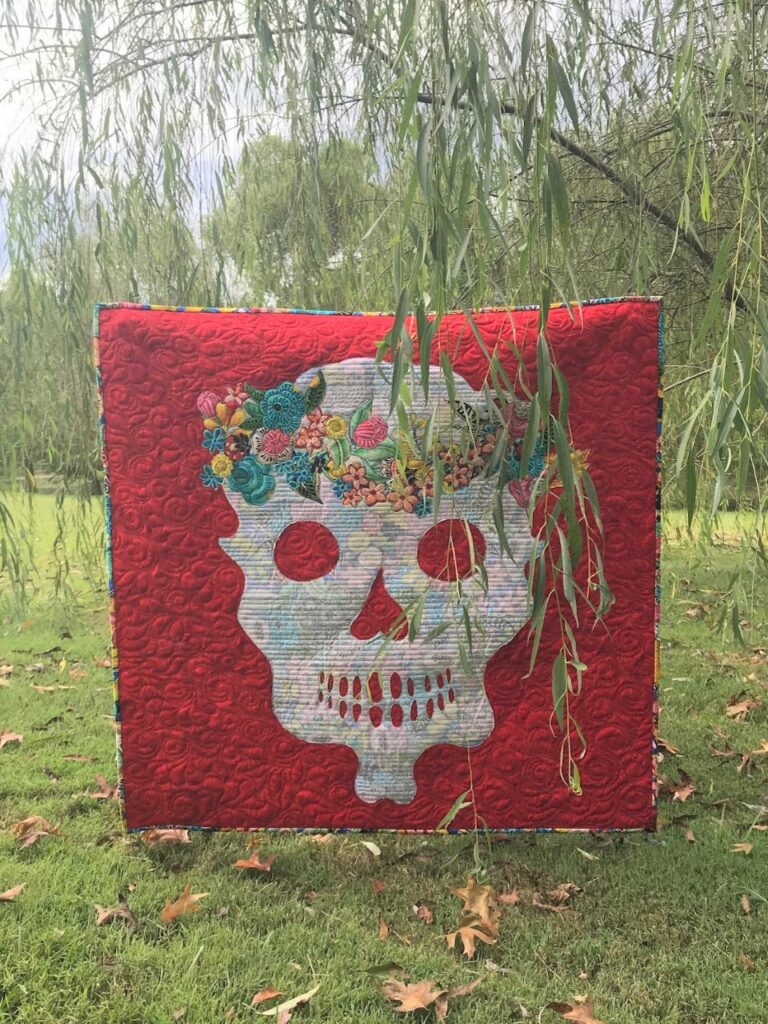
It was certainly a milestone to send the first printing of the Flora Quilt Pattern (sugar skull) to Mary Beth, even though she already carried a number of my titles. It’s fun when a shop owner is excited about using both beautiful sides!

Basically, Flora is a fast, easy pattern made with fusible applique and broderie perse. First, trace and cut the skull shape from a full-size paper template. Next, press the fusible template onto the RIGHT side of the floral fabric. Finally, cut Flora’s flower garland from the floral motif itself, arranged on the quilt and fused. Learn more about broderie perse HERE.

Flora is made with BOTH beautiful sides of a floral fabric. Click HERE for link to Flora Focus Fabric Kit.
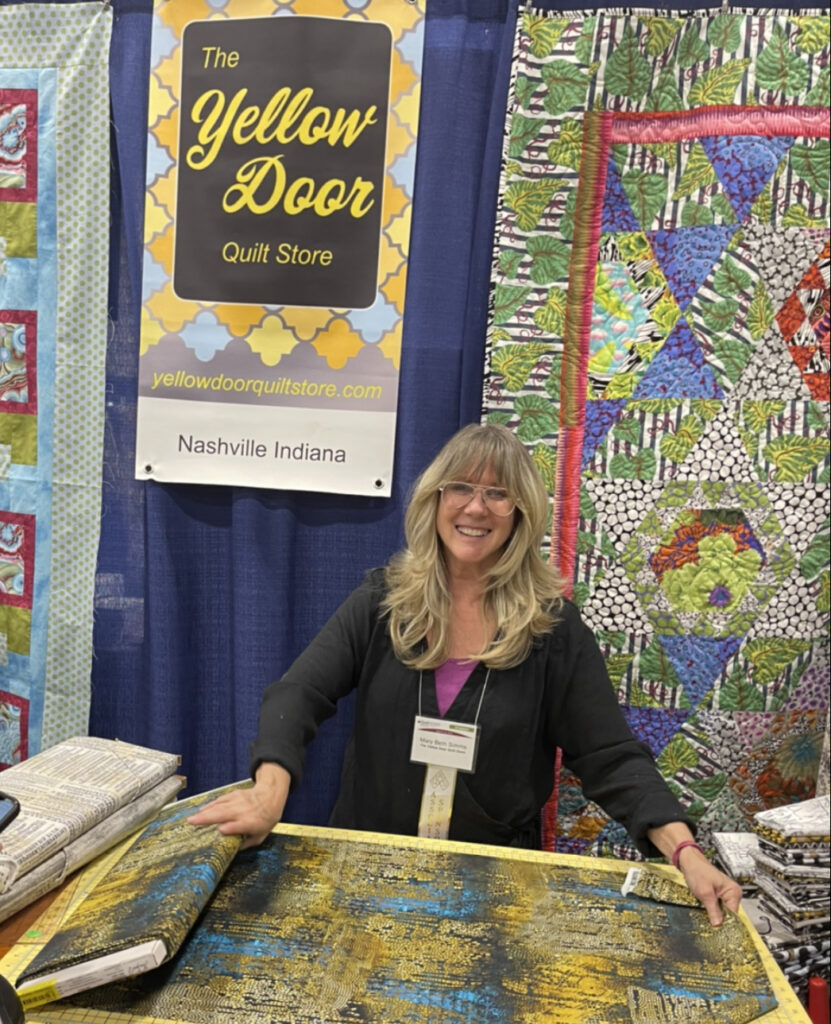
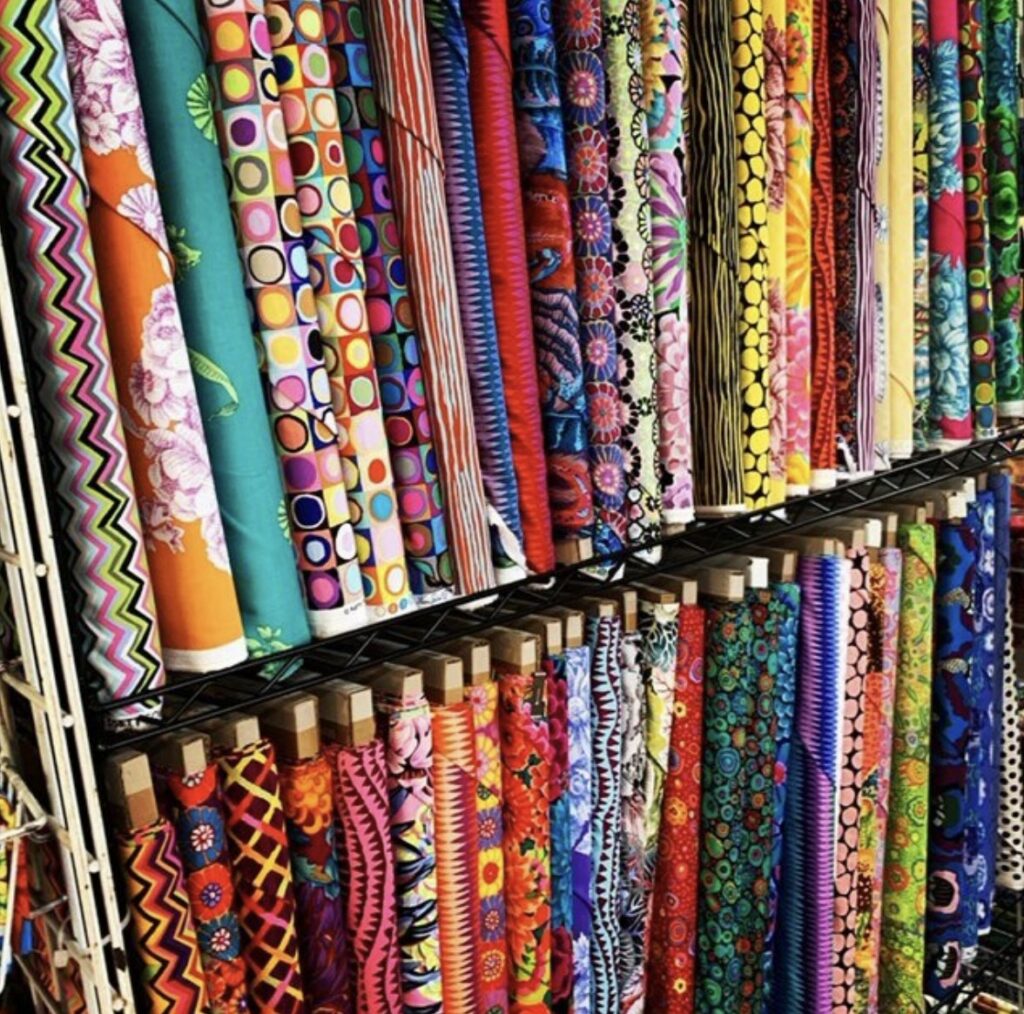
Image of Mary Beth
Give Mary Beth a shout-out on her Facebook Live!

Furthermore, you simply MUST experience Mary Beth’s “Hootie Hoo” Facebook Live sessions!

Grab a hot cup of coffee and stay in your jammies to shop!

Visit Mary Beth online HERE or in her quilt store!

SHOP more than 50 unique quilt patterns that use both beautiful sides of fabric!

Read about The Quilt Shop in Chamberlain, South Dakota!
Creative Bee Studios #usebothsides

Kate Goes Modern

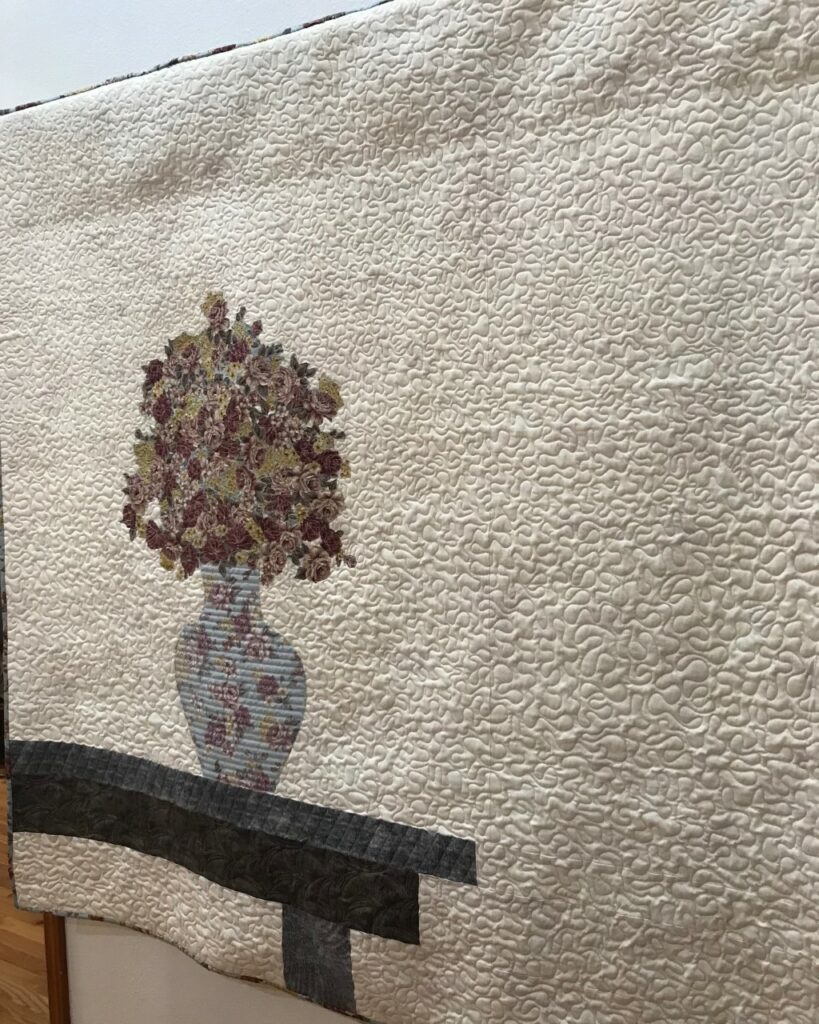
Do you remember Kate, the vase and bouquet quilt made with both beautiful sides of Kaffe Fassett fabric?

While Kate (shown below) is made with both sides of one fabric, Kate’s Bouquet is made with both sides of two fabrics!
Here’s Kate.

But don’t stop scrolling… Kate’s Bouquet is shown next!

Kate Quilt Pattern

Kate was made using both sides of Japanese Chrysanthemum by Philip Jacobs for Kaffe Fassett Collective.

Firstly, you make the vase by tracing a template onto lightweight fusible and adhering it to the RIGHT side of the fabric.

Next, press lightweight fusible to the REVERSE side of the fabric. Cut the blooms out using the fabric motif as the guide. This is also known as Broderie Perse applique.

Learn more about Modern Broderie Perse.

Finally, you build the bouquet on a fun collection of scrappy background fabrics!

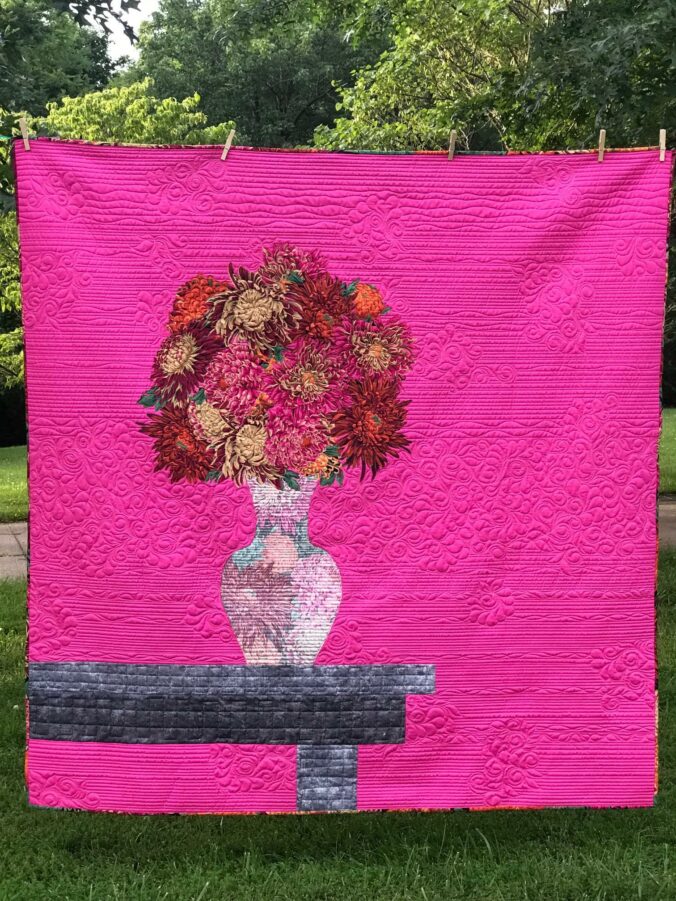
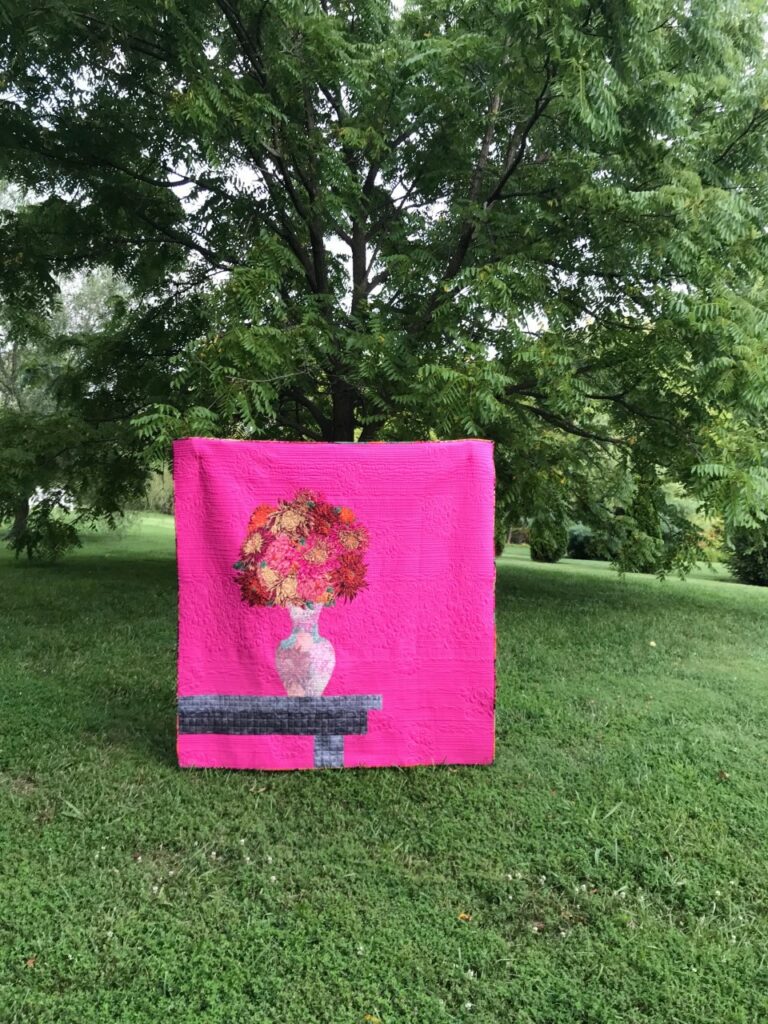
Now see Kate’s Bouquet, made with both sides of two fabrics!

Image of Kate made with both sides of two fabrics.
Kate’s Bouquet Quilt Pattern

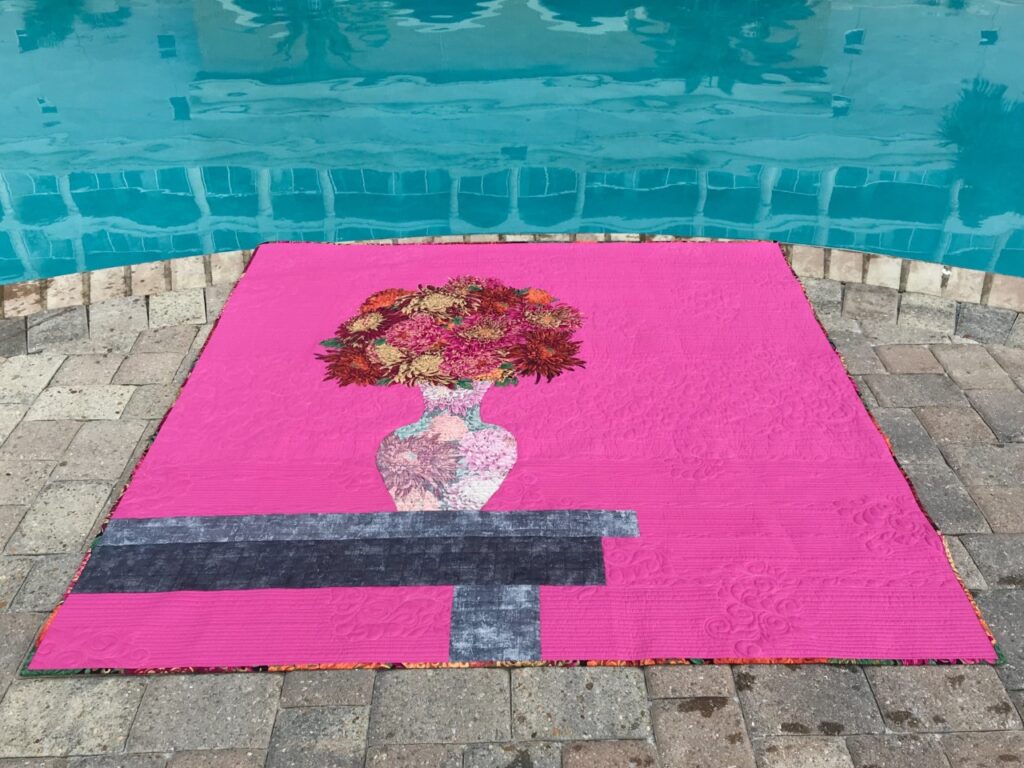
Kate’s Bouquet is a dramatic statement for statement in any home!The negative space gives Kate a modern appeal, especially when used with a brilliant solid background fabric.

Notably, the best part about making Kate’s Bouquet is that you only need three fabrics to make this quilt! Use BOTH beautiful sides of the focus and table fabric and get one fabulous fabric for the background!

Kate’s Bouquet is shown with the same floral focus fabric in a different colorway.

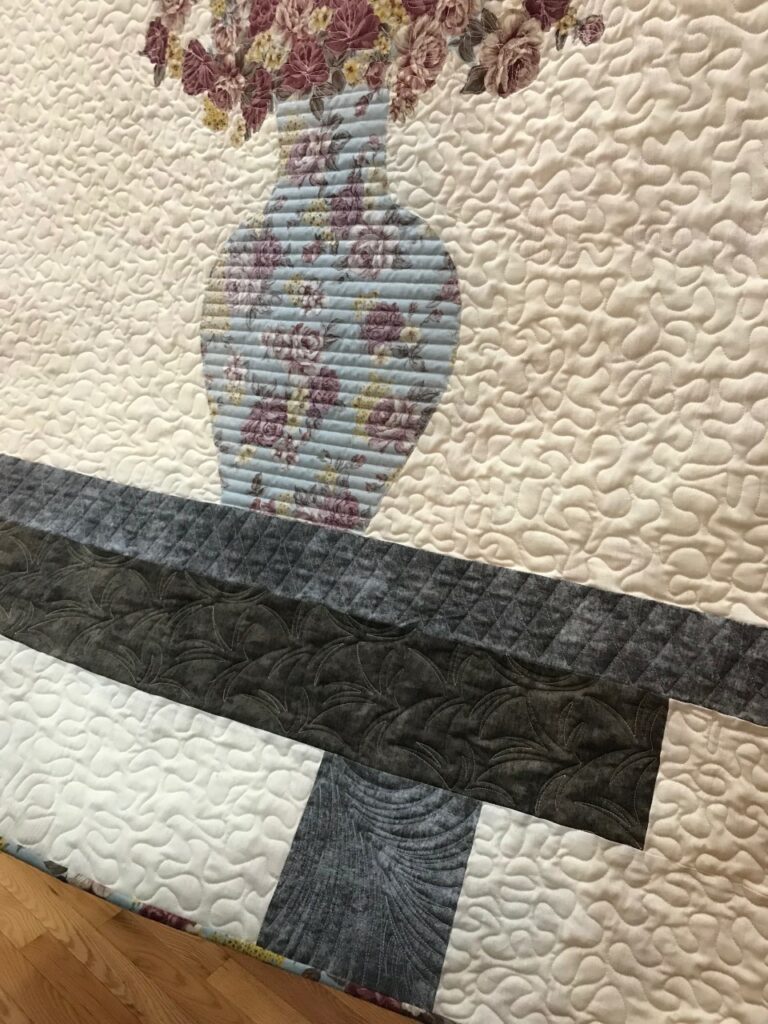
Look at this lovely and softer version made by my friend, Linda. She’s named her quilt “Rose”. Her softer quilt has a calm feel about her and goes beautifully in Linda’s newly decorated living room.

“Rose” made by Linda Gast

Just imagine the options for background fabrics! You could mimics wall paper or old plaster walls. So many options!

Image of Quilt
I love how Linda quilted her table!

And, of course, there are always fabulous floral fabrics on the market for designing your own bouquet!

Image of Quilt made with both sides of two fabrics.

Remember, it’s all about value. See The Tricky Traits of Value .

Each #usebothsides pattern comes with tips for auditioning BOTH sides of your fabric PLUS the Bonus: Prairie Point Hanging Method!

Shop “Kate’s Bouquet” HERE, at my Etsy Shop

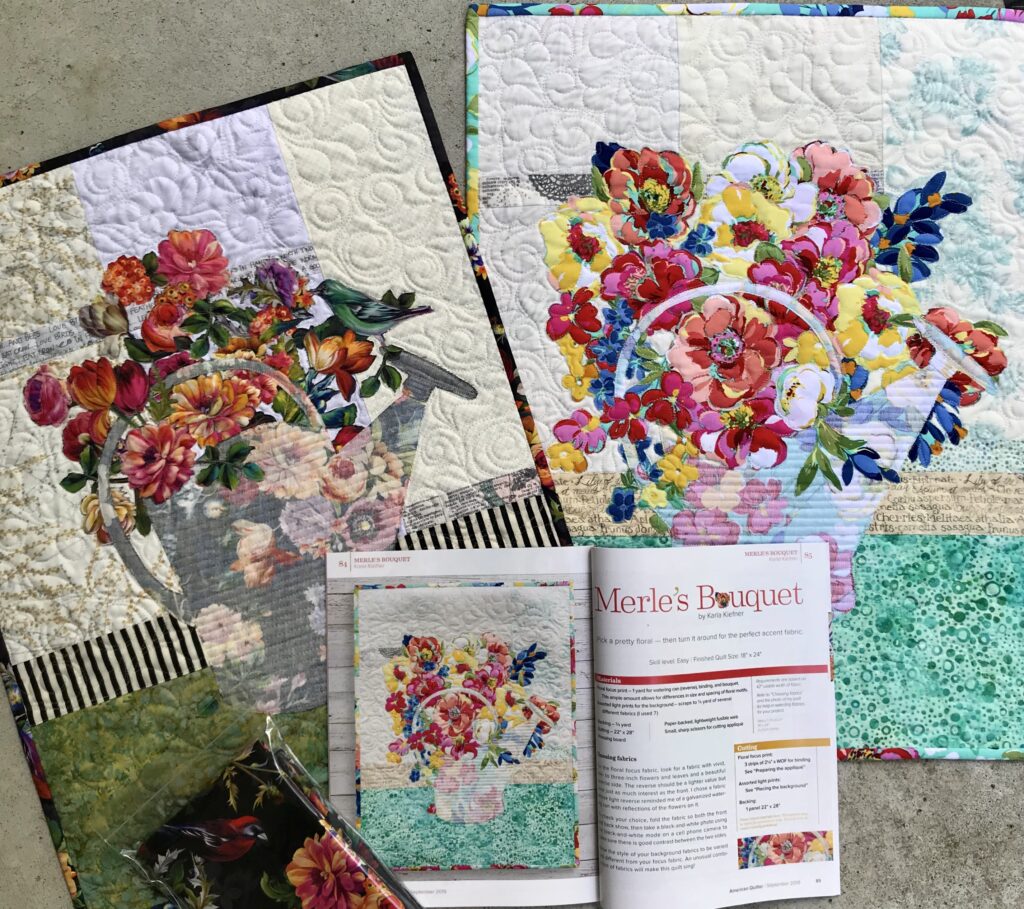
Image of Quilt and Magazine

Merle’s Bouquet is featured in the AQ Magazine. Limited quantities of signed copies in my Etsy Shop/CreativeBeeStudios

Share with your friends – tell them to Join The BUZZ!

Margie’s Sew Much Fun

Clearly this is a shout-out to Margie’s Sew Much Fun Quilt Shop owner, Margie!

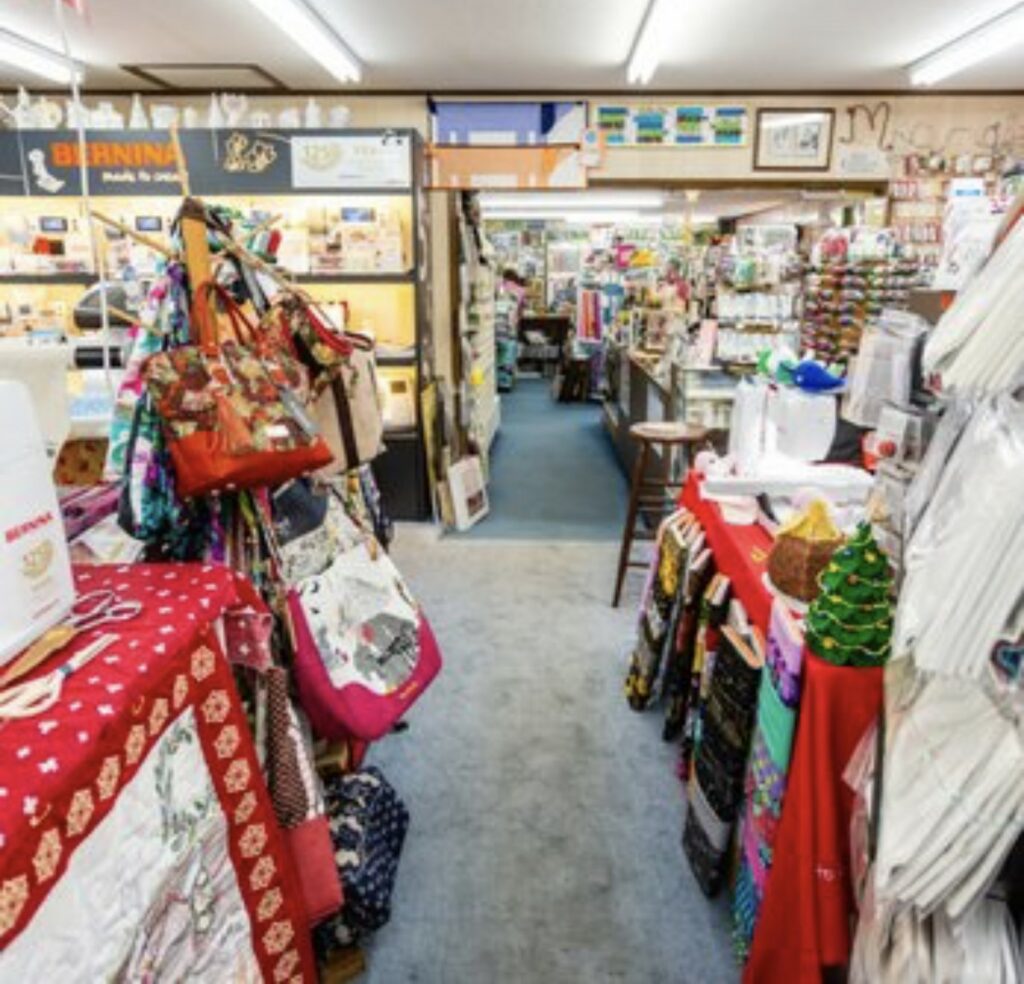
Margie’s Sew Much Fun quilt shop is loaded with fabric, machine, patterns and more!

Image from Margie's Sew Much Fun Quilt Shop Online

Located in the Florida panhandle, in Crestview, Margie’s quilt shop has been serving her community since 1971.

Image of Margie's Sew Much Fun Quilt Shop

Clearly, Margie will show you a fun time in her quilt shop. She stocks over 3500 bolts of fabulous fabric and both Bernina and Janome machines. Additionally, she carries patterns that use BOTH beautiful sides of fabric!

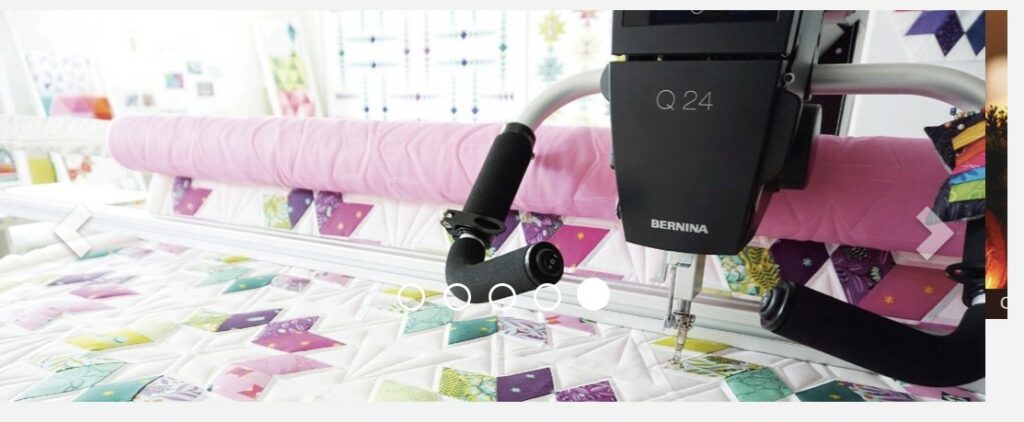
Also, find Bernina and Bernette products, including a Studio Frame long arm machine.

Moreover, I am happy to say that Margie is a repeat customer of #usebothsides patterns. You can tell from the name of her quilt shop and our delightful phone conversations, she’s got a fun shop YOU really need to visit!

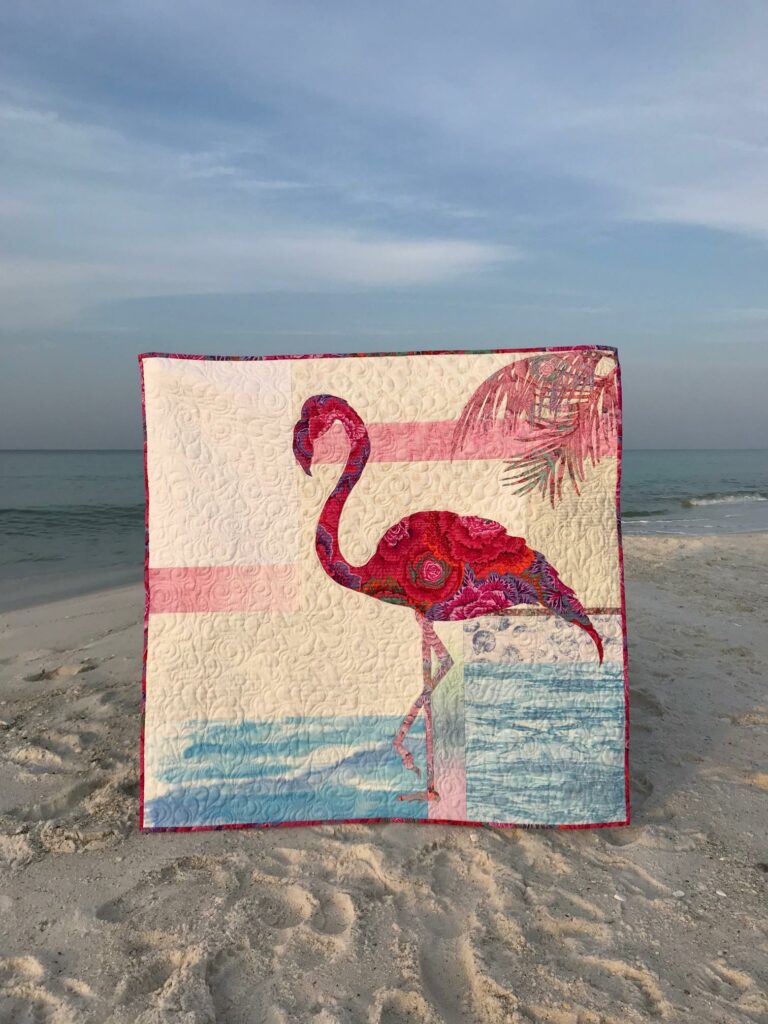
As you might guess, Margie chooses coastal theme patterns for her shop.

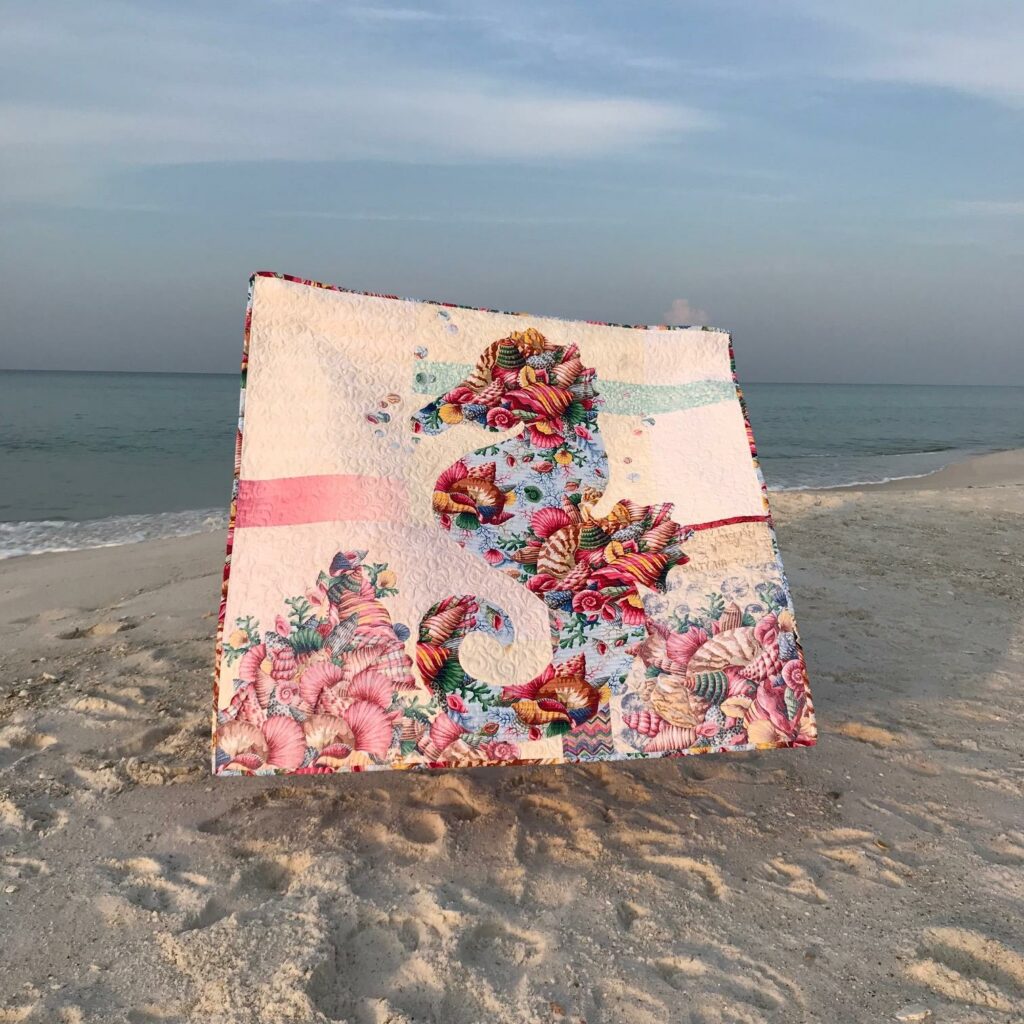
Here are two such patterns, made with both beautiful sides of fabric: Sally and Fiona.

Sally is made with both beautiful sides of a seashell focus fabric on a scrappy background. The sea horse body is cut from a paper template. The seashell coral is made by cutting the sea shells from the fabric motif. Both the seashell coral and the floating bubbles are the REVERSE side. Even the binding is made with the focus fabric.

So take a trip to Margie’s or visit her online at www.margiessewmuchfun.com

Tell her Karla sent you!

Enjoy your quilting journey, Karla

It’s a…Dash About!

Here’s a fun, fast quilt pattern made with only one block and THREE fabrics!

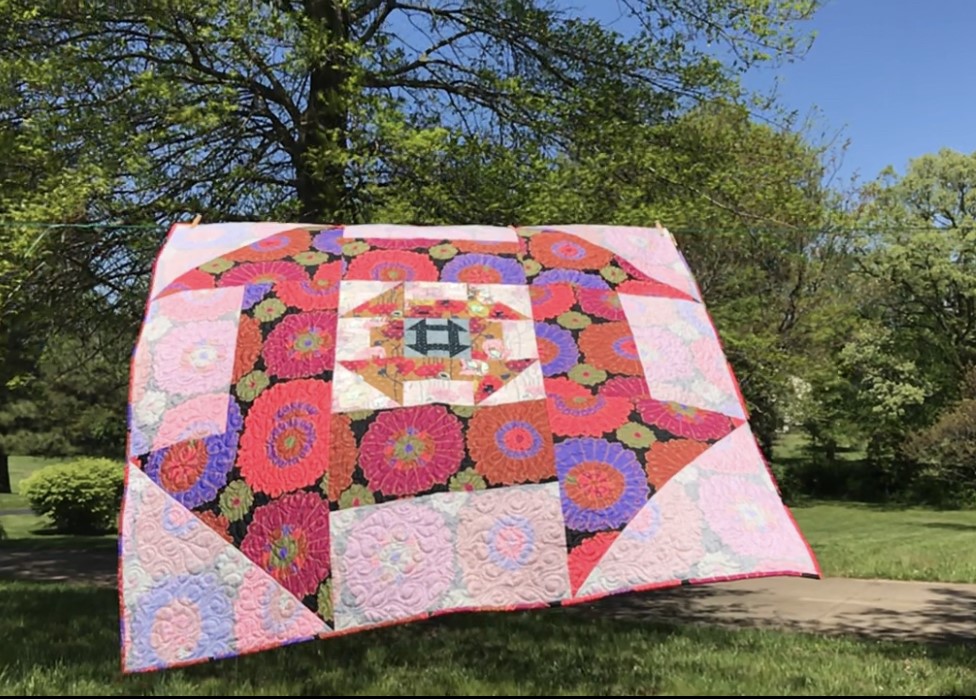
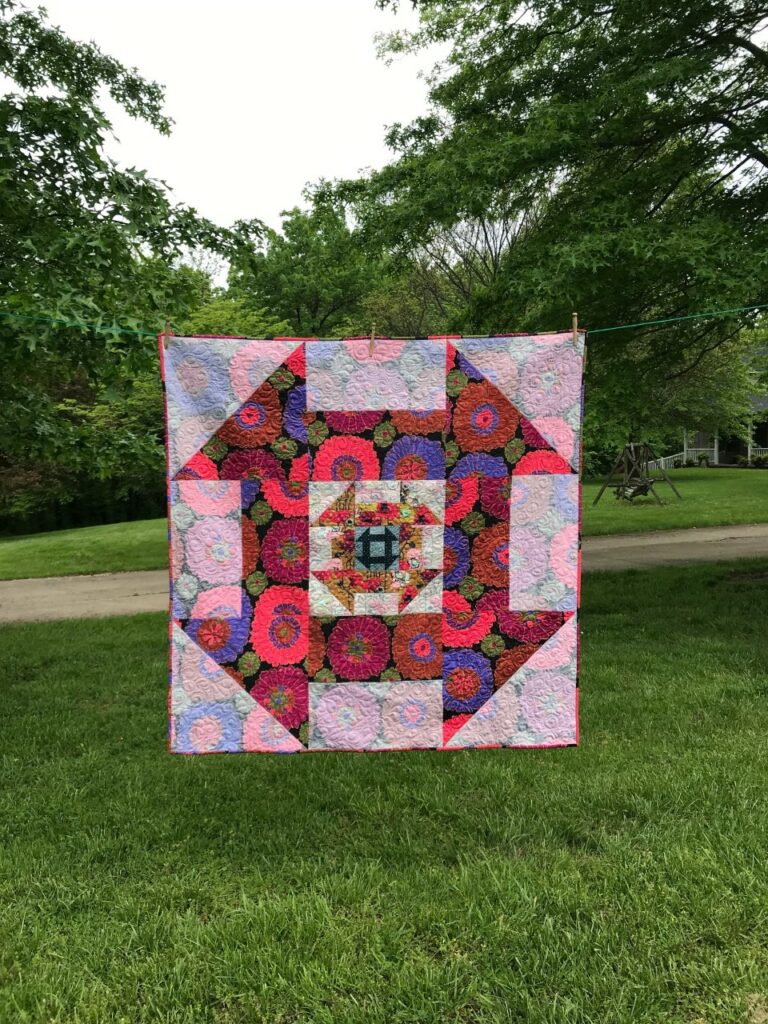
Dash About is made using the Churn Dash block and BOTH beautiful sides of three fabrics!

At first, you might think there are separate background fabrics for each block. But when you take a second look, you notice that the background for each block is made from the REVERSE side of the same fabric!

Using both sides makes choosing fabrics, well, half the trouble!

It’s all about VALUE. Each #usebothsides quilt pattern describes how to audition your fabrics’ value by “removing” the color. Of course, you don’t physically remove the color. But colors can be tricky when it comes to value. And, fabric values change, depending on what fabrics are next to them! Take a look here at The Tricky Traits of Value for more information.

The most important thing to know is that auditioning both sides of fabric is easy and fun. Learning to look at fabric values in this way is a fantastic tool for all quilters when choosing fabrics or designing their own quilts.

Image of Quilt Hanging on Line

I’ve found that auditioning both sides of fabrics is a great conversation starter in quilt shops. Quilters can’t help but ask what you’re doing!

Karla

Next, look at the Dash About quilt shown above. It is made using three unrelated fabrics. The centermost, smallest block is made with fabric that has a tiny motif. The floral in the middle block is larger. Of course, the outer Churn Dash sports an incredible large motif that comes in backing fabric widths!

The fabric shown, starting in the center, include a sweet little blue print which belonged to my late mother-in-law, Pat, a darling Anna Marie Horner floral, and a super-big Kaffe Fassett print. (I love adding a touch of her to my designs).

Additionally, see what happens when you make Dash About using a line of fabrics:

Dash About Quilt Pattern
Dash About for Hoffman California Fabrics

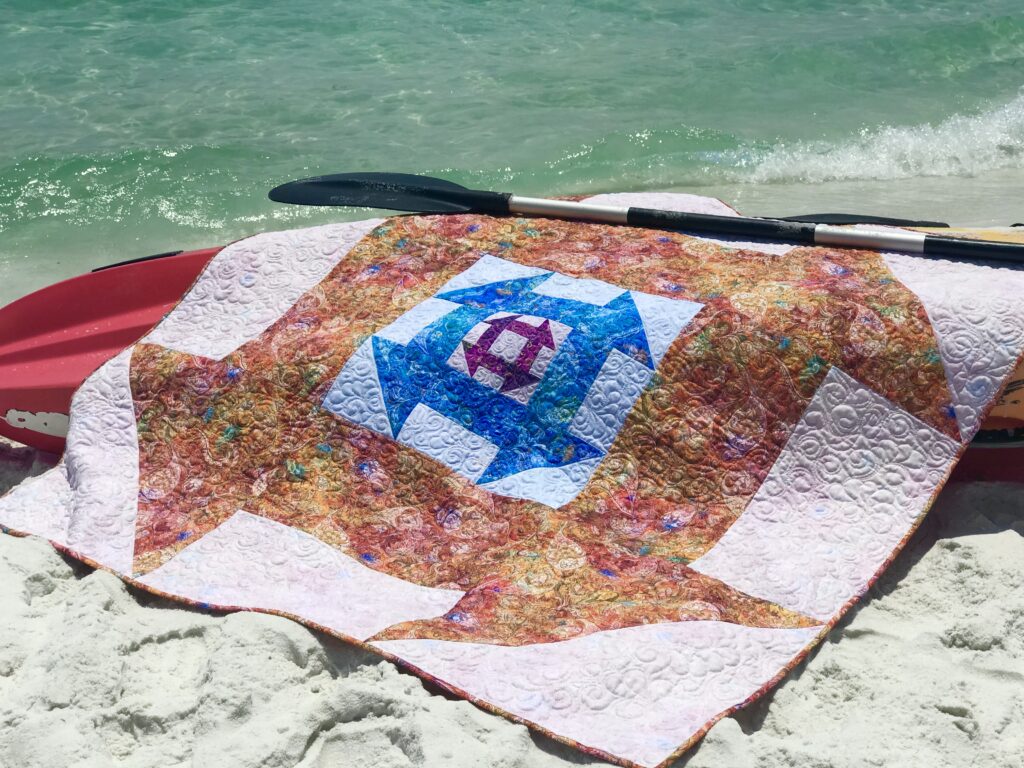
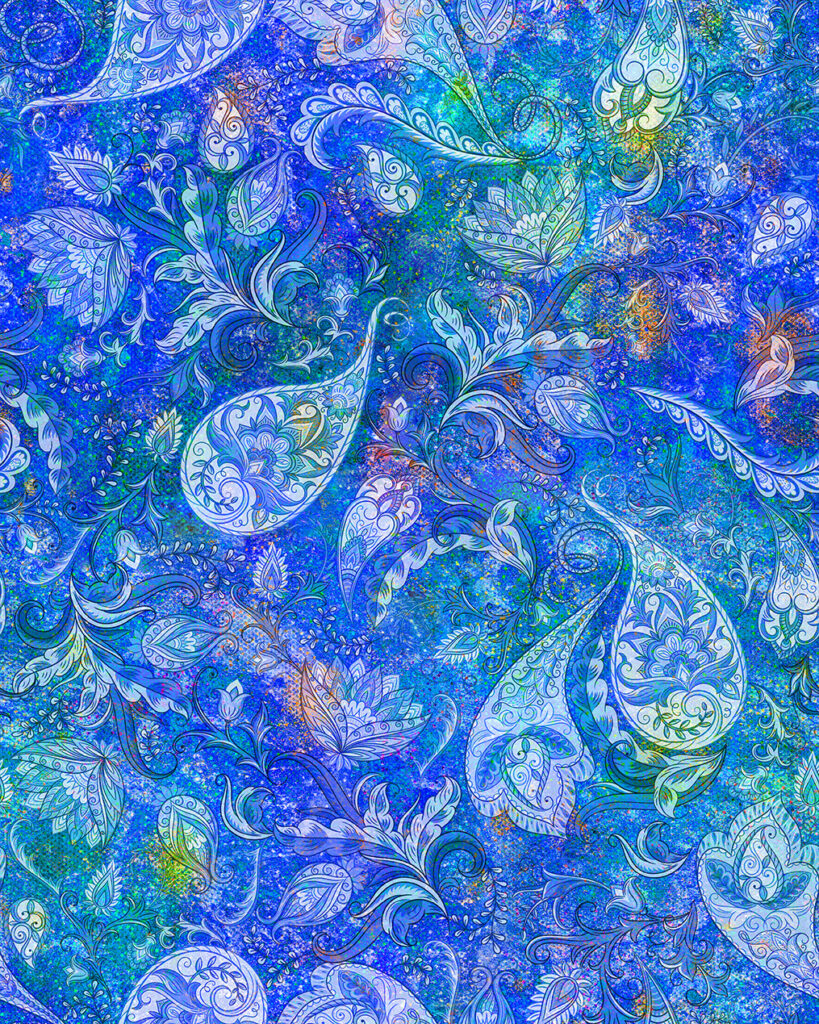
When I saw the beautiful reverse sides of this line by Hoffman California Fabrics, I was certain this would be a winner in the Dash About layout! The line is “Floral Rhapsody”. The reverse is lighter but has lots of movement and can definitely stand on its own!

Image of fabric
Floral Rhapsody Splash
Image of fabric reverse
Floral Rhapsody Splash Reverse

Like most quilts, these fabrics are even more fabulous in real life!

When compared with a solid or white on white fabric, the movement and slight changes of color and value of the REVERSE side makes for an interesting background!

Shop both Dash About patterns in my Etsy SHOP HERE.

These patterns are identical, except for the fabric listings and photo.

See more quilts designed for Hoffman California Fabrics HERE.

Enjoy your quilting journey!

Use the share buttons to post on Facebook and add to your Pinterest boards!

#usebothsides

Home Sweet Home

Travel with me, back to my home town, to teach a class of wall hanging quilts!

Early on, the Memory Maker Quilt Guild of Perryville, Missouri invited me to teach a class of wall hanging quilts. I was trilled to drive down memory lane, where I had memorized every crack in the sidewalks around my neighborhood.

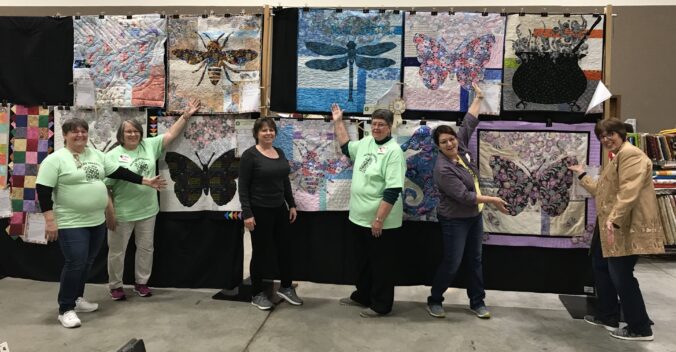
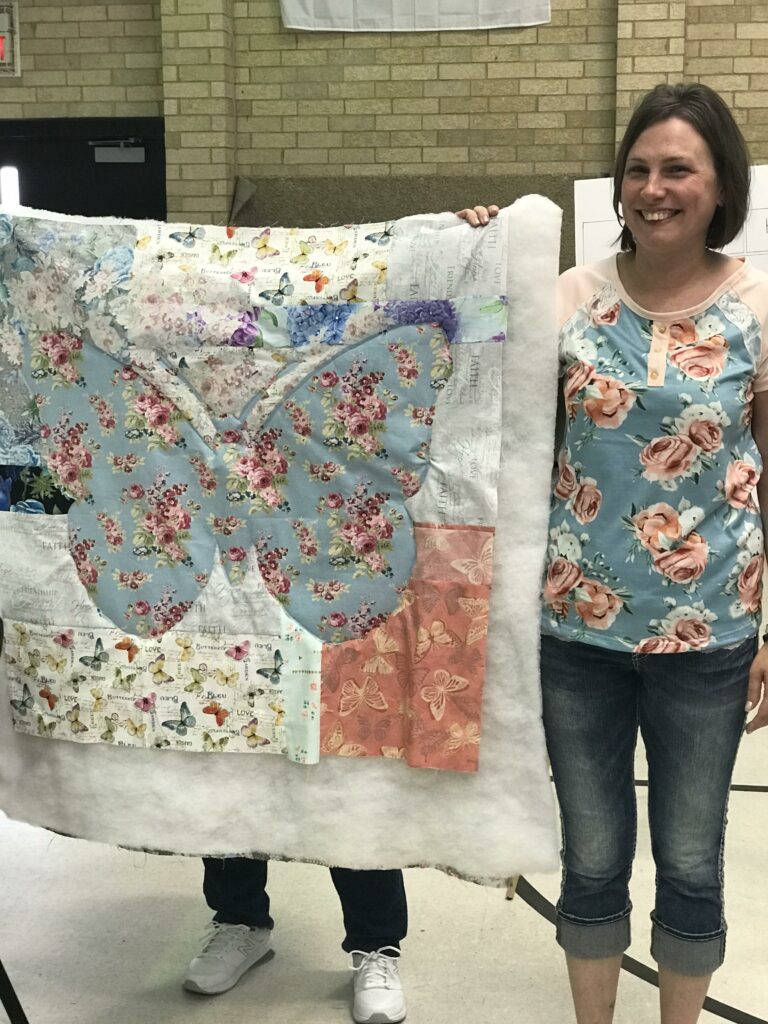
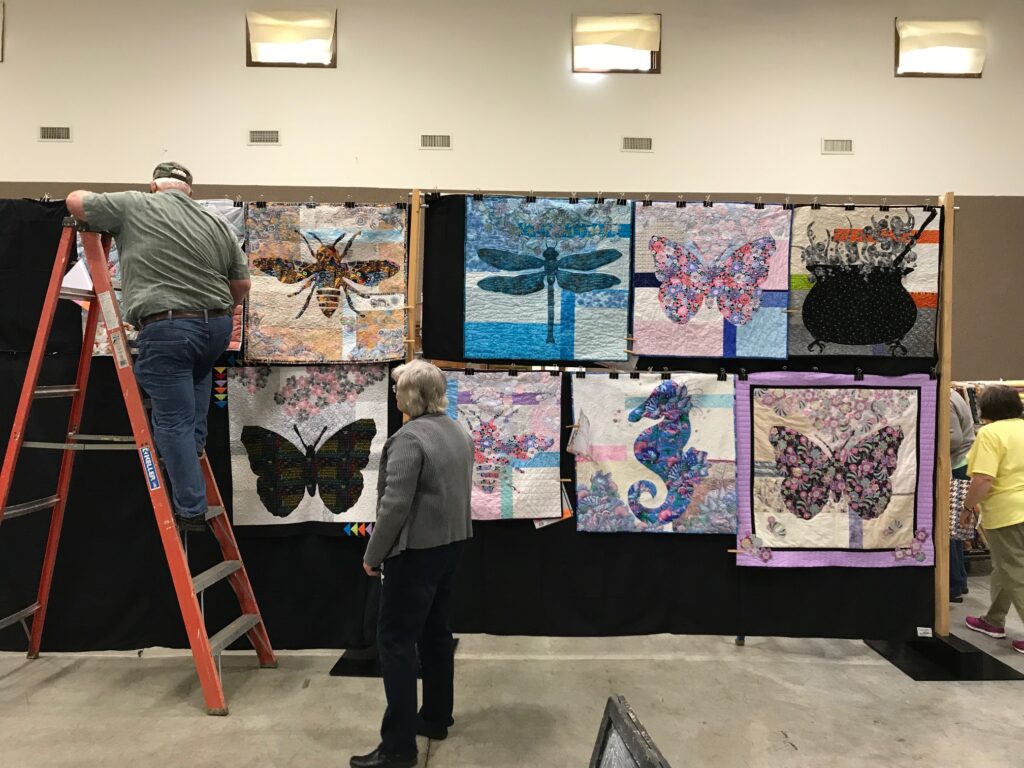
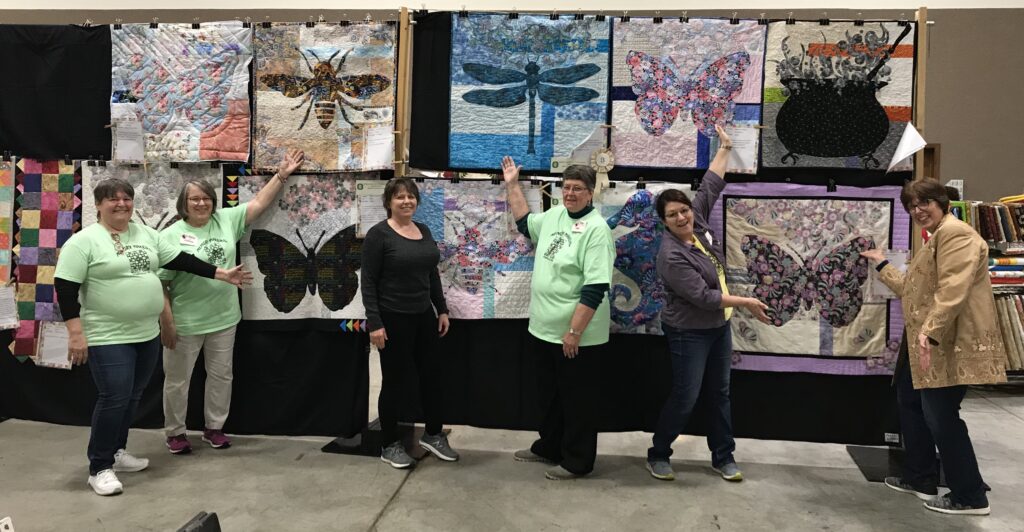
First, the quilters chose from a variety of patterns that finished as 36″ square quilts. You’ll see in photos below that they picked a variety of patterns, including the bee, butterfly, seahorse, and even the cauldron.

Quilters learned how to audition both beautiful sides of their fabrics by using value as their guide.

Learn more about VALUE here.

Their unique focus fabric choices reflected their maker’s style in the finished wall hanging quilts.

In addition, the stitchers used fusible applique and broderie perse techniques for these patterns.

After making their fabric selections and cutting and piecing the background fabrics, the students began the fusible applique and broderie perse phase of class.

A softy for nostalgia, I like to drive down my old bike-riding routes and good, ole Church Street.

Whether we were riding bikes or just playing outside all day long, I enjoyed a carefree childhood. I remember taking turns rolling down our terrace, wrapped in a quilt (what was my mom thinking?), playing “Penelope Pitstop” (only Peppermint Patti would understand), and putting on plays and magic shows in our yards. Those are some of the warm memories of my childhood.

Karla

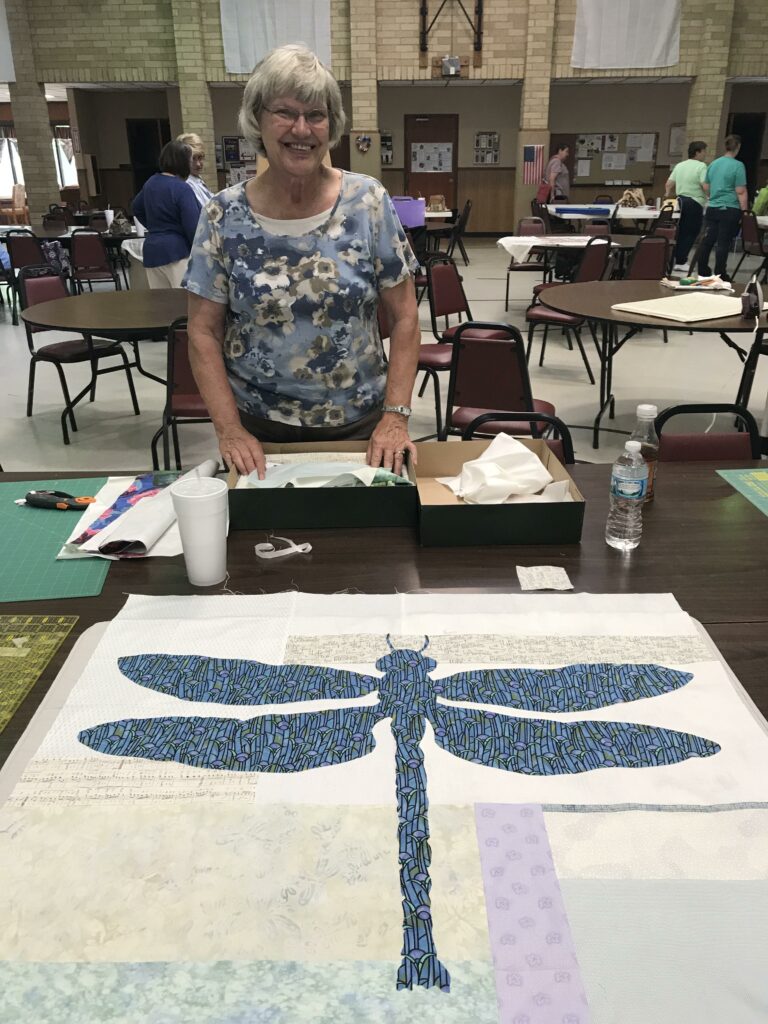
We had a great turn-out of quilters and I couldn’t have been more happy with their creativeness when using my patterns. See just a few of their wall hanging quilts below.

Image of dragonfly wall hanging quilt
Martha’s “Lilly”
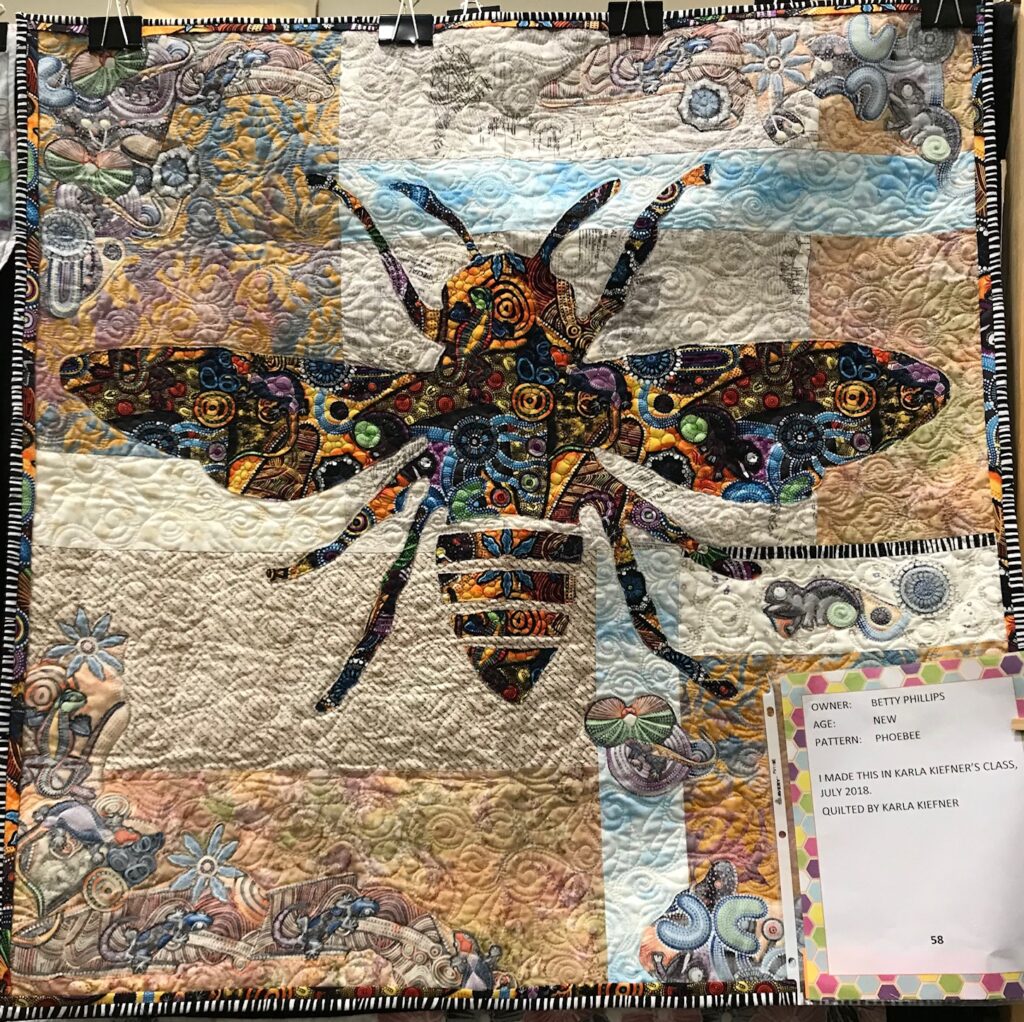
Image of Phoebee Quilt
Phoebee

Use Both Sides Category at Memory Maker Quilt Guild’s Show

Imagine my delight to learn they were having a Use BOTH Sides category of their class quilts in their next quilt show!

Image of wall hanging quilts being hung in quilt show.
Quilt show setup, view from my booth!

Setting up a booth as a vendor, I was even more delighted to see them hang their class quilts right across from my booth!

Image of "Sally" Quilt
Image of "Belle" Quilt

Similiarly, for my home town guild to arrange a whole quilt show category on my behalf was quite an honor! Below, you see many of the class wall hanging quilts entered into the judging.

Whether it means anything to anyone else in the world, this means the world to me.

Image of Quilters at Show

My thanks to the members of Memory Makers Quilt Guild. Hope you enjoy seeing their very creative quilts from class.

Follow and Share Creative Bee Studios on Instagram, Facebook, and Pinterest!

Shop Quilt Patterns HERE

Inspired Quilters Inspire

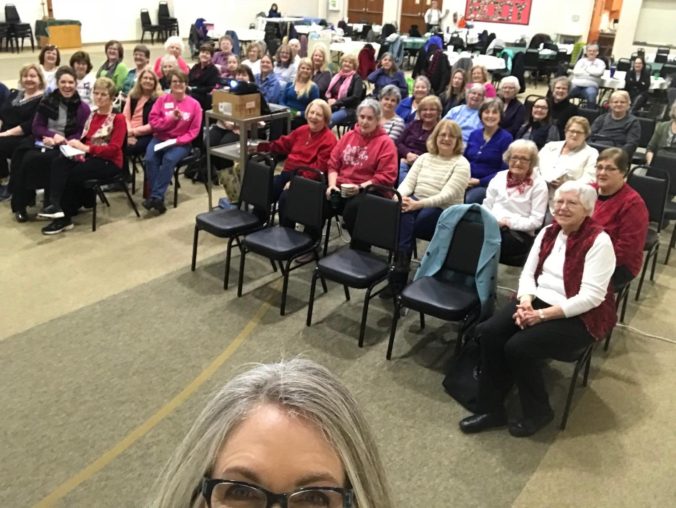
A couple of weeks ago I had the opportunity to share my quilting journey with a group of women whose enthusiasm for quilting was truly inspiring to me.

Image of Inspired Quilters Guild
Inspired Quilters of Warrensburg, Missouri

The Inspired Quilters of Warrensburg, Missouri invited me to speak during their guild meeting. It was a cold, wet, and somewhat icy night. I expected a lower turnout of members due to the weather. That was my first surprise.

One of the interesting things I see when speaking to quilt guilds is the uniqueness of each group.

Image of Guild Presentation

As quilters notably are, everyone was welcoming and helpful – helping my friend and me carry in 50 quilts, bins of patterns and fabric, and set up the power point.

After the presentation, Nancy and were overwhelmed by the enthusiastic quilters who lined up, waiting to purchase patterns and kits. It’s so fun to see people excited about something you’ve designed – and it is quite humbling.

Image of Presentation with Something's Brewing quilt.

What I noticed next, while Nancy and I spent the next hour repacking quilts and patterns, was how excited and involved the quilters were in their guild meeting. I was wishing I could sit and watch, especially when it came time for Show and Tell. It seemed like each quilter did more than showed her quilt, she told the story behind her project – who or what it was for, how it came about…the details that make a quilt more than just a quilt.

These quilters truly inspire me – to tell the details, to let people know the stories behind the quilts.

Isn’t that what it’s all about? Whether the quilts we make are for special people in our lives, for hurting people we don’t even know, for veterans and service members to be honored, or even for learning something new alongside friends – it’s the people in the story that make quilting worthwhile.

A heartfelt thanks to the quilters in Warrensburg for sharing their quilting journey with me!

Designing Quilts with Panels

To the tune of “On the Cover of the Rolling Stones”, I feel like singing! At the close of 2018, I happened onto my pattern, “Holly”, featured on the cover of a Hoffman California Fabrics’ catalog!

It began with an email asking if I (along with four or five other designers) would like to try our hand at designing with a new Christmas line of fabric. It’s my understanding that other designers use digital fabric swatches and their computers to design patterns. But since I use BOTH sides of the fabric, I need the real thing!

Click HERE to see the Winter Projects 2019 Catalog by Hoffman California Fabrics.

We had a week for the deadline – but since I needed the fabric shipped to me and then I needed to ship the finished quilt back to California, I had less than that to design and make the quilt!

Frankly, I was in a hurry! Add to the mix that it was Thanksgiving weekend, I was driving six hours on Saturday, attending our daughter’s show, driving four on Sunday, and staying in a hotel (with terribly inadequate lighting) until Tuesday AND, until I could see and audition BOTH sides of the fabric, I had no idea if my idea would work!

Working with both sides of fabric means lots of value-checking. You can’t tell from the front of fabric if the reverse will work. Some fabrics have great reverses and some just don’t. Click HERE for “The Tricky Traits of Value”.

The Christmas tree panel is gorgeous on its own – who would want to cut that apart? I certainly wouldn’t cut it to make another tree. I was also pretty certain that other designers would be designing borders around the whole panel, so mine had to be different.

I started to focus on the fat-quarter panel they sent. I had received a whole box of fabric to choose from and I knew if I wanted to use this panel, I couldn’t just use one fat-quarter of it or even half of them- I needed to use the whole panel. After auditioning many combinations, I decided I could use the panel – BOTH sides of the panel!

So…once again, it all comes down to fabric values. In classes, I have quilters audition many background fabrics and take lots of black and white pictures to see how their background fabrics “play” with their focus fabric. The smaller accents strips are allowed to be a bit “louder”, but the larger pieces need to provide interest as opposed to distraction. So take a look at this picture of the panel. Lots of dark fabric, right? Really pretty fabric…but more darks than lights.

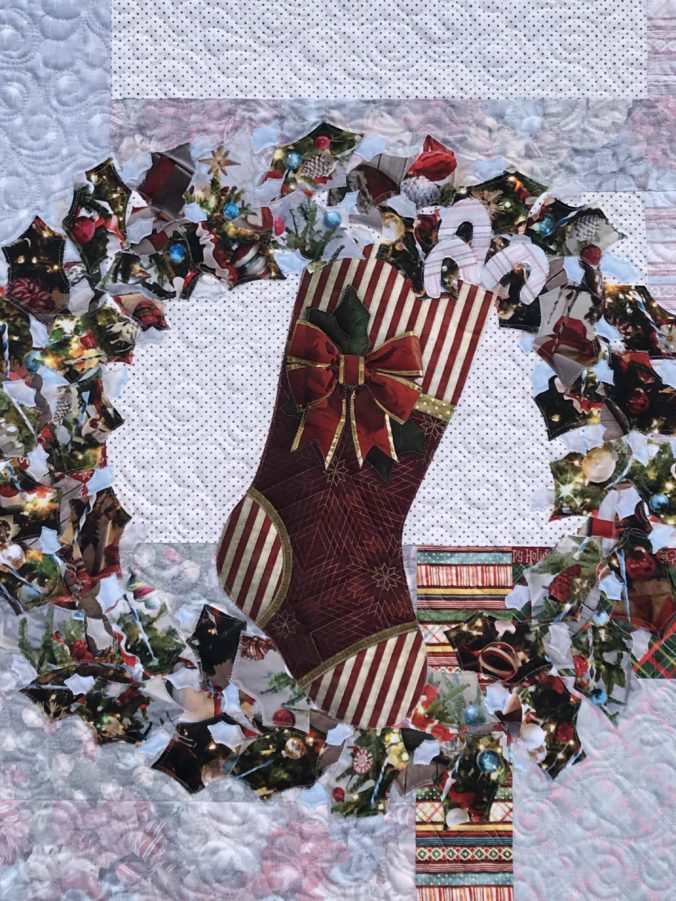
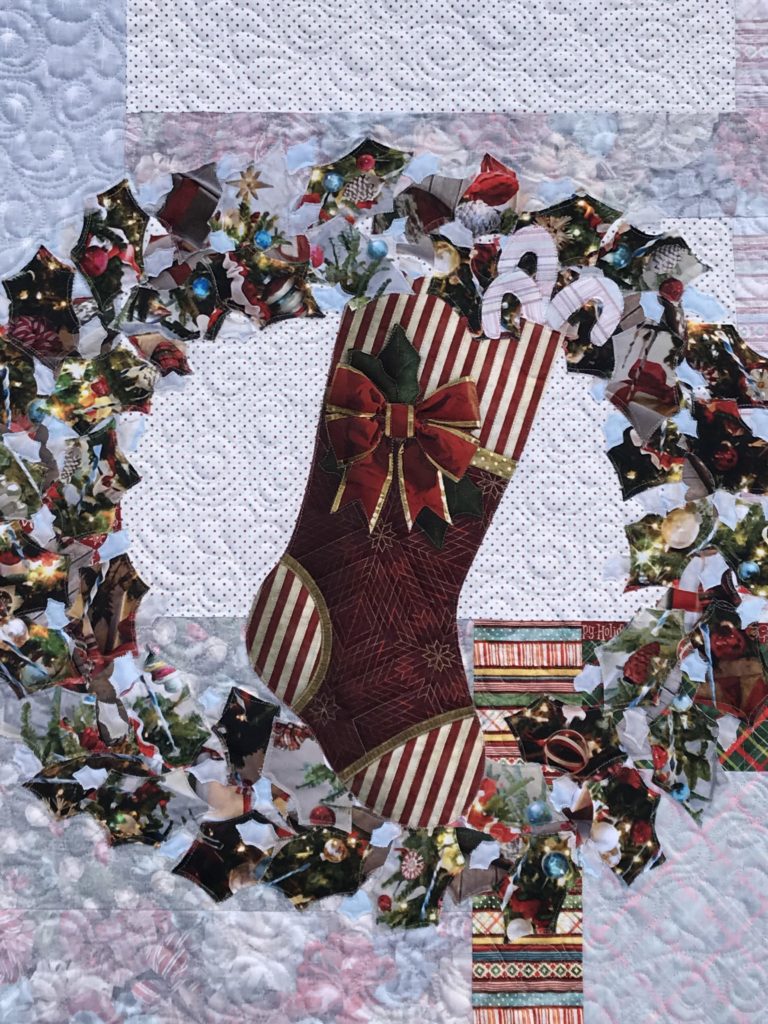
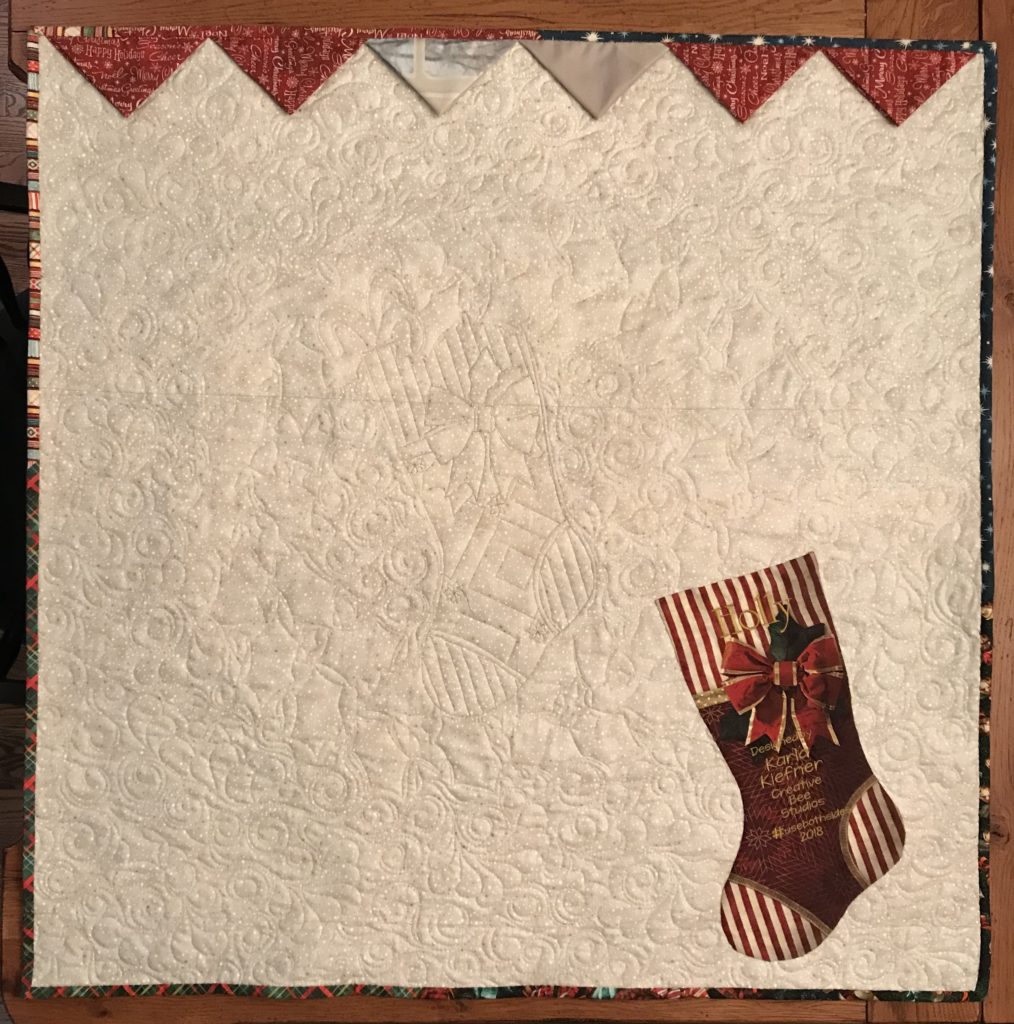
Now look at a close-up of the quilt. Do you recognize those fabrics? …same fat quarters from the panel – just using the other side! Most of the accents strips are made from the front side. The bows, bells, stripes, plaid, and Christmas words make this an exciting background for the Holly wreath. One of the fat-quarters had two stockings printed on it. I used the one on the wreath and I embroidered the second stocking for the quilt label.

Image of Quilt Close Up
See the candy canes made from the reverse stripe?
Image of Back of Quilt
You can see the quilting, the extra stocking as a label, and the prairie point hanging method here.

The wreath is made using fused holly leaf shapes from the Christmas tree panel. Being a digital print, the fabric has a sparkle of light to it, making the wreath sparkle as well.

You might notice I didn’t have time to take great pictures – and apparently I borrowed my husband’s house shoes that day!

Even the pieced binding is made from the fat-quarter panel!

This is a fun quilt to make and so easy to shop for if you use the two panels! While I have no official timeline, my guess is that these fabrics will be in shops by summer!

If you have Christmas yardage in your stash – you can use it! I wrote this pattern to work with the panels as shown OR using your own choices of fabrics. The same method applies to both – it’s all about the value!

Here’s how Holly look inside the catalog!

I designed Phoebee 2.0 using BOTH sides of Hoffman California Fabrics “Electric Garden” as the focus fabric -it’s available in shops now!

Image of Electric Garden

Shop all my patterns at my Etsy Shop: Creative Bee Studios (Click HERE)

Don’t miss out – subscribe below! Follow me on Facebook, Instagram, and Twitter and pin to your Pinterest boards, please!

Exploring Quilty Box

I’ve been intrigued by Quilty Box (click here) for some time now.

The combination of

a) them featuring Tula Pink and

b) me learning about the first-time discount was what it took for me to finally subscribe. I want to share my discovery with YOU!Image of Box

I remember as a teenager subscribing to a make-up club. It was so fun to get different products in the mail to try each month. I figured, what could be better than make-up? Fabric, patterns, notions, thread, and more, all mailed in a cute little teal and brown box and delivered to my mailbox!

Options: They state there is a Quilty Box for everyone – and there is!

Classic:  This is the original box which features a different artist each month, 2 yards of fabric, a spool of thread, pattern,  one or two notions or tools, and a mini-magazine. The price is $48.00 but if you prepay, you can get discounts on that monthly rate.

English Paper Piecing: In partnership with PaperPieces.com, this box includes a pack of 5 x 5″ fabrics, thread, templates and paper pieces for the pattern, and a mini magazine. This starting price is $34.99 with discounts applied for prepayment.

Mini: Inside this little package you’ll find a full-sized pack of 5 x 5″ fabric and a small spool of thread, the mini-magazine, three patterns, a mini-pattern, and an English paper-piecing pattern all for $23.99 (with discounts for prepayment).

First-time discount? Receive $10 off your first box!

So what are my thoughts about Quilty Box?

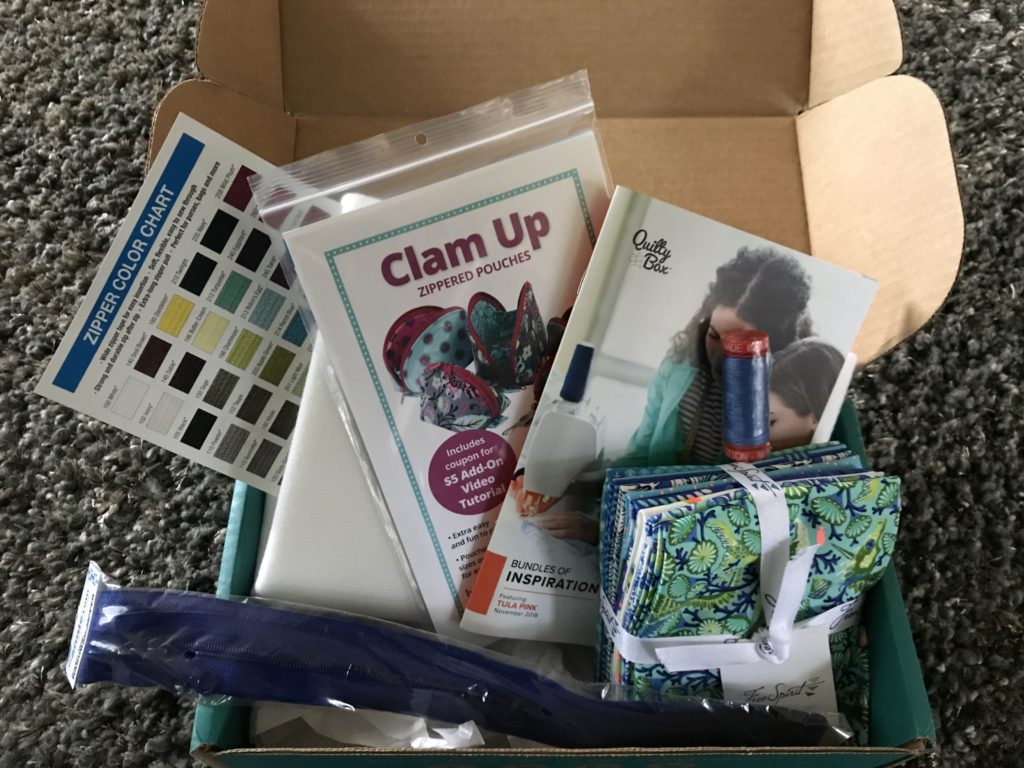
I loved it! It was so fun to get in the mail. I saved my box to open until I could give it my full attention! My box came with eight fat-quarters of Tula’s new line. This was especially fun because when we heard her speak this fall in Paducah, she explained how she designed that line of fabric. Also inside my box was Aurifil thread, a cute pattern for zippered pouches which I would actually love to make, zippers for the bags, and large piece of Soft and Stable for the bags. The Bundles of Inspiration magazine is high-quality and  I’m looking forward to reading it cover-to-cover. It features an article about Tula, several patterns, history and how-to’s for English paper piecing, and more!Image of Box Contents

Need a gift for a quilter friend? Send them a Quilty Box!

Shipping is free in the USA.

One thing you need to know about Quilty Box is that your order begins an automatic subscription. You can easily and promptly cancel your subscription with a simple email to [email protected] . I did it and received an email confirmation of the cancellation immediately.

So why did I cancel my subscription? ONLY, ONLY, ONLY because I am already overwhelmed with projects, new patterns designs, my Etsy shop, and my teaching/program schedule! If I were wanting a fun way to treat myself, get inspiration, and learn about the latest in the industry, I’d definitely continue my subscription!

By the way, I hereby reserve the right to order Quilty Box again!

 In fact…maybe (on behalf of my readers), I should really order at least one of each TYPE of Quilty Box – so I can report back, of course. What do you think?

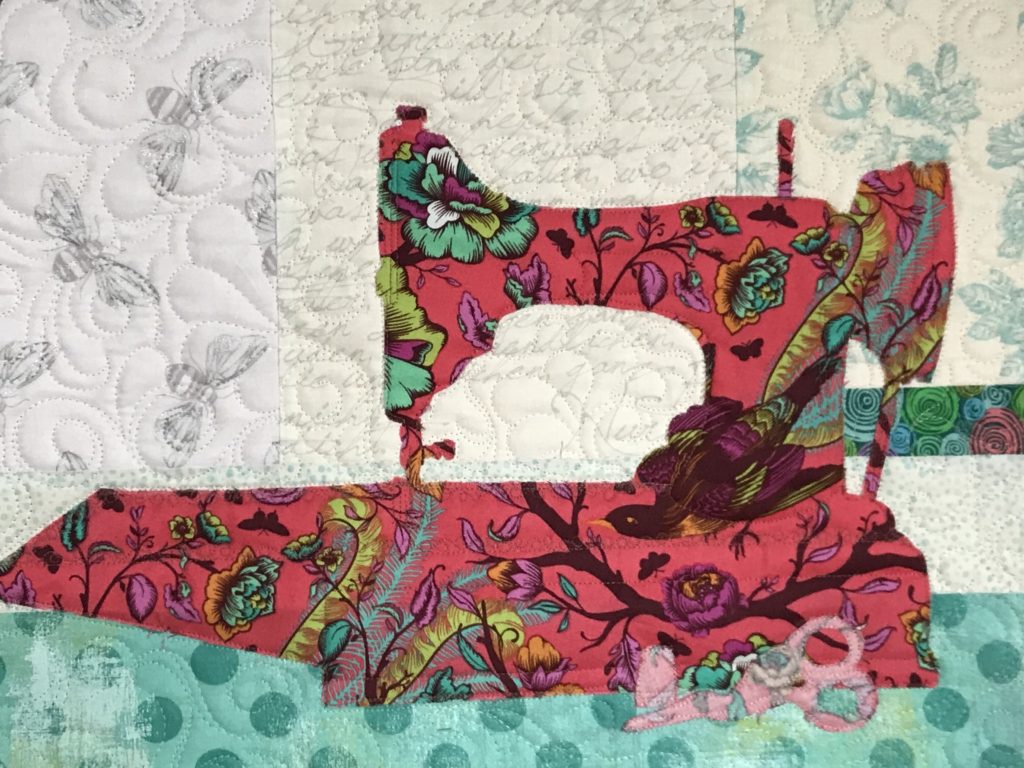
Here is my Tula Pink version of Aria (expressive music heard in opera – she’s a “singer”…) Quilt Patttern. See Vintage Machine Quilt Pattern for more information.Image of Pink Sewing Machine

Shop Aria and 22 more #usebothsides patterns  in my  Creative Bee Studios Etsy shop.


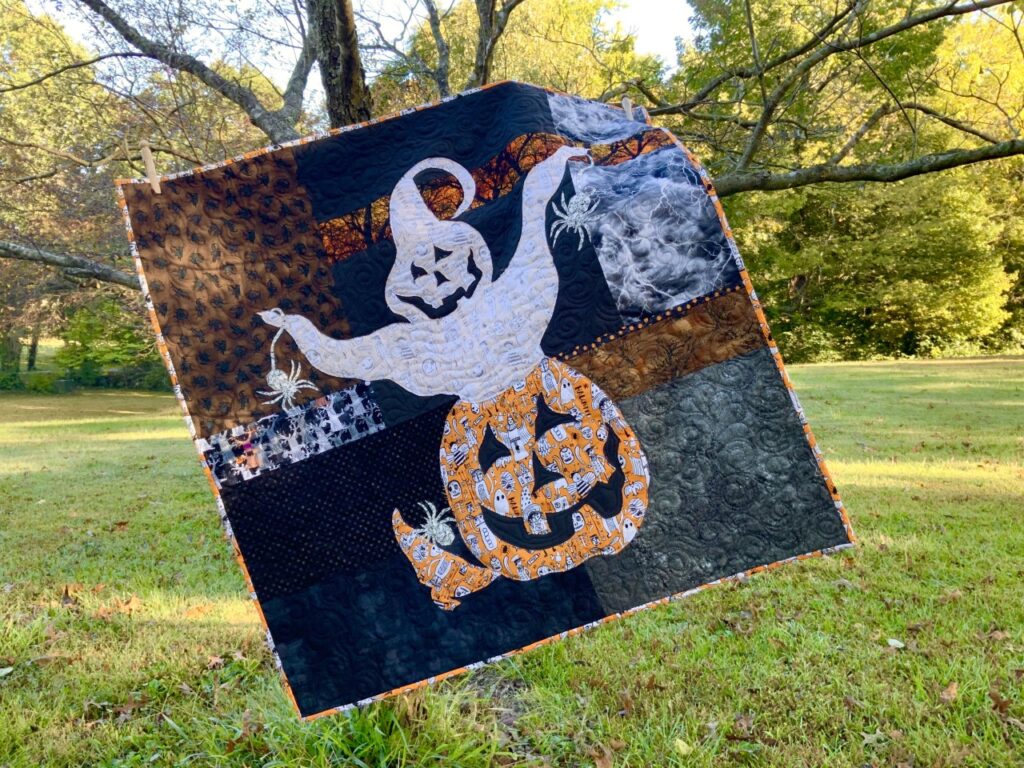
Jacq O’Lantern Quilt Makes a Happy Boo!

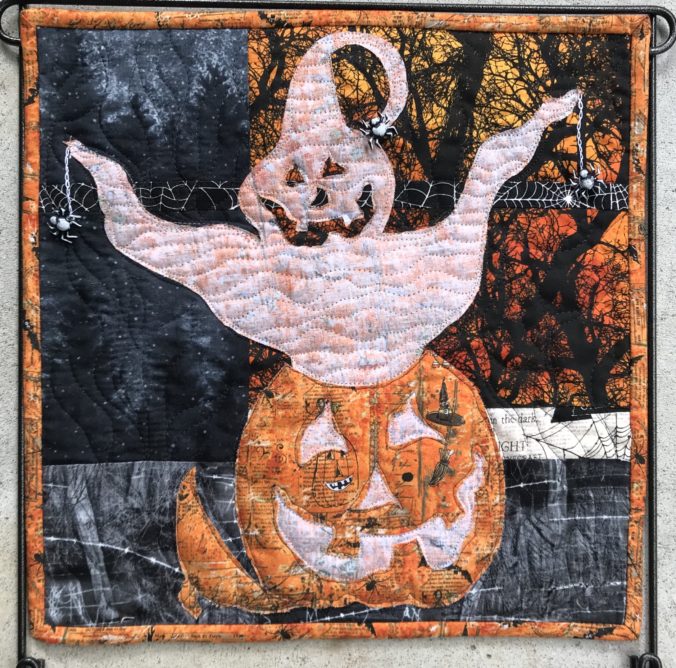
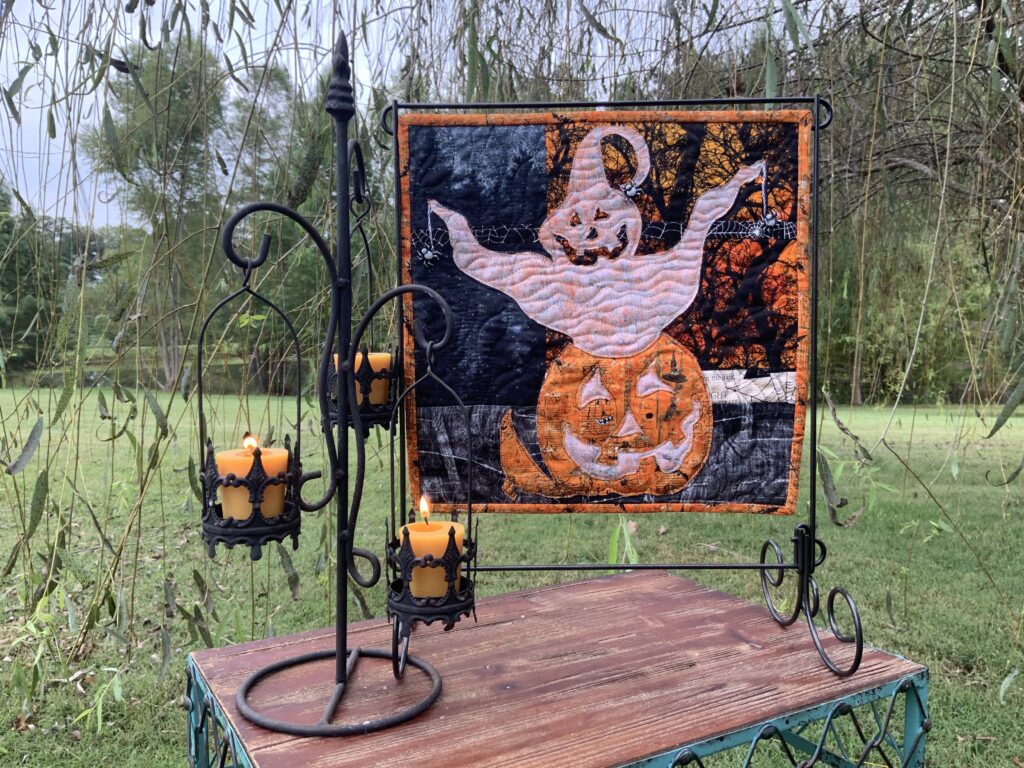
This happy little ghoul is popping right out her top like a jack-in-the-box!

This little ghoul is named Jacq O’ Lantern. She’s the first mini quilt pattern designed to use both sides of fabric.

Jacq O’ Lantern is sew much fun to make!

First of all, Jacq O’ Lantern is a pint-size lesson about value.

Secondly, when you learn how to make this little ghoul, you’ve already learned the easy tricks for using value! Use the Tricky Traits of Value (click here for more info) to make any of the my patterns that use both spooky (or beautiful) sides of fabric!

Jacq O’ Lantern finishes at 12 inches square, perfect for the table-top quilt stands.

Side note: I was never real big on Halloween decorations when our kids were little. We didn’t avoid Halloween, but I just didn’t want to spend money on decorations when we could spend it on Christmas decorations instead. So…why is it I LOVE Halloween fabric so much? It’s a mystery.

Or…maybe it’s not such a mystery! One of my favorite scenes to draw as a kid was a witch on a broomstick. (I only had a couple of drawings I liked to do – over and over. One was a beach scene with a palm tree-are you surprised? ) This witch always had a long chin that jutted out and a big ole wart on her curved nose. Maybe these Halloween fabrics take me back to my childhood or something. Several of my favorite quilts and projects are Halloween themed. I’m sure you seen them before but, well, ’tis the season!

Here are more fun Halloween themed quilts:

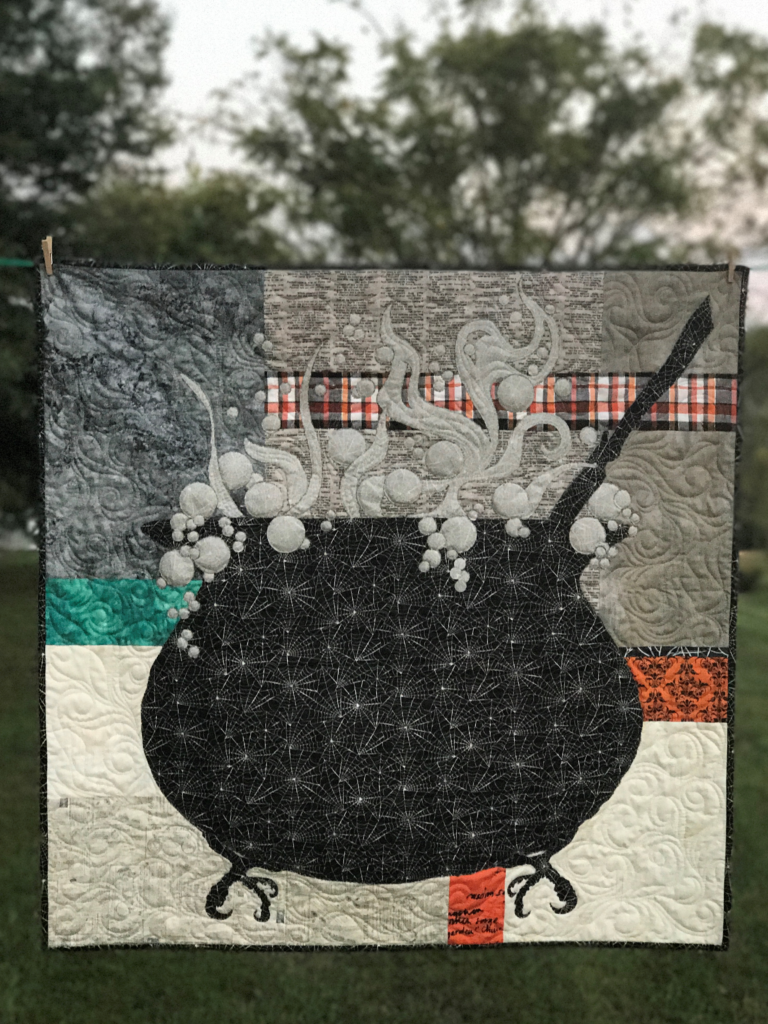
Below is Something’s Brewing. The steam and bubbles are made from the reverse!

Notice the honey buzzard claw feet?

Want to make a larger little ghoul? To use up more of those fun, spooky fabrics, here is Jacq O’ Lantern XL!

Lastly, here are some other fun Halloween projects I’ve enjoyed in the past.

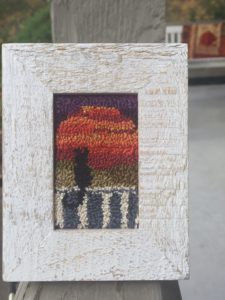
Image of Punch Needle
Black Kitty Punch Needle
Image of Instant Bargello Quilt
Instant Bargello Quilt


As you might have guessed, there’s a reason for the different spelling of this pattern. In short, our youngest daughter’s name is Jacquelyn. We’ve always had nicknames for her such as JacqJacq, Jacq, Da Jacinator  (at the age of two she could “destroy” a room in minutes), Jacqity Jacq (don’t talk back), and, of course, Jacq O’ Lantern.

See Jacq O’Lantern and all her friends HERE in my Etsy shop, Creative Bee Studios! 

River Heritage – Hovering Hawks

Estimated reading time: 4 minutes

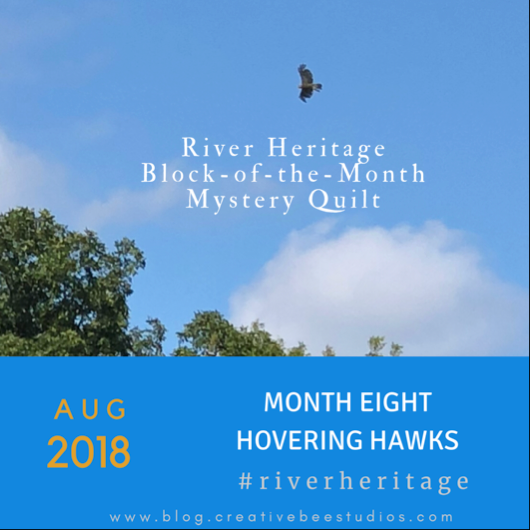
The Hovering Hawks quilt block is another classic quilt block that’s been around a long time.

Variations on the history of this quilt block.

Of course, it’s easy to understand why hawks would be commonly seen along the river. But the meaning of this block has numerous variations. Some accounts simply say the block pays homage to the common bird of prey scene in everyday life.

Additionally, the Hovering Hawks quilt block is considered to be from the family of the Jacob’s Ladder block variations.

Finally, another explanation of this block relates it specifically with the Civil War. It is said that the facing triangles symbolize the foraging soldiers on each side of the war.

There’s an interesting history lesson by Barbara Brackman HERE about the block and it’s symbolic meaning with the civil war.

The past months of the River Heritage Mystery Quilt has given you seven blocks that each have some connection to life along the river. Such is the case with this one. Image of Hovering Hawks Month

I think you’ll find this quilt block is fun to make. 

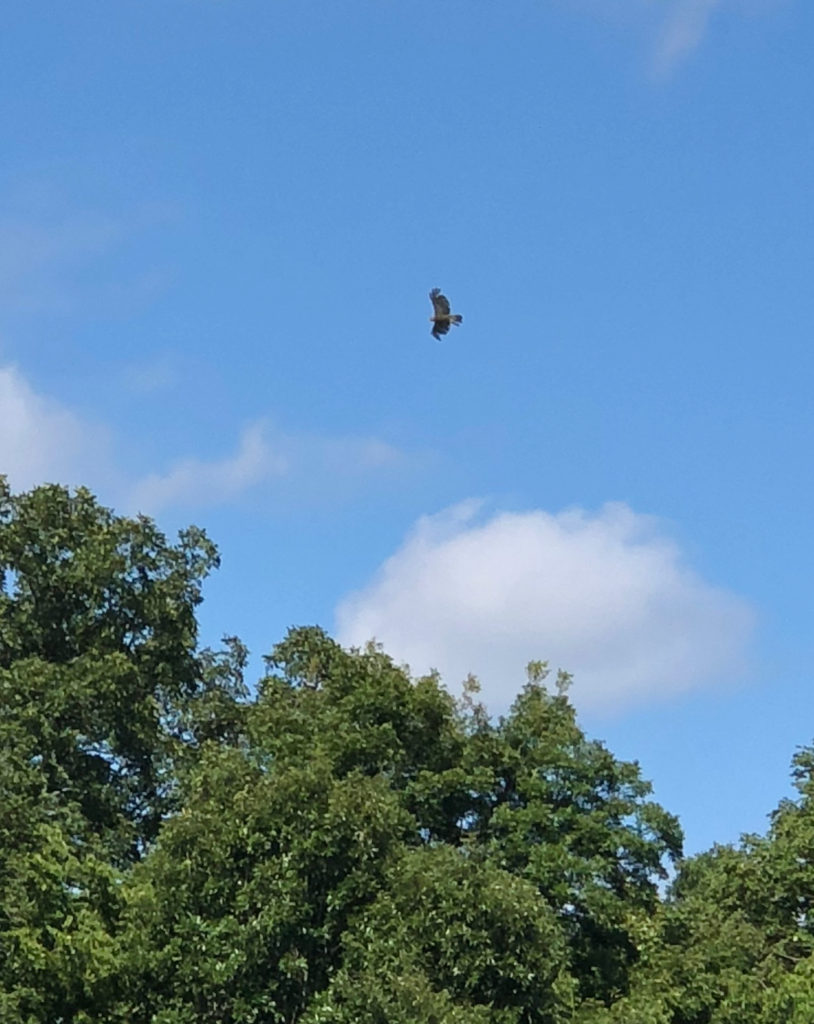
Photographing actual hovering hawks proved to be quite a challenge!

First, the red-tailed hawk (which is likely what lives here) doesn’t actually hover, according to the experts. They may appear to do something similar, but experts say it isn’t actually a hover.

Furthermore, the hawk is usually a loner, not flying in groups like turkey buzzards. I’ve learned a lot on the adventure through the River Heritage quilt! I hope you have, too!

 Image of Hawk

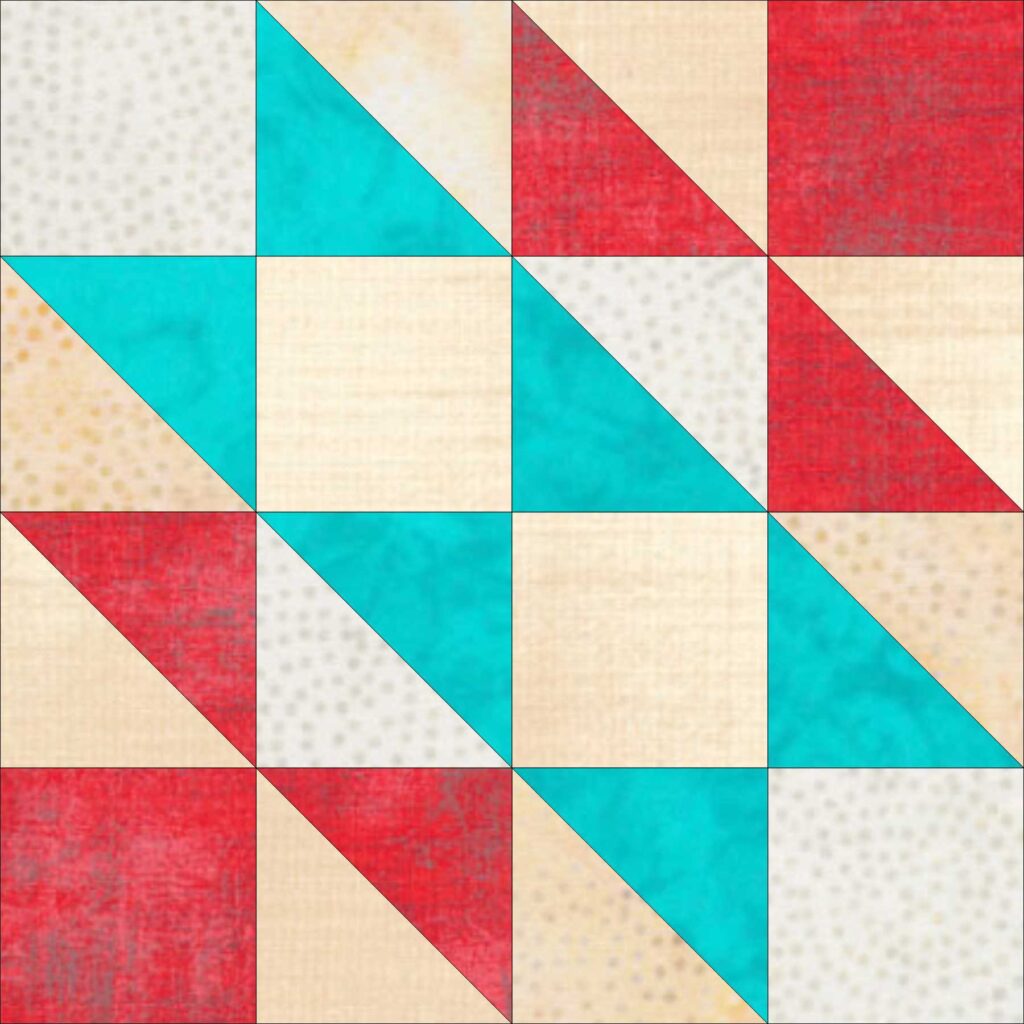
Here’s the overall description of the Hovering Hawks quilt block.

Hovering Hawks is made from sixteen squares, ten of them made from half-square triangles. This block has been made over the years using lots of different fabric and value combinations. I played with my fabrics quite a while before making my final choices for this block.  Use your own color scheme to make your block. Remember to check your values by taking a black and white picture of your fabric choices.

Image of Hovering Hawks Quilt Block
Hovering Hawks

First, you’ll arrange half-square triangle blocks with single blocks. Therefore, the piecing is easy and familiar.

Use your value tests to help determine placement of fabrics.

The challenge for me was deciding where to place my fabrics. However, testing the values really helped me have confidence in my fabric choices.

Click here for printer-friendly version: River Heritage Month 8 Hovering Hawks

Share your block using #riverheritage on Facebook, Instagram, and Twitter!

In summary, like the glimmer of “river” in my “Eagle’s Nest” photos, we’re gonna say that the bird shown above is a hawk and it is hovering!

Most importantly, have fun making this Hovering Hawks quilt block!

River Heritage Month Nine

SHOP more than 50 patterns that use BOTH beautiful sides of fabric HERE!

« Older posts Newer posts »