Tag: Etsy (Page 4 of 5)

River Heritage – Eagle’s Nest

Estimated reading time: 5 minutes

The Eagle’s Nest quilt block gives you a bird’s-eye view!

The Eagle’s Nest quilt block took us to high places! We traveled to a look-out called Inspiration Point. See photos from our adventure below.

Month Seven of River Heritage is the Eagle’s Nest quilt block.Image of Month Seven Ad
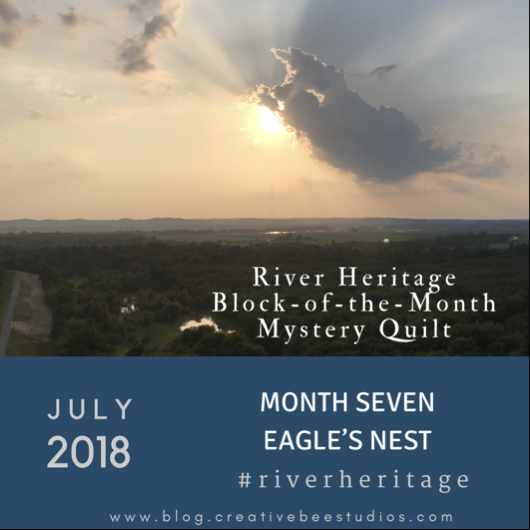
Firstly, here is an overview of the Eagle’s Nest quilt block.

This block has a few more pieces and variety than the last two months’ blocks. This block has a nine-patch in the center which is set on-point and is surrounded by flying geese sections. However, like the “inspirational” pictures accompanying this post, this block will have a high perch in the River Heritage quilt setting!

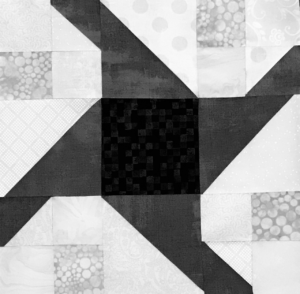
Here is a digital view of the block.
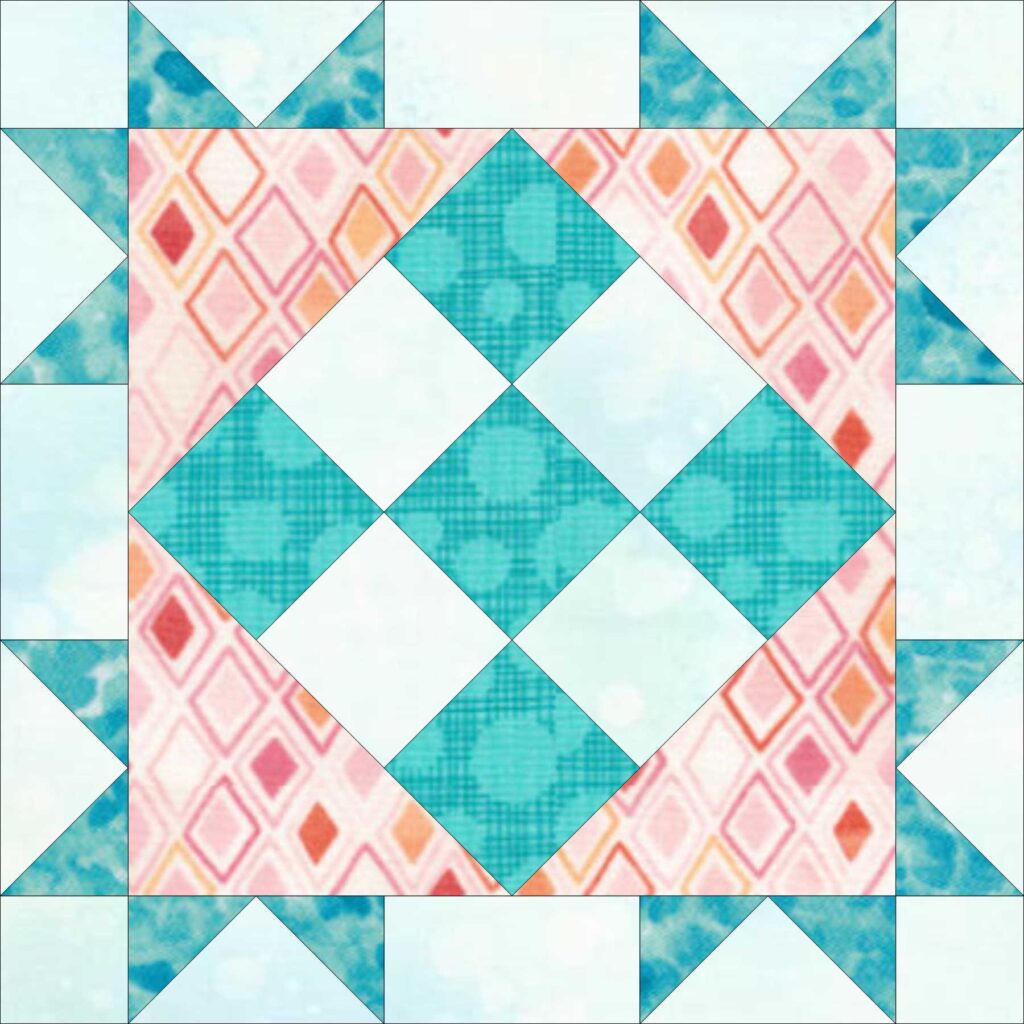
Image of Eagle's Nest quilt block
Eagle’s Nest

The Eagle’s Nest quilt block for Month Seven of the River Heritage Mystery Quilt has more pieces in it than our previous blocks. However, they are not difficult to make.

One step at a time.

If you work with one section at a time, you’ll master what might appear to be the most difficult block in the quilt. My guess is you’ll get it right the first time around!

Check values for the Eagle’s Nest quilt block fabrics.

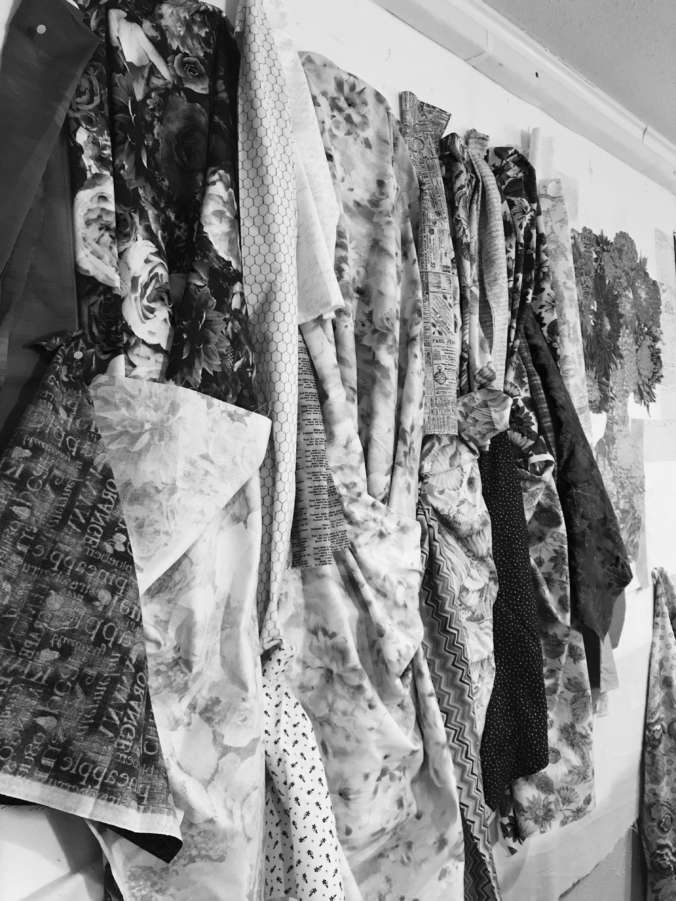
Follow the instructions for value (light, medium, and dark) and use your own color scheme to make your block. Remember to check your values by taking a black and white picture of your fabric choices.

Learn more about VALUE here: The Tricky Traits of Value.
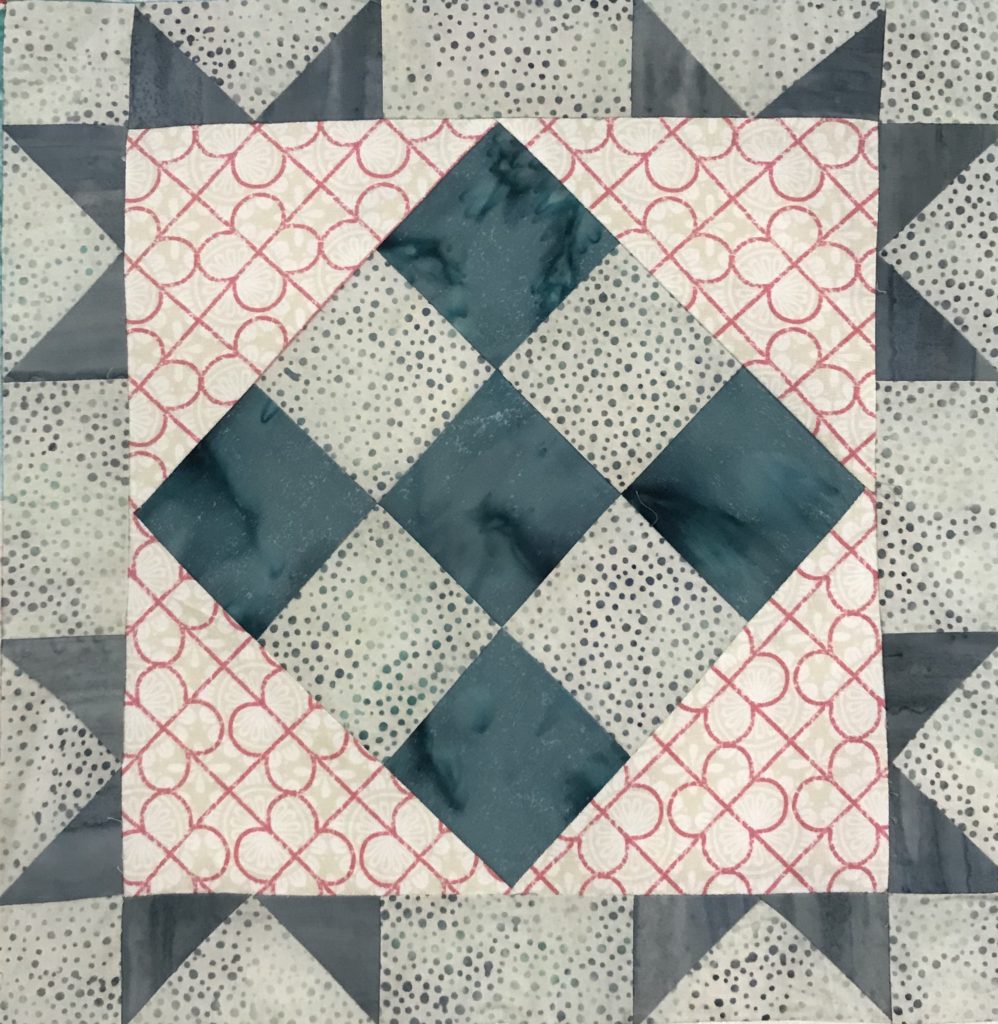
Image of Eagle's Nest Quilt Block

River Heritage Month 7 Eagle’s Nest (printer-friendly version)

From the eagle’s view.
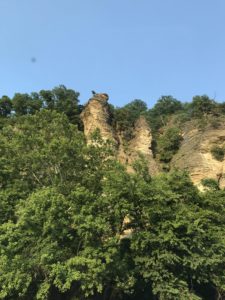
Image of Rock Cliffs
Approaching Inspiration Point
Image of View from Inspiration Point
Love the reflection of the tree below.
Image of Adjacent Rocks
Image of Rocks

We ventured to Inspiration Point, in the rolling hills of the Shawnee National Forest. We found a breathtaking panoramic view of the Mississippi River valley. Inspiration Point is located about 30 miles from Cape Girardeau, MO, near Wolf Lake, Illinois.

First, the hike to the viewing rocks is short and pleasant from the upper lot. (The lower lot looks like a pretty tough climb.) However, if we hadn’t seen other people on the outer rocks, I’m not sure we would have ventured onto them ourselves! Fortunately, the path isn’t as treacherous as it looked from the trail.


Image of Matt and View
My darling hubby taking me on another adventure to get pictures for River Heritage.
Image of View from Inspiration Point

The mighty Mississippi must be there somewhere for this Eagle’s Nest quilt block photo!

Somewhere in the distance, one of those glimmers of water is the mighty Mississippi River, I am SURE of it! Since we made the trip and the climb to get these pictures for the Eagle’s Nest quilt block, despite a bit of fear on my part (snakes and heights), we are going to go with that assumption!

Share your block using #riverheritage on Facebook, Instagram, and Twitter!
River Heritage Month Eight

Be sure to Catch The BUZZ and join this blog!

SHOP more than 50 quilt patterns that use BOTH beautiful sides of fabric HERE!

SUBSCRIBE to my YouTube Channel!

Patriotic Decorating with Quilts

Estimated reading time: 4 minutes

Patriotic quilts are often on display in my home.

Beyond patriotic quilts, quilted delights of all genre are the general focus in any room in our house. Rarely does someone ask, “Are you a quilter?” when they walk into our home.

Suprisingly, I only realize that this might not be the norm when I see my house through a non-quilter’s eyes.

Granted, there is sometimes the fleeting thought, “Do I have a problem?”  Surprisingly, “Bloop!” -that thought’s gone! Without a doubt, this is why I surround myself with fellow quilters. Summarily, if I have a problem, they do, too!

Back to patriotic quilts.

Perhaps you are aware from previous posts that I lost my dad. He was a World War II veteran.

I and my sisters hosted a memorial open house in his honor. I had the task of decorating the church hall.

Accordingly, patriotic décor was an easy choice. Patriotic quilts were assumed. I asked my friend, Nancy, to bring a few of her quilts. Between the two of us, we were able to decorate an entire fellowship hall with mostly quilted pieces.

Who knew we had that many patriotic quilts?

It sure made easy work out of decorating for a challenging day.

Without a doubt, honoring my dad was the best part about using the patriotic quilts.

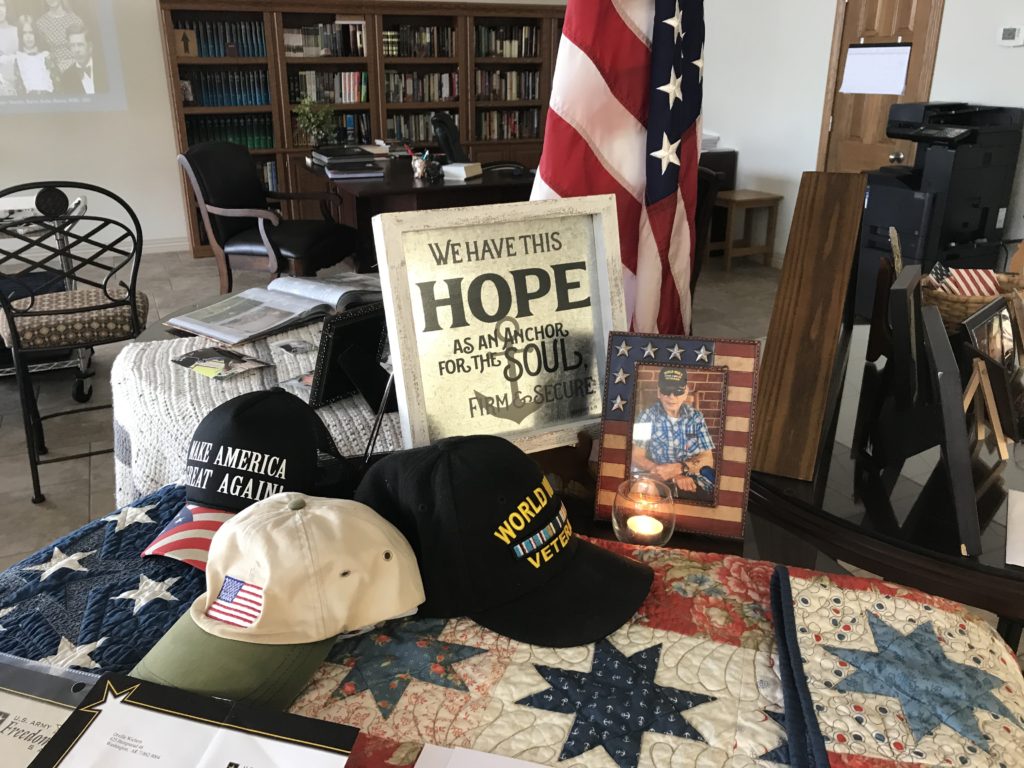
Here are just a few pics:

Image of Quilt of Valor
Dad’s Quilt of Valor on display.

Moreover, the quilting friends who helped make and present food and drink for the day are treasures. You can’t beat quilter friends!

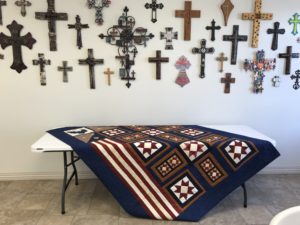
Image of Patriotic Quilt and Crosses
Nancy’s quilt with the Wall of Crosses.
Image of Flag Quilt
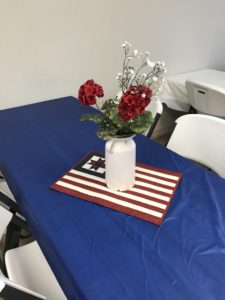
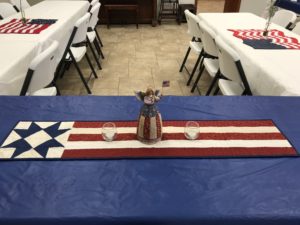
Image of Three Quilts on Tables
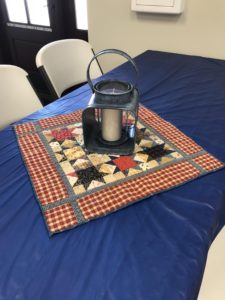
Image of Quilt and Lantern

From full-size, table toppers, table runners and centerpieces, we had a variety of quilts to work with. They made the task easy with a few decorations on hand.

Therefore, I’m so grateful that Nancy shared her quilts!

Finally, A neighbor once asked me where I intend to hang all of my pattern quilts in my house.  Well, with now more than 50 patterns that use BOTH beautiful sides, I would definitely need another house!

(By the way, I only had 16 quilt patterns when she’d asked!)

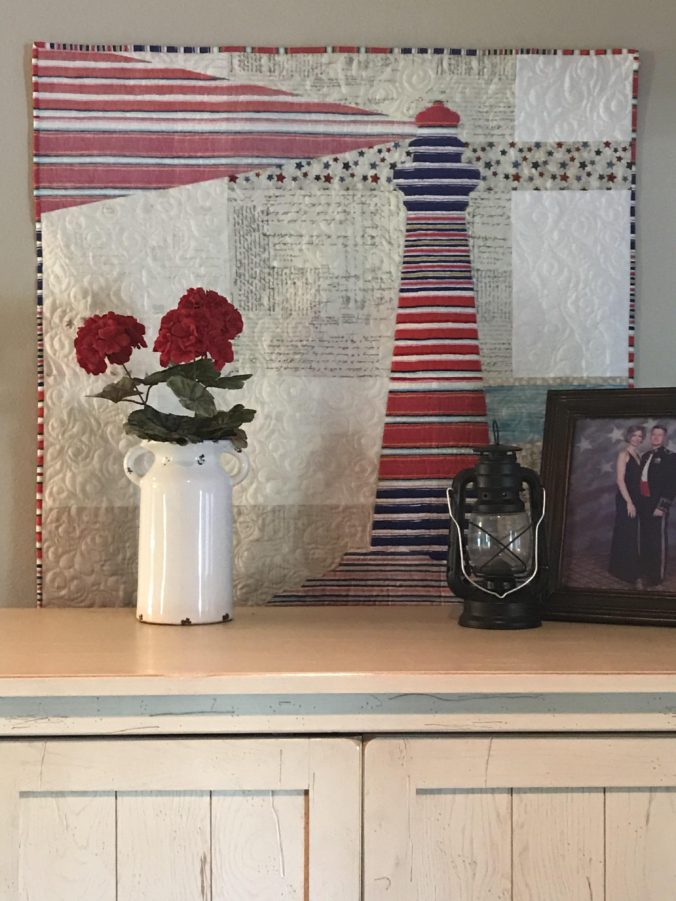
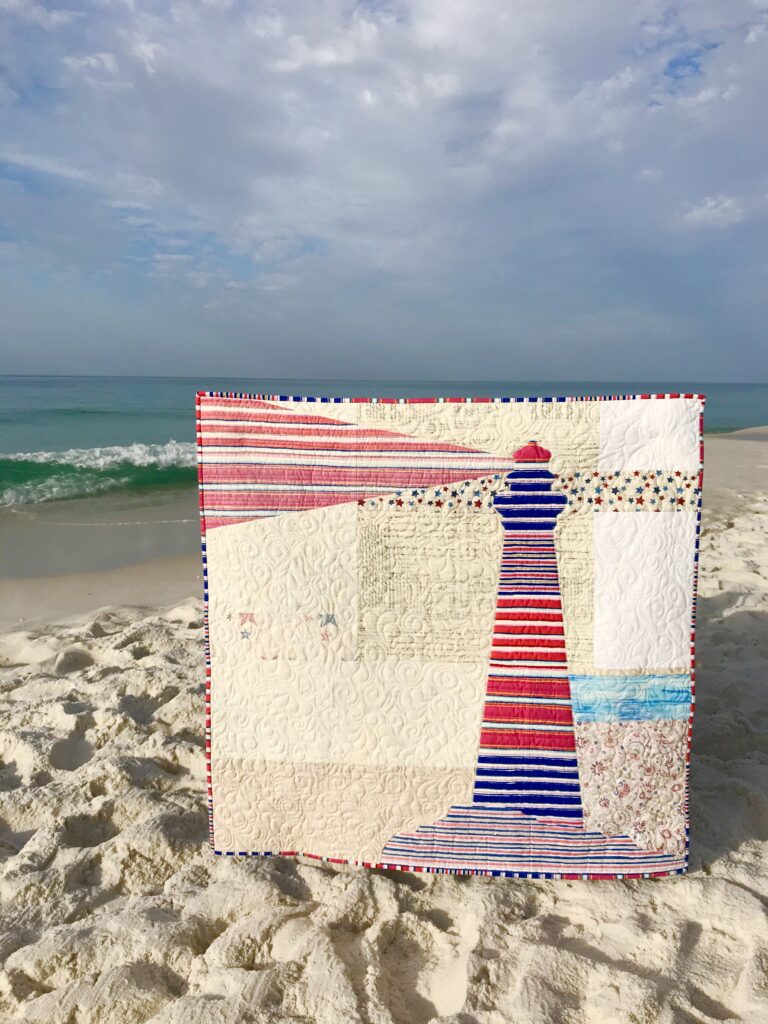
Liberty Quilt Pattern

This lighthouse quilt is made with both sides of one patriotic stripe by Kaffe Fassett. The background is made from a wide variety of fabrics, including numerous patriotic designs.

See more than 50 quilt patterns in my SHOP that use BOTH beautiful sides of fabric!

SUBSCRIBE to my YouTube Channel!

Quilting with Etsy

Estimated reading time: 4 minutes

If you love to quilt and don’t have enough time, maybe this How To is for you!

Firstly, this “how to” is meant to explain some the of mystery of shopping on Etsy. Secondly, I hope it saves you time, to boot!

If you are like me, sometimes you’d like to wear a button: “I’d rather be quilting”.

Obviously, if you are a quilter, you already know that quilting is time-consuming. Personally, I don’t consider myself productive when I’m doing something like laundry, housework, or even computer-work! Obviously, I know that these are necessary things to do and are valuable. But the way my mind works, do things other than creating beautiful quilts is kind of like buying tires. I just don’t want to do it!

Shopping online can be annoying and even scary.

So, I get it when quilters who aren’t familiar or comfortable shopping on-line get frustrated. Not only does it take time, it takes time away from what we’d all rather be doing!

Hopefully, this little How To guide to Etsy can save a quilter some time while introducing some fun quilting options.

To keep things simple, I’ll use my own shop for some how-to examples.

Five things to know about how to use Etsy:

  • Etsy is an online global marketplace for all kinds of unique goods. It features handmade items, supplies,  or vintage goods from little shops from all around the world
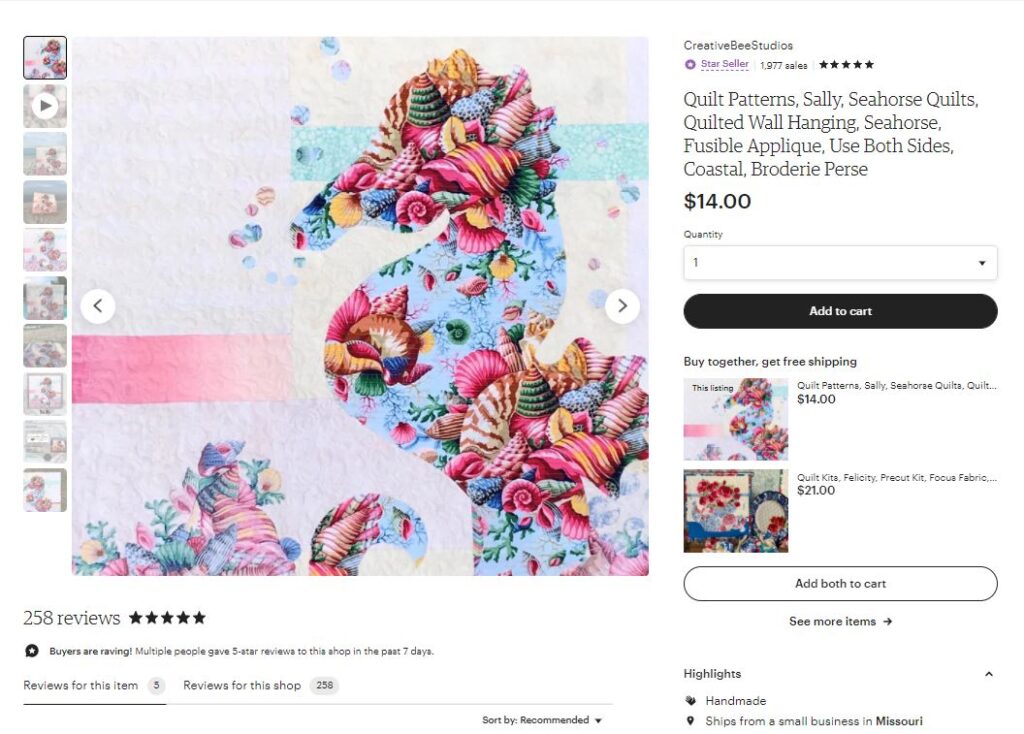
  • Etsy is easy to use. Simply type the name of the item or shop you are looking for in the search bar at the top of the website. If you don’t get a result you are looking for, try a “key word”, like “quilt patterns”, “bee” or “seahorse quilt pattern.
  • When you find something you like, click on the heart and it becomes one of your Favorites. All of your favorite items and shops are accessible through the simple “Favorites” button.
  • Also, you can to browse a feed that Etsy provides based on your searches and your favorites.
  • *Purchasing on Etsy is easy and safe. The Etsy company handles the monetary transaction completely, so the shop-owner never gets your payment information. For example, when someone places an order in my shop, I only get that person’s name and shipping address so that I can fill their order. That makes Etsy a place where you can shop online at many different boutiques while only providing your payment information to one company.

Etsy reviews and ratings are different!

Like many companies, the Etsy review system is based on stars. You can rate one, two, three, four, or five stars. Moreover, most people still consider three stars to be good or average; a four is even better; and five is perfect. However, on Etsy, any star rating below a FIVE hurts that shop. Keep that in mind when you are giving reviews on Etsy!

How to consider the content instead of the stars.

You can also easily read reviews to see how other customers like a shop and the goods they’ve received. This is highly motivating for shop owners since they only want top ratings and reviews. You are sure to get good service! In the same fashion, consider that a 4-star rating (which Etsy considers bad) by I customers who states, “I LOVE IT!” is likely a fantastic review by someone who simply doesn’t ever give 5-star reviews.

What can you find on Etsy?

Quilters can shop for all things quilt related. Besides patterns and fabric, look for notions, fusible web, tools and rulers and even Featherweight machines!

Hope you’ve learned how to have fun on Etsy!

Want to learn more? Click here to learn how to use both beautiful sides of fabric!

SUBSCRIBE to my YouTube Channel HERE!

Enjoy YOUR quilting journey!

Tips for Half-Square Blocks

Estimated reading time: 5 minutes

Half-square triangle blocks are easy to make.

However, these tips for half-square triangle blocks can really help the beginning quilter to understand how and why you need to square your units or blocks accurately. I know they helped me!

There are lots of techniques for making these blocks. This one describes how to make them individually versus mass-produced, in case you don’t need 200!

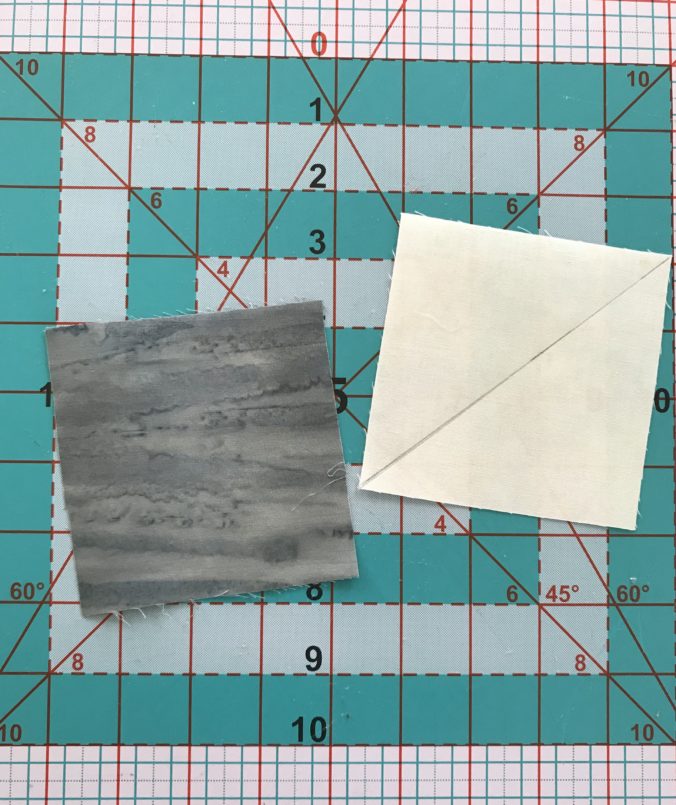
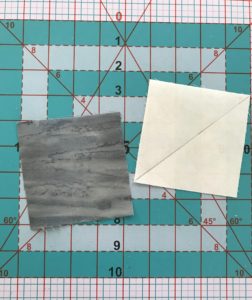
Start your half-square triangle block with two squares.

Image of Two Fabric Squares

For example, shown above are two 4-inch squares of fabric. One is a dark gray batik. The other is a soft white.

The block we need will be 3 1/2″ (before sewing to other units). The actual “finished” block size will be 3 inches. Therefore, above you see two 4-inch squares. Draw a diagonal line, corner to corner, on the reverse side of the lightest fabric.

Draw a diagonal line from corner to corner on the light square.

While it doesn’t really matter which fabric you choose, you’ll follow this line as a guide for stitching. Just make sure you can see your marking well.

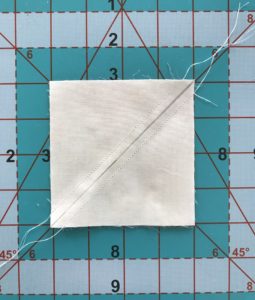
Stitch on both sides of the marked line.

Layer your squares with the marked one on top; I’ll say “right sides together”. However, remember that if you are using BOTH beautiful sides of fabric in a half-square triangle block, you’ll want your “intended fronts together”. This means BOTH right sides will either be facing down or facing up.

Next, stitch from corner to corner, 1/4 inch from the drawn line.

Image of Block with Stitching

Make great time by chain-stitching.

If you have lots of these units to make, try chain-stitching them. First, have your squares marked and paired, ready to stitch. Second, stitch on one side of the line on each set, without cutting threads in between. Thirdly, turn the string of them to repeat the stitching on the other side of the line.

Cut on the center line.

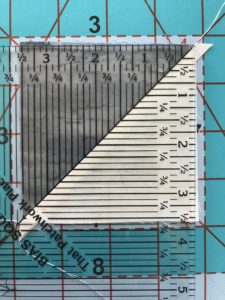
Separate the units by snipping the threads. See “Two Purple Tools for Quilting” for a great cutting tool. Press to the darker fabric. The block should be larger than 3 1/2 inches and have threads and tails (or ears) on them as shown below.

Image of Block and Ruler

Use a squaring ruler with a 45 degree line.

Using any ruler with a 45-degree line, place that line along the diagonal seam of your block and so that the over-all size after you trim the first two sides is still slightly larger than 3 1/2″. Notice the extra fabric outside of the 3 1/2″ marks?

Don’t trim the first two sides at the 3 1/2 inch mark.

Trim the first two sides slightly larger than 3 1/2 inches. This will allow you to get the most accurate finished unit with a perfectly aligned diagonal seam.

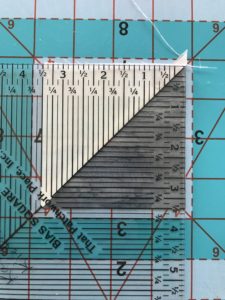
Image of Last Cut for Block

Next, spin your half-square triangle block around and line up the trimmed sides directly on the 3 1/2″ marks. Trim the last two sides.

I AM from the Show-Me State!

Perhaps most new quilters would figure out on their own not to make the first trim at exactly 3 1/2 inches, but I needed a kind teacher to show me why I shouldn’t so that with the first trimming cuts.

If you are making the River Heritage Block-of-the-Month Mystery Quilt, you are probably figuring out that there are a lot of half-square triangle blocks  in the design.

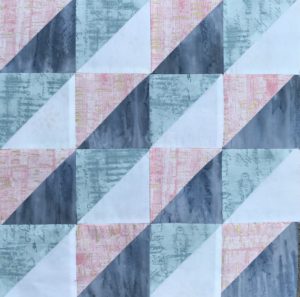
Here is a the Trail of Tears block, featuring all half-square units.

SHOP more than 50 quilt patterns that use BOTH beautiful sides of fabric!

SUBSCRIBE to my YouTube Channel HERE!

Introducing…Angelina

Estimated reading time: 4 minutes

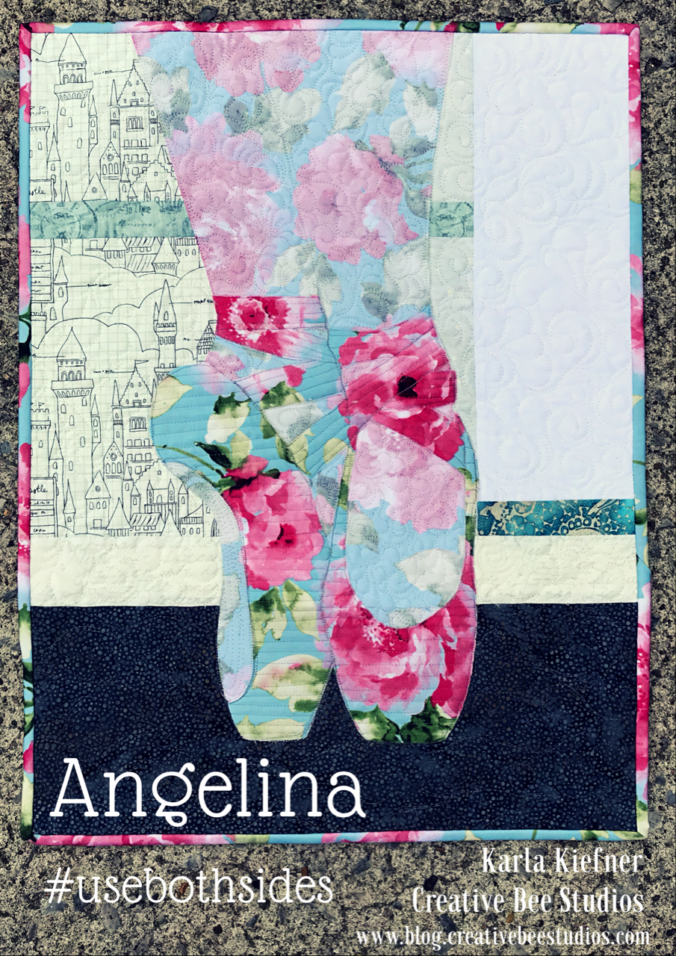
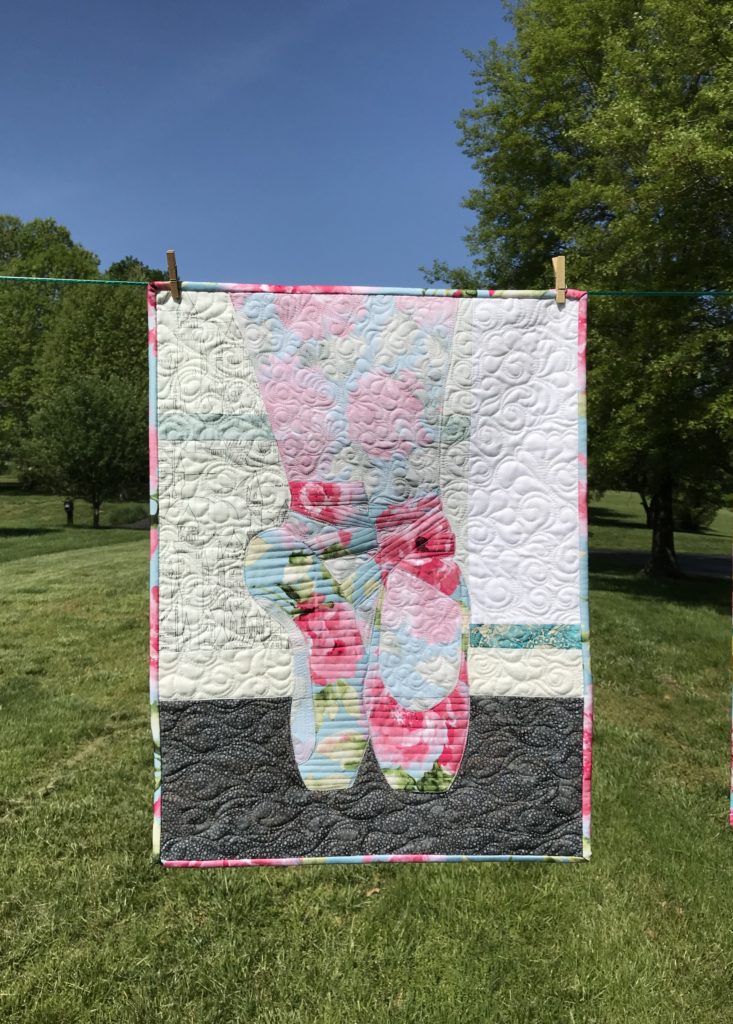
The Angelina (ballerina) quilt was designed from a photo I took of my daughter on pointe.

While her technical name is simply, “Angelina”, I call this quilt, “Angelina (ballerina)” for a reason.

To me, pointe shoes are just beautiful.

First, as a little girl, I always aspired to be a ballerina. However, in the small town in which I was raised, I only got to take dance lessons a few times. That’s how long the teachers stayed in town!

Moreover, both of our two daughters took ballet lessons for years (so I got to live out my dream through them). Of course, this explains why a ballerina quilt would be on my mind. Consequently, over the years, I have sewn countless elastics and ribbons to many pairs of pointe shoes. Keep in mind, most of the time, this was hurried and last minute, right before class. Therefore, most of the years, I didn’t WANT to be sewing ribbons and elastic to pointe shoes! I wanted to sew little pieces of fabric into bigger pieces of fabric, like the rest of my friends!

Pointe was the point!

Obviously, both of our daughters loved ballet. However, I’m not sure either of them would have stayed with it as long if they’d ever thought pointe shoes were off the table.

However, when I realized I was in the last few years of having pointe shoes in my life, I began to cherish those stitches.

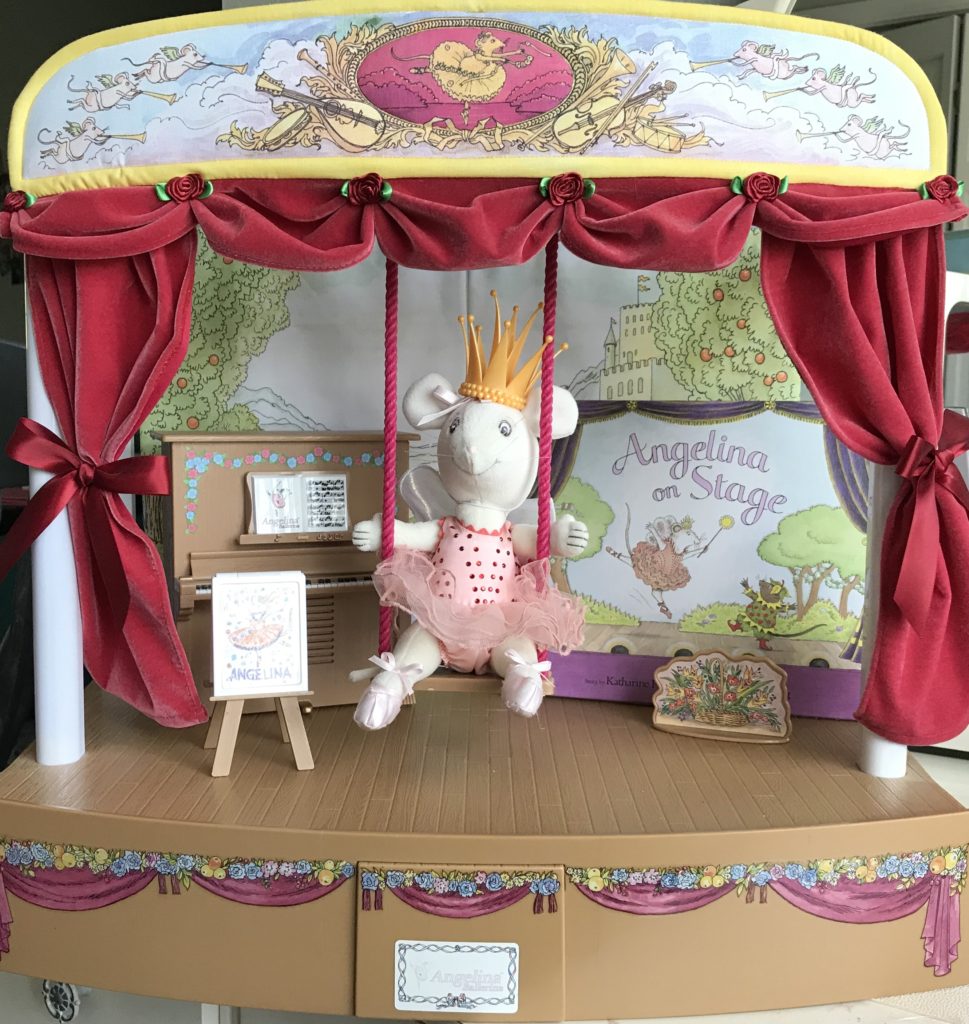
The Angelina (ballerina) point(e) of this story is from the American Girl spin-off of the little mouse with the same name. Angelina Ballerina is a cute little mouse who loves to go to ballet lessons. We still have her, along with her stage, costumes and props. Like most of the American Girl stash, she’s going to stick around. And, Angelina Ballerina wore pointe shoes!

Image of Angelina Ballerina

Now for this Angelina (ballerina) quilt pattern!

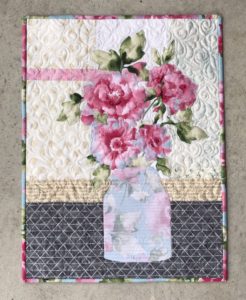
The Angelina (ballerina) quilt was also inspired by the fabric, which was originally used for the mason jar bouquet pattern, called Grace.

The RIGHT side of things.

The RIGHT side of the floral focus fabric is used to make the pointe shoes, ribbons and binding.

The REVERSE is key.

Angelina (ballerina)’s tights and the sole of her left shoe is made from the REVERSE of the same floral focus fabric.

It’s all about VALUE.

I knew I had to get things correct when drawing out this pointe shoe template. Having never been on pointe shoes myself, I checked with my daughters to make sure Angelina was standing properly on top of her shoes!

Background fabrics count, too!

Once you’ve chosen the perfect focus fabric for your ballerina quilt, you’ll want to choose background fabrics carefully, too. You learn how to audition both sides of focus and background fabrics in the pattern. Using a variety of background fabrics adds interest and sparkle to your quilt!

Image of Paige
Paige, 2011

Pointe isn’t all glamour and glory, though. Mom’s of pointe students are well aware of the time spent stitching in ribbons and elastic. Additionally, girls generally never outgrow point shoes because they break down too quickly and must be replaced often. They take special fittings and there are hundreds of options from which to choose.

Image of Jacq on Pointe
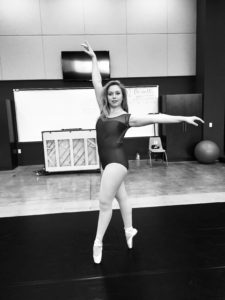
Jacquelyn, 2018

For the young dancer, pointe shoes seem to be a right of passage. It takes determination, maturity, time, and skill…and the acceptance of bloody toes, ugly feet, and a large collection of expensive and eventually smell shoes!

Determined girls wouldn’t have it any other way.

Neither would Angelina Ballerina!

See more than 50 quilt patterns that use BOTH beautiful sides of fabric HERE.


Enjoy YOUR quilting journey!

How do YOU Quilt Week?

Estimated reading time: 4 minutes

Quilt shows are like Disneyland for us.

In which land of the quilt show park do you like to hang?

Quilt show lands.

Firstly, do you map out a plan for conquering the whole “quilt park”? Secondly, do you stick to your plan? Or are you more of a “go with the flow of people and see where we land” kind of quilter?

Quilt show park passes.

Overall, here’s my generalizations of the types of visitors to quilt shows.

  • The quilt study. This quilter’s priority is to carefully see and study each quilt entered, reading the program notes as they go.
  • The land drover. This quilter needs to see each section, floor, and adjacent activities within the entire city hosting the show.
  • The vendor supporter. This quilter must hit all booths and find all new tools of the trade!

How do you conquer the quilt show challenge?

Initially, our little group starts with a plan. In the same fashion, we often change our plans!

Individual priorities.

That said, some of us are students, some are shoppers, some want to see it all!

Against the crowd.

Apart from our differences, we generally agree to go against the crowd. By that I mean, we first go to the furthest “lands” in the park. Once the crowds have cleared from the park entrance, we go see the mainland (winner’s circle).Some years we really study the quilts. There are some years that we REALLY shop the vendors.  Other years we’ve taken classes. Some years we throw our plans  out the window and just go!

This was a big quilt show year for me.

At the time of this writing, more than 10 of my quilt patterns and quilts were featured in Hancock’s of Paducah for Quilt Week in Paducah, Kentucky. Needless to say, I spent a good deal of my park time in this establishment!

Free pass.

Moreover, to celebrate, any friends who posted their photo with one of my patterns or quilts and #usebothsides was entered into a drawing for a free pattern of their choice.

And the winner is…

(drum roll and scroll down)

Quilt Show Week in Hancock's of Paducah
Rose, Pepita, and Emily hang in the distance.
Image of Quilts Hanging for Quilt Show Week
L to R: Sally, Kate, Lily, Belle, Phoebee, Something’s Brewing, and Fiona hanging at Hancock’s of Paducah!
Karla Kiefner with patterns at quilt show week in Hancock's of Paducah.
That’s me looking at Phoebee and Pepita patterns hanging in Hancock’s.
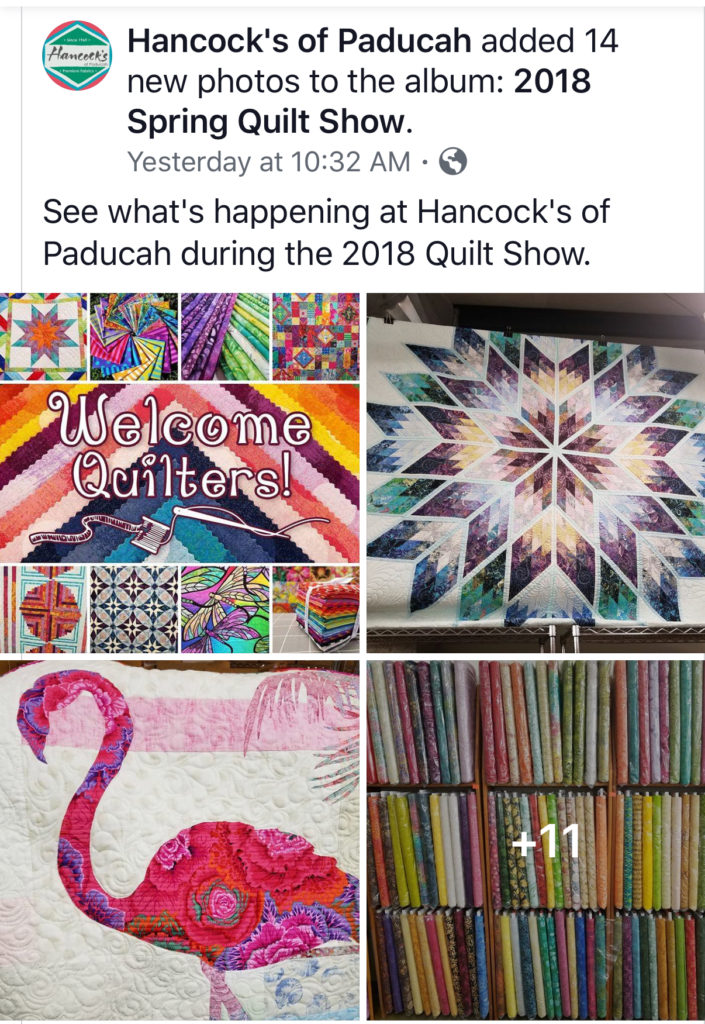
Image of Hancock's Post
Fiona was a featured quilt in Hancock’s of Paducah Facebook Promotion.
Image of Honey Pot

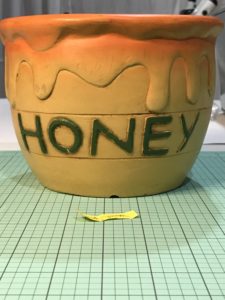
Finally, all the names went into the honey pot and the winner is Cindy Spaeth! Congrats, Cindy! Pick out your pattern, girl!


SHOP more than 50 quilt patterns that use BOTH beautiful sides of fabric HERE.

Learn how to use both sides HERE.

Yakity Yak – Let’s Talk Backs

Quilt backing doesn’t have to be boring.

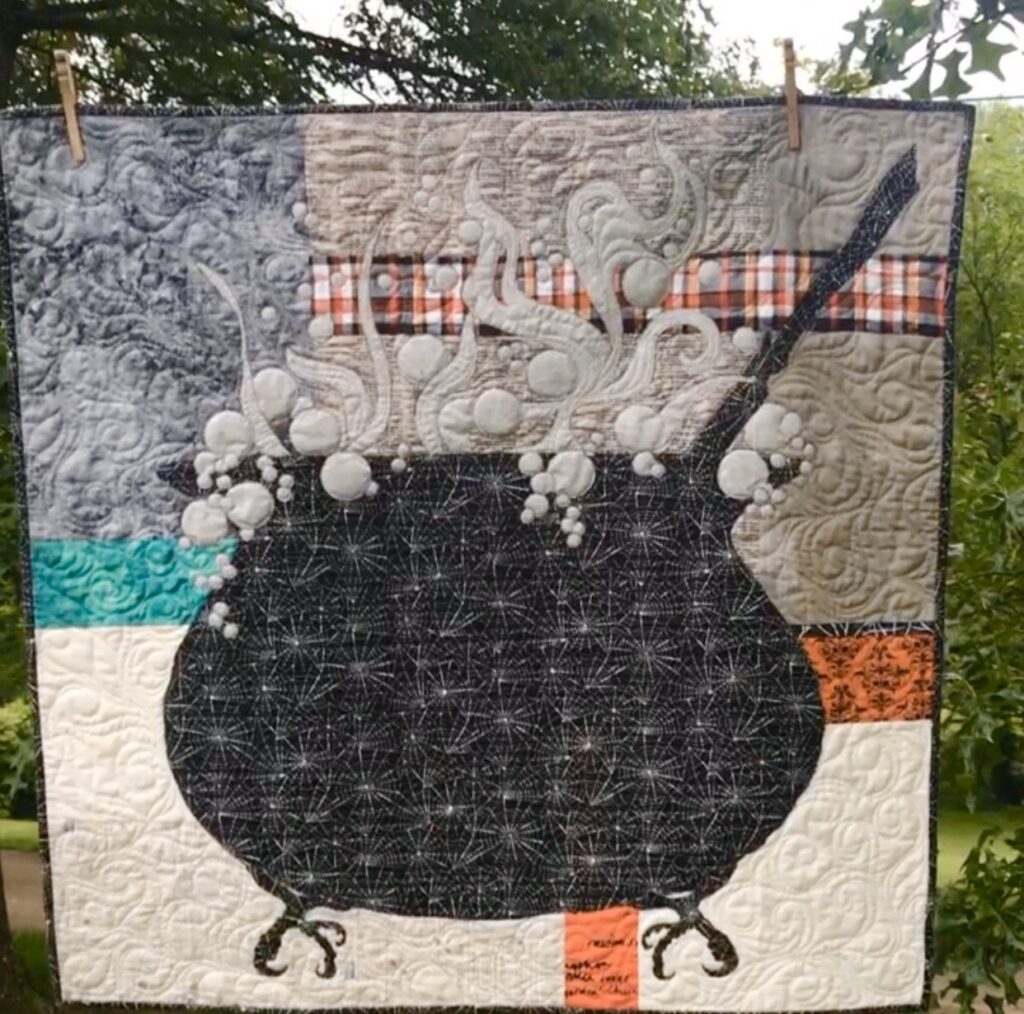
Lots of quilters use leftover fabrics from their stash to piece together a quilt backing. Initially, that was my intention with this pieced backing. I needed to add enough random fabrics to “stretch” the gray Stonehenge backing!

Afterthoughts.

By and large, quilt backing is an afterthought for me. Until now, all of my excitement and energy is focused on the quilt top. My brain can’t handle more decisions while I’m mastering the creation on the front of the quilt! However, when the top is finished, I want to quilt it immediately.

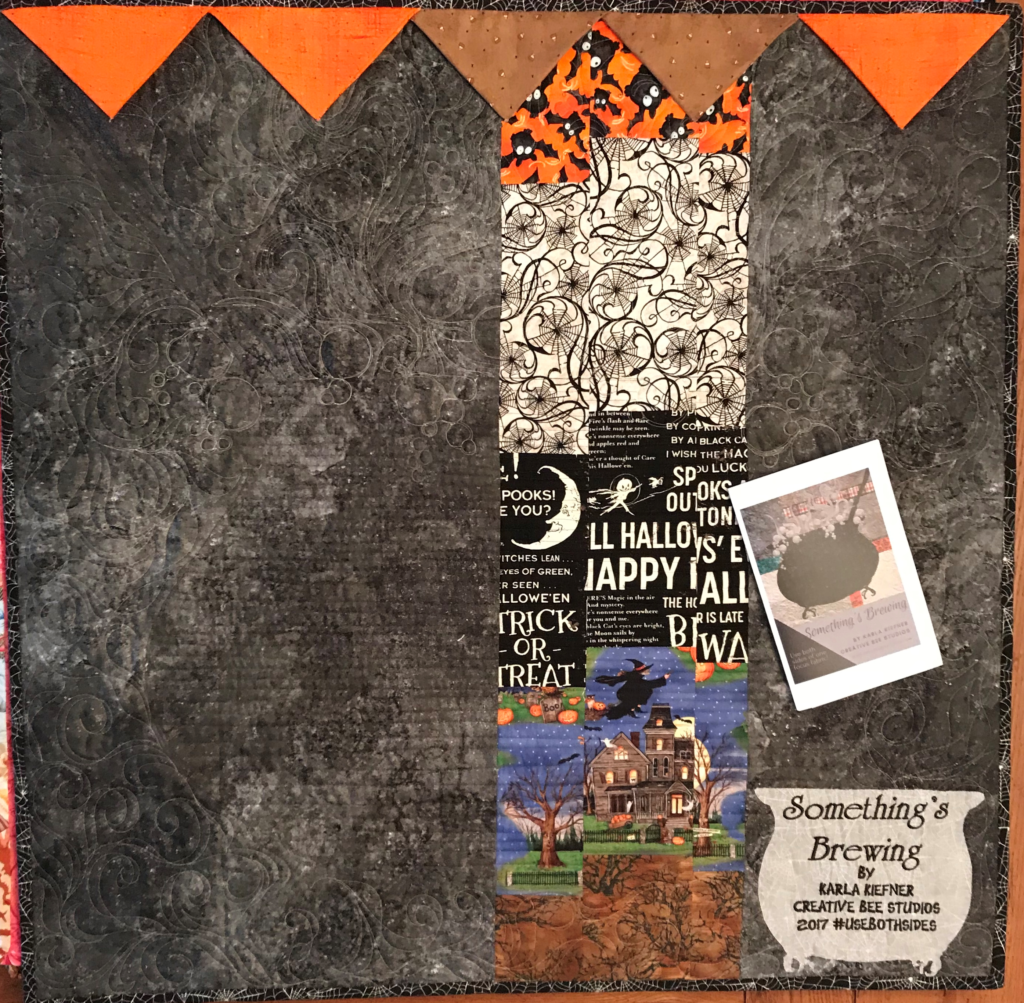
Something’s Brewing

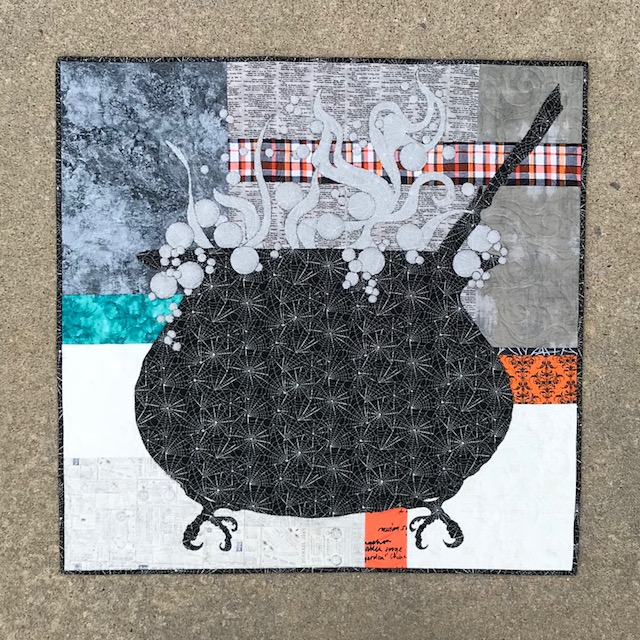
Incidentally, such was the case with Something’s Brewing. This quilt features a huge cauldron that has bubbles and steam simmering over it’s sides. Also, there’s a crooked broomstick and, my favorite, honey buzzard claw feet. Moreover, one focus fabric makes all of these things, plus the binding! That is to say, it is made with both spooky sides of one focus fabric! See How to Use Both Sides for more info!

image of something's brewing quilt

Various spooky background fabrics.

Furthermore, notice the very VARIED background fabrics in this quilt. This background is made from eleven radically different fabrics, including batik, Stonehenge, glitzy plaid, spiderweb, and more. Moreover, there’s even a fabric with William Shakespeare’s Macbeth! It’s such spooky fun!

Why should the front have all the fun?

Although I had pieced my quilt backings before, it had never dawned on me to “instant bargello” my backing! While searching for a single Halloween print to add to my yardage, I found numerous smaller cuts of very fun fabric.

Image of Quilt Back

Instant Bargello to the quilt backing rescue!

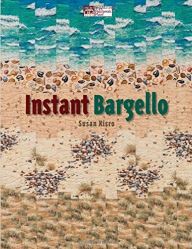
Instant Bargello by Susan Kisro is one of my favorite quilting books.Image of Book I’ve made several fun and fast quilts using this book as a guide. I decided this technique would allow me to use small pieces of fabric to make a fun quilt backing. I grabbed some scraps and did three little columns of that technique which gave me enough width for the backing. It was fun and fast!
Prairie Point Hanging Method

Even the Prairie Point Hanging Method got a splash of Halloween fun! The two brown ones have tiny candy corn on them. This was some old Debbie Mumm fabric which I’d inherited from my mother-in-law. I love using little bits of her fabric in my quilts.

Label Fun

Finally, when preparing this quilt to hang in Hancock’s of Paducah for AQS Quilt Week, I brewed up another little cauldron for the label. Incidentally, this cauldron was made from the REVERSE!


Have fun with your backs!

To summarize, if you have to make a quilt back, why not make it fun?

Enjoy YOUR quilting journey!

SHOP more than 50 quilt patterns that use both beautiful (or spooky) sides of fabric!

Seven Ways to Use Both Sides of Fabric

Estimated reading time: 4 minutes

Get inspired to use both sides of fabric!

First, get a glance at seven (of now more than 50) quilt patterns made with both beautiful sides of fabric, right here, right now! Fun announcements included below!

The girl who started it all…Phoebee.

Learn how Phoebee inspired the start of using both sides of fabric HERE.

Firstly, Phoebee’s focus fabric has a lot to say! However, it doesn’t completely define this quilt! Look at that eclectic group of background fabrics! It’s all about value. I love how Phoebee gets her life and vibrancy from the very flowers (REVERSE) she’s pollinating.

Belle and Lilly join the party.

Image of Butterfly Quilt
Image of dragonfly quilt made with both sides of fabric

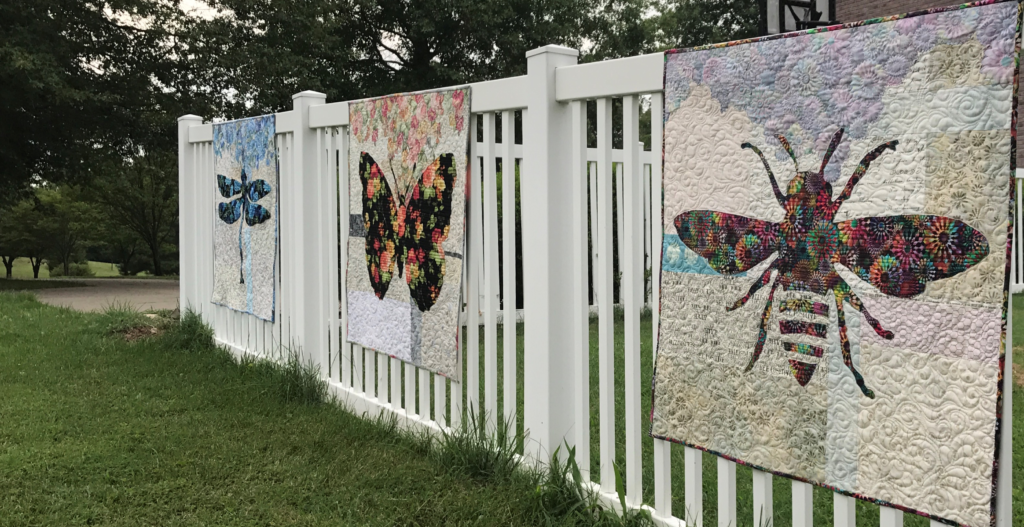
Soon after Phoebee was born, Belle and Lilly came to life. In the same fashion as Phoebee, these two gals were made with both sides of floral fabrics. Their contrasting genre of fabric give them each a unique style.

Additionally, I taught numerous classes of this Colorful Wings collection.

Image of Three Quilts on Fence
Phoebee, Belle & Lily

Value is key when you use both sides of fabric.

Read Mysterious Values.

Rose was the first pattern in the Colorful Petals series.

image of both sides of fabric for Rose

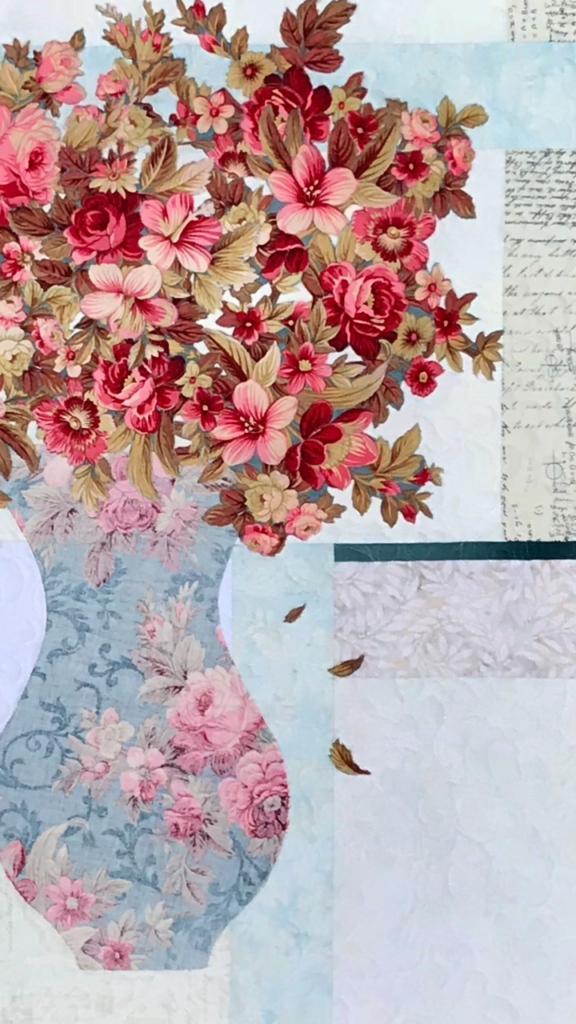
Interestingly, I found Rose’s focus fabric in Branson, Missouri, as I raced through the shop. I quickly pulled out bolts to look at the reverse sides of fabric, while my husband waited in the car. This fabric by Red Rooster was an instant winner! Notice the secondary scroll design that shows on the vase? It’s gorgeous on the REVERSE.

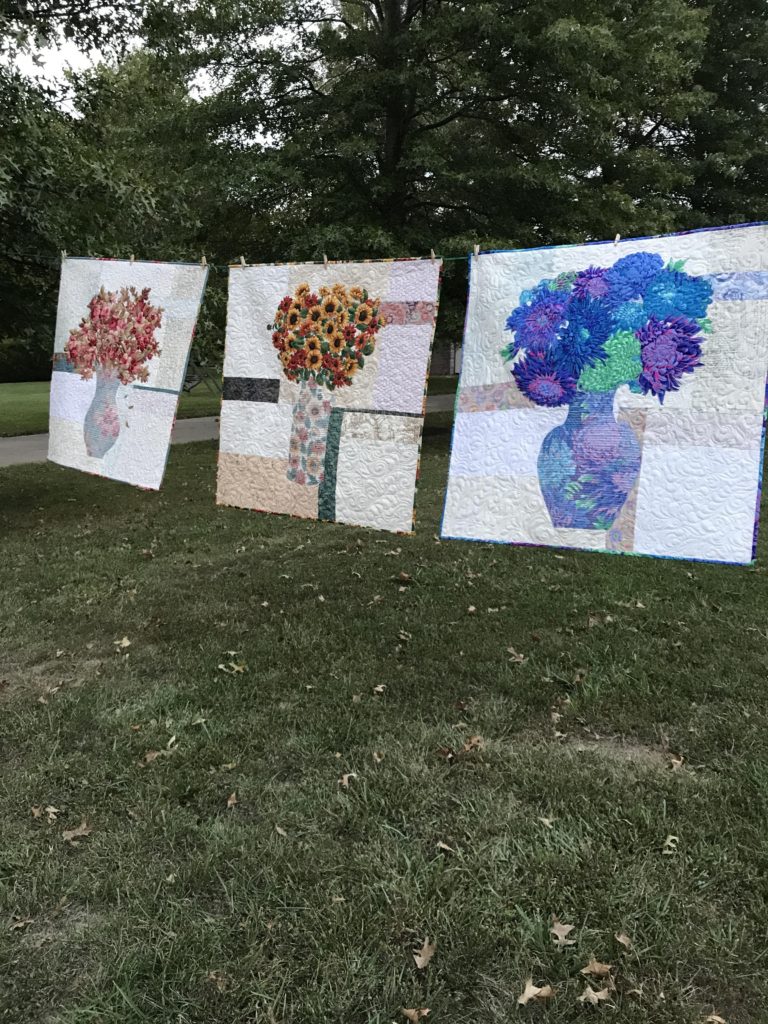
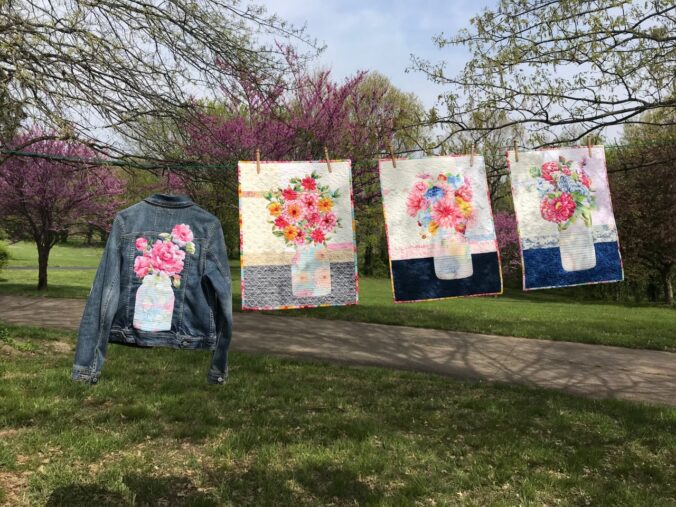
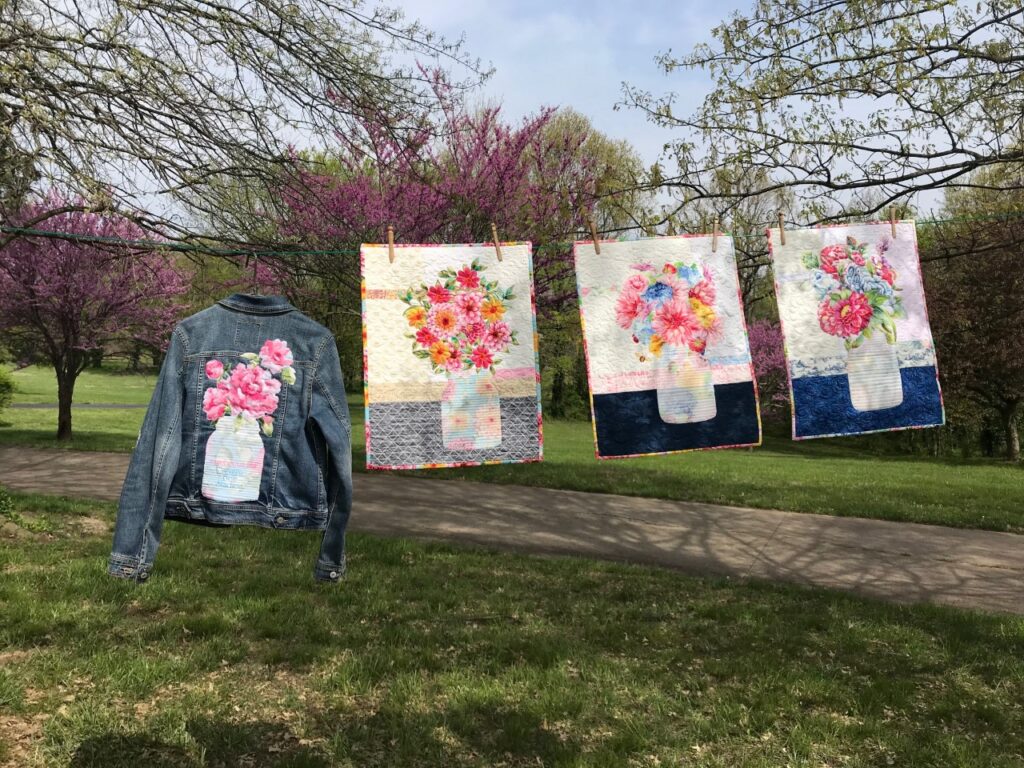
Both sides of floral fabric for more bouquets.

Image of Three Quilts
Colorful Petals Quilt Patterns

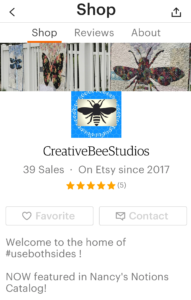
Creative Bee Studios Etsy Shop

Launched, Fall 2017

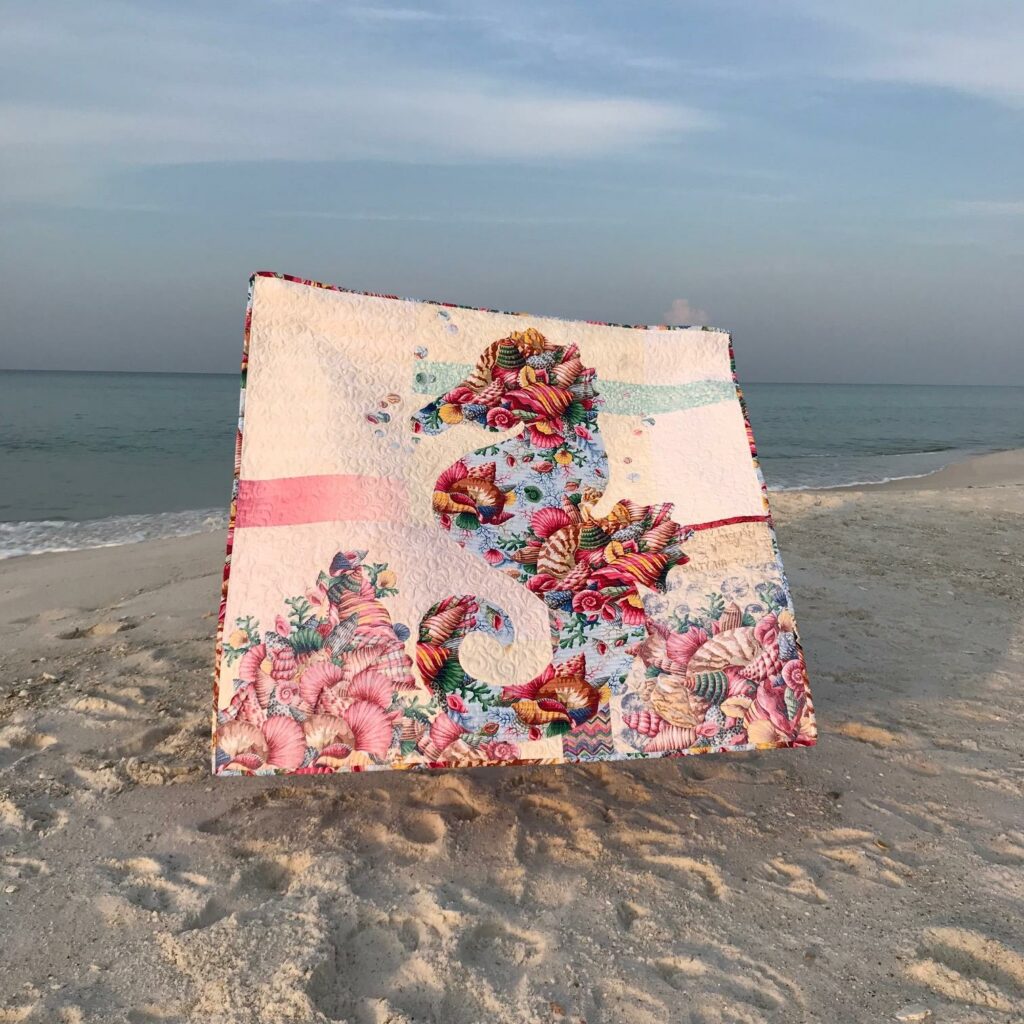
More fun with both sides of Sally fabric!

Eventually, I began shipping patterns all over the United States and to Canada!

Creative Bee Studios use both sides of fabric quilt patterns have been featured in AQ Magazine, Hancock’s of Paducah, Connecting Threads, Nancy’s Notions, and quilt shops across America!

Learn more

In conclusion with this overview of the past year, thank you all for your support.

Enjoy your quilting journey!

Simple Designs for Stunning Quilts

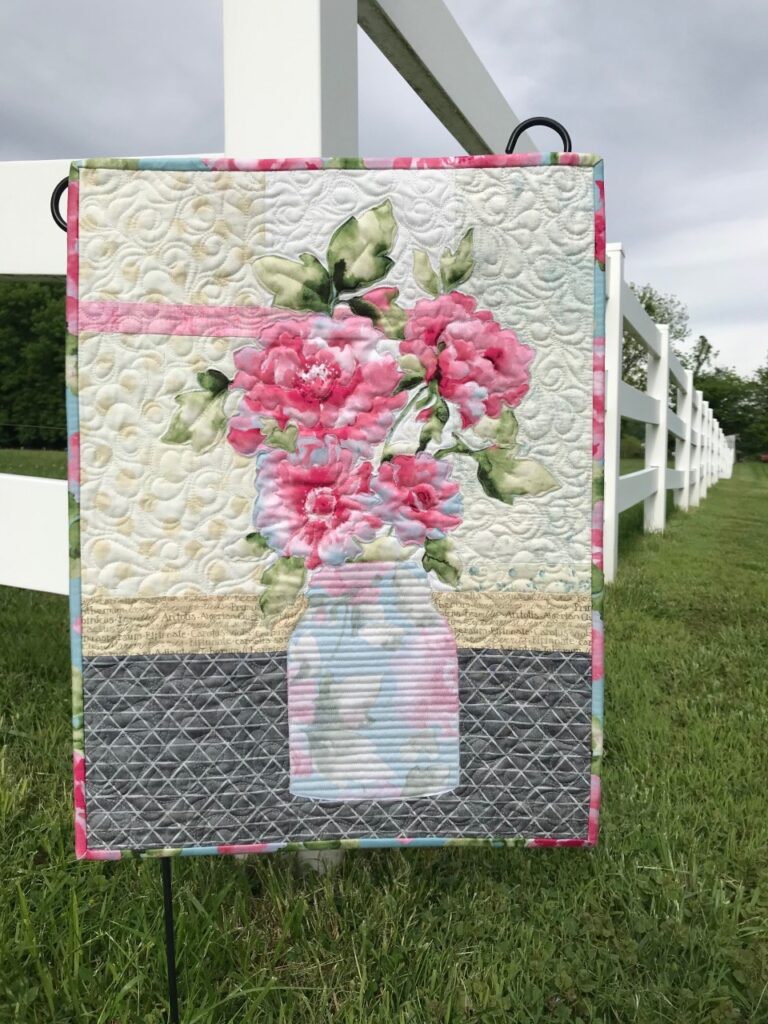
Image of Grace Quilt Pattern

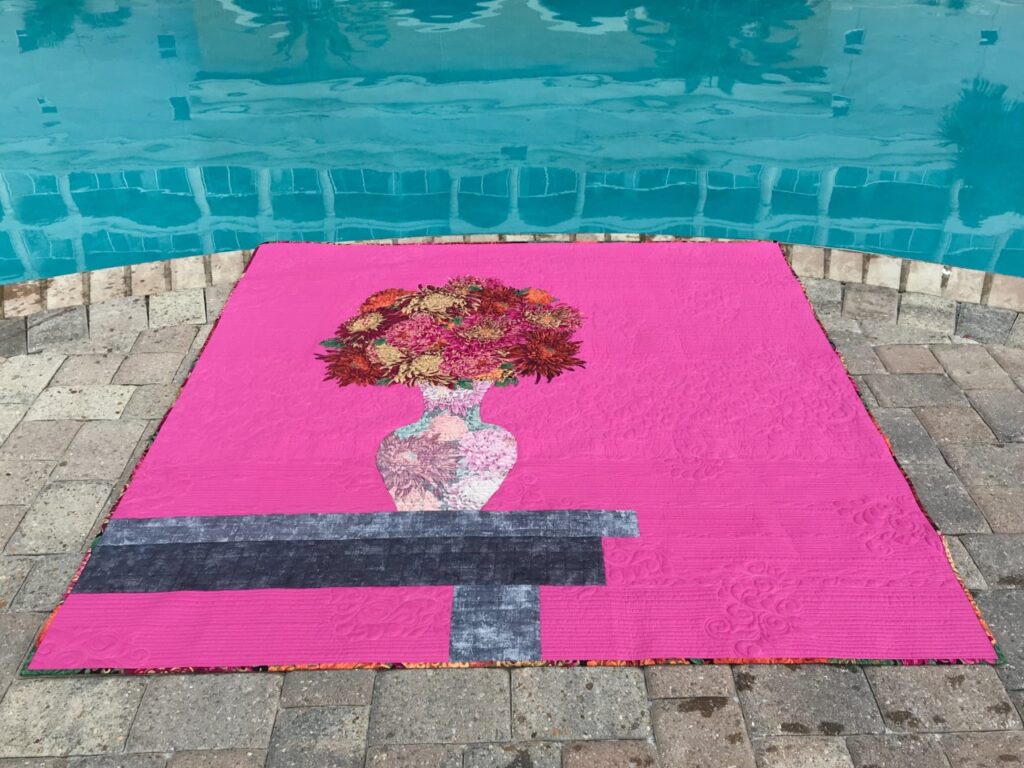
Introducing…Grace, a simple design for a stunning quilt.  First, take a mason jar shape. Next add a broderie perse bouquet. Finally, construct a fun, scrappy background to make a sweet quilted wall hanging.

You first pick your floral focus fabric for the mason jar (reverse), bouquet, and binding! Add scrappy background fabrics and you’ll be set. 

You’ll discover the nuances of value as you learn to audition BOTH sides of fabric! Each #usebothsides patterns teaches you how to audition your fabrics. Value is the key to success! Learning to measure value is a skill you can apply to all your future quilt projects.

Your focus fabric determines the style of your bouquet. 

I’ve had a large room full of quilters make this design at their annual retreat and the results were, well, stunning! Each quilter had a guide for how to choose both focus and background fabrics before the retreat. They also brought extra fabric for last-minute changes. This pattern is a great classroom or workshop project because the results are incredibly different. Even if two quilters choose the same focus fabric, their background fabrics and bouquet arrangement makes their quilts unique. It truly is a simple design for a stunning quilt.

How do you know if a fabric has a great reverse? You learn through the auditioning process. After looking a few reverse sides, you’ll soon have a good feel for those fabrics you can audition. It’s also a great conversation starter at quilt shops when they see you looking at BOTH sides. Some of my friends say they never look at one side of fabric anymore. In a way, it’s like doubling your stash without losing any space!


Learn more about modern Broderie Perse! 

Image of Simple Design Stunning Quilt
Image of Four Grace Bouquets
SHOP Creative Bee Studios Quilt Patterns HERE
Image of Kate's Bouquet Simple Design Stunning Quilt
Kate’s Bouquet is another way to use BOTH sides of fabric!https://www.etsy.com/listing/720564306

Subscribe to The BUZZ below and I will email you when new posts are published. Thank you for your interest and support!

Mysterious Values

Estimated reading time: 5 minutes

Learn how to overcome the mysteries of value. It’s easy!

Value can be a head-scratcher. Learn the simple tip for how to conquer fabric value!

To begin, you need to come to terms with the fact that fabric values change, depending on what is next to them. Initially, I was resistant to this!

When separating your fabrics for a new quilt project, you might wonder how to know which fabrics go where!

Image of Fabric Stash How to determine fabric value
Darks, mediums, and lights.

Undoubtedly, it’s about more than piles of darks, mediums, and lights. The key is to learn how to measure their value.

I learned a valuable (wink) lesson when I stumbled upon the nuances of value when using both sides of fabric. See my design story HERE.

Up to this point, my method for separating values didn’t account for what those fabrics were next to. Consequently, two very cool Bonnie Hunter quilts I made (and still love) never displayed the secondary pattern her designs are known for. What did I do wrong?

Test your values.

How can a fabric value change, you ask? While the value of the fabric itself doesn’t physically change, how you see that value is affected by what is near it. Let me explain and then give you a simple way to test your values…

My Light looks too dark when I use that light of a Medium!

confused quilter

The three piles of fabrics shown above are my selection for the free River Heritage Mystery Quilt Pattern I am designing for my quilt guild. Darks, Mediums, Lights. This should be straight forward.

However, when you place, for example, a darker Light and a lighter Medium next to each other, they suddenly look similar in value. Color can make it difficult to determine value.

So how do you remove color from fabrics you are auditioning?

Take black and white photos. I learned this by testing values of both sides of fabric. Each pattern I design that uses both beautiful sides of fabric comes with a detailed guide for auditioning fabrics for that quilt project.

Also, read more here about The Tricky Traits of Value!

The best way I have found to truly see the value of a fabric is to take a black and white picture.

How to use black and white image
Check your values by taking a black and white picture.

If you are in one of my classes, you see that I don’t give any opinions about fabric options without seeing a black and white photo first. Even with years of experience looking at both sides of fabric, I can still be tricked by color! Quilters seem to have lots of fun with the process of auditioning and choosing fabrics. Oftentimes, they help each other and end up trading fabrics to get just the right mix for their project.

So grab your stash and your camera !

Now you know the how-to tip for determining value. Why not have fun practicing on a quilt made with BOTH beautiful sides of fabric!

How to use both sides of fabric in bouquet quilt.
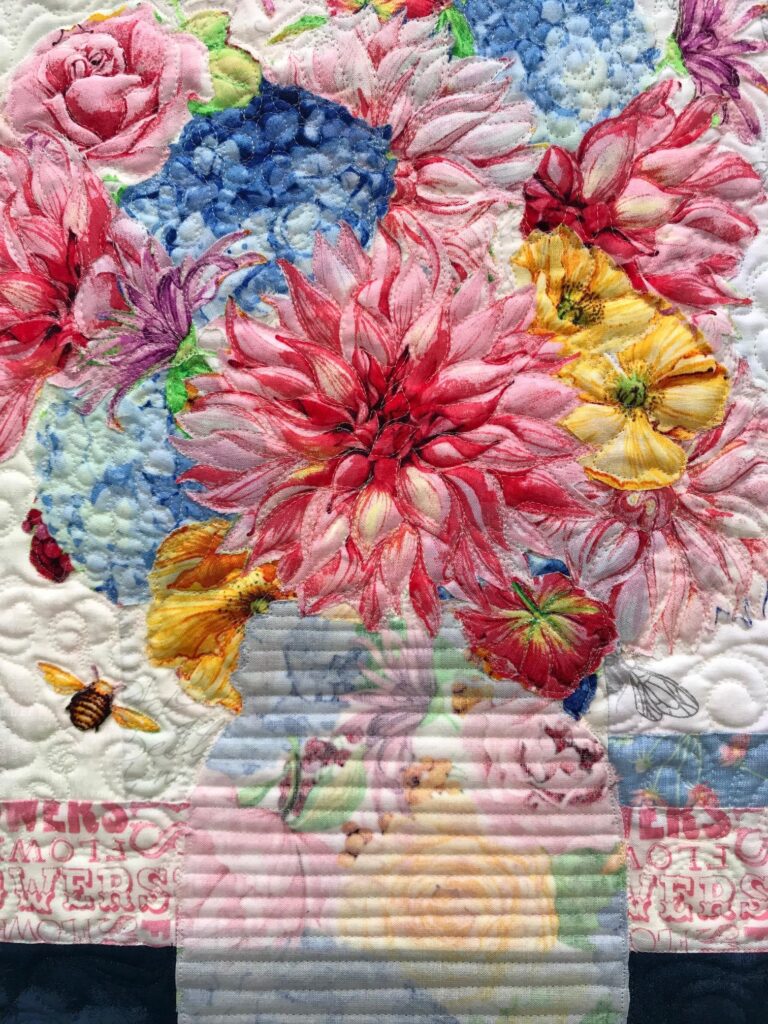
Kate’s Bouquet is made with both beautiful sides of two fabrics. It’s all about value!
Image of Three Quilts
More than 45 patterns that use BOTH sides – SHOP HERE!
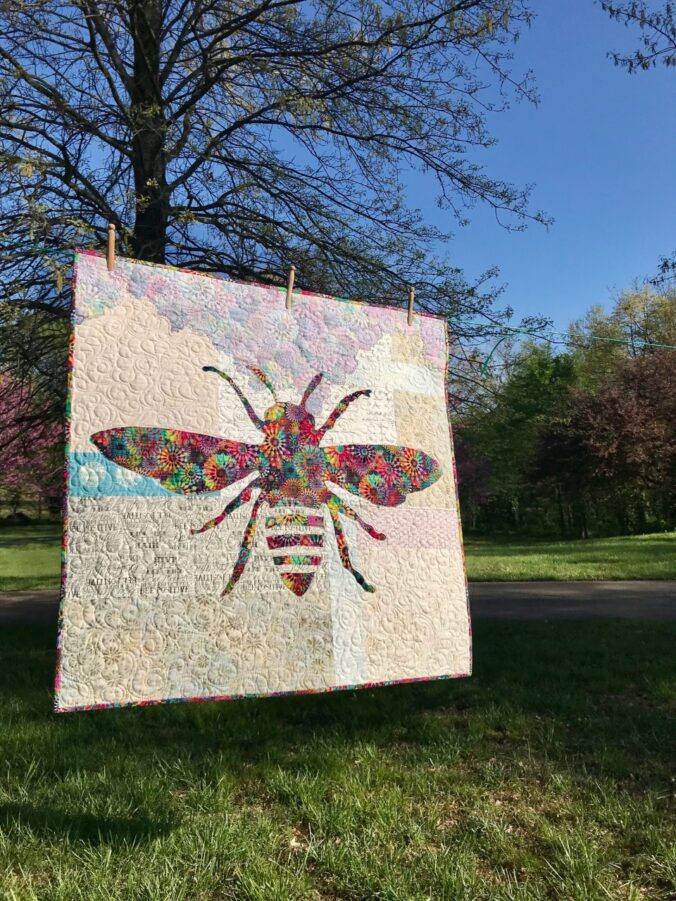
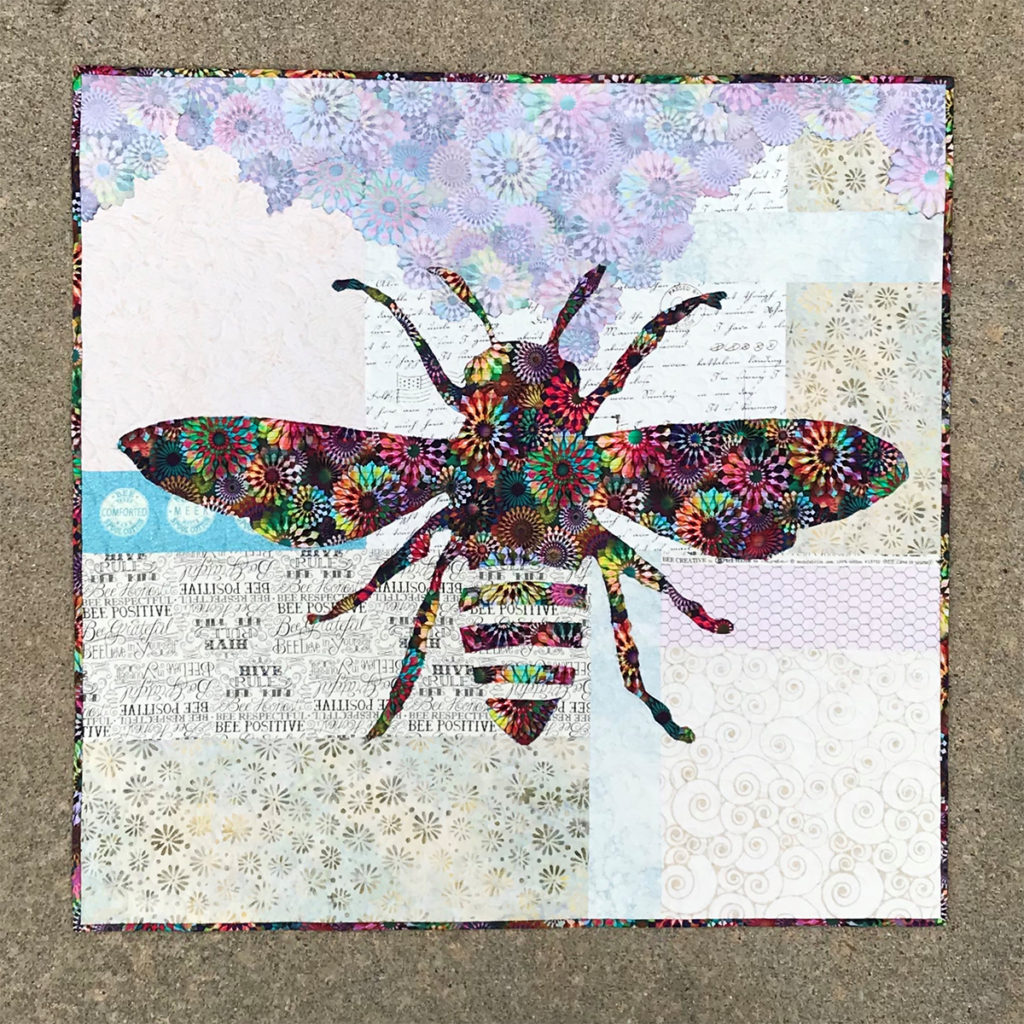
Image of Quilt with Bee.
Phoebee was designed using both sides of a focal fabric.

As you can see above, Phoebee’s focus fabric is strong enough to accommodate even medium background fabrics.

Have fun playing with value and enjoy your quilting journey!

« Older posts Newer posts »