Estimated reading time: 4 minutes
Table of contents
- Patriotic quilts are often on display in my home.
- Suprisingly, I only realize that this might not be the norm when I see my house through a non-quilter’s eyes.
- Back to patriotic quilts.
- Who knew we had that many patriotic quilts?
- Without a doubt, honoring my dad was the best part about using the patriotic quilts.
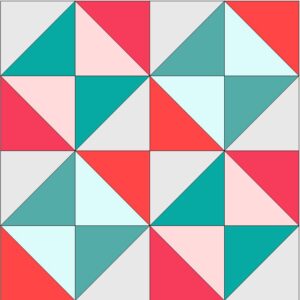
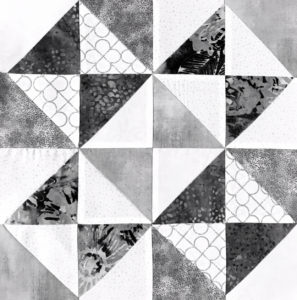
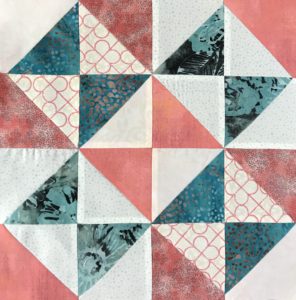
- Liberty Quilt Pattern
- See more than 50 quilt patterns in my SHOP that use BOTH beautiful sides of fabric!
- SUBSCRIBE to my YouTube Channel!
Patriotic quilts are often on display in my home.
Beyond patriotic quilts, quilted delights of all genre are the general focus in any room in our house. Rarely does someone ask, “Are you a quilter?” when they walk into our home.
Suprisingly, I only realize that this might not be the norm when I see my house through a non-quilter’s eyes.
Granted, there is sometimes the fleeting thought, “Do I have a problem?” Surprisingly, “Bloop!” -that thought’s gone! Without a doubt, this is why I surround myself with fellow quilters. Summarily, if I have a problem, they do, too!
Back to patriotic quilts.
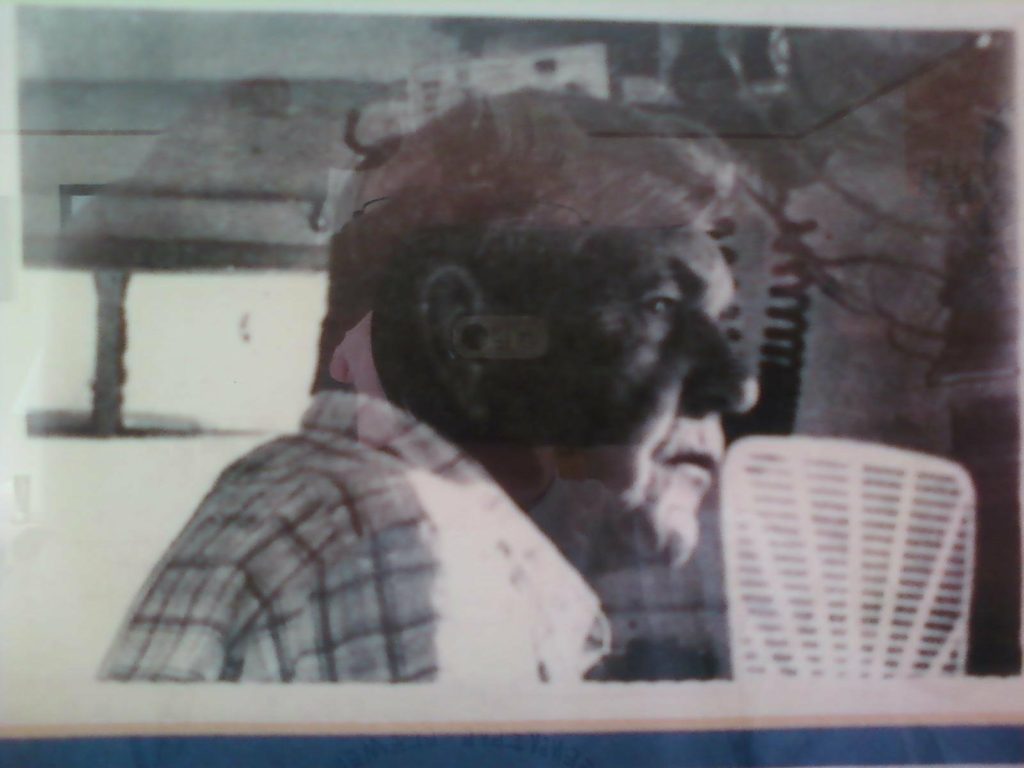
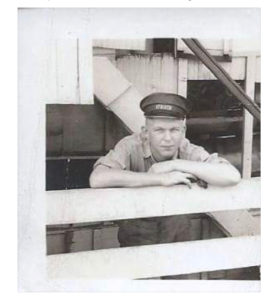
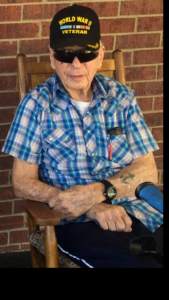
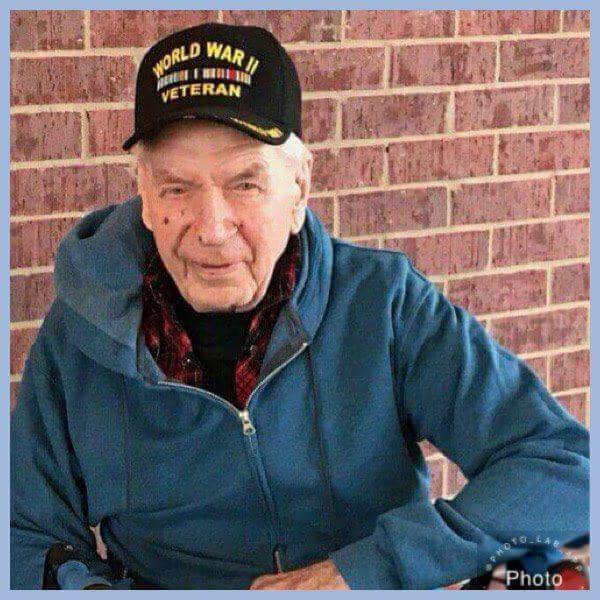
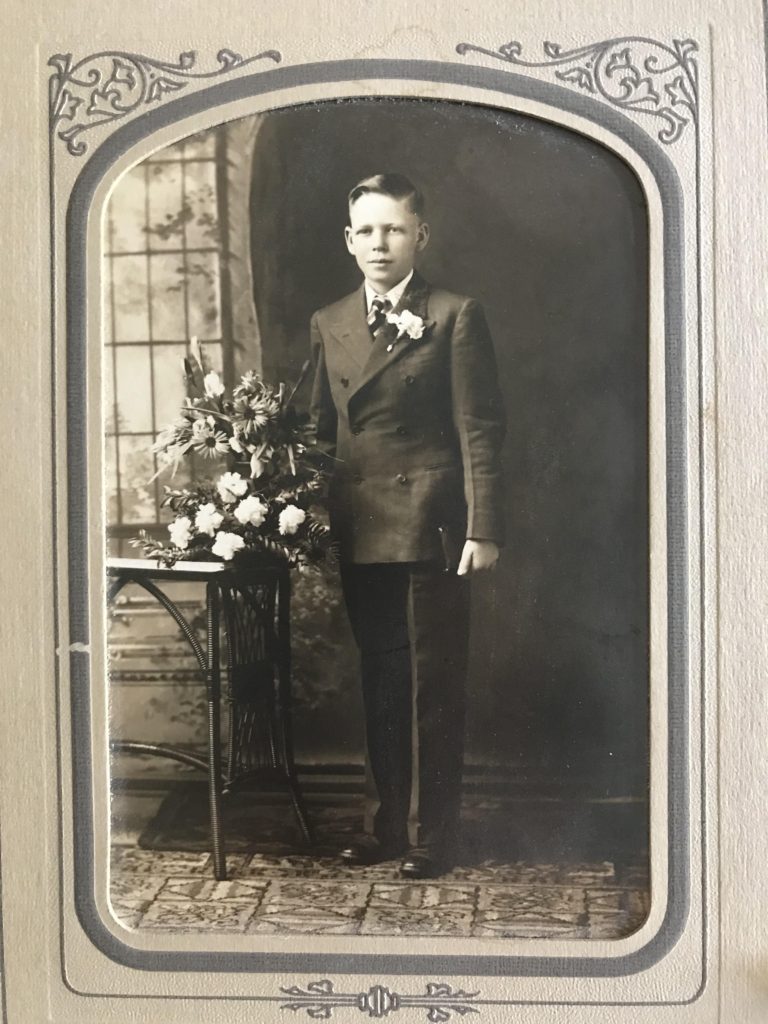
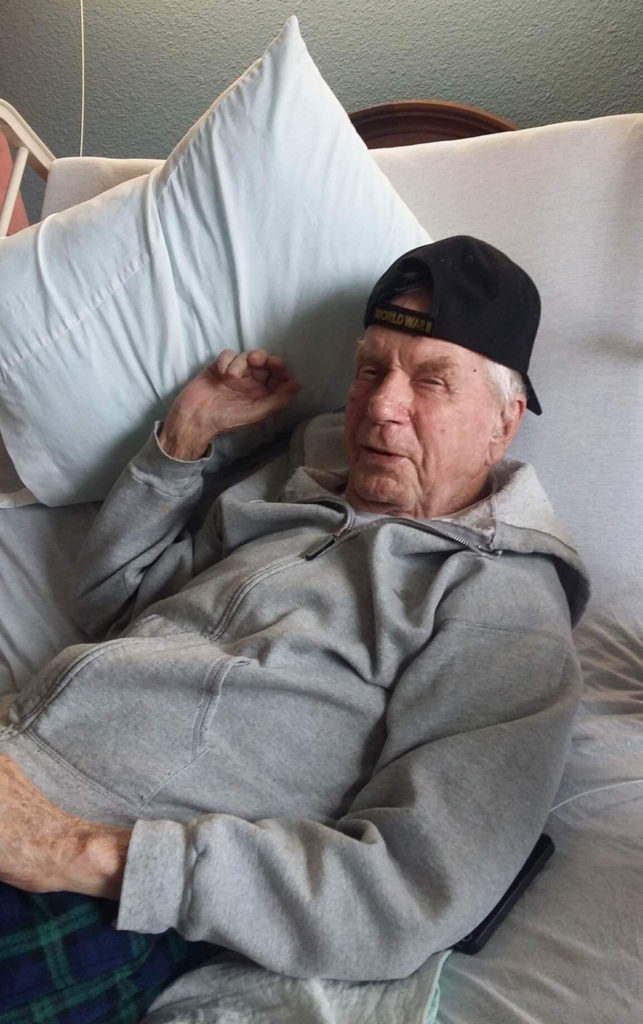
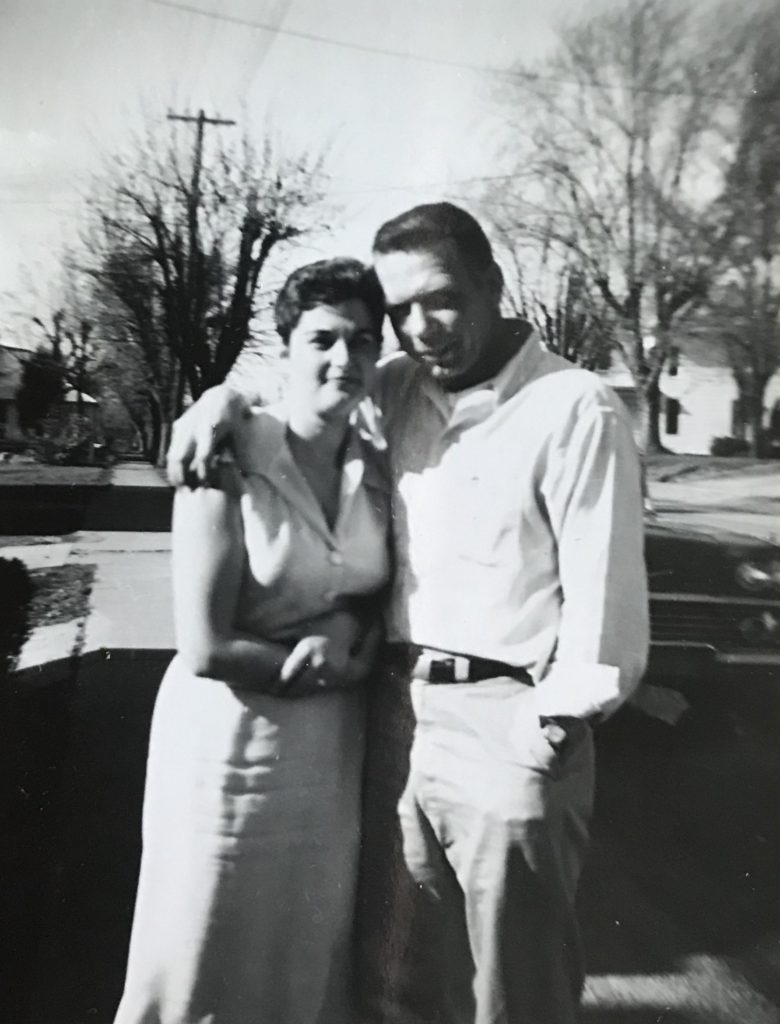
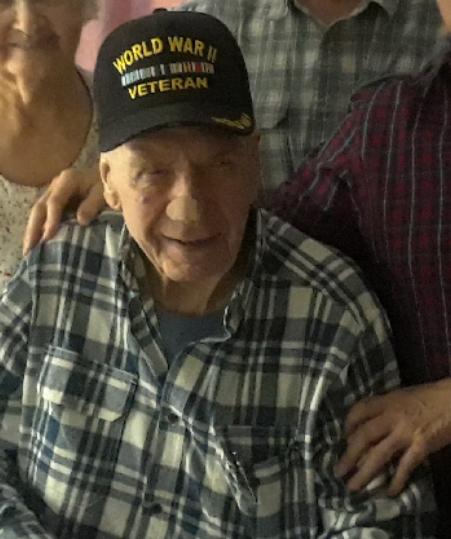
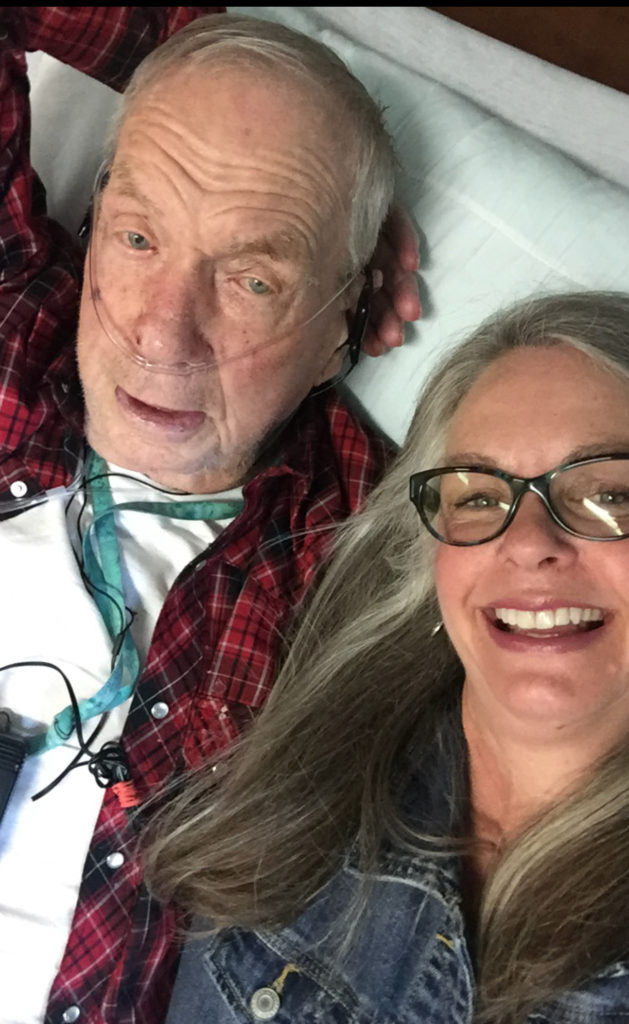
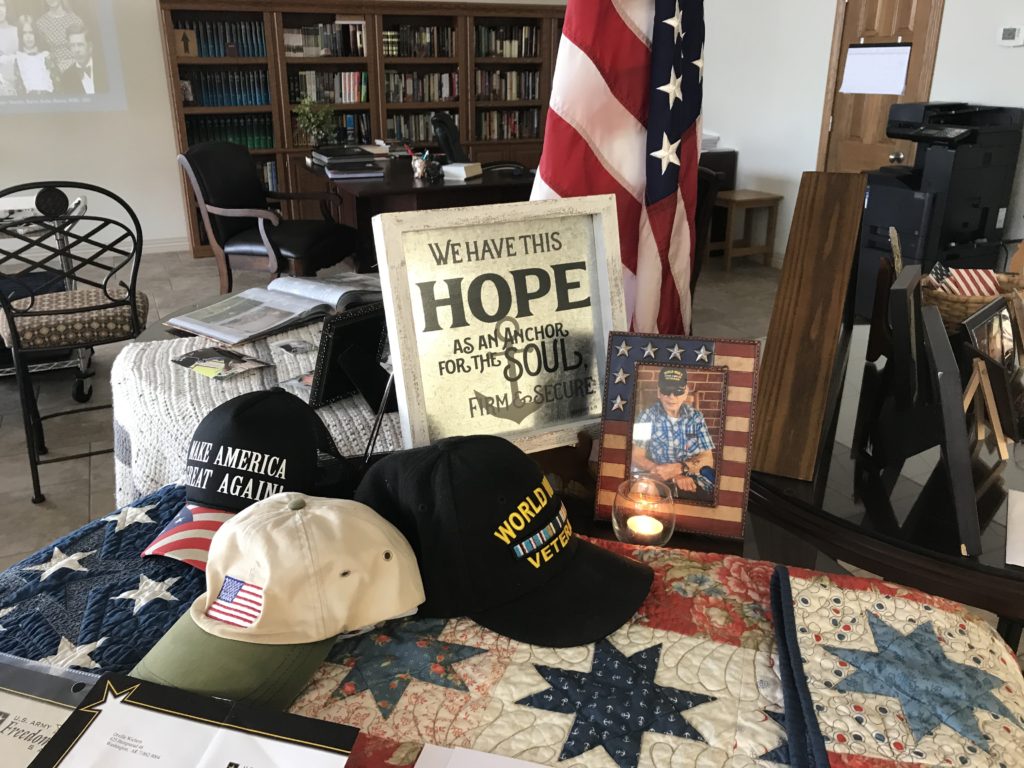
Perhaps you are aware from previous posts that I lost my dad. He was a World War II veteran.
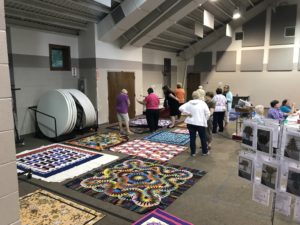
I and my sisters hosted a memorial open house in his honor. I had the task of decorating the church hall.
Accordingly, patriotic décor was an easy choice. Patriotic quilts were assumed. I asked my friend, Nancy, to bring a few of her quilts. Between the two of us, we were able to decorate an entire fellowship hall with mostly quilted pieces.
Who knew we had that many patriotic quilts?
It sure made easy work out of decorating for a challenging day.
Without a doubt, honoring my dad was the best part about using the patriotic quilts.
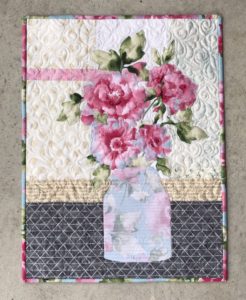
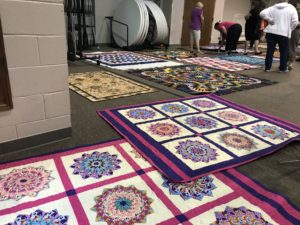
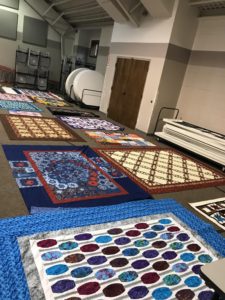
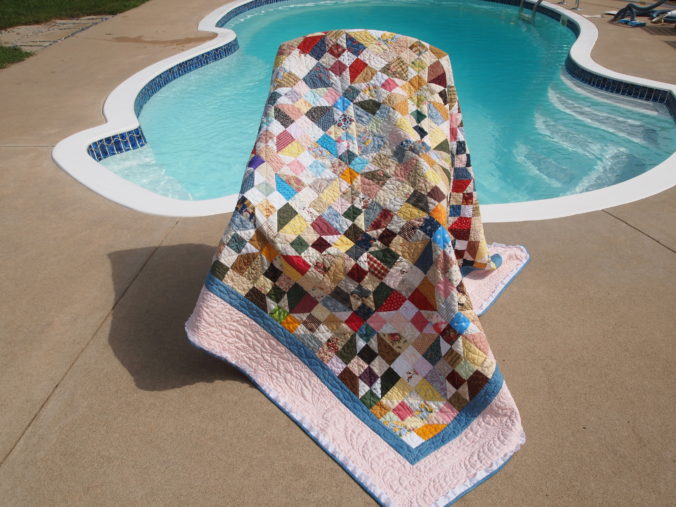
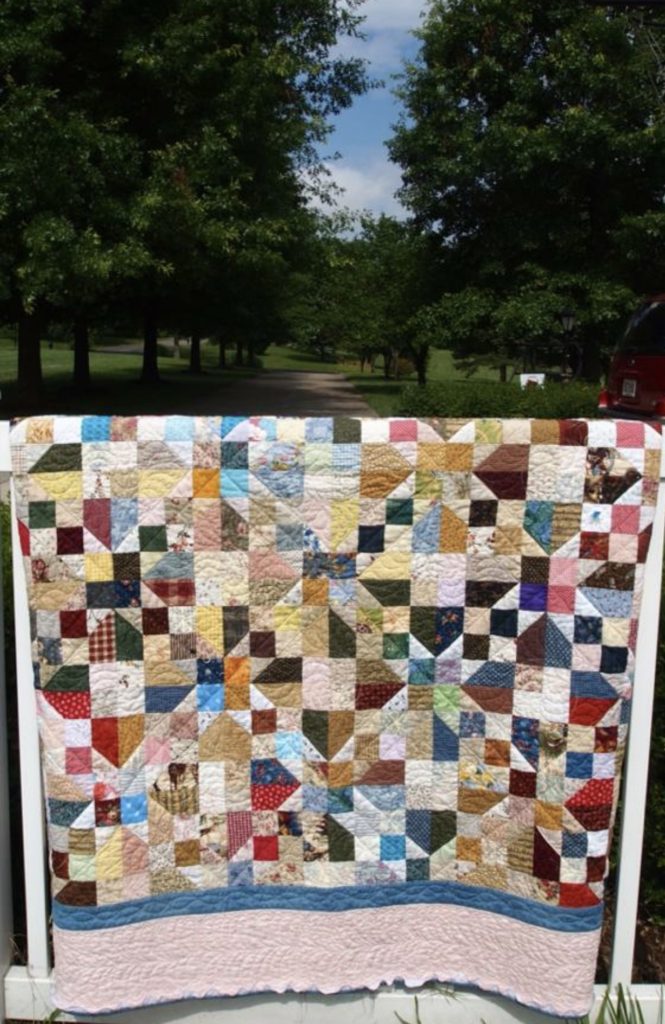
Here are just a few pics:
Moreover, the quilting friends who helped make and present food and drink for the day are treasures. You can’t beat quilter friends!
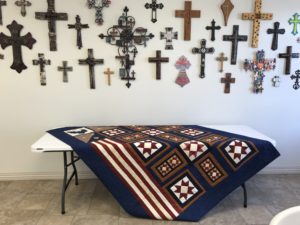
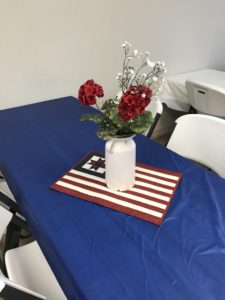

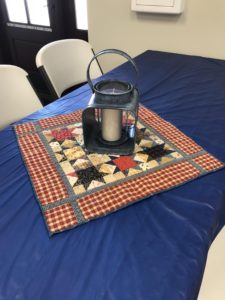
From full-size, table toppers, table runners and centerpieces, we had a variety of quilts to work with. They made the task easy with a few decorations on hand.
Therefore, I’m so grateful that Nancy shared her quilts!
Finally, A neighbor once asked me where I intend to hang all of my pattern quilts in my house. Well, with now more than 50 patterns that use BOTH beautiful sides, I would definitely need another house!
(By the way, I only had 16 quilt patterns when she’d asked!)
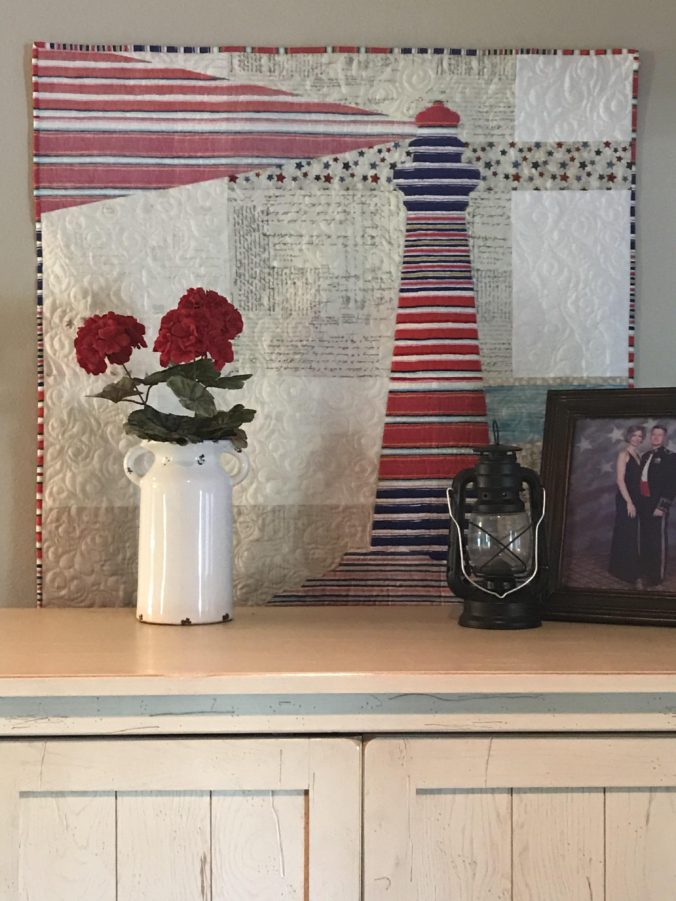
Liberty Quilt Pattern
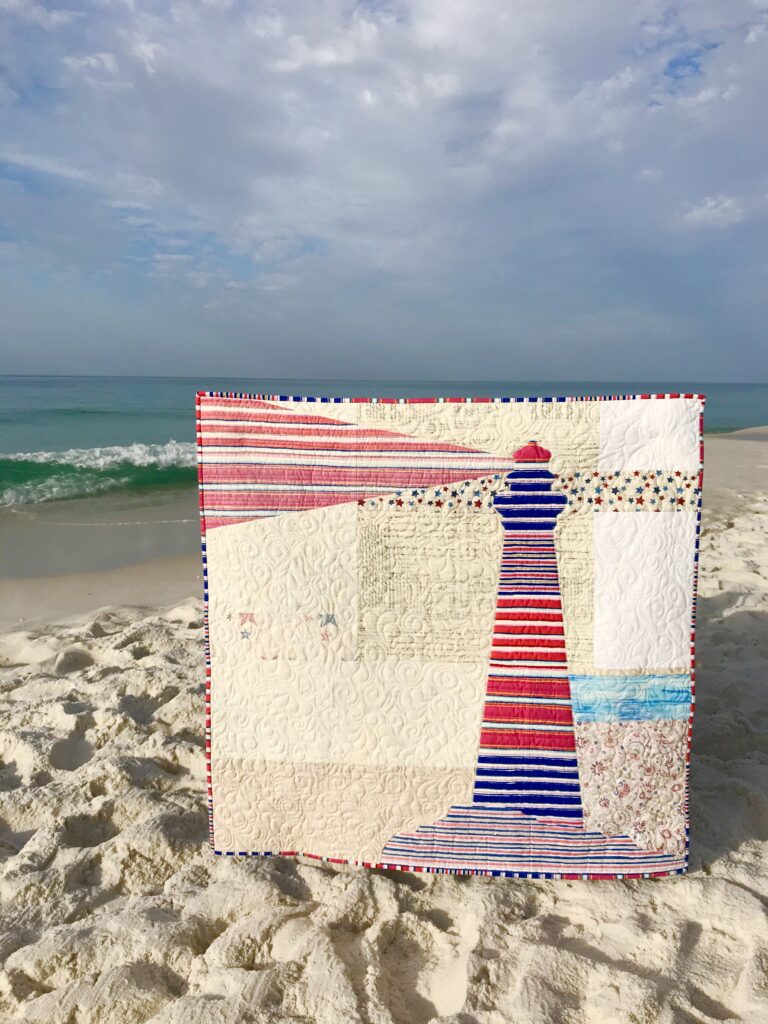
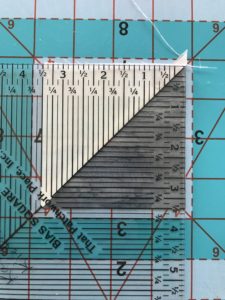
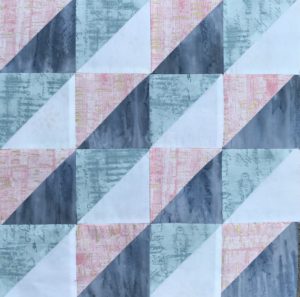
This lighthouse quilt is made with both sides of one patriotic stripe by Kaffe Fassett. The background is made from a wide variety of fabrics, including numerous patriotic designs.