Tag: quilting (Page 5 of 10)

Two Purple Tools for Quilting

Estimated reading time: 3 minutes

Two simple quilting tools make a big difference in my stitching experience.

While both of these quilting tools are “Barney” purple, their uses are anything but child’s play!

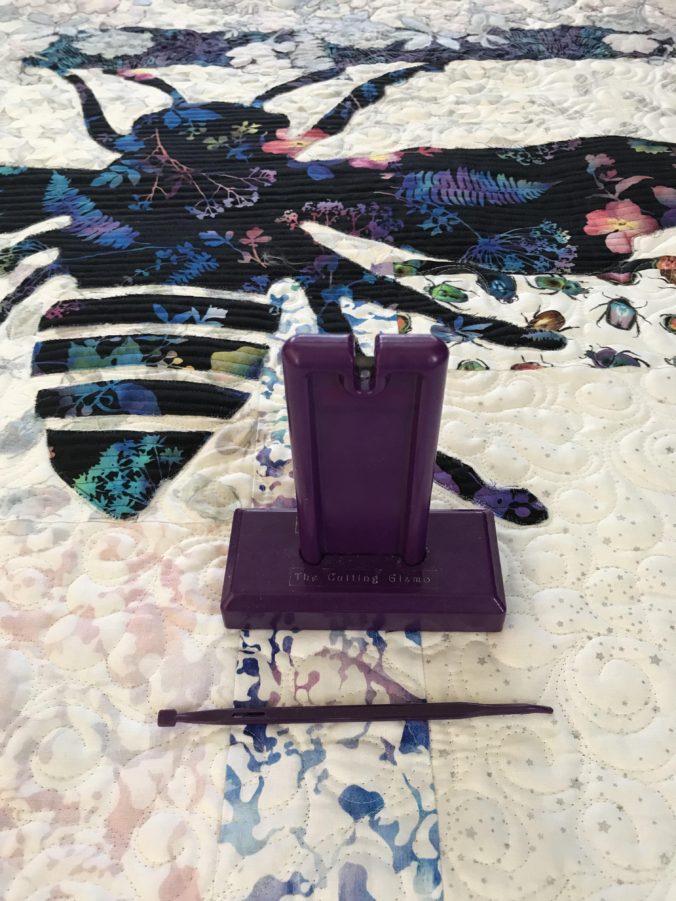
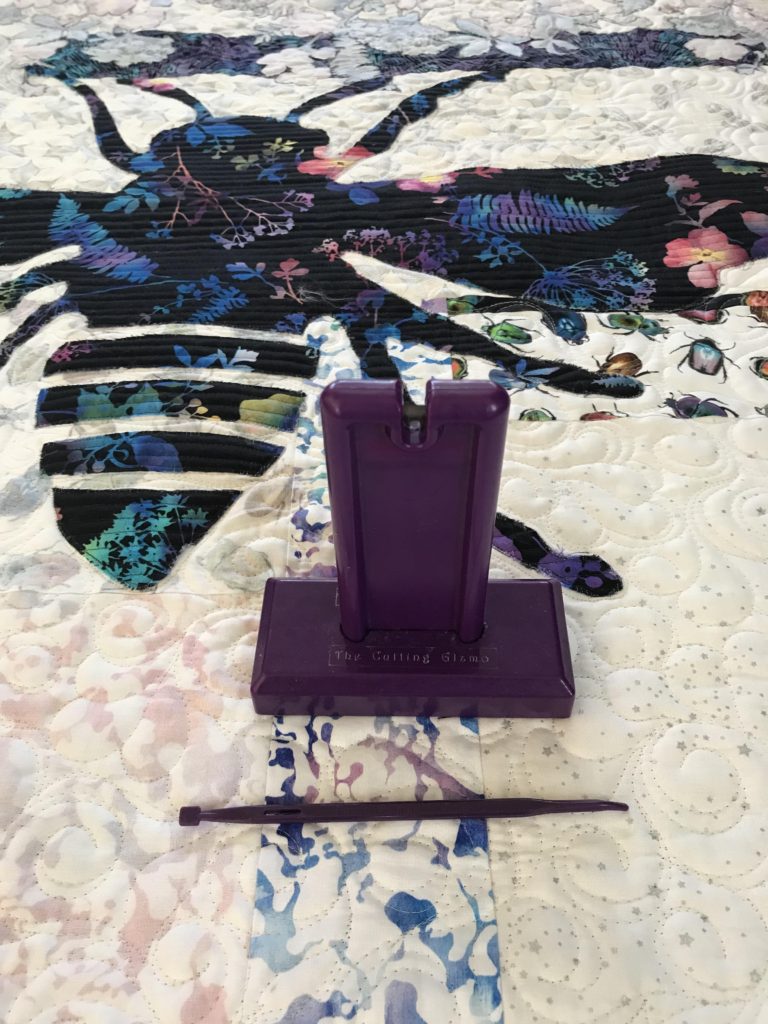
The Cutting Gizmo has it’s place in my studio AND my retreat bag.

First, let’s look at The Cutting Gizmo. If you chain piece, this guy is a must-have! The Cutting Gizmo (click here) is by no means new longevity is in it’s favor. This tool by Gypsy Quilter is the best stationary snipper I have found.

Specifically, The Cutting Gizmo is a weighted cutter with a rubber, non-slip bottom. It is especially wonderful to use when you are making lots of chain-pieced segments for a pieced quilt. Just grab the two fabric pieces and draw them down either side of the gizmo to cut the connecting thread.

This gizmo saves and repetitive movements.

Seriously, think about the time it takes to grab your scissors, re-positioning your hands, snip a thread and put down your scissors.

Instead, you just pop up from your machine, snip, snip, snip and press, press, press! I keep this tool on the end of my ironing board, always.

That Purple Thang is a useful quilting tool, too.

Secondly, that long thin stick is one of the first quilting tools I ever purchased. So, at about twenty years old, it must be a good “thang”. It’s actually called, That Purple Thang from the Little Foot Quilt Shoppe.

That Purple Thang is more than just a pointy tool.

One end is softly pointed with a slight curve. It’s perfect to send nearer your moving needle than you want to send your fingers. You can control your fabric with the thin tip. The softly squared end is useful, too. One use is for turning a getting neat edges when turning a project right side out. I’ve had other tools made for this purpose, but this is the one I always go back to. I’m not sure why, but unlike other similar tools I’ve owned, I don’t misplace this one! I think it’s the cute name…

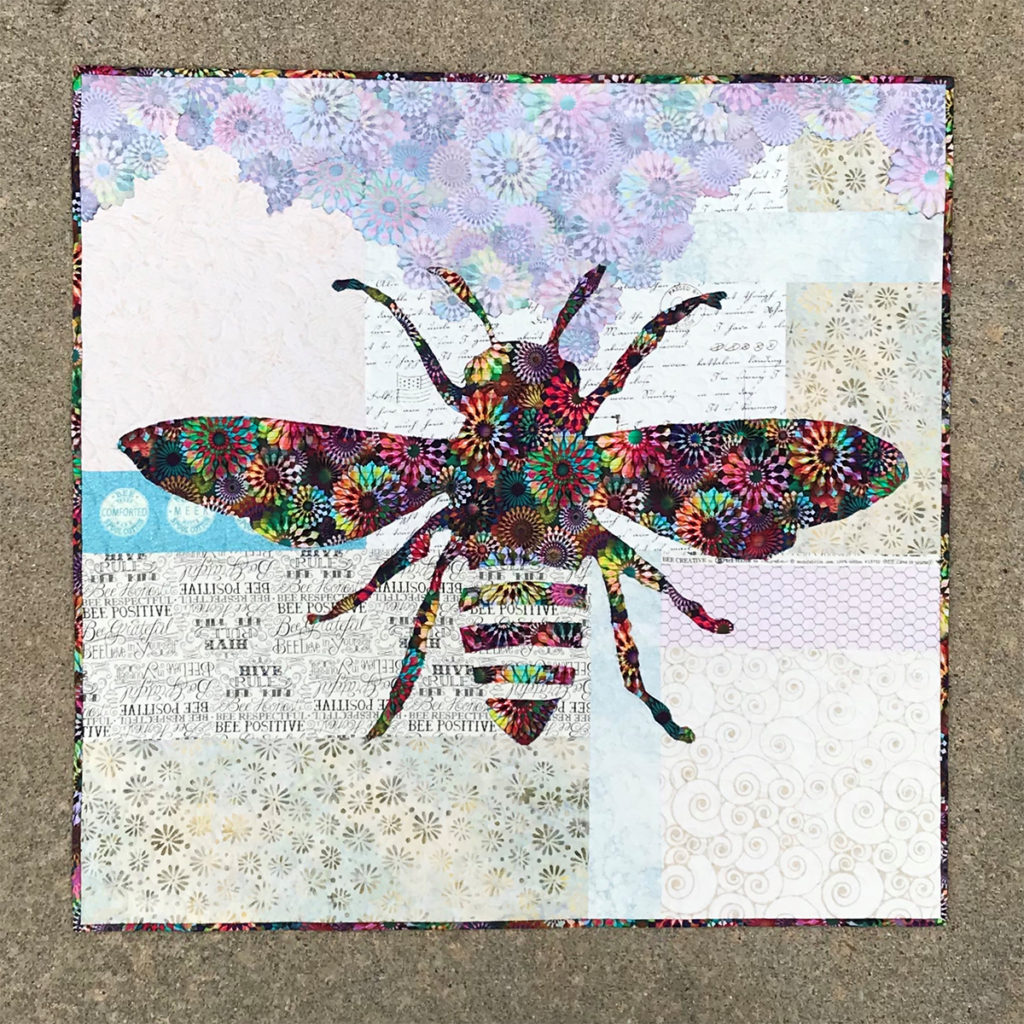
Both tools are shown on the Phoebee 2.0 quilt made from both beautiful sides of Hoffman California Fabrics.

This line of fabric, called Electric Garden, is bold and soft at the same time. Learn more about using both beautiful sides of fabric HERE.

Use the social media buttons to share on Facebook, Instagram, and Pinterest!
Floating Flower Garden

A floating flower garden is a queen’s palace for sure!

The Floating Flower Garden quilt is a modern take on a classic quilt.

What’s a better spot for a creative queen bee than this lovely palace quilt?

Floating Flower Garden

Image of queen's palace quilt
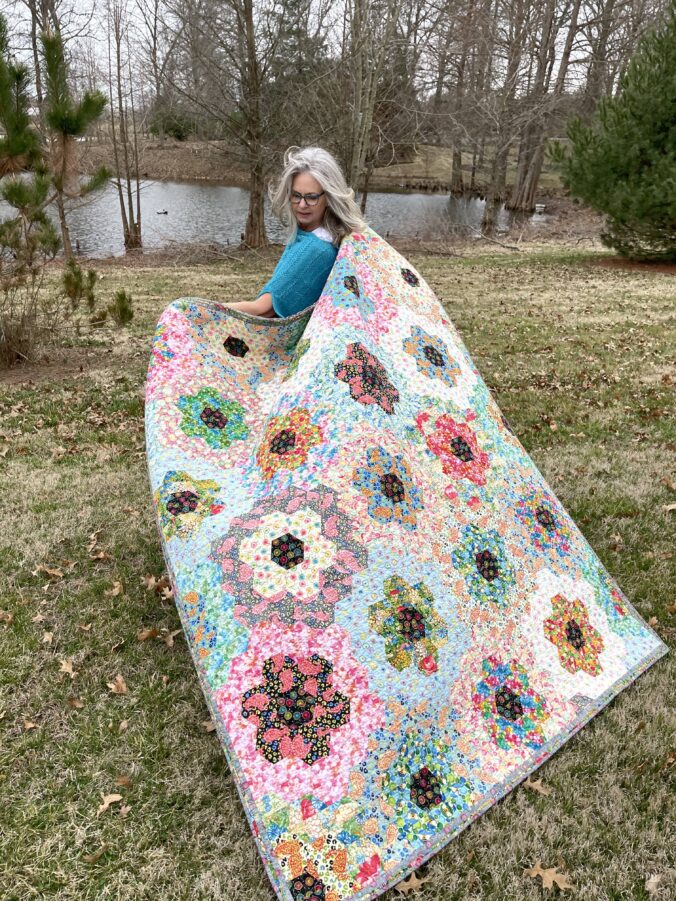
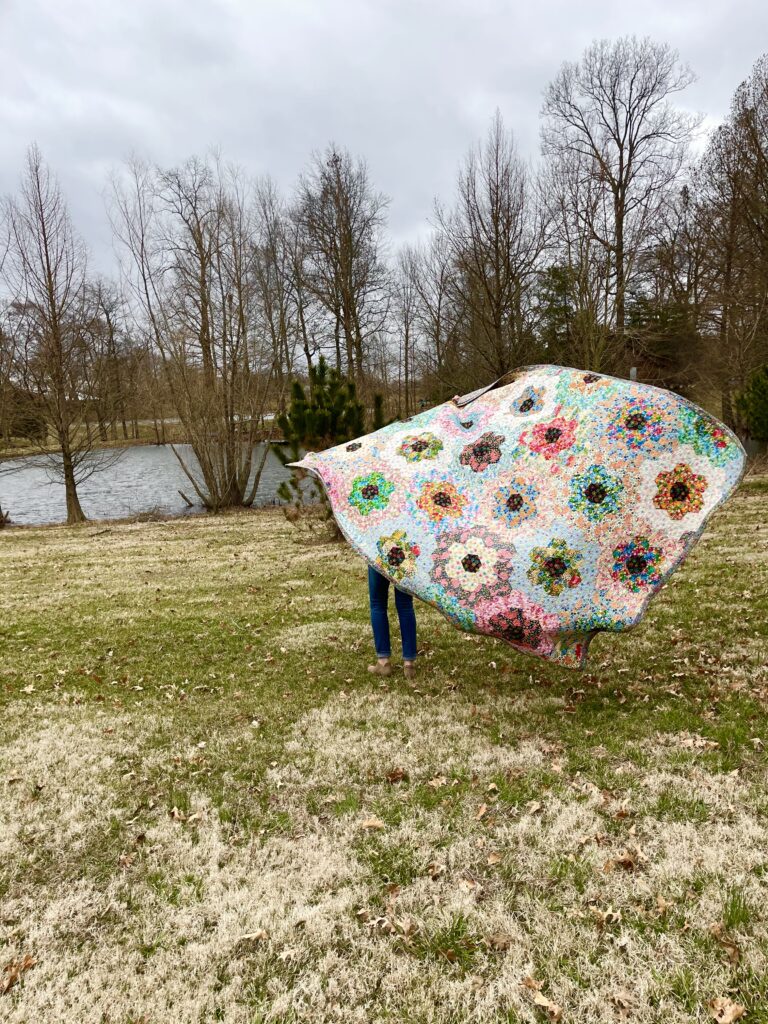
Floating Flower Garden Quilt by Karla Kiefner

First, this quilt began with fat quarter bundles from one fabric line. It was one of those fabric purchases without any planning or direction.

In addition, I was certain I wanted to use both beautiful sides of this fabric line.

How to use both sides for a classic quilt design?

Next, I found a tool for making half-hexagons. Using the Hex and More ruler and lots of 2.5 ” strips, I made lots of half-hexagon pieces.

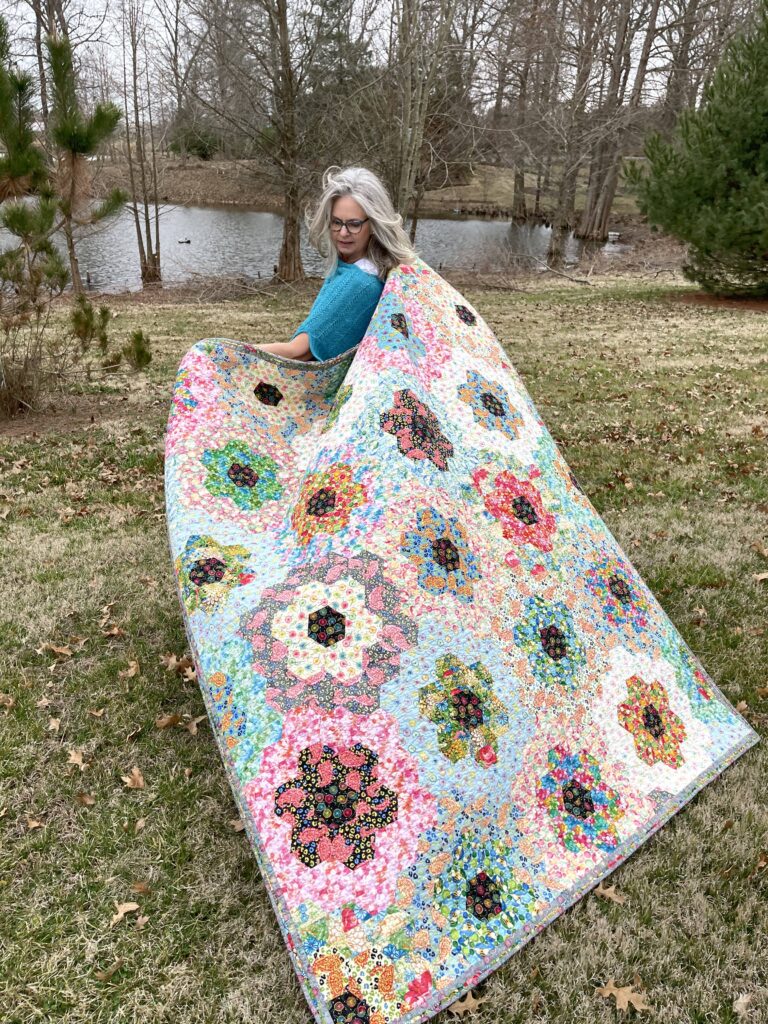
Image of Karla holding quilt

Add to that, a non-traditional method for making this floating flower garden.

Yet, I still wasn’t sure where this quilt was headed – or if it would work! For months, I arranged and re-arranged the hexagons. In addition to changing the placement of color, I also played with the values by turning some fabrics to their REVERSE side. Read The Tricky Traits of Value.

Design wall to the rescue.

Using a design wall helped me figure this baby out in a number of ways. Most importantly it allowed me to take good photos of this large quilt.

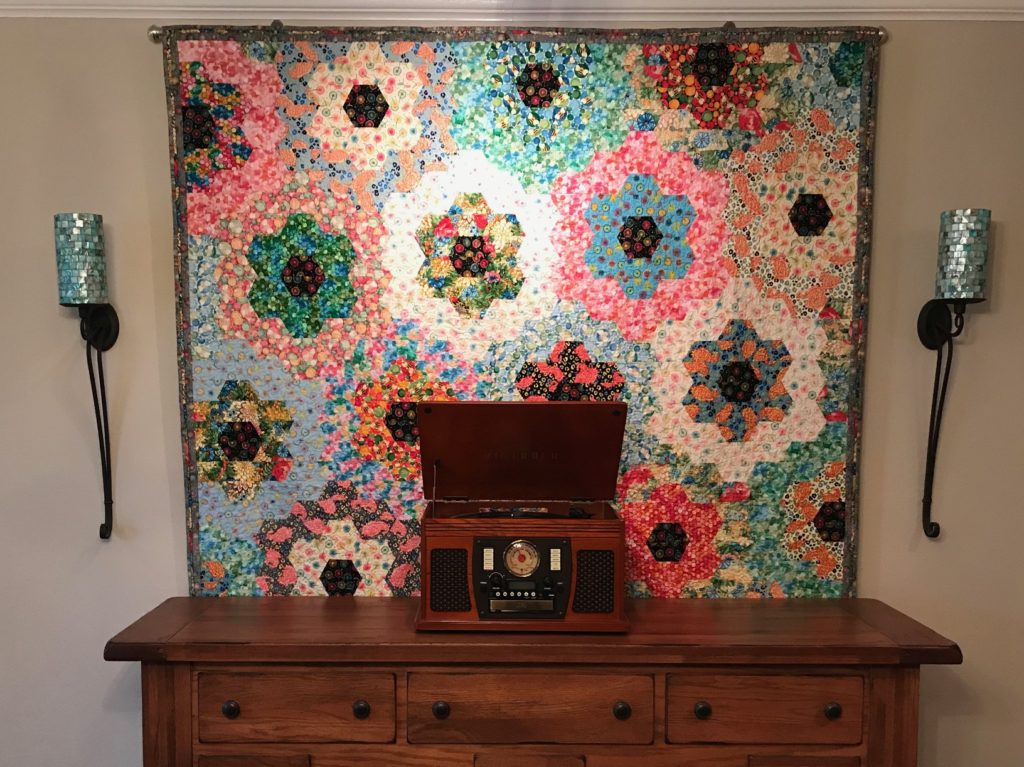
Image of Floating Flower Garden indoors.
Perfect place for the turn table.

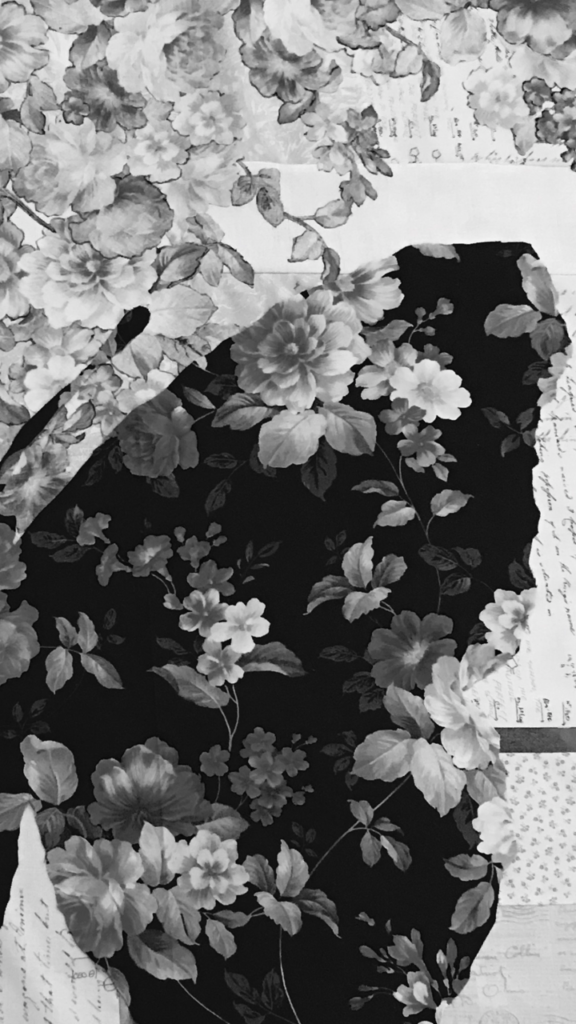
Black and white photos galore!

Just as I instruct students in classes and workshops, always take black and white photos to check your values. Color can fool you – and it tried to fool me with this quilt!

My goal was to create a blended quilt version (see Blended Quilts book) of the classic Grandmother’s Flower Garden. I tried many combinations, but the look really came together when I started to use the reverse side of the fabrics for the outer flower rings.

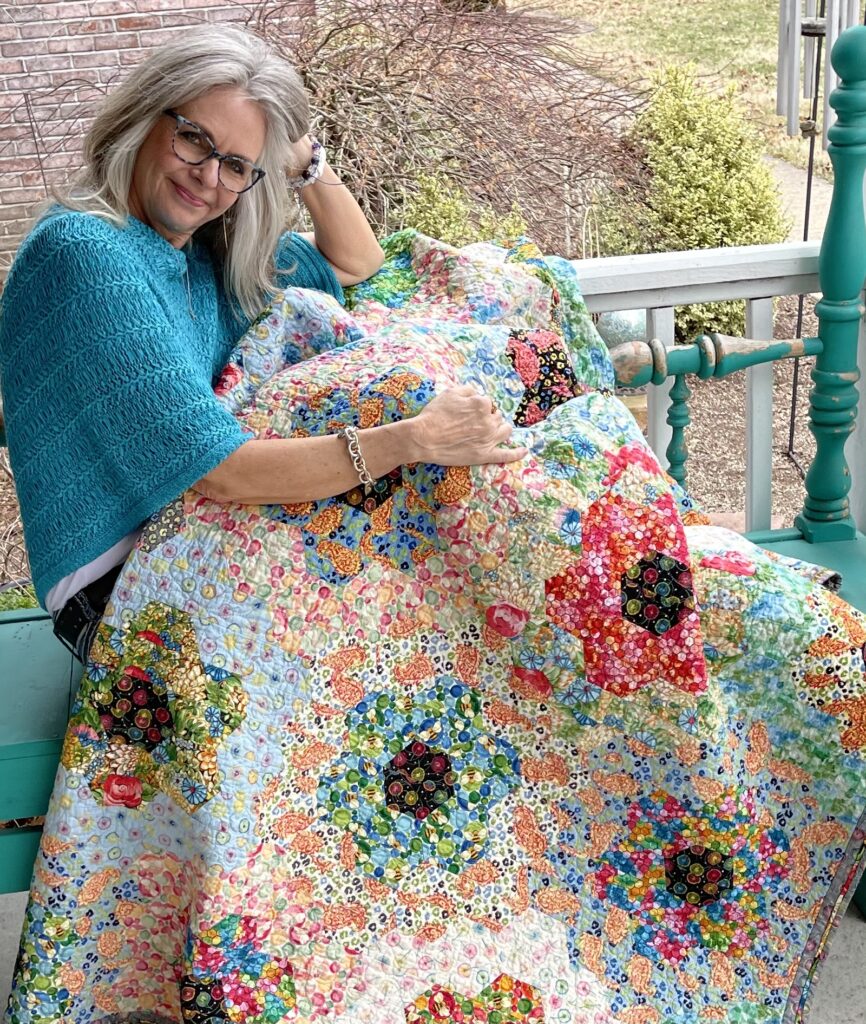
Image of Karla with Floating Flower Garden

Each black center and first ring are the front of the fabric. I could have excluded the lightest fabric to make the changes in value more apparent, but again, I was aiming for a more subtle approach.

Using both sides of fabric provides a soft difference to the values and makes a quilt sparkle!

I’m happy to say that this quilt one a coveted ribbon in my guild’s quilt show!

Shop more than 50 patterns that use BOTH beautiful sides!

Enjoy YOUR quilting journey!

Quilt Retreat Take-Alongs

Estimated reading time: 4 minutes

Start your packing for quilt retreat!

It’s quilt retreat and time to take your sewing on the road!

First, for quilters to go through all the trouble of taking down one work station to pack to all up, travel, and set it up somewhere else means it MUST be a lot of fun! Whether you go for the social time, productivity, shopping or a combination, making the launch from home sewing to retreat sewing can be easy!

Keep it all in one spot.

I have a friend who keep duplicates of all sewing supplies. Of course, that is the ultimate way to pack and travel. But if space and budget don’t allow for duplicates, try using a central command center.

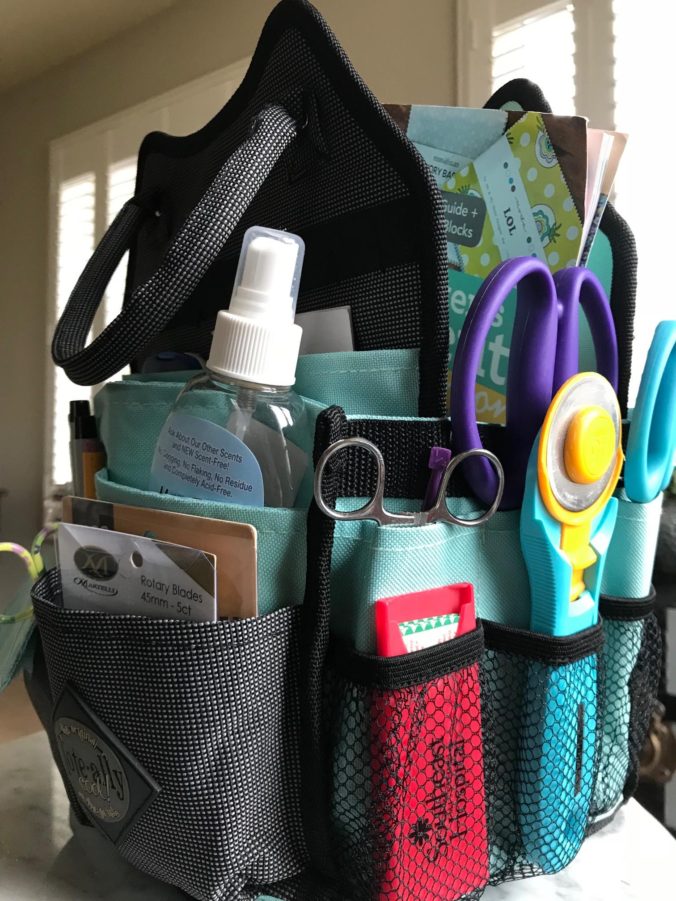
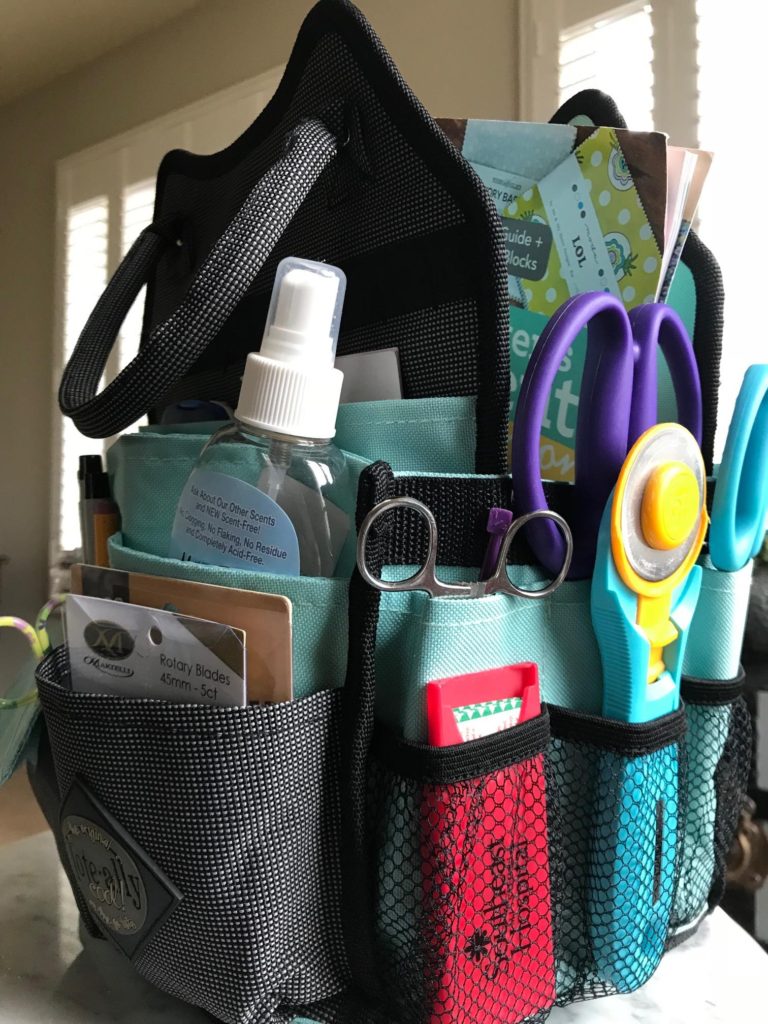
Image of Tool Holder

Find a organizer that works at home and away.

The one I use, pictured above holds just about all the little tools and gadgets I need for retreat. I can even store my mini iron in the center section.

I tend to take a lot of items on quilt retreat because I want to pack (no pun intended) everything I can into those lovely few days. Overall, I like to enjoy all the aspects of a good retreat which include laughter, fabric shopping, relaxation time, yummy food, reading, movies, music, and walks, I’m still a high production type of quilter.

No sense spending time looking for supplies.

Whether in my studio or on the road I need to see what I’ve got and know where to find it.

Below is a very unofficial list of some of the things I take on retreat. I hope it helps you get ready for your next adventure of quilting on the road.

  • Sewing machine (with cord, pedal, extra light bulb, bobbins, and attachments)
  • Table
  • Extra lighting
  • Projects, preferably pre-cut
  • Felt-backed table cloth for make-shift design wall
  • Other supplies such as seam ripper, rotary cutter, blades, rulers, and cutting mat.
  • Iron and pressing mat or board and pressing spray.
  • Extension cords and electrical strips.
  • Personal items, including clothes, usually get packed last for me! You might consider walking shoes, rice bag for sore shoulders, and pain relief.
  • Charger cords
  • Snacks

The rest of the story.

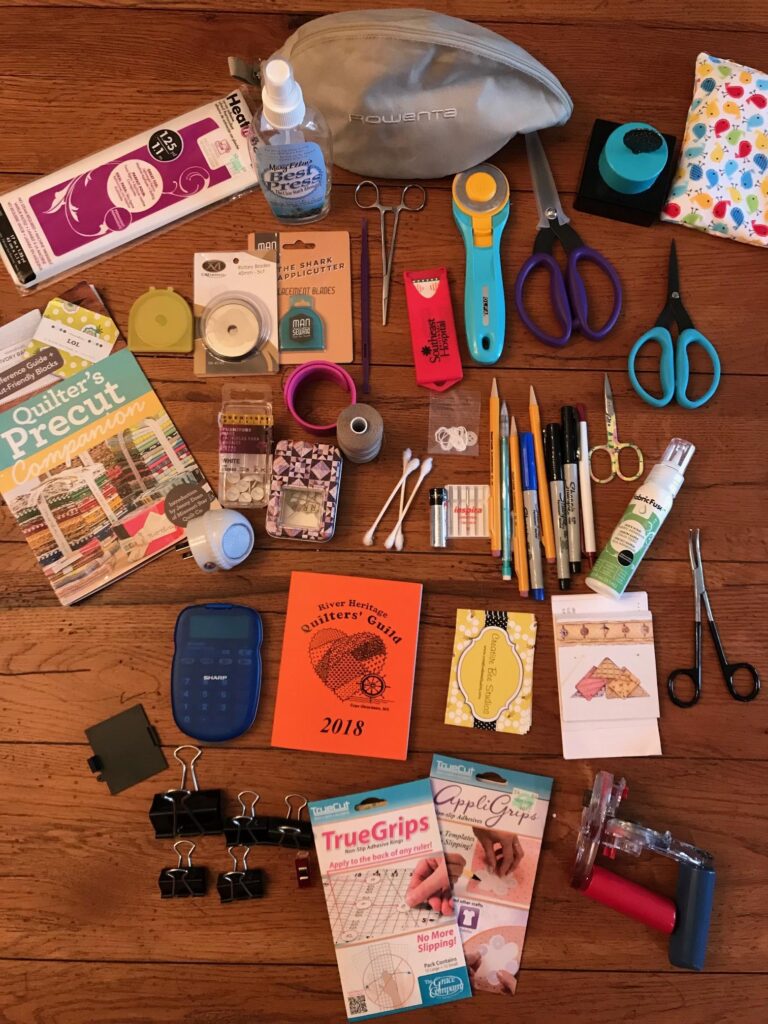
NOW for the REST of the story! Below I reveal everything that is actually in my spinning work station.

Image of Quilt Retreat Supplies

Without a doubt, I don’t use all of these items daily. But when at quilt retreat, it’s best to not be without! Starting at the top left, you see fusible web, pressing spray, mini iron, chain-piecing cutter, a very cute rice bag (made by my friend, Donna). Next you see various rotary blades, The Purple Thang, a gripper tool, bandages, rotary cutter, and two sizes of Karen K. Buckley scissors.

It is wise to clean out your organizer now and then!

Following that is a pre-cuts guide for fabric purchase emergencies, thumb tacks, pins, cord wrap, thread, Q-tips, battery, thread and button, needles, a plethora of markers and pencils, snipping scissors, and Fabric Fuse. Surprisingly, the next row starts with the back of something which apparently held batteries, a calculator, a guild directory, business cards, note pads, and another gripper tool. Lastly, there are clips for hanging design wall, True Grips (truly a favorite), and last, but not least, Martelli cutters (I am an ambidextrous cutter, so I use both left and right-handed ones).

Read more about retreats here at: One Sweet Retreat and Friendship, Laughter & Quilts, Oh My!  and Seven Projects from Quilt Retreat

Home or away, enjoy YOUR quilting journey!

Take One: Cool Tools for Quilters

Do you love quilting tools, gadgets, and gizmos? Once a month I’ll be featuring a new (to me) cool tool.

Here’s a new ruler I ran across a few months ago on my travels. I finally pulled it out and decided to learn how to use it.

It is called the “Quick Curve Ruler” by Sew Kind of Wonderful (click HERE)

I practiced with some scrap fabric, marked my ruler as indicated in the pattern directions, and off I went! It was fun to watch the curved piecing literally “come together”.

There are numerous quilt patterns available which use this ruler. Here’s the one I used. Stunning quilt, isn’t it? I love it when my brain can’t quite find one simple design, but jumps around to the various secondary patterns in a quilt.

Here’s my first try at a mix a fabrics. As you can see, I have a few bumbles for my first block, but it was fun to make! I do suggest using a fine marker to mark your ruler for better accuracy.

I think this quilt is now on my bucket list! What’s on your bucket list? Do you have a favorite specialty ruler?

See my Cross-over Quilting Tools (click HERE) post to learn about using the Brother Scan N Cut for quilting.

Shop Creative Bee Studios #usebothsides quilt patterns and kits HERE!

Winter Quilts

I love nothing better than seeing quilts in nature! You’ve seen “Summer Quilting” (click HERE) to see quilts both poolside and on the beach), so I thought it’d be only fair to share some winter-themed quilts and a few with nature.

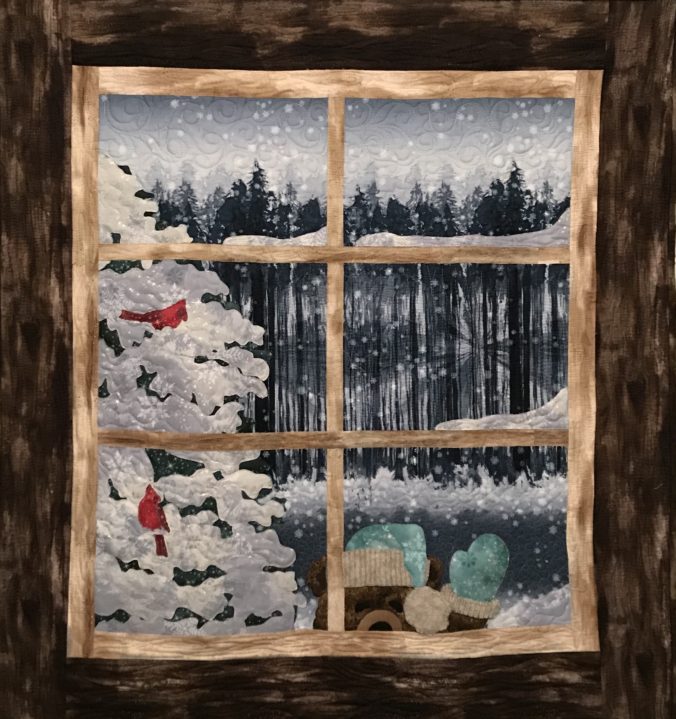
First up is a McKenna Ryan quilt pattern. I purchased the kit from Missouri Star Quilt Company several years ago – the year of the bear in our yard (Click HERE to read “It’s a Bear Out There” and see the markings). This bear was supposed to have a red cap and scarf, but I changed it up by using the wool from a sweater which was in my late mother-in-law’s stash. It makes the quilt more special for me and I feel I can keep the quilt on display throughout the winter.

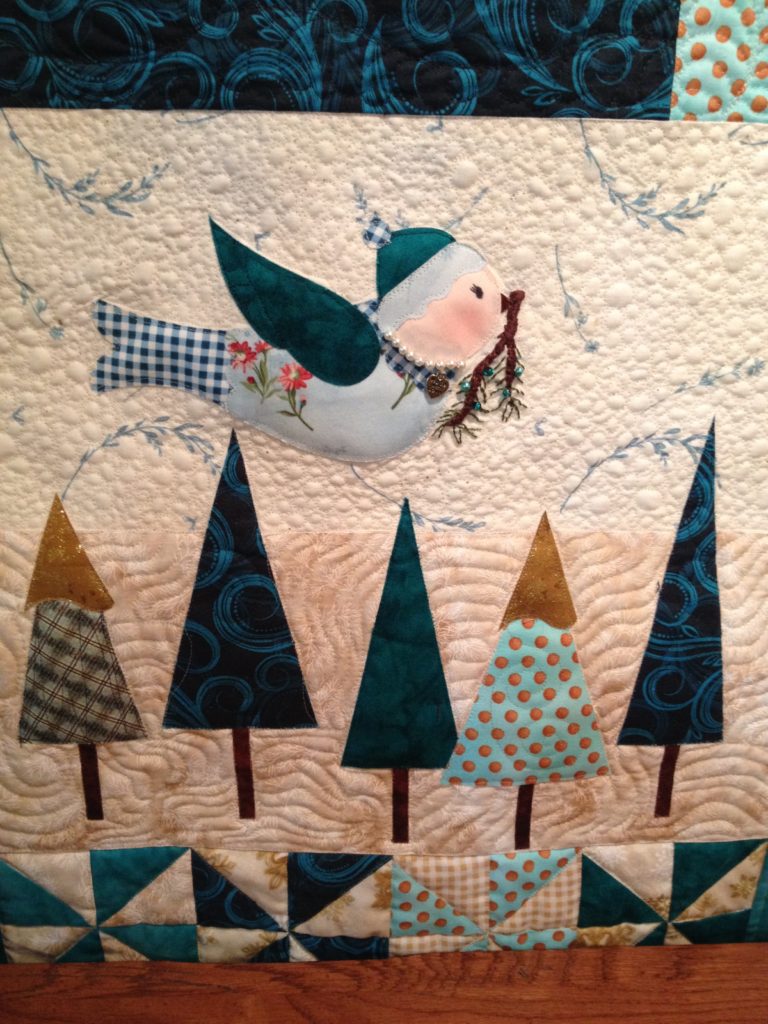
Next is quilt is called Winter Blessings and was kit I purchased from Shabby Fabrics. It was so fast and easy to put together – I highly recommend their kits if that’s what you like. Everything was labeled and organized beautifully. It was kinda like a paint-by-number, only a lot more fun and waaaaay better outcome!

Image of Winter Quilt

The next photo shows just a bit of a quilt (with a Buttercup bomb) that I made long ago in my second-ever quilt class. It was supposed to be bed-size and I actually thought I would finish it my first day in class! I only got it to the throw-size stage (and not during that class), but it’s a favorite!

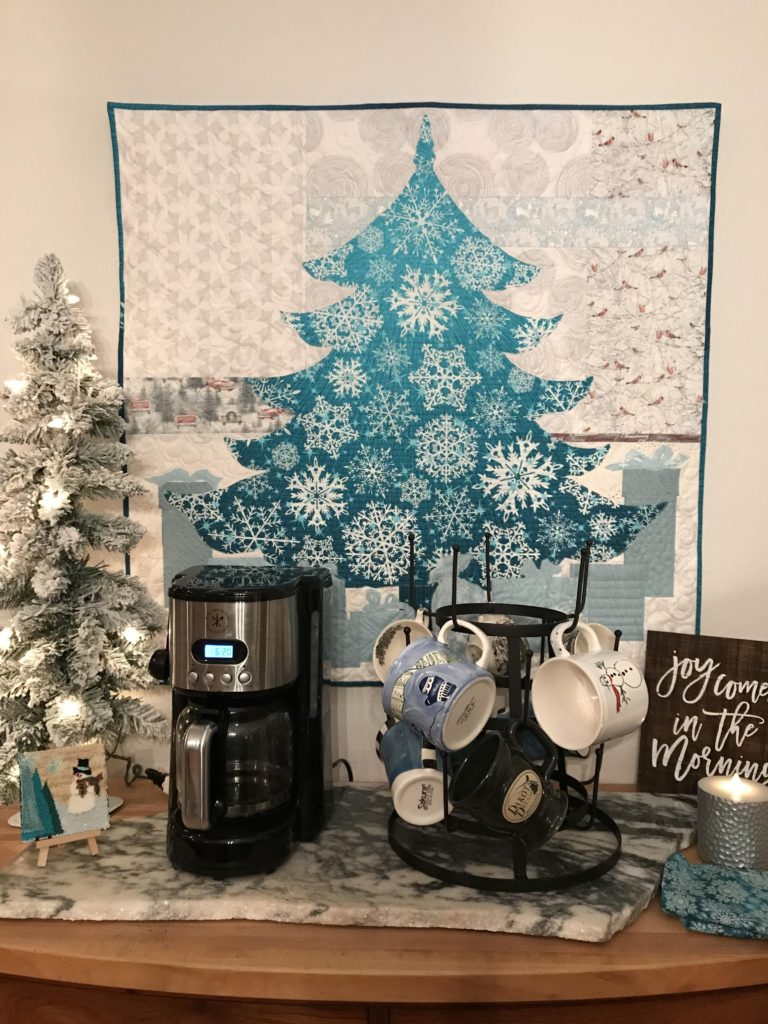
Here is my latest version of JOY Quilt Pattern. I used a Hoffman panel for the tree (front side) and gifts (reverse side) on a scrappy, snowy background. See all my patterns in my Etsy Shop HERE.

Image of JOY Quilt Hanging
JOY Quilt Pattern

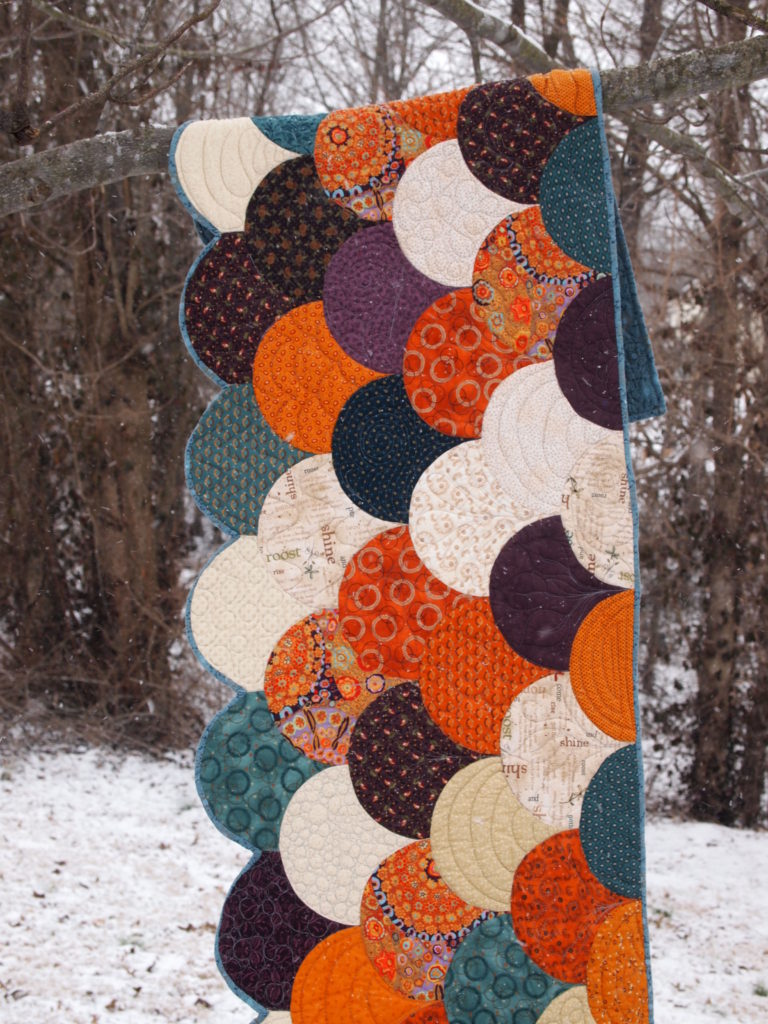
Snow makes a lovely background for quilt photography.

Image of Bed Runner in Snow
Image of Quilt on Swing
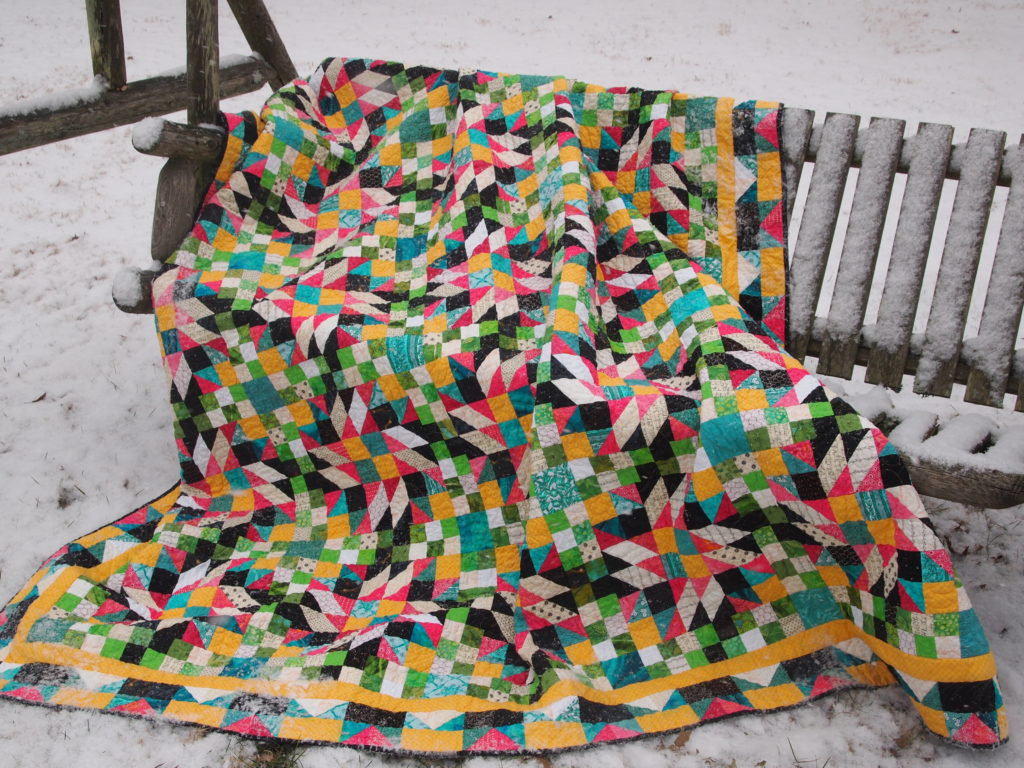
This is a Bonnie Hunter Mystery Quilt called Grand Illusion.
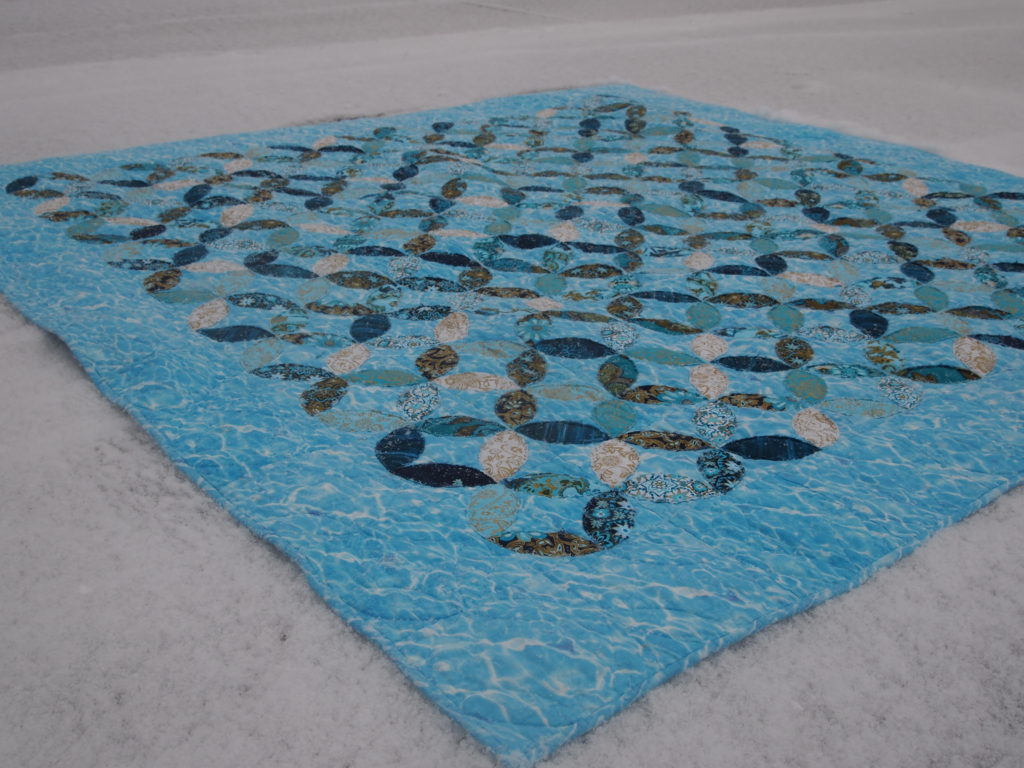
Image of Water Colours Quilt in the snow.
Water Colours

Hope you are enjoying some warm stitching time during these short winter days.

A Mini-Quilted Christmas

I wanted to make a little Christmas gift out of our dad’s shirts for my sister. I couldn’t come up with ideas, so picking the brains of my Lady of the Lake (LOL) quilting buddies proved quite helpful!

Image of Orville Wichern

Sitting around the table, we ran the gamut of ideas…a bear, a quilted Santa, an apron, a journal cover…whatever I could make from my dad’s old shirts – but it needed to be just right. One friend suggested framing a pieced/ quilted shirt quilt – she was on to something. It often takes a period of mulling…or percolating for me to round out an idea…instead of a frame, make it a shadow box… and add vinyl lettering to the inside of the glass…

I have to say, this little piece came out sweeter than I expected!

It’s not a big, fabulous quilt, but I really like how it turned out- and hope to one day make for myself one day–or maybe the gift to me was the cutting, stitching, and remembering that came with making this for my sister.

I used small amounts three different shirts. Once quilted and trimmed, I glued the quilt to the back of the box. Using Scan N Cut (click HERE for more info.), I added our dad’s name in vinyl to the inside of the glass (remember to reverse the lettering). I penned a short message on the back of the box with a Sharpie.

Do you gift your quilting for Christmas? How do you find ideas?

Please share in the comments below.

But when the fullness of the time had come, God sent forth His Son, born of a woman, born under the law, to redeem those who were under the law, that we might receive the adoption as sons. Galations 4:4-5

Read The Tie That Binds to meet Willie (Orville, Bill, husband, brother, uncle, son…dad).

Exploring Quilty Box

I’ve been intrigued by Quilty Box (click here) for some time now.

The combination of

a) them featuring Tula Pink and

b) me learning about the first-time discount was what it took for me to finally subscribe. I want to share my discovery with YOU!Image of Box

I remember as a teenager subscribing to a make-up club. It was so fun to get different products in the mail to try each month. I figured, what could be better than make-up? Fabric, patterns, notions, thread, and more, all mailed in a cute little teal and brown box and delivered to my mailbox!

Options: They state there is a Quilty Box for everyone – and there is!

Classic:  This is the original box which features a different artist each month, 2 yards of fabric, a spool of thread, pattern,  one or two notions or tools, and a mini-magazine. The price is $48.00 but if you prepay, you can get discounts on that monthly rate.

English Paper Piecing: In partnership with PaperPieces.com, this box includes a pack of 5 x 5″ fabrics, thread, templates and paper pieces for the pattern, and a mini magazine. This starting price is $34.99 with discounts applied for prepayment.

Mini: Inside this little package you’ll find a full-sized pack of 5 x 5″ fabric and a small spool of thread, the mini-magazine, three patterns, a mini-pattern, and an English paper-piecing pattern all for $23.99 (with discounts for prepayment).

First-time discount? Receive $10 off your first box!

So what are my thoughts about Quilty Box?

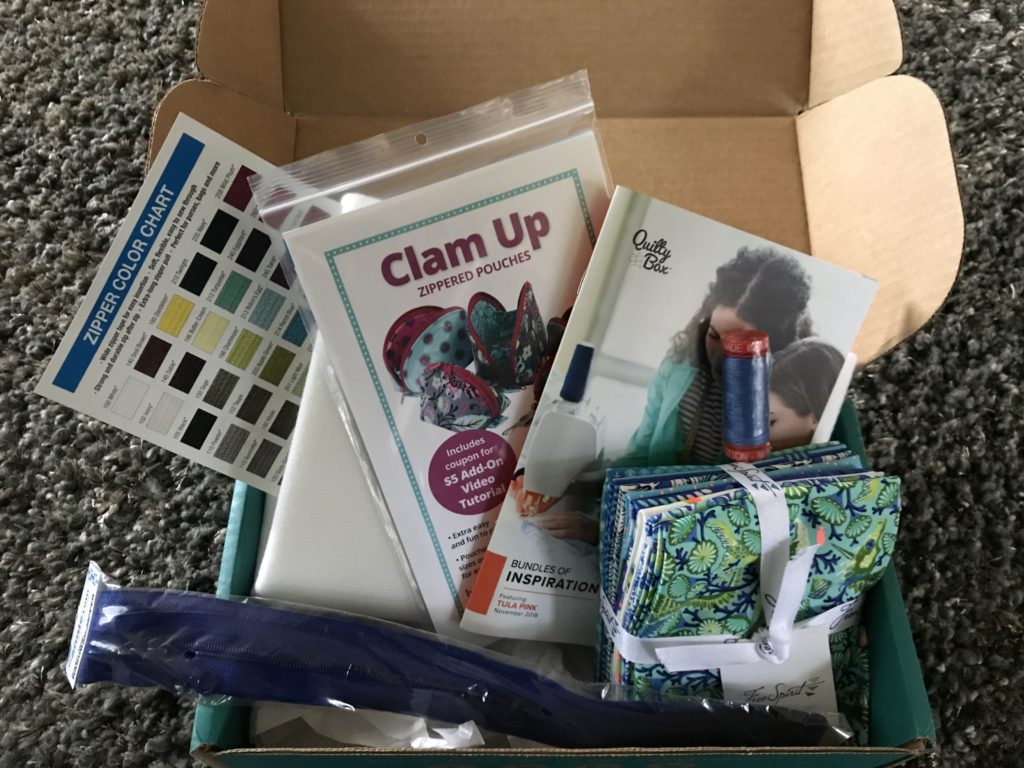
I loved it! It was so fun to get in the mail. I saved my box to open until I could give it my full attention! My box came with eight fat-quarters of Tula’s new line. This was especially fun because when we heard her speak this fall in Paducah, she explained how she designed that line of fabric. Also inside my box was Aurifil thread, a cute pattern for zippered pouches which I would actually love to make, zippers for the bags, and large piece of Soft and Stable for the bags. The Bundles of Inspiration magazine is high-quality and  I’m looking forward to reading it cover-to-cover. It features an article about Tula, several patterns, history and how-to’s for English paper piecing, and more!Image of Box Contents

Need a gift for a quilter friend? Send them a Quilty Box!

Shipping is free in the USA.

One thing you need to know about Quilty Box is that your order begins an automatic subscription. You can easily and promptly cancel your subscription with a simple email to [email protected] . I did it and received an email confirmation of the cancellation immediately.

So why did I cancel my subscription? ONLY, ONLY, ONLY because I am already overwhelmed with projects, new patterns designs, my Etsy shop, and my teaching/program schedule! If I were wanting a fun way to treat myself, get inspiration, and learn about the latest in the industry, I’d definitely continue my subscription!

By the way, I hereby reserve the right to order Quilty Box again!

 In fact…maybe (on behalf of my readers), I should really order at least one of each TYPE of Quilty Box – so I can report back, of course. What do you think?

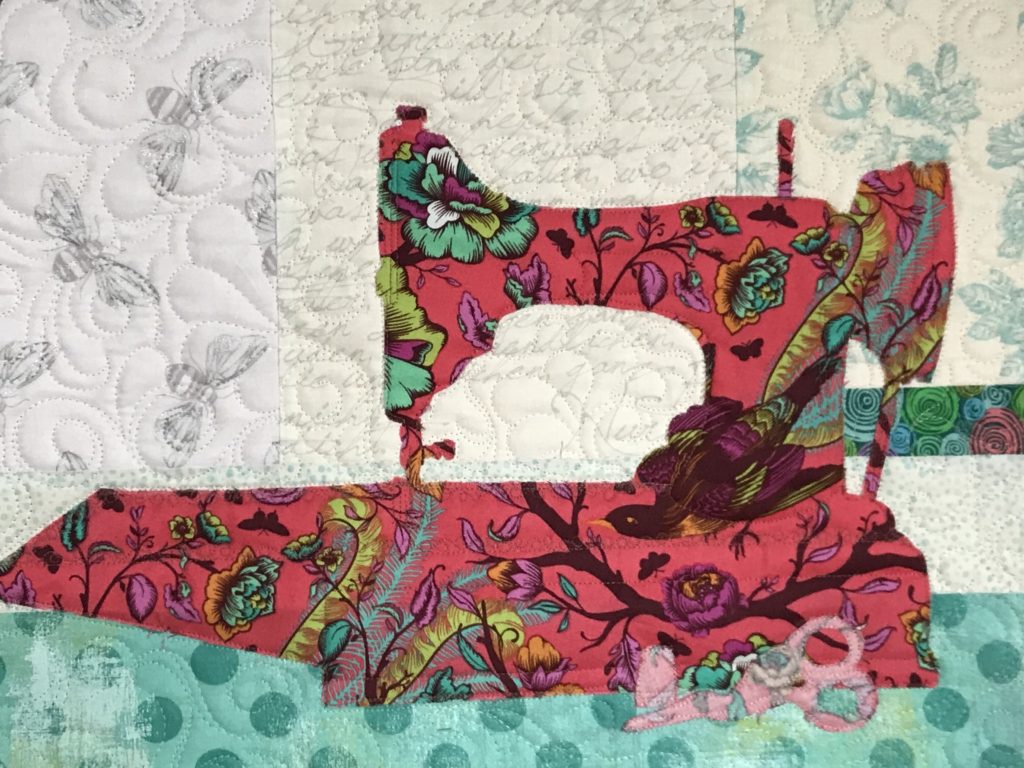
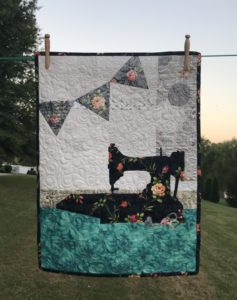
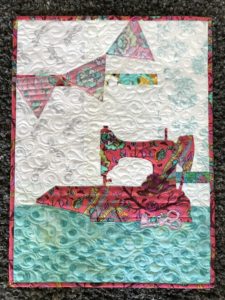
Here is my Tula Pink version of Aria (expressive music heard in opera – she’s a “singer”…) Quilt Patttern. See Vintage Machine Quilt Pattern for more information.Image of Pink Sewing Machine

Shop Aria and 22 more #usebothsides patterns  in my  Creative Bee Studios Etsy shop.


Vintage Machine Quilt Pattern

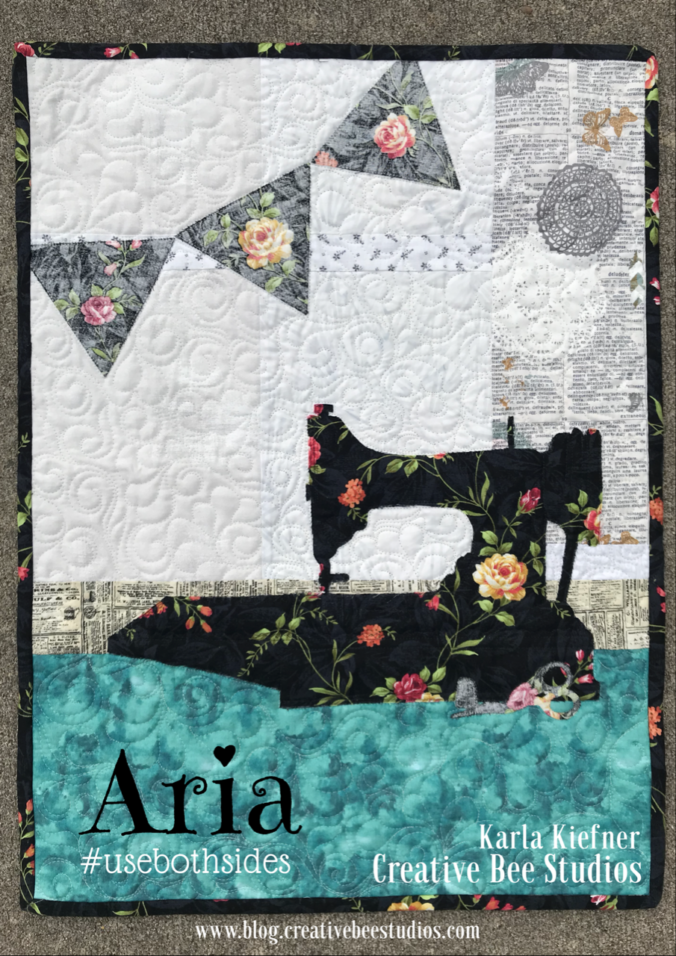
Aria ahr-ee-uh: expressive music often heard in opera.  (She’s a singer!)Image of Sewing Machine Quilt

Aria is a fun little quilt pattern that you can make using both sides of one focus fabric.

Wondering how to choose fabrics for the Aria Quilt Pattern? Think about your florals fabrics. Or, how about feathers? She is a featherweight, after all. You could also use sewing notions motifs. Maybe you want a machine covered in sunflowers! Or consider larger prints like Tula PinkKaffe Fassett Collective. The possibilities are endless for making this the cutest little machine you own! So shop your stash. Pull out your fabrics and look at both sides.

The Aria quilt pattern sewing machine and binding are made from the front of the focus fabric. The pennants, little scissors, and thimble are made using the reverse side of the same focus fabric!

Someday (dreaming now), I’d like to own a beautiful turquoise featherweight, preferably purchased in person from Roxanne’s A Wish and A Dream shop in California!

In conclusion, I was drawn to this lovely, sweet floral fabric for this machine. It has sweet roses and leaves. Of course, the reverse side passed my audition test, which is all about value.Image of Quilt Hanging Outsides

Choosing backgrounds for this little wall hanging is the most fun. You can really mix it up here!

Wanna jazz things up? Check out this Tula Pink version! LOVE.Image of Pink Sewing Machine Quilt

Find the Aria quilt pattern and #usebothsides of your fabric! Etsy shop: HERE.

Subscribe below for weekly posts! Visit Creative Bee Studios  and follow me on Instagram, Facebook, Twitter, and Pinterest!
New-Prairie Points for Hanging Quilts

Estimated reading time: 3 minutes

Use prairie points to easily hang your quilts.

Use simple prairie points instead of a long fabric tube to hang your quilts. The number you need will depend on several things: the size of the quilt and how you will hang it.

First, fold a few squares.

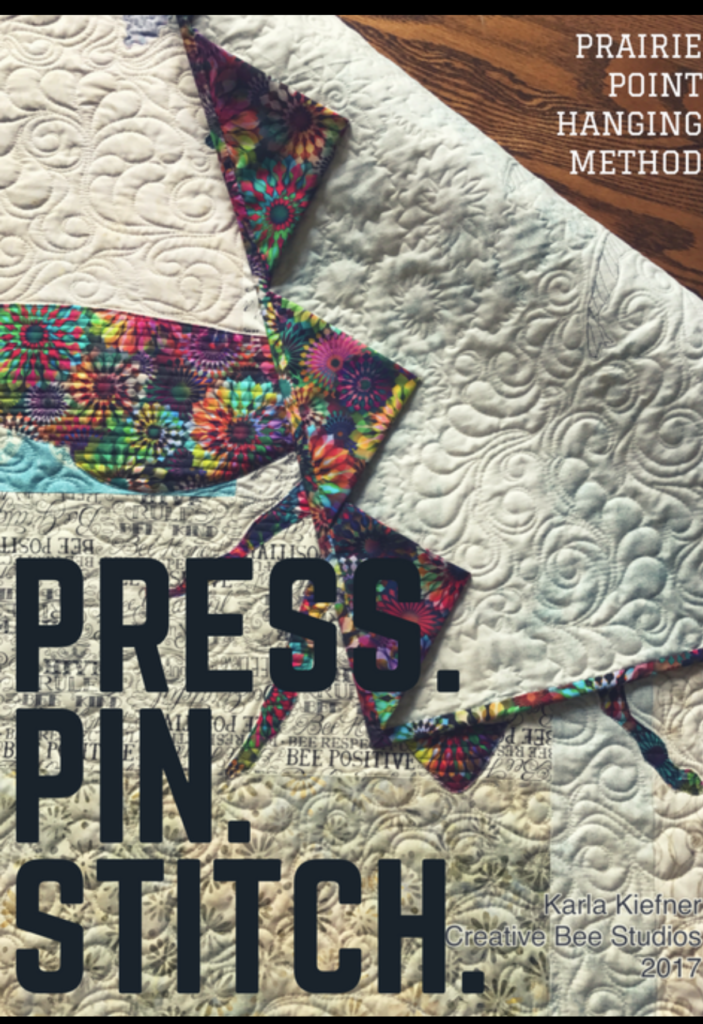
To make prairie points, cut squares. Fold them in half, diagonally and press. Fold them again, diagonally and press. That’s it! You just made them! The size and number you will need depend on your quilt size and how you will hang it.

For best results, run a stitch about 1/8th inch from the raw edges of the prairie points to hold them together.

Next, baste the prairie points onto your quilt.

Align your prairie points across the top edge of the back of the quilt. Distribute them evenly, with the outer points at least an inch from the sides.

Baste the points, using a seam allowance smaller than your binding seam allowance.

Finally, make a few hand stitches.

Lastly, you will stitch the points to your quilt by hand, with a doubled-tread. Take care not to stitch through the front of your quilt. About four stitches in each is enough to secure your points.

When your binding is complete, your quilt is ready to hang!

For sizes and to review the complete method, see Hang Quilts Using Prairie Points  and Prairie Point Hanging Method

Image of quilt with prairie points.
Prairie Point Hanging Method shown on Phoebee.
  • Use an even number of prairie points to hang a quilt from a single point.
  • Generally, consider 8- inch squares. Try larger ones for larger quilts and vice versa.
  • All the Creative Bee Studios patterns provide the size and number of points needed for each pattern.
  • Pressing well helps keep the points orderly.
  • Trim any uneven edges before attaching the points to your quilt.
  • For use with unusually large rods (like in a quilt show), hand stitch your points about an inch higher than they reach when flat. This will allow some added room for the large rod and help the quilt hang flat.

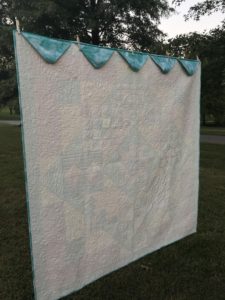
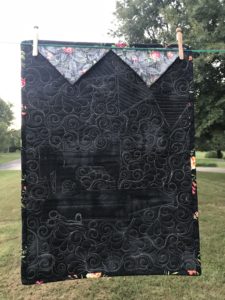
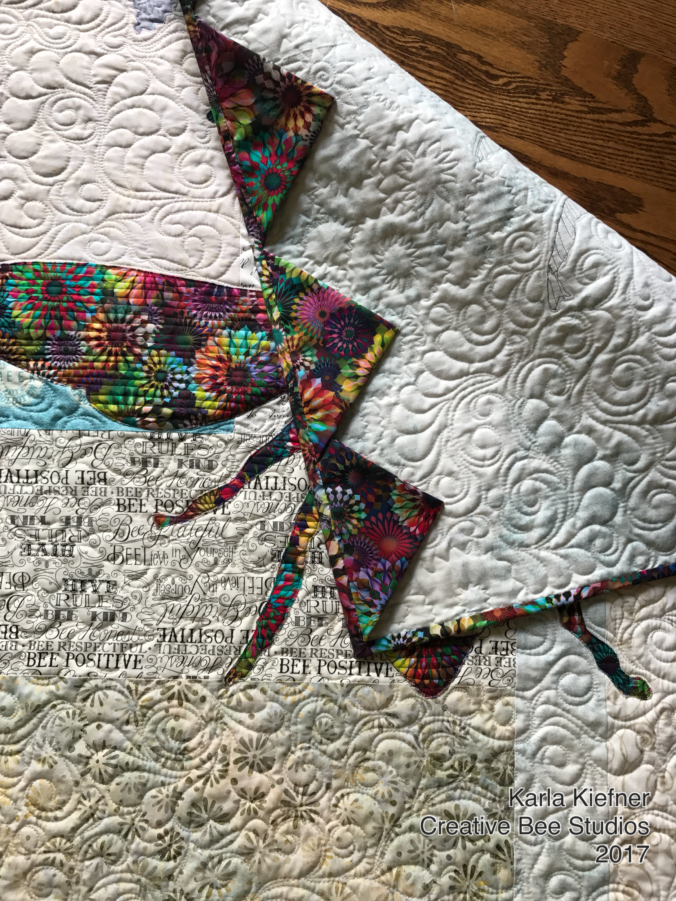
In addition to using scraps for Prairie Points, I like to use the REVERSE side!

Try using the reverse side to tone them down or provide interest on the back of your quilt! #usebothsides

Image of Back of Quilt
See the front of this quilt and new pattern in the next post!

Follow on Facebook and Instagram and pin on Pinterest!

Enjoy your quilting journey!
Jacq O’Lantern Quilt Makes a Happy Boo!

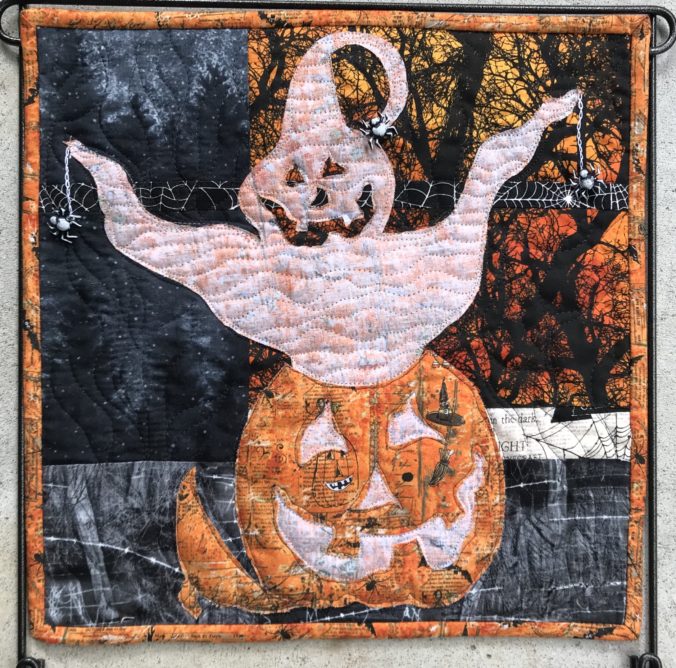
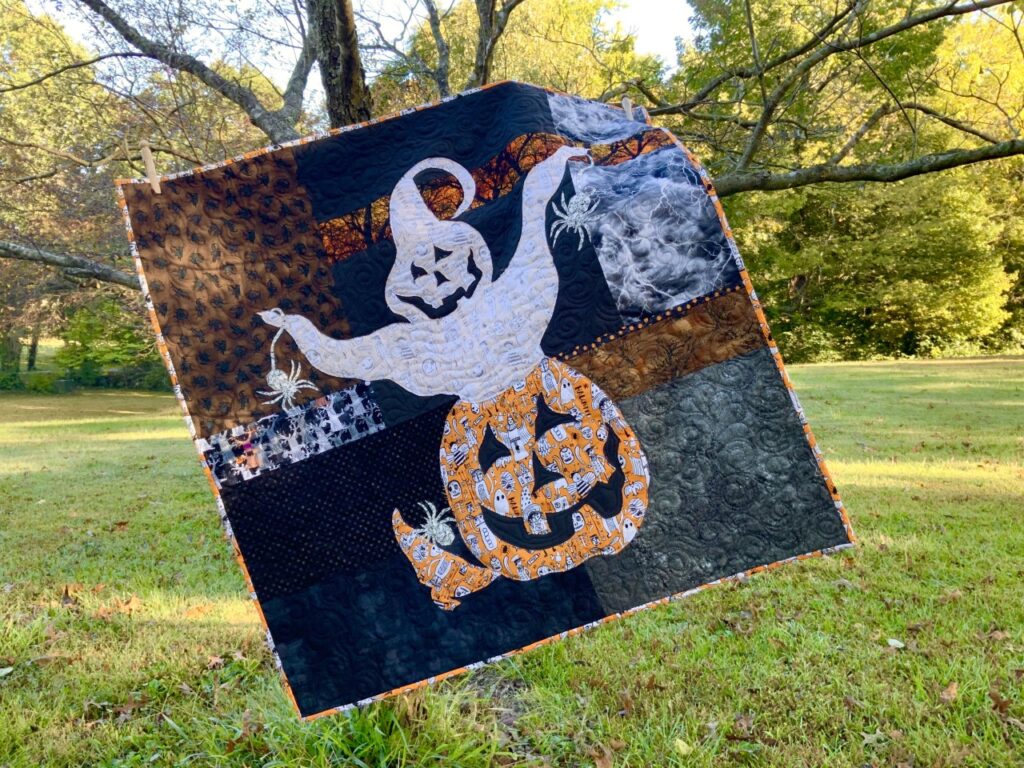
This happy little ghoul is popping right out her top like a jack-in-the-box!

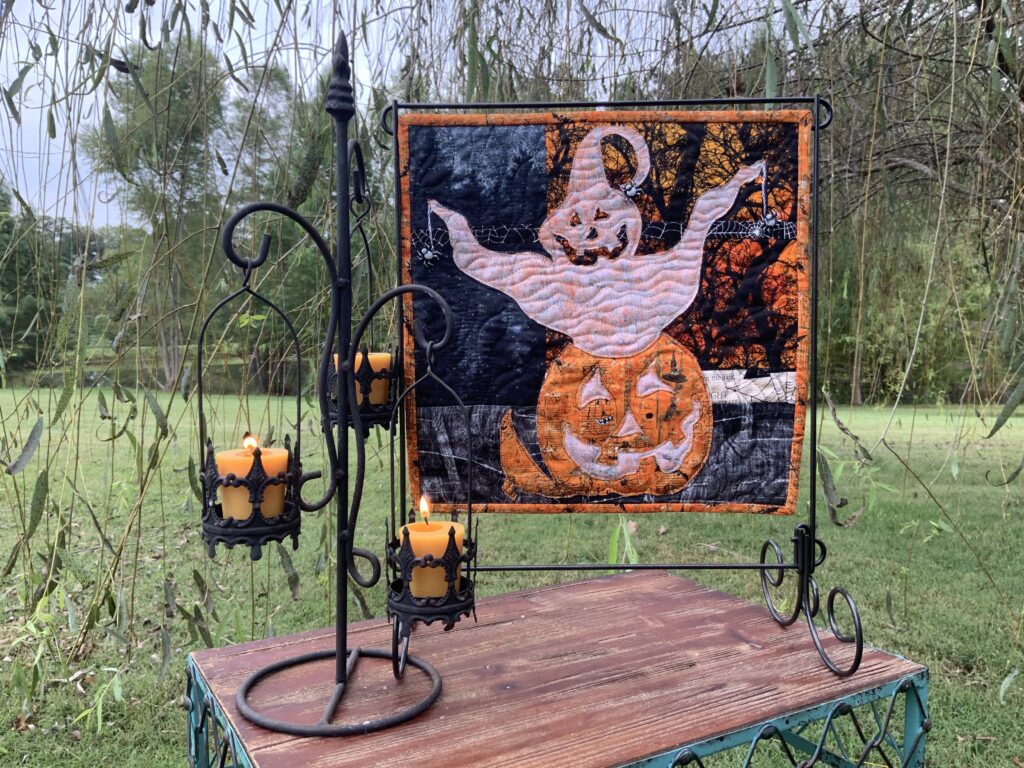
This little ghoul is named Jacq O’ Lantern. She’s the first mini quilt pattern designed to use both sides of fabric.

Jacq O’ Lantern is sew much fun to make!

First of all, Jacq O’ Lantern is a pint-size lesson about value.

Secondly, when you learn how to make this little ghoul, you’ve already learned the easy tricks for using value! Use the Tricky Traits of Value (click here for more info) to make any of the my patterns that use both spooky (or beautiful) sides of fabric!

Jacq O’ Lantern finishes at 12 inches square, perfect for the table-top quilt stands.

Side note: I was never real big on Halloween decorations when our kids were little. We didn’t avoid Halloween, but I just didn’t want to spend money on decorations when we could spend it on Christmas decorations instead. So…why is it I LOVE Halloween fabric so much? It’s a mystery.

Or…maybe it’s not such a mystery! One of my favorite scenes to draw as a kid was a witch on a broomstick. (I only had a couple of drawings I liked to do – over and over. One was a beach scene with a palm tree-are you surprised? ) This witch always had a long chin that jutted out and a big ole wart on her curved nose. Maybe these Halloween fabrics take me back to my childhood or something. Several of my favorite quilts and projects are Halloween themed. I’m sure you seen them before but, well, ’tis the season!

Here are more fun Halloween themed quilts:

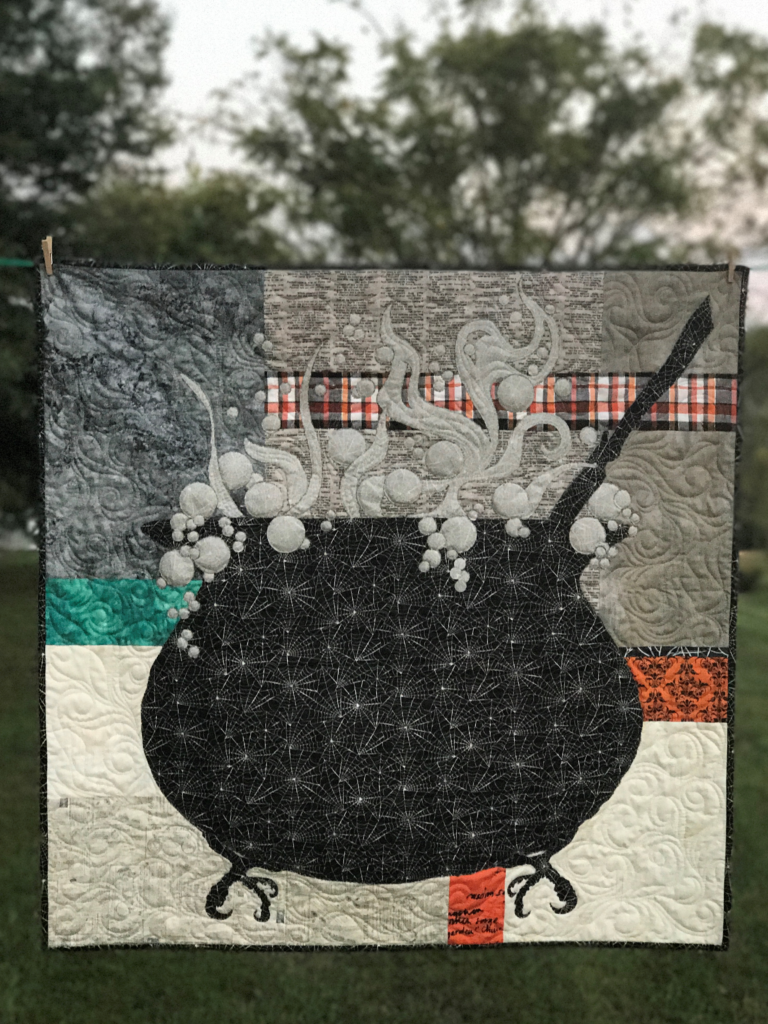
Below is Something’s Brewing. The steam and bubbles are made from the reverse!

Notice the honey buzzard claw feet?

Want to make a larger little ghoul? To use up more of those fun, spooky fabrics, here is Jacq O’ Lantern XL!

Lastly, here are some other fun Halloween projects I’ve enjoyed in the past.

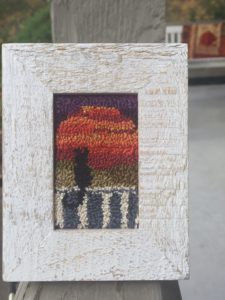
Image of Punch Needle
Black Kitty Punch Needle
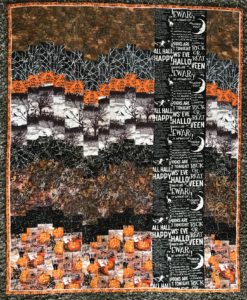
Image of Instant Bargello Quilt
Instant Bargello Quilt


As you might have guessed, there’s a reason for the different spelling of this pattern. In short, our youngest daughter’s name is Jacquelyn. We’ve always had nicknames for her such as JacqJacq, Jacq, Da Jacinator  (at the age of two she could “destroy” a room in minutes), Jacqity Jacq (don’t talk back), and, of course, Jacq O’ Lantern.

See Jacq O’Lantern and all her friends HERE in my Etsy shop, Creative Bee Studios! 

« Older posts Newer posts »