Page 14 of 21

How do YOU Quilt Week?

Estimated reading time: 4 minutes

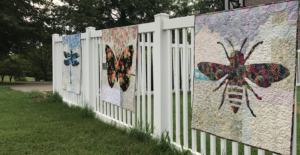
Quilt shows are like Disneyland for us.

In which land of the quilt show park do you like to hang?

Quilt show lands.

Firstly, do you map out a plan for conquering the whole “quilt park”? Secondly, do you stick to your plan? Or are you more of a “go with the flow of people and see where we land” kind of quilter?

Quilt show park passes.

Overall, here’s my generalizations of the types of visitors to quilt shows.

  • The quilt study. This quilter’s priority is to carefully see and study each quilt entered, reading the program notes as they go.
  • The land drover. This quilter needs to see each section, floor, and adjacent activities within the entire city hosting the show.
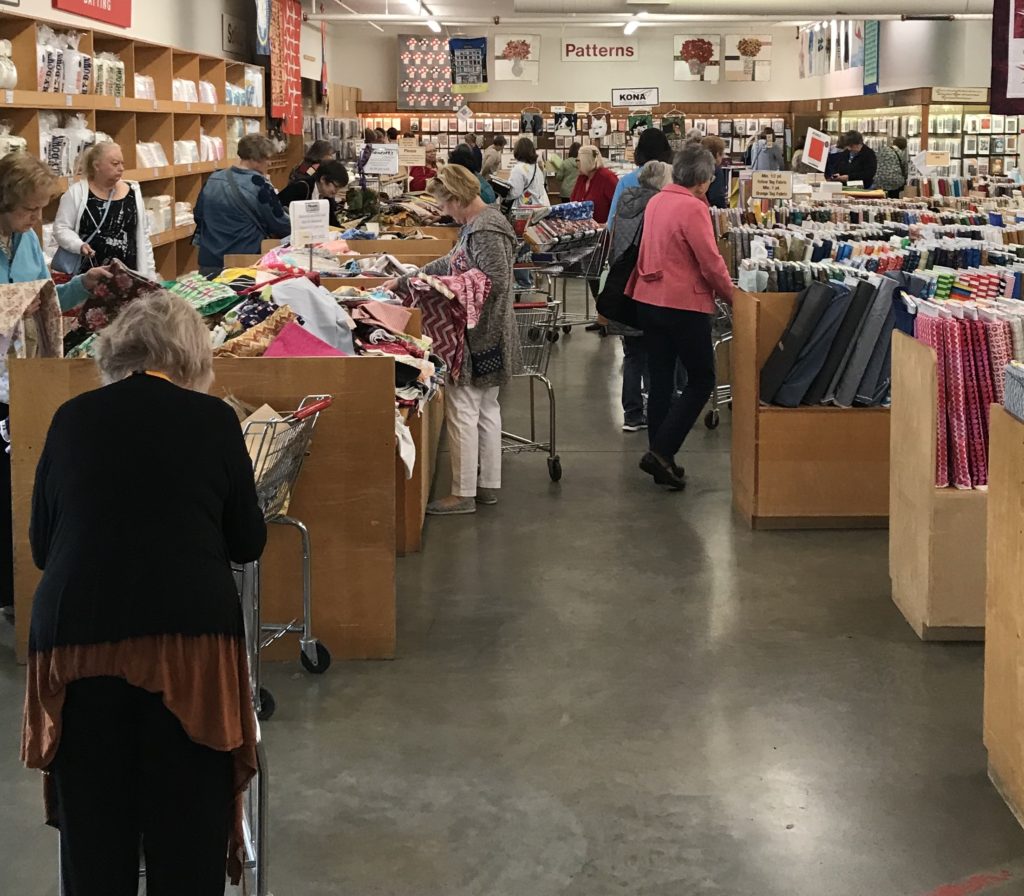
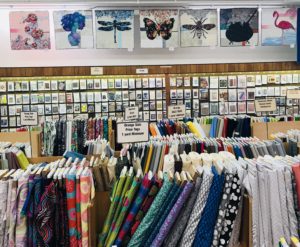
  • The vendor supporter. This quilter must hit all booths and find all new tools of the trade!

How do you conquer the quilt show challenge?

Initially, our little group starts with a plan. In the same fashion, we often change our plans!

Individual priorities.

That said, some of us are students, some are shoppers, some want to see it all!

Against the crowd.

Apart from our differences, we generally agree to go against the crowd. By that I mean, we first go to the furthest “lands” in the park. Once the crowds have cleared from the park entrance, we go see the mainland (winner’s circle).Some years we really study the quilts. There are some years that we REALLY shop the vendors.  Other years we’ve taken classes. Some years we throw our plans  out the window and just go!

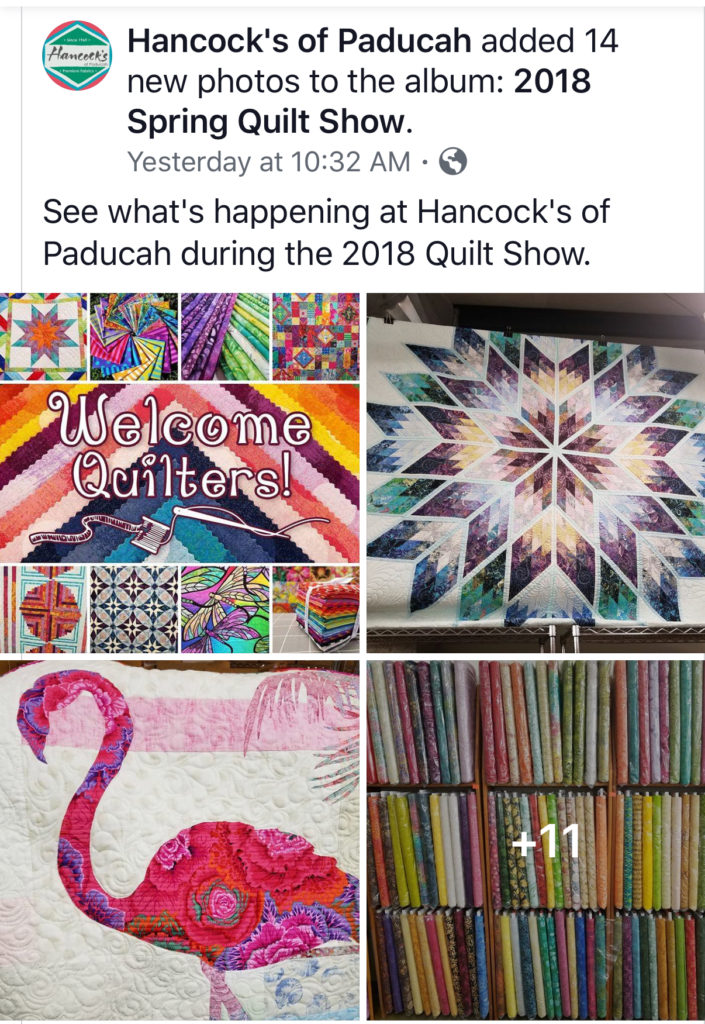
This was a big quilt show year for me.

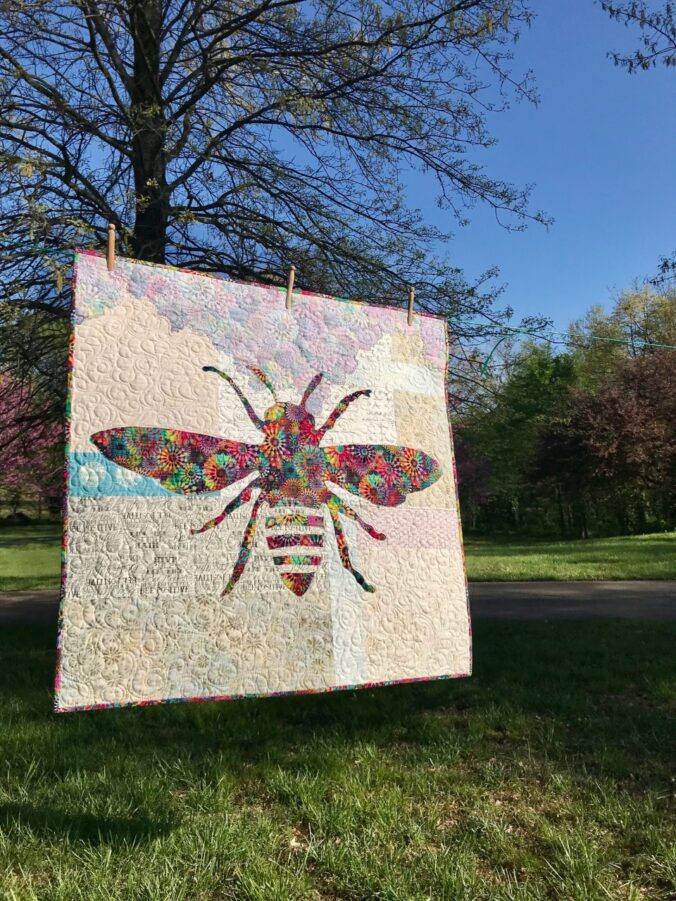
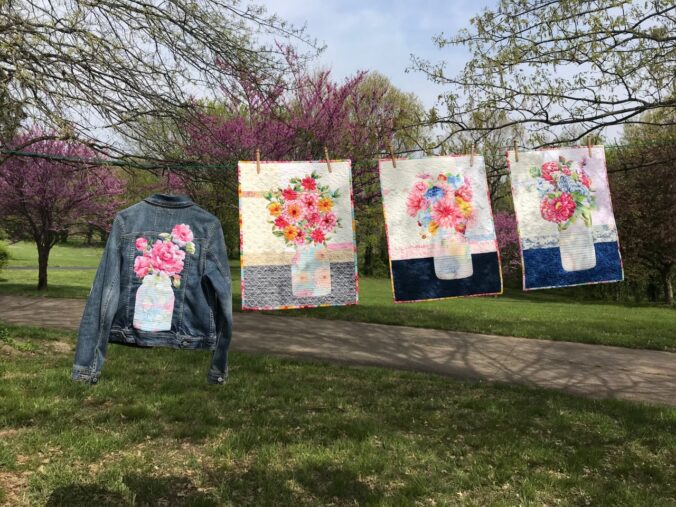
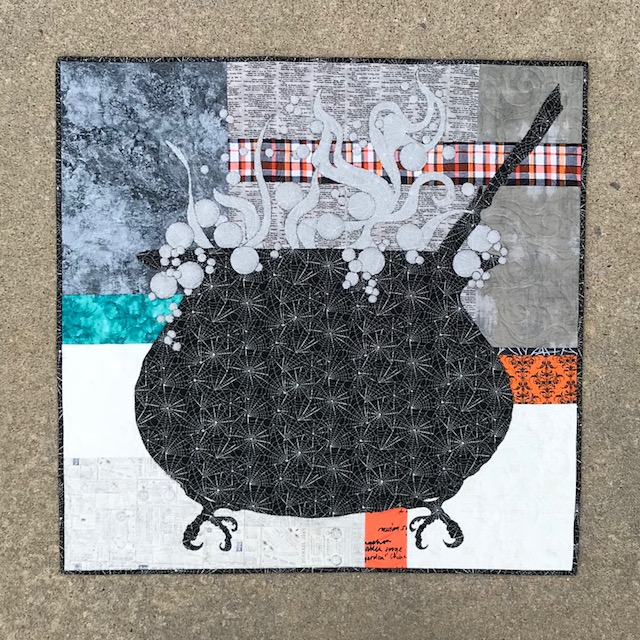
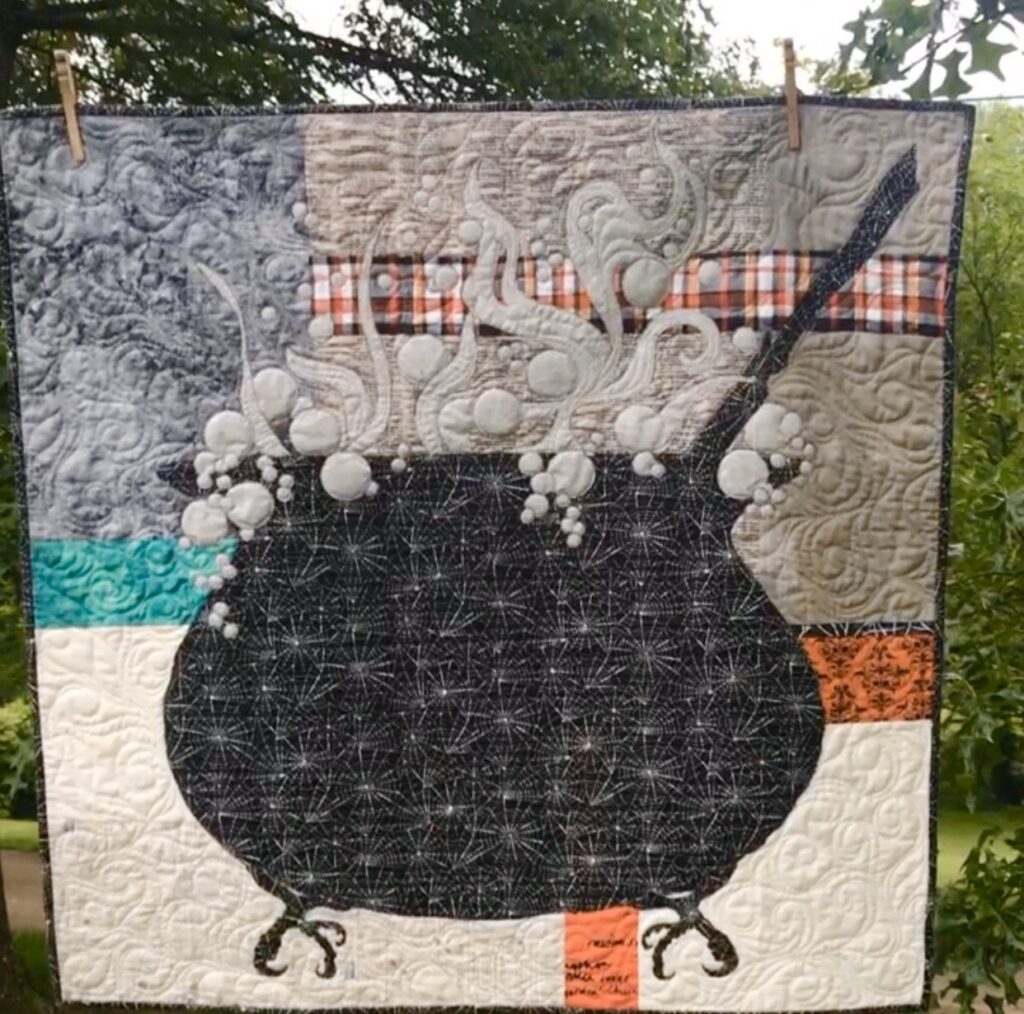
At the time of this writing, more than 10 of my quilt patterns and quilts were featured in Hancock’s of Paducah for Quilt Week in Paducah, Kentucky. Needless to say, I spent a good deal of my park time in this establishment!

Free pass.

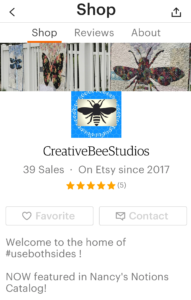
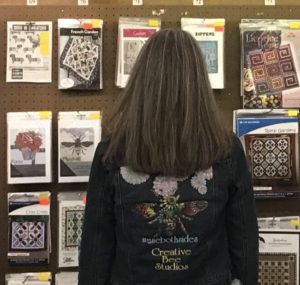
Moreover, to celebrate, any friends who posted their photo with one of my patterns or quilts and #usebothsides was entered into a drawing for a free pattern of their choice.

And the winner is…

(drum roll and scroll down)

Quilt Show Week in Hancock's of Paducah
Rose, Pepita, and Emily hang in the distance.
Image of Quilts Hanging for Quilt Show Week
L to R: Sally, Kate, Lily, Belle, Phoebee, Something’s Brewing, and Fiona hanging at Hancock’s of Paducah!
Karla Kiefner with patterns at quilt show week in Hancock's of Paducah.
That’s me looking at Phoebee and Pepita patterns hanging in Hancock’s.
Image of Hancock's Post
Fiona was a featured quilt in Hancock’s of Paducah Facebook Promotion.
Image of Honey Pot

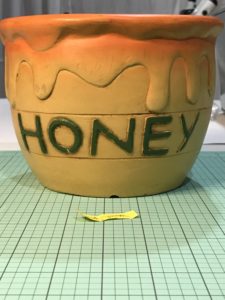
Finally, all the names went into the honey pot and the winner is Cindy Spaeth! Congrats, Cindy! Pick out your pattern, girl!


SHOP more than 50 quilt patterns that use BOTH beautiful sides of fabric HERE.

Learn how to use both sides HERE.

Favorite Binding Tool

Estimated reading time: 3 minutes

My favorite binding tool isn’t made for binding.

In fact, my favorite binding tool is more of a seamstress tool, really. I’m not even sure what it is called. It’s a ruler and a gauge. There are several reasons I keep this tool right next to my machine at all times.

Movable Marker

Firstly, most of these types of tools have a marker that slides across the measurements. It’s snug enough that when you set it at, say 1/4 inch, it stays. The extended points above and below the ruler aid in measuring seam allowances.

Since it is important for finer quilt bindings to have the back and front of the binding to be equal size, this marker helps “gauge” the size you need your seam allowance to be.

Additionally, the market can assist you to know when to stop stitching at the corner. Just match the marker to your seam allowance!

Thin, straight edge.

Secondly, these rulers/gauges are very thin. In addition the top has a nice straight edge. Together, this makes for a great corner folding tool for your binding application. Furthermore, thicker rulers add bulk to the folded binding. This can cause looseness in the binding corner fold.

Image of favorite binding tool

Happy Endings

I recall my early years of quilting when I’d refer to my Happy Endings book each time I came to that part of the quilt-making process. Making a quilt took me so long that I’d forget how to do binding by the time I came around to it again! Even though I understood the technique, there would be so much time in between bindings, that I couldn’t remember how to do it. 

Image of Quilt Binding

The test of time.

While trying to get the end my stitching to the exact size of my seam allowance, I’d use this familiar tool which I’d inherited from my mother-in-law and mostly used by her in garment construction.  One brand calls it a “Rule ‘n Gauge”. In addition to providing a precise measurement, I use the straight edge of this little tool to give me a perfectly square fold for my binding corners. While any straight edge will do, this favorite binding tool is readily available and has that has passed the test of time. 

The tradition stands.

In conclusion, after making more than 50 quilt patterns (that use both beautiful sides of fabric), I no long have to look up how to attach quilt binding! I use the Rule ‘n Gauge each and every time!

Before you turn that binding, try adding prairie points! It’s a fast, easy way to hang your quilt! Learn more HERE!


Enjoy your quilting journey!

For more quilting tool ideas, see Totally Cool Quilting Tools and Take One: Cool Tools for Quilters and Better Bias Binding.

Lighted Bridge Quilt Block

Estimated reading time: 3 minutes

The Lighted Bridge quilt block is revealed here as Month Four of the River Heritage Mystery Quilt!

Firstly, the Lighted Bridge quilt block was designed directly from the night time view of the Bill Emerson bridge that connects Cape Girardeau, Missouri to East Cape, Illinois.

Lighted Bridge on the River.

Lighted Bridge Quilt Block Photo
Month Four – Lighted Bridge Quilt Block

Notably, this bridge was opened in 2003 when it replaced an old two-lane bridge near the same location. The Bill Emerson bridge is a beautiful landmark which thousands of people cross each day. I designed this block to depict this nighttime view of the bridge, with its reflection in the Mississippi River. The bridge is 4,000 feet long, 100 feet wide, and is illuminated with 140 lights.

Lighted Bridge

Four flying geese units make this bridge and it’s reflection. The design depicts the lighted cables of the bridge and their reflection in the river. Accordingly, the three stripes of color indicate the sky, the bridge roadway, and the water.

Image of Lighted Bridge Quilt Block
Lighted Bridge Quilt Block
Digital Image of Quilt Block

Overview of the Quilt Block

Lighted Bridge uses light fabric for the two bridge cables, medium for the lighted night sky and reflected cables, and dark for the bridge roadway and water.

Definitely, you’ll want to watch the placement of values in your fabric choices. Naturally, water is often depicted with a dark value. The reflection and above water could be in the same color family, but with differing values. Finally, take care that the bridge lights and sky have enough contrast between them. Learn more about VALUE HERE.

Printer Friendly Version

Another coloration of the Lighted Bridge Quilt Block

Similarly, this version has good contrasting values.

Image of quilt block

Another beautiful view!

Image of Lighted Bridge
View from Red Star Boat Ramp

Finally, share your block using #riverheritage on Facebook, Instagram, and Twitter!

Want to start at the beginning? Here’s the Introduction to River Heritage Mystery Quilt Pattern.

River Heritage Month Five

Visit Creative Bee Studios on YouTube!

SHOP more than 50 quilt patterns that use both beautiful sides of fabric!

Chain-piecing a Quilt Block

Estimated reading time: 5 minutes

The Benefits of Chain Piecing

As a new quilter, the method of chain piecing seemed magical to me! Not only was I surprised by the time savings, I really liked how soothing this technique made my stitching time.

Firstly, when piecing a sampler quilt (for example, the River Heritage Block-of-the-Month Mystery Quilt), chain piecing individual blocks can save you time and help you stay organized.

Chain piecing is a great technique for all quilters to know.

Secondly, since we have all levels of quilters participating in the free mystery quilt offered here, I decided to share a technique with our newer quilters in mind.

Moreover, chain-piecing is something seasoned quilters do without thought. I remember the lightbulb going on when I was first taught to chain-piece.

My approach to this method.

Actual chain-piecing is not nearly as hard as describing it in words.

me (author)

Have you ever given road directions to someone and said, “It’s not nearly as confusing as it sounds.”? That’s how describing chain-piecing is. Hand’s on, it’s easy to grasp. In words, it seems confusing. Take it a step at a time the first few times and soon you’ll be chain-piecing without even thinking about it.

Here’s how I approach chain-piecing an individual block.


Image of Quilt Block
This quilt block is made of four rows and four columns.

The goal when chain piecing is to do as much continuous sewing as possible.


Image of Chain Piecing a Quilt Block
Turn Column 2 onto Column 1, RST.
  • Cut and prepare block pieces. Sample shows all half-square triangle units (HST).
  • Arrange block pieces according to block design.
  • Notice your columns and rows. Here there are four columns and four rows. The unit on the top left is in Row 1 and Column 1.
  • Turn each HST in Column 2 onto the HST to the left, in Column 1, right sides together (RST).
  • Likewise, turn each HST from Column 4 onto the HST to the left, in Column 3, RST.
  • Stack the Column sets to move to your machine for stitching, taking care not to lose their proper order.
  • Starting with the top set ( the unit from Row 1, Columns 1 & 2), stitch down the right edge with your normal 1/4 inch seam allowance.
  • In the same fashion, feed all of your units, one after another into the machine without clipping their threads. A machine with a knee bar makes this easier, but it is not necessary.
  • Trim threads. (See a great thread cutter here, made specifically for chain-piecing.)
  • Press according to pattern. Arrange the units again in proper order You should have two columns.
  • Similarly, turn Column 3/4 Units onto Column 1/2 Units. Stitch, trim & press. You are now left with four completed rows.
  • Finally, stitch the rows together.

Organization and order is essential.

Image of Layered Block Sets
Layer the sets from the bottom up to take to your machine.

The Progress.

Granted, the process of chain piecing may seem never-ending. However, once you’ve constructed the rows, your progress really shows itself.

Image of Chain Piecing Technique
Now you have two columns.
Image of Chain Piecing Technique
Turn Column 2 onto Column 1 and stitch.
Image of Block Rows
Rows 1 is at the top and Row 4 is at the bottom.

Trim and Square

Importantly, remember to square and trim your block after it is pressed.

Enjoy your quilting journey!

See and shop more than 50 quilt patterns that use BOTH beautiful sides of fabric!

Image of Flamingo Quilt
Fiona Quilt Pattern

Yakity Yak – Let’s Talk Backs

Quilt backing doesn’t have to be boring.

Lots of quilters use leftover fabrics from their stash to piece together a quilt backing. Initially, that was my intention with this pieced backing. I needed to add enough random fabrics to “stretch” the gray Stonehenge backing!

Afterthoughts.

By and large, quilt backing is an afterthought for me. Until now, all of my excitement and energy is focused on the quilt top. My brain can’t handle more decisions while I’m mastering the creation on the front of the quilt! However, when the top is finished, I want to quilt it immediately.

Something’s Brewing

Incidentally, such was the case with Something’s Brewing. This quilt features a huge cauldron that has bubbles and steam simmering over it’s sides. Also, there’s a crooked broomstick and, my favorite, honey buzzard claw feet. Moreover, one focus fabric makes all of these things, plus the binding! That is to say, it is made with both spooky sides of one focus fabric! See How to Use Both Sides for more info!

image of something's brewing quilt

Various spooky background fabrics.

Furthermore, notice the very VARIED background fabrics in this quilt. This background is made from eleven radically different fabrics, including batik, Stonehenge, glitzy plaid, spiderweb, and more. Moreover, there’s even a fabric with William Shakespeare’s Macbeth! It’s such spooky fun!

Why should the front have all the fun?

Although I had pieced my quilt backings before, it had never dawned on me to “instant bargello” my backing! While searching for a single Halloween print to add to my yardage, I found numerous smaller cuts of very fun fabric.

Image of Quilt Back

Instant Bargello to the quilt backing rescue!

Instant Bargello by Susan Kisro is one of my favorite quilting books.Image of Book 
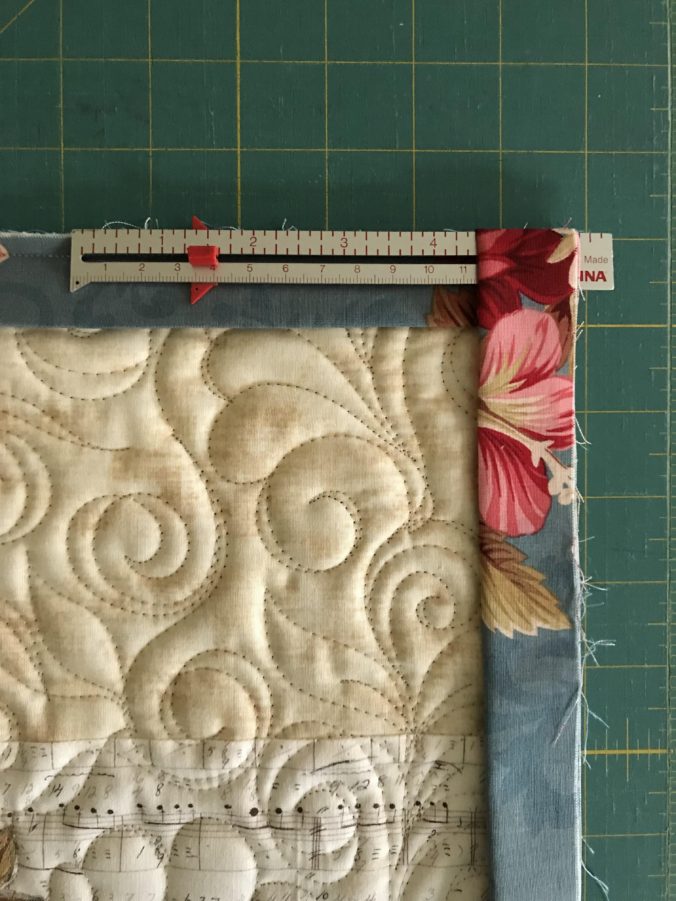
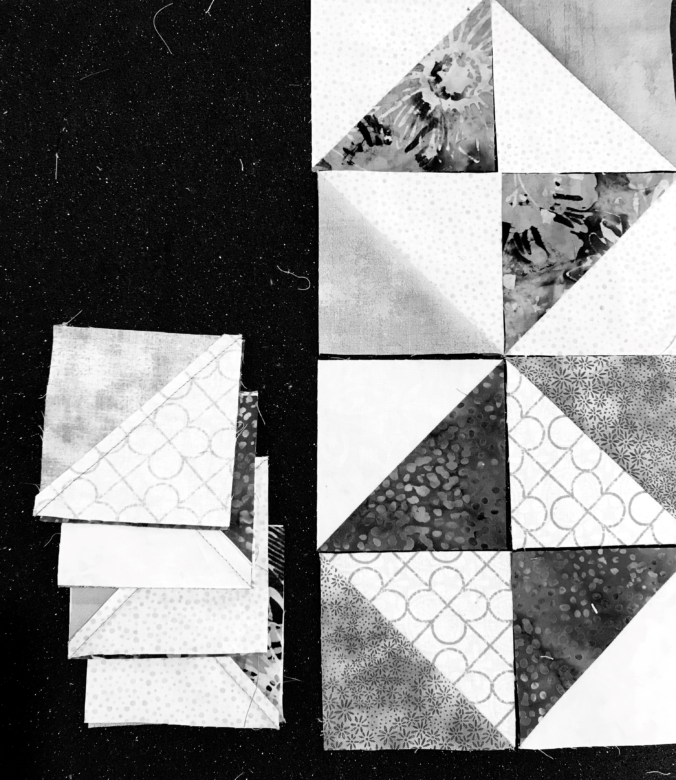
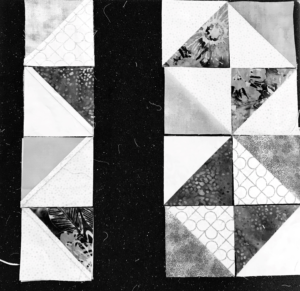
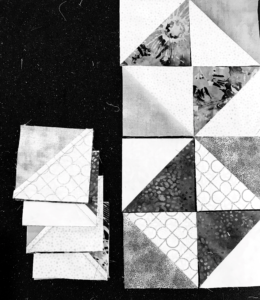
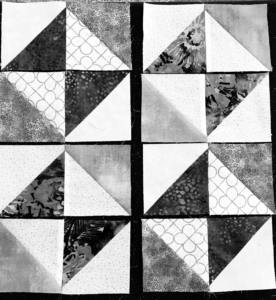
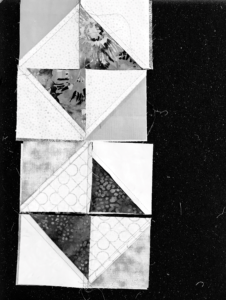
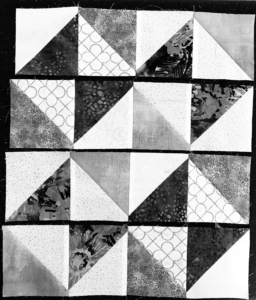
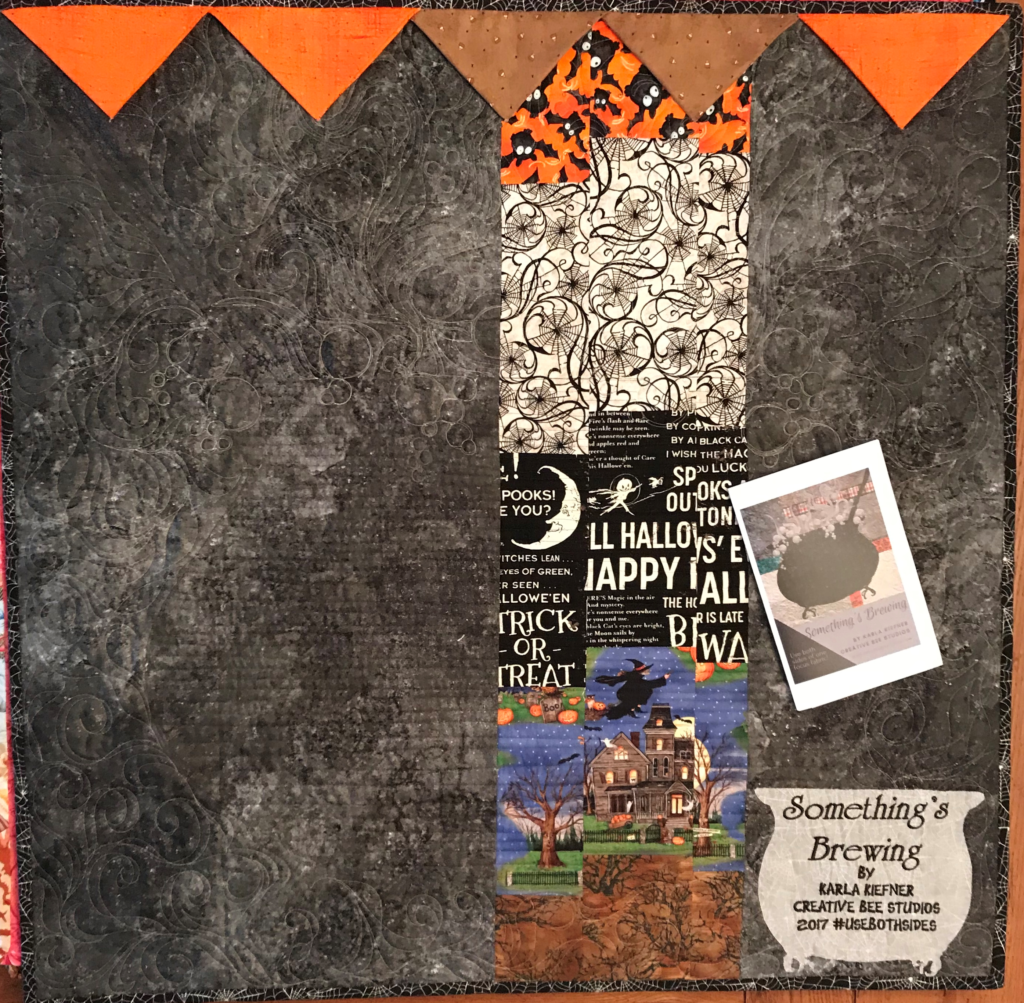
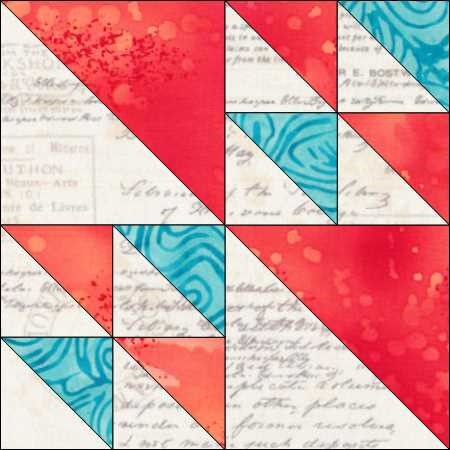
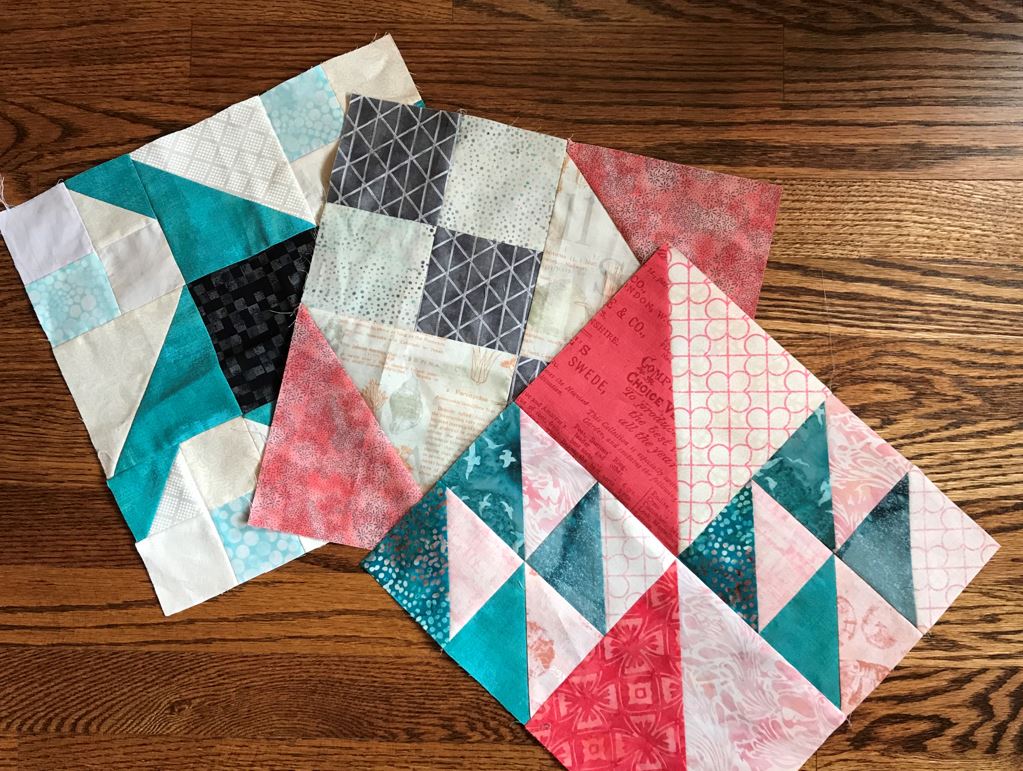
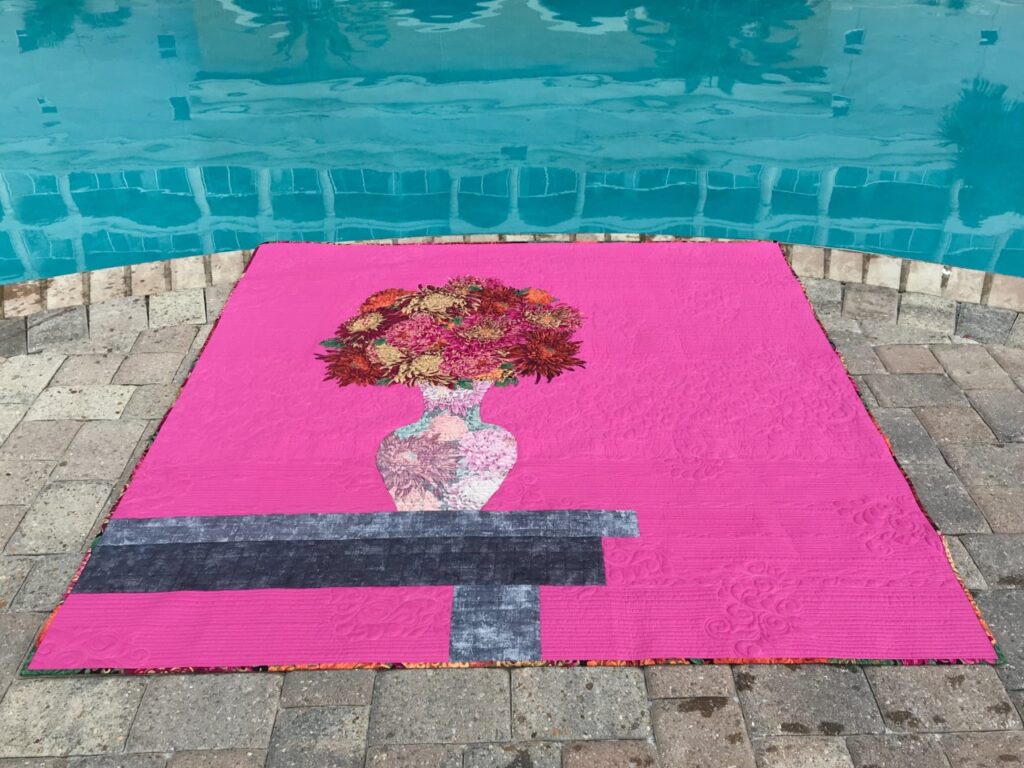
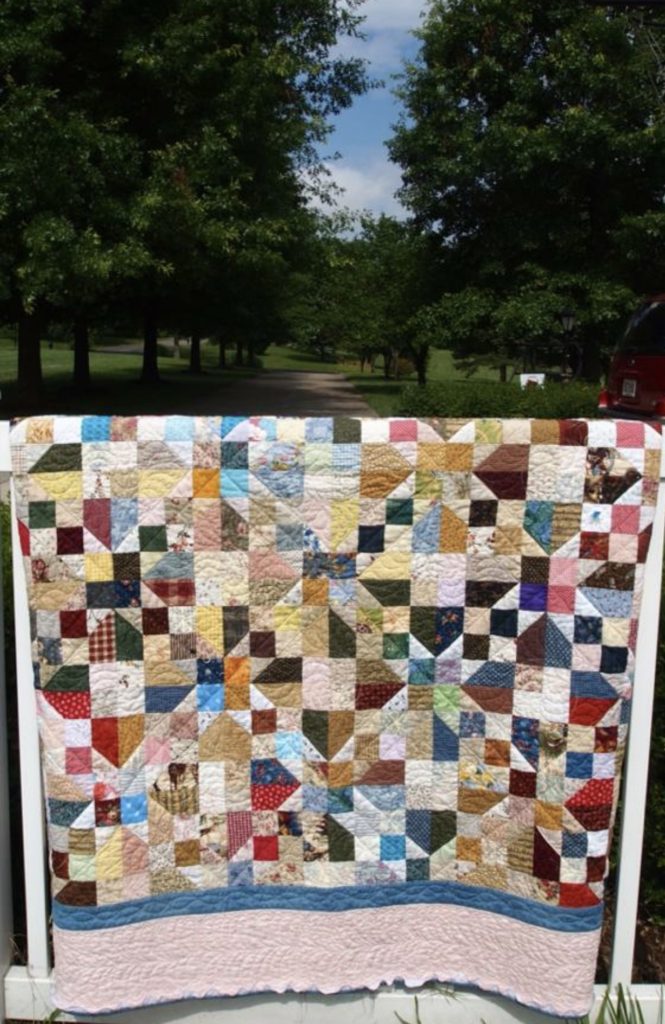
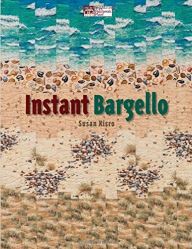
I’ve made several fun and fast quilts using this book as a guide. I decided this technique would allow me to use small pieces of fabric to make a fun quilt backing. I grabbed some scraps and did three little columns of that technique which gave me enough width for the backing. It was fun and fast!

Prairie Point Hanging Method

Even the Prairie Point Hanging Method got a splash of Halloween fun! The two brown ones have tiny candy corn on them. This was some old Debbie Mumm fabric which I’d inherited from my mother-in-law. I love using little bits of her fabric in my quilts.

Label Fun

Finally, when preparing this quilt to hang in Hancock’s of Paducah for AQS Quilt Week, I brewed up another little cauldron for the label. Incidentally, this cauldron was made from the REVERSE!


Have fun with your backs!

To summarize, if you have to make a quilt back, why not make it fun?

Enjoy YOUR quilting journey!

SHOP more than 50 quilt patterns that use both beautiful (or spooky) sides of fabric!

Seven Ways to Use Both Sides of Fabric

Estimated reading time: 4 minutes

Get inspired to use both sides of fabric!

First, get a glance at seven (of now more than 50) quilt patterns made with both beautiful sides of fabric, right here, right now! Fun announcements included below!

The girl who started it all…Phoebee.

Learn how Phoebee inspired the start of using both sides of fabric HERE.

Firstly, Phoebee’s focus fabric has a lot to say! However, it doesn’t completely define this quilt! Look at that eclectic group of background fabrics! It’s all about value. I love how Phoebee gets her life and vibrancy from the very flowers (REVERSE) she’s pollinating.

Belle and Lilly join the party.

Image of Butterfly Quilt
Image of dragonfly quilt made with both sides of fabric

Soon after Phoebee was born, Belle and Lilly came to life. In the same fashion as Phoebee, these two gals were made with both sides of floral fabrics. Their contrasting genre of fabric give them each a unique style.

Additionally, I taught numerous classes of this Colorful Wings collection.

Image of Three Quilts on Fence
Phoebee, Belle & Lily

Value is key when you use both sides of fabric.

Read Mysterious Values.

Rose was the first pattern in the Colorful Petals series.

image of both sides of fabric for Rose

Interestingly, I found Rose’s focus fabric in Branson, Missouri, as I raced through the shop. I quickly pulled out bolts to look at the reverse sides of fabric, while my husband waited in the car. This fabric by Red Rooster was an instant winner! Notice the secondary scroll design that shows on the vase? It’s gorgeous on the REVERSE.

Both sides of floral fabric for more bouquets.

Image of Three Quilts
Colorful Petals Quilt Patterns

Creative Bee Studios Etsy Shop

Launched, Fall 2017

More fun with both sides of Sally fabric!

Eventually, I began shipping patterns all over the United States and to Canada!

Creative Bee Studios use both sides of fabric quilt patterns have been featured in AQ Magazine, Hancock’s of Paducah, Connecting Threads, Nancy’s Notions, and quilt shops across America!

Learn more

In conclusion with this overview of the past year, thank you all for your support.

Enjoy your quilting journey!

Month Three BOM Mystery Quilt

Estimated reading time: 3 minutes

The Flock of Geese block is Month Three!

The Flock of Geese block has to be a part of our River Heritage Mystery Quilt. Geese are seen throughout the year flying near and over the river.

Image of River for Flock of Geese Block
Month Three – Flock of Geese Block

Pictured above is Tower Rock (Grand Tower) on the frozen Mississippi River. Tower Rock is impassable except when the river is extremely low or frozen over.

This photo, taken by Jake Pohlman in January 2018,  shows people crossing the frozen river to the landmark island and rock formation usually only accessible by land during extreme drought. 

Tower Rock

Tower Rock is located in the Brazeau Township, Perry County, Missouri, near the town of Wittenberg, Missouri, and across the river from Grand Tower, Illinois. It was listed on the National Register of Historic Places in 1970. Jacques Marquette, a French explorer, mentioned this island in 1673 when he passed by this formation. Tower Rock has been known to instill both fear and poetry in river pilots due to the force of the whirlpool effect the water hitting the formation creates.

Flocks of geese are common near the river.

A flock of geese is a common sight in our area, especially in the fields adjacent to the river line. Therefore, it is fitting that this Flock of Geese block be a part of our River Heritage quilt!

Image of river in flock of geese block

Flock of Geese Block

Welcome to the third month in the River Heritage Block-of-the-Month Mystery Quilt!

Flock of Geese is made with two easy components but, as with Railroad Crossing, it can be used to make a stunning quilt by itself or with a secondary block.

As I mentioned in the introduction, I am making my quilt blocks very scrappy, so where it calls for one large dark and one large light square, I make two to achieve a scrappy look. I toss my extra squares in my BOM scrap bin to grab for future blocks.

Check your values!

The Flock of Geese block uses dark and light fabrics. It is an easy block made with two four-patches of half-square triangles (HS) and two large half-square triangles.

Flock of Geese Block Printer Friendly Version

Image of Flock of Geese Block

Chain Piecing for Four Patches

To speed up your process, use a chain piecing method for the four-patch units.

Image of Flock of Geese Block

Finally, share your Flock of Geese using #riverheritage on Facebook, Instagram, and Twitter!

River Heritage Month Four


SHOP more than 50 quilt patterns that use BOTH beautiful sides of fabric!

Quilt Retreat Checklist

Estimated reading time: 3 minutes

Get your retreat packing on!

Image of Quilters
Read HERE about this Jonas Bluffs Retreat!

Here’s a quick quilt retreat packing list to make your prep easier and your quilt retreat fun!

Firstly, one must remember the basics.

You need friends, fabric, food, and laughter on the top of your packing list.

Here’s a quilt retreat checklist from a cabin called Lady of the Lake.

Secondly, it’s important to anticipate your particular retreat needs. The accommodations, schedules, and cabin mates can make a big difference in your experience and your packing list! Therefore, I’ve decided to share the list as one example of how we do quilt retreat at Kentucky Dam Village, Lady of the Lake style!

Lady of the Lake Cabin Style Retreat Packing

Mostly, we would have eight lovely ladies in one cabin. We each set up our work station, stitch a lot, eat a lot, share a lot, and laugh a lot. We schedule our meals and each person provides in some way, either meals or supplies.

As the years went on, we learned we didn’t need to prepare to great detail as we did in the earlier years. For example, planning only one large meal a day and allowing the later days in the event to be determined made our packing and planning much easier. Not only did we not have nearly large amount of food to pack, we had less to get rid of at the end of the retreat.

Additionally, less meal planning allowed us to change our plans as the week went on.

Quilt retreat packing list.

Hope you get some use from this list and a little insight to dynamics of the Lady of the Lake gals.

  • Sewing machine with electrical cord, foot pedal, manual, extra light bulb, bobbins, Q-tips for cleaning lint.
  • Seam ripper, scissors, Seam ripper, scissors, rotary cutter and blades, rulers, cutting mat, iron, pressing surface, tables, electrical cords, extension cords, extra lighting, fabric spray, pins, hand-work supplies, guild directory, ¼” guide and 3M removable double-stick for guide on machine.
  • Personal Items: pajamas, preferred drinks, snacks and food for meals not planned, rice bag for sore muscles, massager for neck and shoulders, comfortable clothing, walking shoes, jeans for shopping trips, jacket/sweatshirt, overnight bag/products, Advil, pain relief lotion.
  • Additional: paper, pencil, electrical strips, charger cords, tape, table cloths (for design boards), cleaning wipes, pest strips.
  • Snacks, drinks, paper products, coffee and filters.

Supply List Printer Format

SHOP more than 50 quilt patterns that use BOTH beautiful sides of fabric!

Simple Designs for Stunning Quilts

Image of Grace Quilt Pattern

Introducing…Grace, a simple design for a stunning quilt.  First, take a mason jar shape. Next add a broderie perse bouquet. Finally, construct a fun, scrappy background to make a sweet quilted wall hanging.

You first pick your floral focus fabric for the mason jar (reverse), bouquet, and binding! Add scrappy background fabrics and you’ll be set. 

You’ll discover the nuances of value as you learn to audition BOTH sides of fabric! Each #usebothsides patterns teaches you how to audition your fabrics. Value is the key to success! Learning to measure value is a skill you can apply to all your future quilt projects.

Your focus fabric determines the style of your bouquet. 

I’ve had a large room full of quilters make this design at their annual retreat and the results were, well, stunning! Each quilter had a guide for how to choose both focus and background fabrics before the retreat. They also brought extra fabric for last-minute changes. This pattern is a great classroom or workshop project because the results are incredibly different. Even if two quilters choose the same focus fabric, their background fabrics and bouquet arrangement makes their quilts unique. It truly is a simple design for a stunning quilt.

How do you know if a fabric has a great reverse? You learn through the auditioning process. After looking a few reverse sides, you’ll soon have a good feel for those fabrics you can audition. It’s also a great conversation starter at quilt shops when they see you looking at BOTH sides. Some of my friends say they never look at one side of fabric anymore. In a way, it’s like doubling your stash without losing any space!


Learn more about modern Broderie Perse! 

Image of Simple Design Stunning Quilt
Image of Four Grace Bouquets
SHOP Creative Bee Studios Quilt Patterns HERE
Image of Kate's Bouquet Simple Design Stunning Quilt
Kate’s Bouquet is another way to use BOTH sides of fabric!https://www.etsy.com/listing/720564306

Subscribe to The BUZZ below and I will email you when new posts are published. Thank you for your interest and support!

The Quilting Forecast

Estimated reading time: 4 minutes

An interesting quilting forecast abounds when raindrops on Rose, quilted umbrellas,  and Mary Poppins connect.

This quilting forecast is looking good. Fortunately, rain doesn’t usually dampen a quilter’s spirits. In fact, a little forced inside time can do wonders for sewing production, right?

Traveling to my home town to introduce my patterns to the local guild, I am careful to keep the raindrops off of Rose! I’ll be teaching a large workshop for the Memory Makers Quilt Guild soon. This is their first look at what’s ahead!

The Quilting Class Forecast

Six or more quilt designs are the choices for the large workshop.

The quilters get to choose from a number of designs, including Phoebee, Belle, Lilly, Rose, Kate, and Emily. The quilting forecast for this group is creativity!

The Memory Makers may have a small membership, but they are large on participation and creativity.

A memory maker for me.

Born and raised in this small town, I have fond memories of simpler times. We rode bikes all over town (sans highway 61- not allowed). I worked summers at the swimming pool, start as “bag girl”, becoming a life guard, and even managing the pool one summer. As teenagers we “rode around”. There were homecoming snake dances around the square in route to the big bonfires. The cracked sidewalks and uneven pavement I rode over and over seem etched in my mind.

Moreover, I am honored and fortunate I can go back to my home town to share my quilts with friends.

However, with the wet weather forecast for this week, I’ll be doing my best to keep the raindrops off of Rose and all her friends!

Umbrella Table Runner

It seems fitting to break out the umbrella table runner today with the forecast of a rainy week ahead. This quilting forecast is CUTE!

Image of Quilted Table Runer

Undoubtedly, this is a fast, fun project. We are talking about a single background fabric, just a few cuts of scrap Kaffe Fasset fabric, and the Accuquilt umbrella die! Coupled with pebbled quilting and you’ve got a perfect table runner for a wet forecast. See Raindrops on Roses to see a few of my favorite things from the AQS Quilt Show in Paducah.

Furthermore, umbrellas always remind me of a favorite book, movie, and musical:

Mary Poppins, of course! Like shifts in the wind, the music, the magic, and the meaning of this beloved story is a favorite. The umbrellas in the runner above seem like they could be pulled right out of Mary’s carpet bag!

Quits and Musicals

Our youngest daughter, Jacquelyn, played the role of Mrs. Banks in her final college show. Apart from the Mary Poppins show, I’ve made a number of quilts to commemorate her various roles in musical theatre. One such quilt was for her role as Laurey in OKLAHOMA!, shown below.

Click HERE to see  “Sweet Dreams…of You” and the quilt commemorating Jacq’s role as the legendary Patsy Cline and  Click HERE to see “One…Singular Sensation” which features a fantastic quilt binding tip and Jacq’s role as Cassie in A Chorus Line.

SHOP more than 50 quilt patterns that use BOTH beautiful sides of fabric!

« Older posts Newer posts »